Gpcalero's Spartan Build
#51
 01-11-2013, 03:41 PM


Gunner, I am thinking about doing the OldYeller mod and spraying my front amber turn signal lights....not sure yet.
Thanks Doc! I'm looking into Supermodulation's ported throttlebody, not sure if it's polished...but I've emailed him earlier today. Do you think that's a good bet? I've seen people pretty happy with theirs on the Colorado forum. I'm definitely getting a pcm4less tune sometime, either soon or after the ported TB (if I do end up going that route).
Thanks Doc! I'm looking into Supermodulation's ported throttlebody, not sure if it's polished...but I've emailed him earlier today. Do you think that's a good bet? I've seen people pretty happy with theirs on the Colorado forum. I'm definitely getting a pcm4less tune sometime, either soon or after the ported TB (if I do end up going that route).
#52
01-12-2013, 09:50 AM

Also, I have just installed 8000K (from 6000K) bulbs in my STARR HID projectors. The drivers side bulb wasn't functioning right...flickering, & slightly off color and dimmer than the passenger side. They are great, and are a noticeable improvement from the 6000Ks, slightly more blue hue to it.
Thanks again to Chris Nelson from Top Line Group Automotive for sending me brand new bulbs free of charge!
Pictures soon!
#54
01-15-2013, 10:36 PM
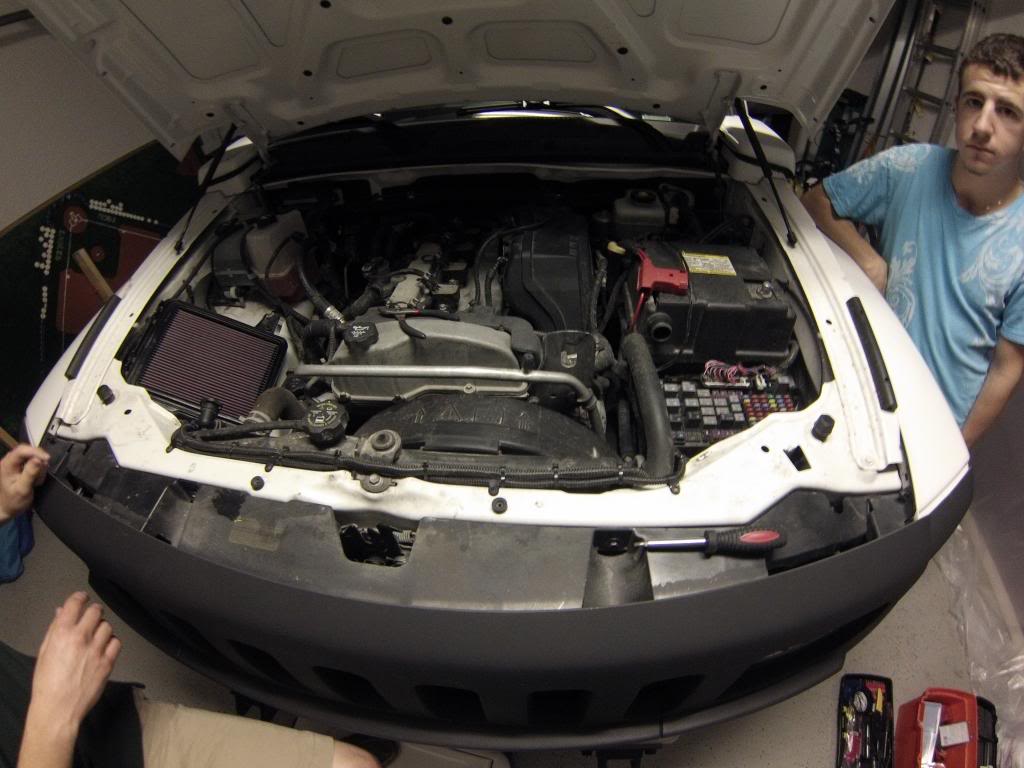
Ported Throttle Body Install...
The throttle body I bought is from James with Supermodulation. When he ports it, he uses a flow bench to optimize air travel through the throttle body. So I knew this was the route I wanted to go with. I contacted James and participated in his exchange service that he usually reserves for active members of the 355nation Colorado forum (H3 & Colorado => same throttle body). He sends you a ported throttle body, you receive it and send yours back to him....that's basically how it works. And for $100 plus shipping, it's worth it.
First thing's first, gotta unbox it!

Doesn't she look purty??
Next step is to take Lil Sparta into the shop....my garage") , then I removed the Air Docs CAI and filter cover all as once piece, loosened pipe clamps at the throttle body & disconnected airbox top. This makes it easier for when you are going to put everything back together (as one unit), as opposed to getting messy with it by having everything in pieces ughh, and having to deal with getting the intake installed, again.
, then I removed the Air Docs CAI and filter cover all as once piece, loosened pipe clamps at the throttle body & disconnected airbox top. This makes it easier for when you are going to put everything back together (as one unit), as opposed to getting messy with it by having everything in pieces ughh, and having to deal with getting the intake installed, again.
And this is a side by side comparison of the old vs the new throttle body (TB), what's going in and what's coming out. You can barely see it in this picture but there is a 'lip' and some rough texture on my stock TB that isn't visible on the ported TB. This all gets smoothed over and that lip is smoothed out from the porting process which will allow better flow. The rough texture is gone too, leaving a uniform smooth texture throughout the TB.
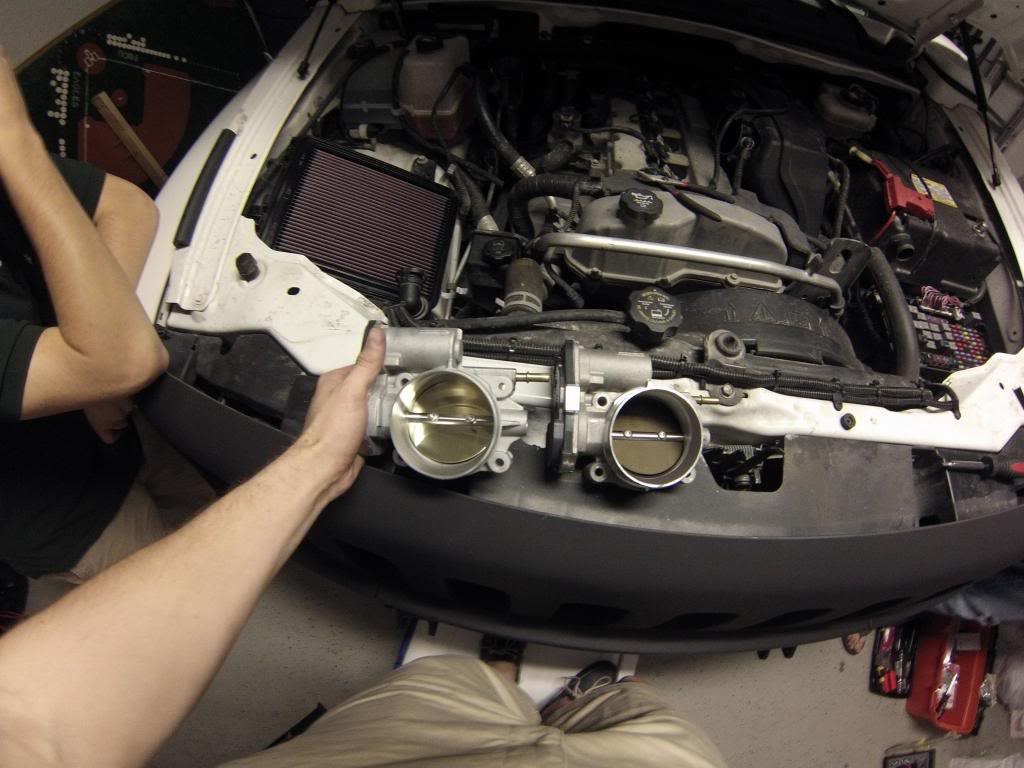
And if you're thinking about doing this you also need to disconnect your battery OR take out the fuse to the PCM. I think it was #25...can't remember, but I did both, just in case .
.
Just be careful when you're taking off the hoses and wiring to the TB. It can be very frustrating (for me at least) and you might break the fittings && that would suck for you. For the wiring on the side, you'll need a flathead screwdriver, that would make life easier, and for the other connection, I found that you can simply pull it straight out (after I cracked a small corner of it already, NBD).
Easy install. Hardest thing you'll run into is putting your intake back in, ha.
After that, put everything back together (don't forget fuse and battery) and let the truck idle for at least 10 min so that the PCM can relearn and make adjustments. My idle was only a little rough for just the first minute or so.
I don't have any pics of the finished install, but it looks exactly the same, which is good for me if I'm ever at the dealership as I'm still under warranty. But they give me s**t for the tires, sand in the suspension, intake and some of the other mods already. W/E.
Differences: Increased throttle response! Helps eliminate some of the dead pedal or lag between application of the throttle and actual GO. From stop to go, and from coasting to accelerating you can feel it. Doesn't sound different, but definitely makes the 3 a little bit more peppy.
Without a doubt it's worth it for those of you looking for more mods to your H3.
The throttle body I bought is from James with Supermodulation. When he ports it, he uses a flow bench to optimize air travel through the throttle body. So I knew this was the route I wanted to go with. I contacted James and participated in his exchange service that he usually reserves for active members of the 355nation Colorado forum (H3 & Colorado => same throttle body). He sends you a ported throttle body, you receive it and send yours back to him....that's basically how it works. And for $100 plus shipping, it's worth it.
First thing's first, gotta unbox it!
Doesn't she look purty??
Next step is to take Lil Sparta into the shop....my garage
, then I removed the Air Docs CAI and filter cover all as once piece, loosened pipe clamps at the throttle body & disconnected airbox top. This makes it easier for when you are going to put everything back together (as one unit), as opposed to getting messy with it by having everything in pieces ughh, and having to deal with getting the intake installed, again. And this is a side by side comparison of the old vs the new throttle body (TB), what's going in and what's coming out. You can barely see it in this picture but there is a 'lip' and some rough texture on my stock TB that isn't visible on the ported TB. This all gets smoothed over and that lip is smoothed out from the porting process which will allow better flow. The rough texture is gone too, leaving a uniform smooth texture throughout the TB.
And if you're thinking about doing this you also need to disconnect your battery OR take out the fuse to the PCM. I think it was #25...can't remember, but I did both, just in case
. Just be careful when you're taking off the hoses and wiring to the TB. It can be very frustrating (for me at least) and you might break the fittings && that would suck for you. For the wiring on the side, you'll need a flathead screwdriver, that would make life easier, and for the other connection, I found that you can simply pull it straight out (after I cracked a small corner of it already, NBD).
Easy install. Hardest thing you'll run into is putting your intake back in, ha.
After that, put everything back together (don't forget fuse and battery) and let the truck idle for at least 10 min so that the PCM can relearn and make adjustments. My idle was only a little rough for just the first minute or so.
I don't have any pics of the finished install, but it looks exactly the same, which is good for me if I'm ever at the dealership as I'm still under warranty. But they give me s**t for the tires, sand in the suspension, intake and some of the other mods already. W/E.
Differences: Increased throttle response! Helps eliminate some of the dead pedal or lag between application of the throttle and actual GO. From stop to go, and from coasting to accelerating you can feel it. Doesn't sound different, but definitely makes the 3 a little bit more peppy.
Without a doubt it's worth it for those of you looking for more mods to your H3.
#55
01-18-2013, 11:01 PM

Rancho w/ 9000 adj. shoccks, Leveling kit,2 in. wheel spacers,Airaid throttle body spacer,Goodyear Kevlar sidewall 33's,Wood grain dash,(still need a decent steering wheel),Flowmaster dual outlet exhaust,LED tails,spare delete,all the H3 factory extras,Lots of G-Style products,K&N big round filter,winch that fits tow receiver,but my H3 lives at my ranch in Az. Boulder grey mettalic and will get black flame job soon. Ask me about stuff I forgot to mention.Enjoy the pics ! People just don't know how the H3 runs circles around the H2s !! My H3 wound up being the perfect Motocross machine.
#56
01-20-2013, 01:43 PM
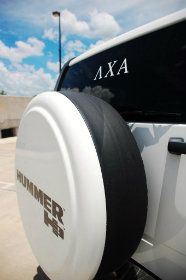
First thing was my fraternity letters
Next was the factory horn. It sounded like a girly piece of junk, so it was time to get rid of it. I also took off the dealership front plate due to it getting all bent up from water crossings.
So I took off the single factory horn and installed dual Wolo's, one high and one low tone. I liked that they were chrome...at first.
While I was at it, we also cranked the T-Bars up to 23.4 and called it a day, lulz.
Still looking at those 295/70/18's, anybody know if they'll fit?
More to come...
"http://static.photobucket.com/player.swf"
#57
01-21-2013, 02:19 PM
Hey buddy, glad to see you finally made over here to the forum! Idk about dormant but it doesn't have as many users as the mustang forum, simply because it is a more popular and more widely owned vehicle.
Lil Sparta is pretty good! Took her to the SW Florida car show at Germain Arena the other day. Spiffed her up real good. Didn't win but she sure turned a lot of heads and it was nice to talk to people admiring the truck.
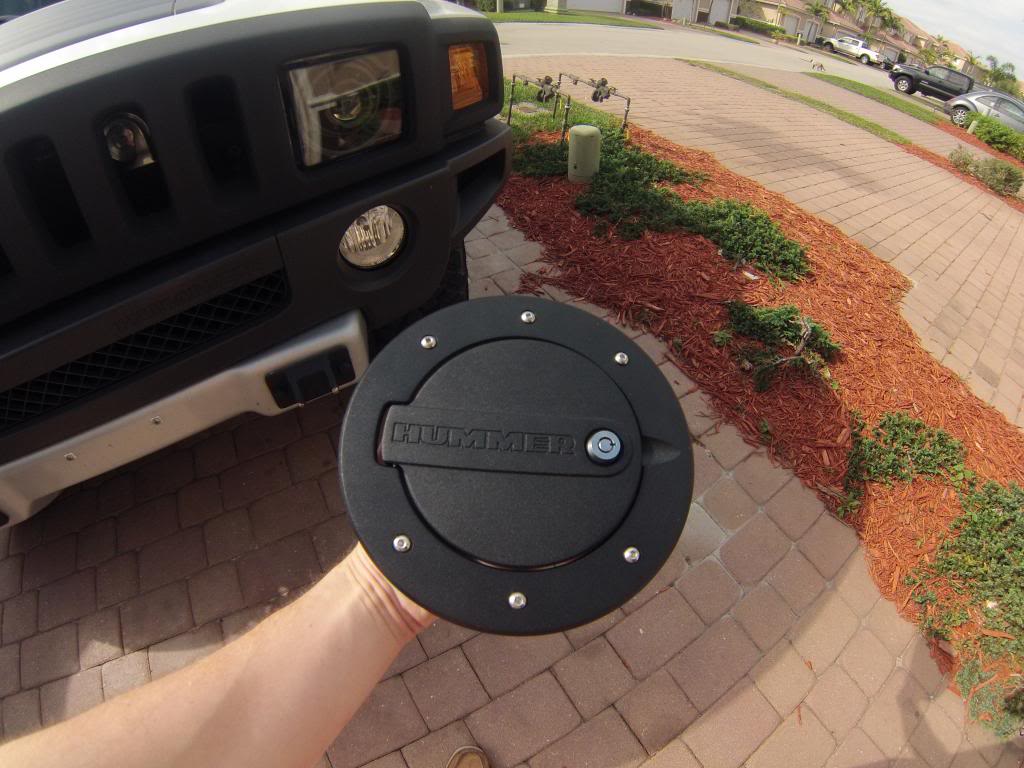
Just ordered a matte black powdercoated locking fuel door the other day! Shipping straight from Defenderworx, updates SOON!
'Sup GP see any of my H3 pics yet? Yours is wicked nice.How do I upload pics from Photobucket to the gallery ? Anyways this site seems pretty dormant.How's your H3 and 'Stang 'doin? I can upload from P-bucket to a thread easily.Enjoy ! 80 deg. here in Cali today.I'll shuttle to Az. next week and take some more pics."http://i766.photobucket.com/albums/x...ummerH3010.jpg"
"http://static.photobucket.com/player.swf"
"http://static.photobucket.com/player.swf"
Just ordered a matte black powdercoated locking fuel door the other day! Shipping straight from Defenderworx, updates SOON!
#58
01-30-2013, 08:10 PM
Another Install Day!
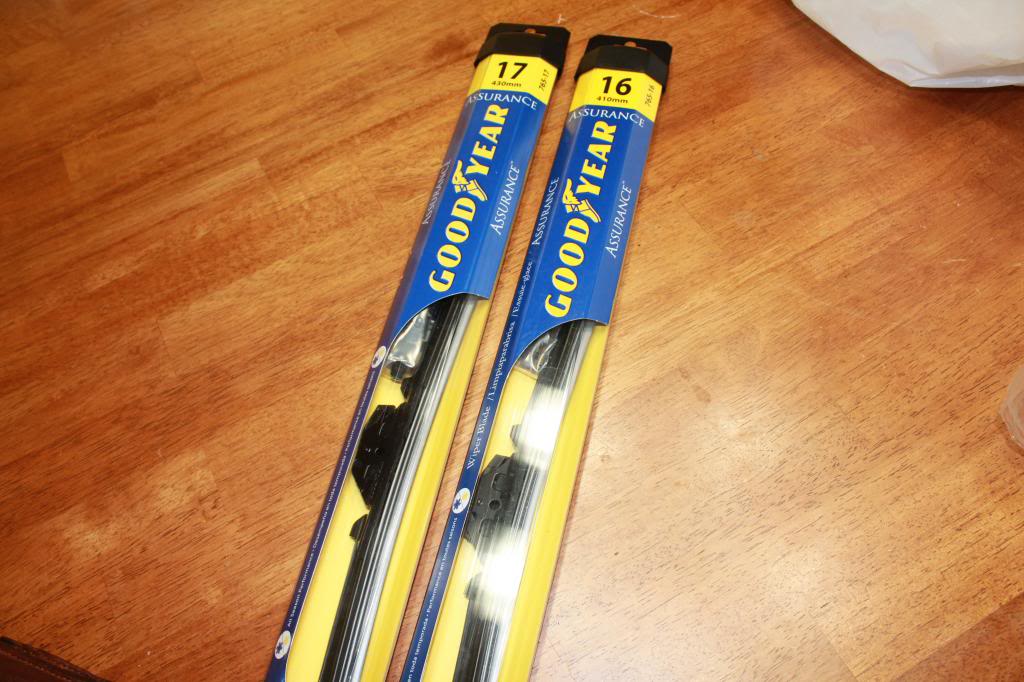
Good and cheap wiper blades at Costco!
Less than 5 min install. $6 each. Driver's side and passenger side blades are different. You'll need a size 17 (430) & a 16 (410).
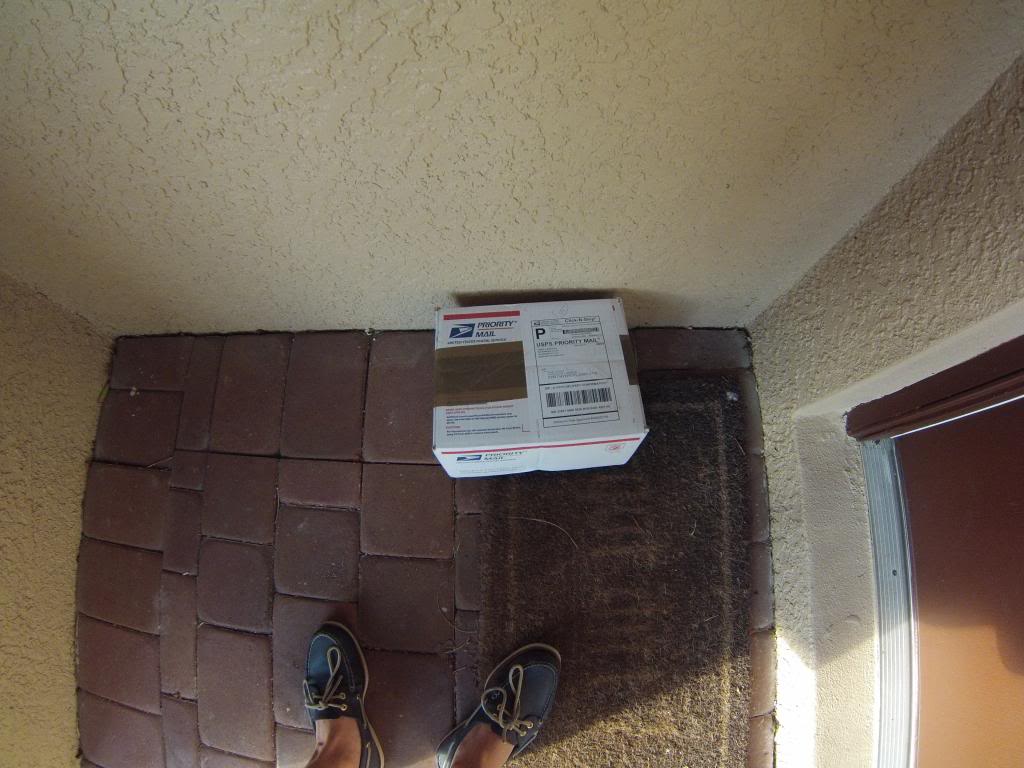
Straight from Defenderworx, hot off the assembly line.
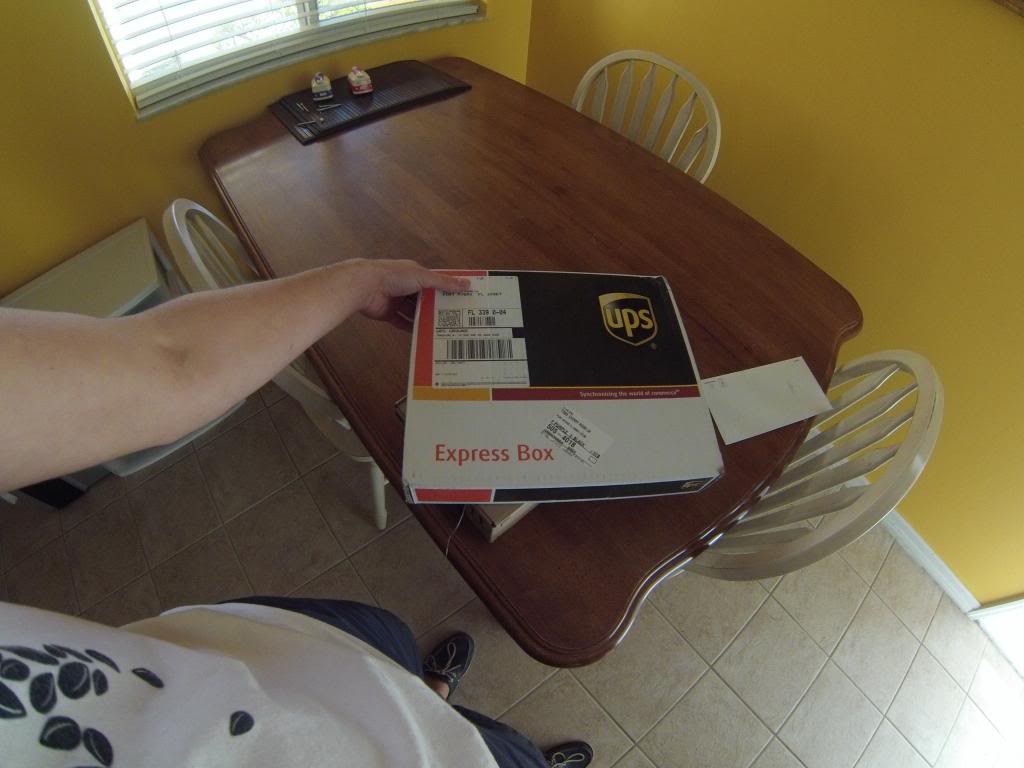
You've got mail....
Powder coated matte black fuel door. Comes shrinkwrapped (kinda) to a cardboard backing. Looks great in person and feels nice.

First thing you want to do is align the included drilling template to your existing gas tub as best as you can. Umm....measure twice, drill once?
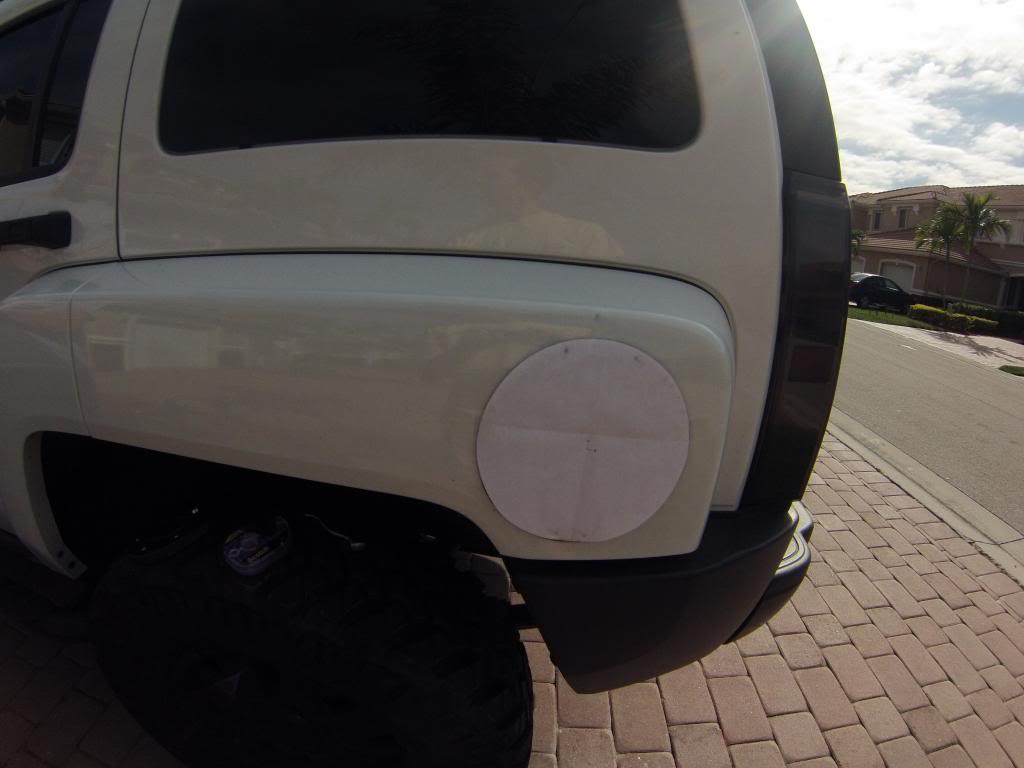
Then mark your drilling locations, and take off the tub. Should pull straight out. Just don't forget to take off the gas cap before you pull the tub out.
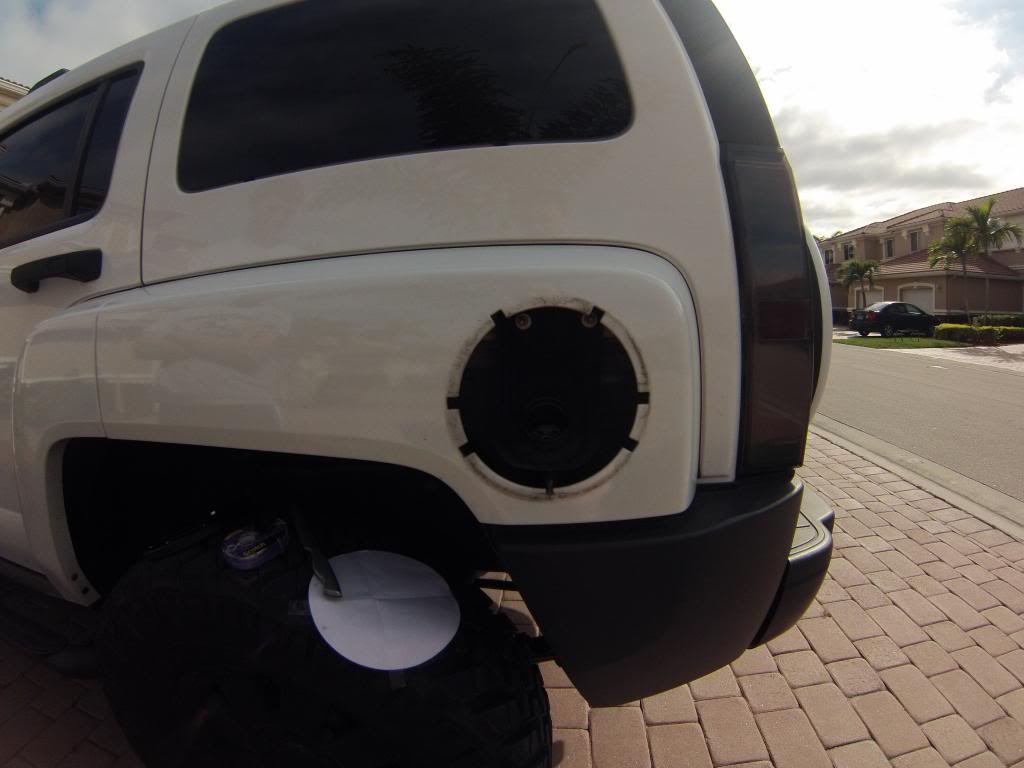
Once I drilled the holes, I made sure to test fit the fuel door on to the tub, then placed the tub against the fender to ensure proper orientation.
And when you putting the screws in, don't over tighten them....or you'll end up with this. A snapped off screw head.
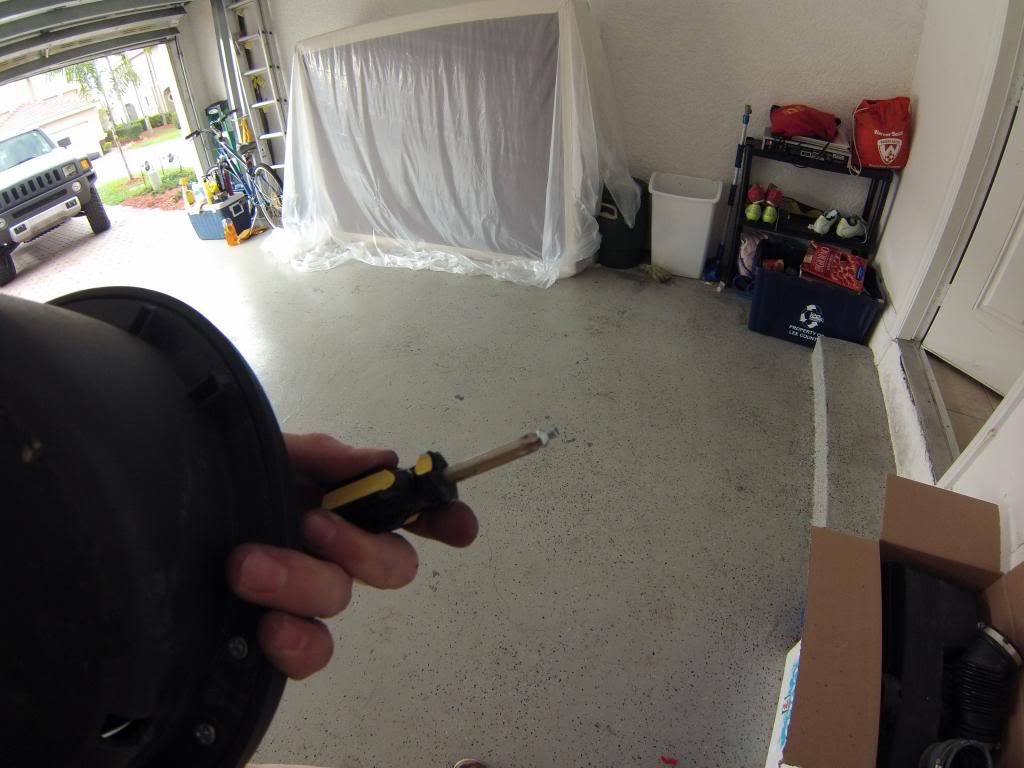
Didn't bother me though. Pressed the location and is fine.
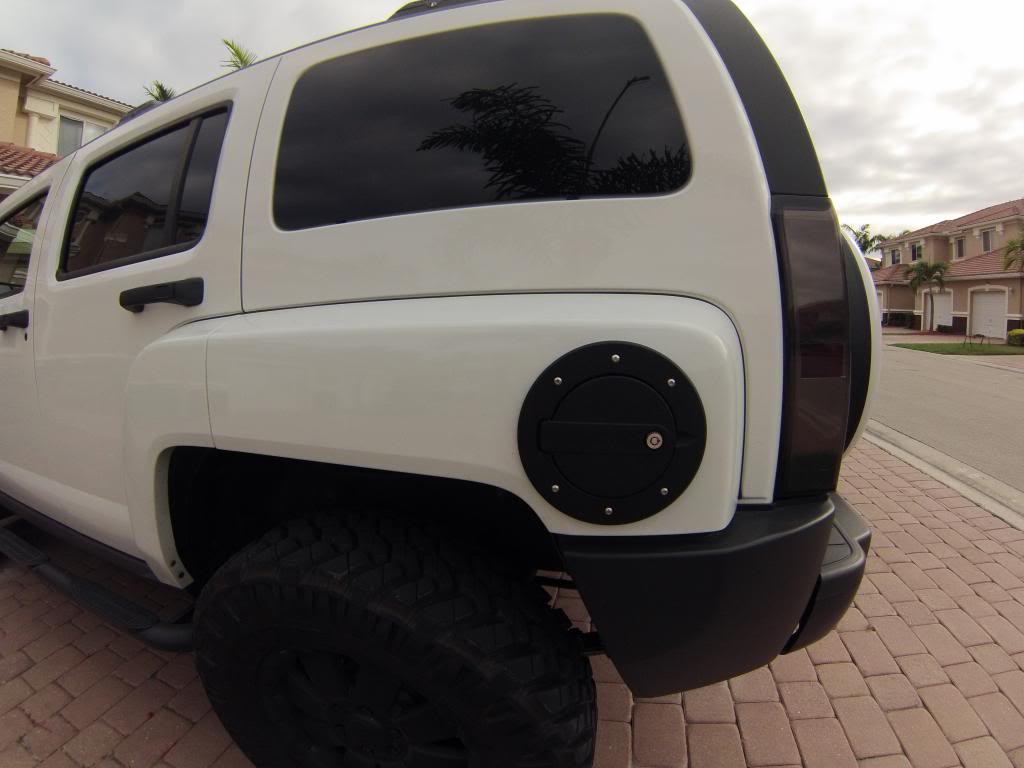
After attaching the fuel door, all you have to do is push the tub back in place and put your gas cap back on. Simple really.
Finished look.
And I also solved my squeaky leaf springs problems. SO happy. They were annoying the crap out of me.
Picked up Liquid Wrench dry lubricant from the local auto shop, this is what you want. If you use WD40 or some other oil based lube, then it'll only solve your issues temporarily, and attract more dirt and grime.

Ok, so what I did was get the power washer out and spray down the leaf springs real good to clear as much debris from the road (both on and off) as I could. Let it dry, watch some ESPN for a bit then go out there and spray em up real good.
And THEN, for my specific squeaks. I had a friend rock the truck side to side while I looked under the truck so I could locate exactly where the noise was coming from. I very crudely circled the locations on each side where MY annoying squeaks were coming from. It ISN'T enough if you just spray where it is squeaking. You need to work in the lubricant at those locations (lol) while you have a friend rocking the truck, allowing the dry lube to penetrate. You'll know when it's enough when the squeaking noise disappears, woo! Although, we wound up spraying and rocking a bit more just in case.
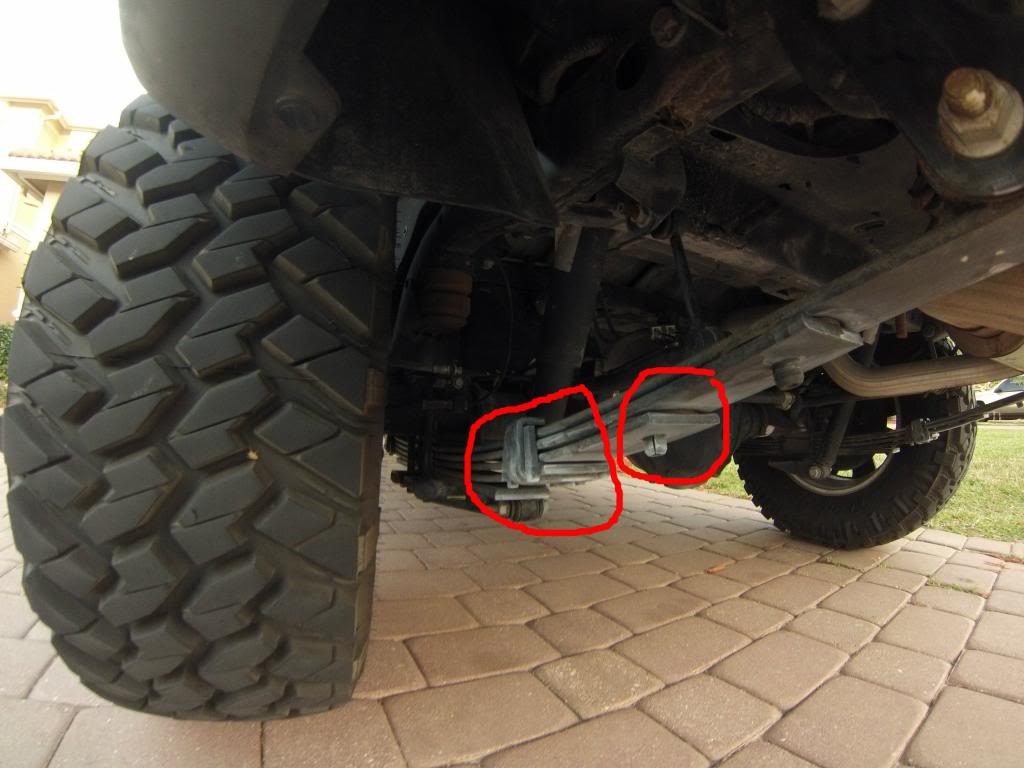
Squeak FREE for a week now! You'll notice a white powdery substance on your leaf springs once the dry lube dries. That's okay, that's actually the lube, it's dry. Works like a charm, I know a bunch of you had or have similar problems, hope this helps!
Now if I could only get rid of the rear brake squeal...
Good and cheap wiper blades at Costco!
Less than 5 min install. $6 each. Driver's side and passenger side blades are different. You'll need a size 17 (430) & a 16 (410).
Straight from Defenderworx, hot off the assembly line.
You've got mail....
Powder coated matte black fuel door. Comes shrinkwrapped (kinda) to a cardboard backing. Looks great in person and feels nice.
First thing you want to do is align the included drilling template to your existing gas tub as best as you can. Umm....measure twice, drill once?
Then mark your drilling locations, and take off the tub. Should pull straight out. Just don't forget to take off the gas cap before you pull the tub out.
Once I drilled the holes, I made sure to test fit the fuel door on to the tub, then placed the tub against the fender to ensure proper orientation.
And when you putting the screws in, don't over tighten them....or you'll end up with this. A snapped off screw head.
Didn't bother me though. Pressed the location and is fine.
After attaching the fuel door, all you have to do is push the tub back in place and put your gas cap back on. Simple really.
Finished look.
And I also solved my squeaky leaf springs problems. SO happy. They were annoying the crap out of me.
Picked up Liquid Wrench dry lubricant from the local auto shop, this is what you want. If you use WD40 or some other oil based lube, then it'll only solve your issues temporarily, and attract more dirt and grime.
Ok, so what I did was get the power washer out and spray down the leaf springs real good to clear as much debris from the road (both on and off) as I could. Let it dry, watch some ESPN for a bit then go out there and spray em up real good.
And THEN, for my specific squeaks. I had a friend rock the truck side to side while I looked under the truck so I could locate exactly where the noise was coming from. I very crudely circled the locations on each side where MY annoying squeaks were coming from. It ISN'T enough if you just spray where it is squeaking. You need to work in the lubricant at those locations (lol) while you have a friend rocking the truck, allowing the dry lube to penetrate. You'll know when it's enough when the squeaking noise disappears, woo! Although, we wound up spraying and rocking a bit more just in case.
Squeak FREE for a week now! You'll notice a white powdery substance on your leaf springs once the dry lube dries. That's okay, that's actually the lube, it's dry. Works like a charm, I know a bunch of you had or have similar problems, hope this helps!
Now if I could only get rid of the rear brake squeal...
Last edited by gpcalero; 02-04-2013 at 05:29 PM. Reason: Moved pictures. Were not showing up.
#59
01-31-2013, 10:23 AM
Thanks for the tips.I have a little squeek that I have been told will need a replacement of a bushing omthe front trailing arms.I will try some dry lube as you suggest.I recently changed my front wipers to the mid priced Rain X brand.They work great.The Az. sun eats 'em up.My rear washer works but not the front squirters.Tank is full,fuse looks good...thinking front pump is bad.Later Gator.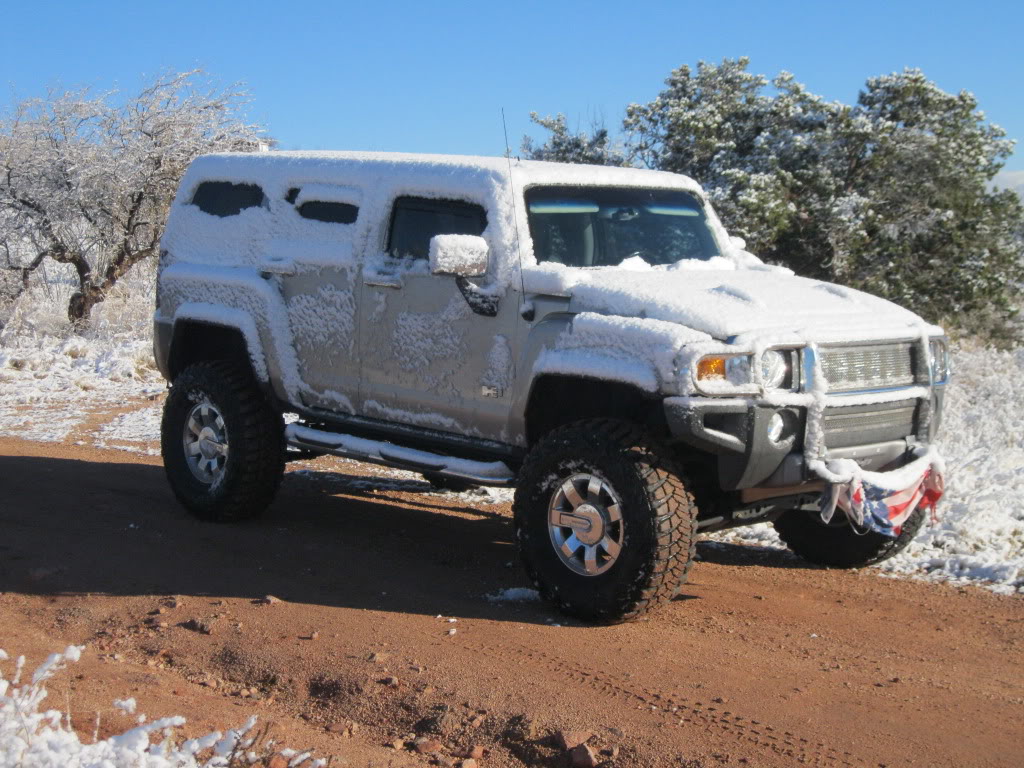 it SNOWED !!! Once a year thing here near tombstoe,Az. Melted all off within hours of sunlight. Here's a pic of my H3 when I first got it sitting next to my secretary Maggie.
it SNOWED !!! Once a year thing here near tombstoe,Az. Melted all off within hours of sunlight. Here's a pic of my H3 when I first got it sitting next to my secretary Maggie.
#60
02-04-2013, 05:38 PM
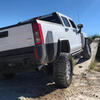
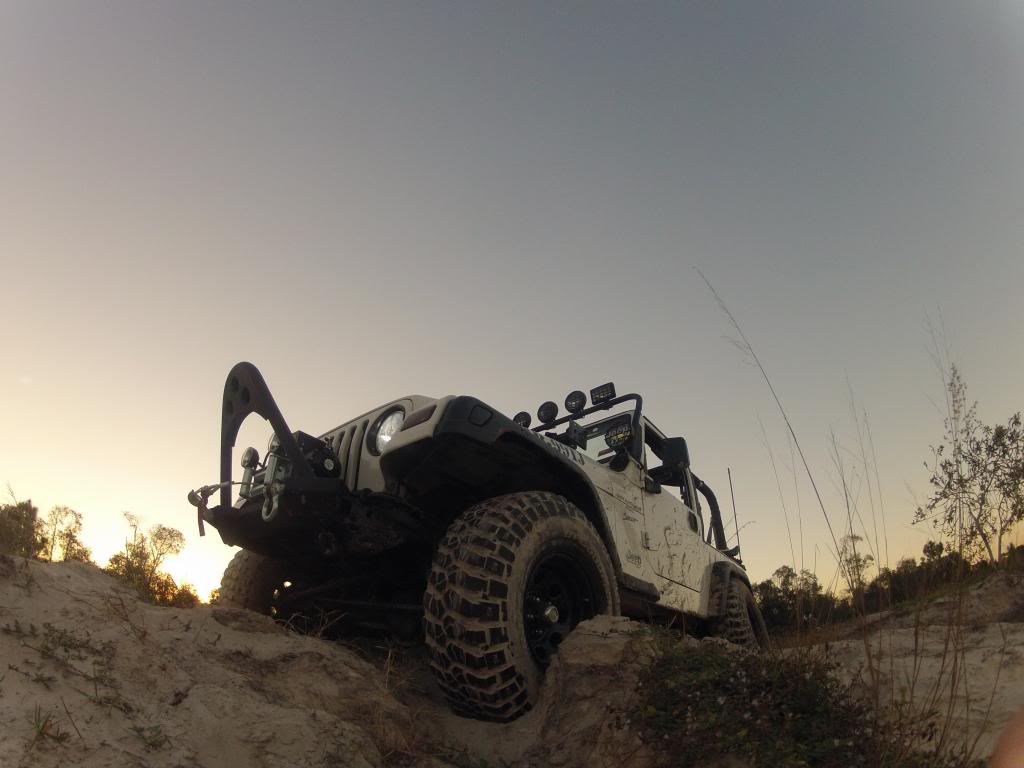
Went wheeling with Old Yeller and a bud with a CJ a while ago...
a few pics...
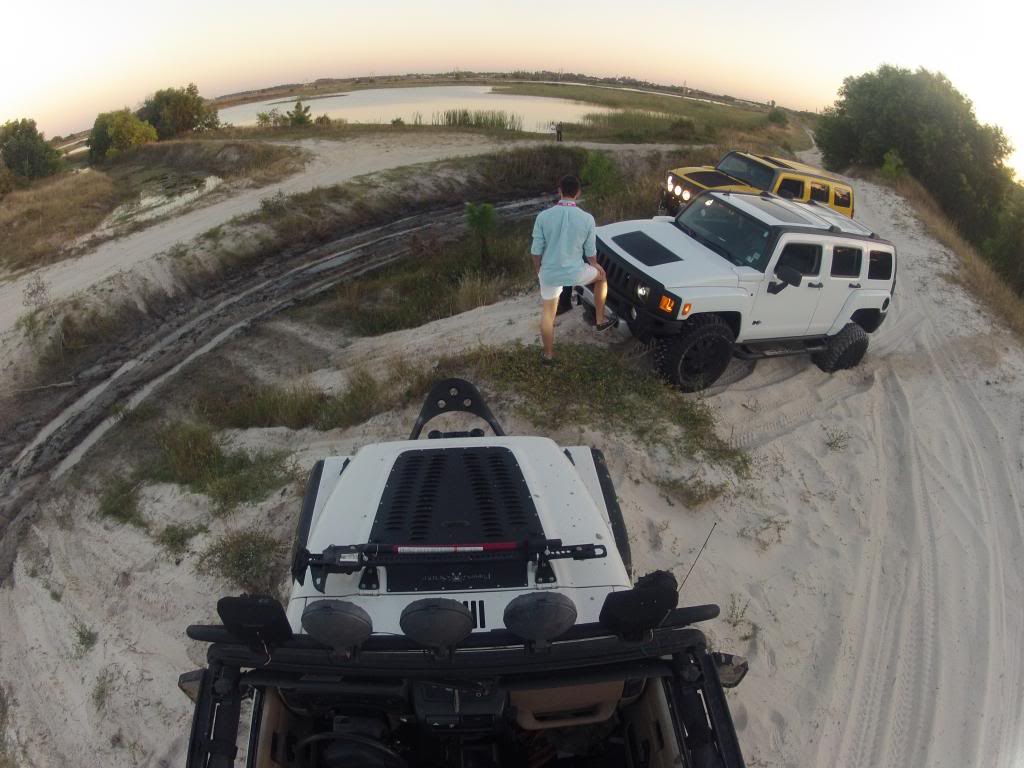

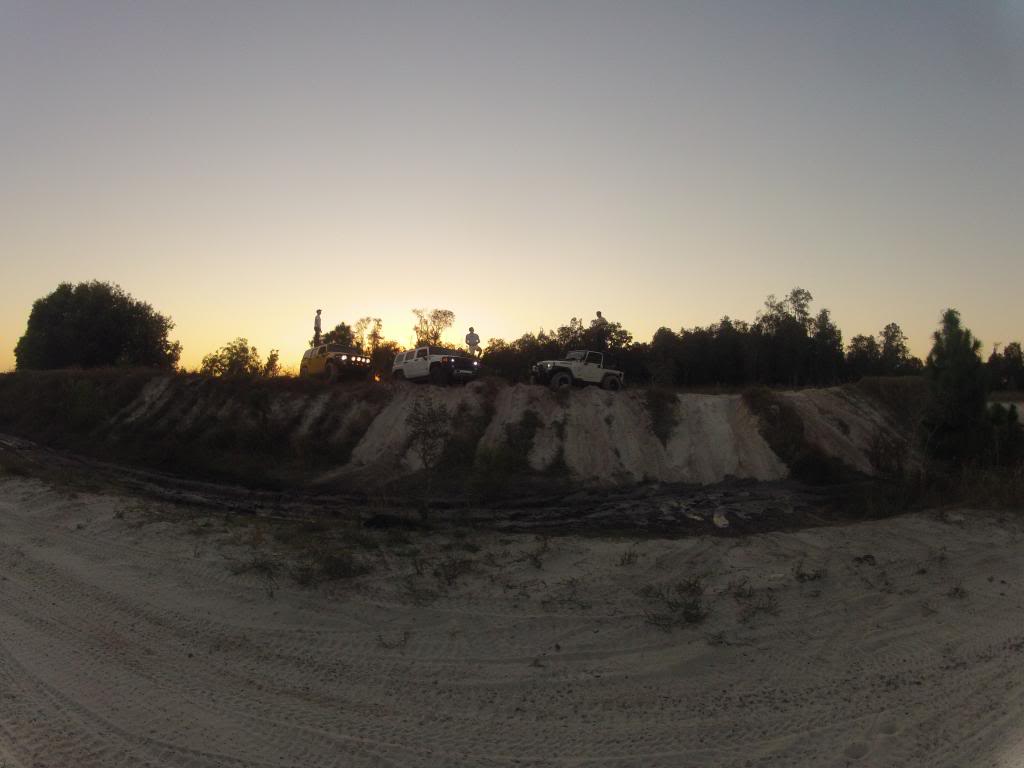
Had a good time Old Yeller! Let us know when you come back down!
Next on the agenda....PCM4LESS tune.
Stay tuned
a few pics...
Had a good time Old Yeller! Let us know when you come back down!
Next on the agenda....PCM4LESS tune.
Stay tuned