When you click on links to various merchants on this site and make a purchase, this can result in this site earning a commission. Affiliate programs and affiliations include, but are not limited to, the eBay Partner Network.
Hummer H2For those who like a little more gleam to their Hummer, the H2 offers a similar rugged look as the H1, but as a lower cost, and with more added features, making it almost a massive luxury SUV.
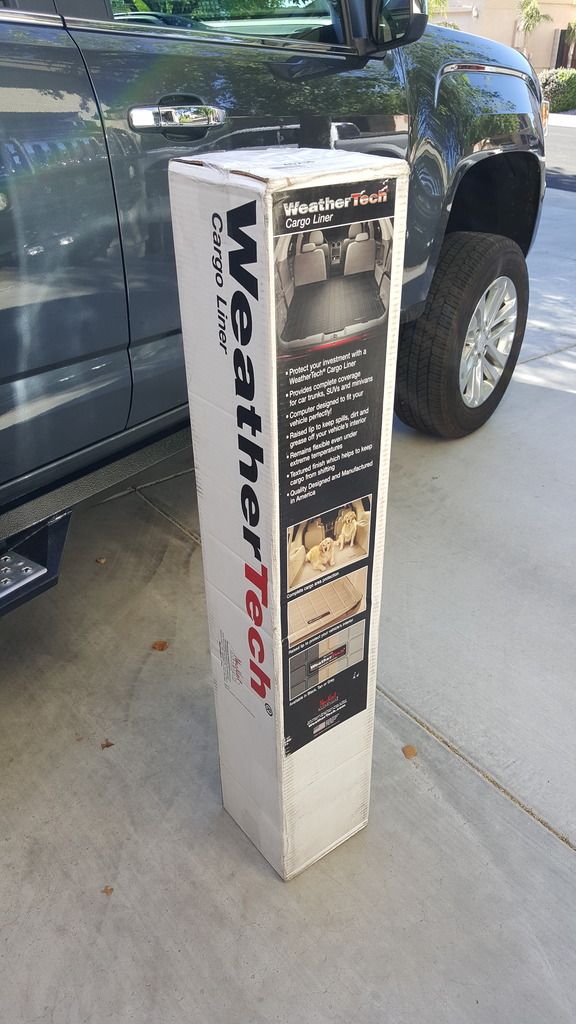
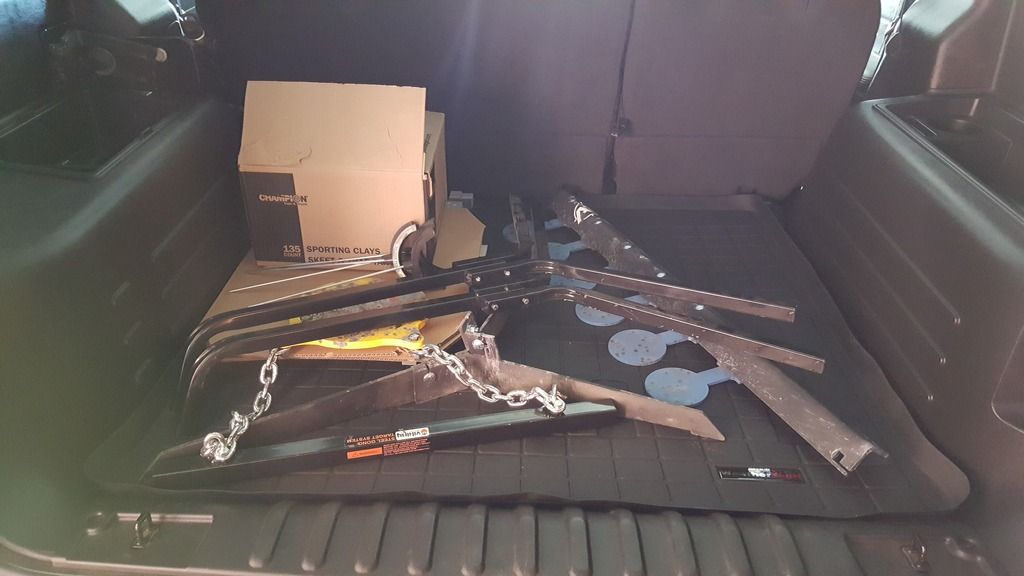
Finally got around to ordering a Weathertech cargo mat.
LoJac, awesome work. Truck looks so much better now after all your work. Do you have the part number and or link to those short antennas? Also, the side vents, other than look is there another reason you installed them?
LoJac, awesome work. Truck looks so much better now after all your work. Do you have the part number and or link to those short antennas? Also, the side vents, other than look is there another reason you installed them?
Someone claimed they reduced under hood temps due to the venting but I find that hard to believe. You never know though. I had bought them a long time ago from back east. The chrome plating was corroded and in very bad shape. I just finally got around to cleaning them up, painting them, and installing.
For the shorty antenna, I'm pretty sure we all ordered them from Amazon. I'll have to go through my old order history and see which one it is.
Originally Posted by calif phil
I did the side vents, great build, you are very talented.
p.s. Your garage is too clean. LOL
I appreciate it! I spend a lot of time keeping that darn garage clean lol.
Someone claimed they reduced under hood temps due to the venting but I find that hard to believe. You never know though. I had bought them a long time ago from back east. The chrome plating was corroded and in very bad shape. I just finally got around to cleaning them up, painting them, and installing.
For the shorty antenna, I'm pretty sure we all ordered them from Amazon. I'll have to go through my old order history and see which one it is.
I appreciate it! I spend a lot of time keeping that darn garage clean lol.
thanks. I found the shorty antennas on Amazon. Thanks again.
Finally finished up replacing the steering components. I ended up cutting the pitman arm like others have, if you do remove your pitman arm then save yourself the frustration and cut the damn thing.
Here are some comparison photos of the Moog Problem Solver parts and the stock parts. Moog Problem Solver are much heavier duty, you can tell by just the weight alone.
Parts Installed:
Here you can see the additional remote grease hose I installed on the idler bracket. It has a 90 degree fitting at the rear of the idler bracket then runs down and bolts with a sway bar bushing bolt. I never knew the stock idler bracket even had a zerk!
New Bilstein Steering Stabilizer:
My stock parts weren't too bad, idler bracket was leaking and the pitman arm was a little loose but not bad either. I figured since the front was opened up for other projects I might as well change everything. I also painted the tow hooks banner red which you can see in some of the pics.
I finally got around to uploading all my build pics here and re-linking all the pictures so hopefully there are no more BS Photobucket adds except in quoted replies.
Here is my latest update. I installed 1.5" rear lift blocks to give the old lady a slight rake again. It looked funny after leveling the rig and not having the same gap in the rear wheel well as the front did.
I also installed new front bump stops but no pics of those, nothing spectacular about that.


 05-02-2017, 07:30 AM