When you click on links to various merchants on this site and make a purchase, this can result in this site earning a commission. Affiliate programs and affiliations include, but are not limited to, the eBay Partner Network.
Hummer H2For those who like a little more gleam to their Hummer, the H2 offers a similar rugged look as the H1, but as a lower cost, and with more added features, making it almost a massive luxury SUV.
So I'm finally copying my build thread over to this forum. This place has become the dominant H2 forum with the most H2 traffic. The other places have all turned to mostly H3 info. Here we go!
This is how she sat at the dealership the night I went to test drive. Bought the 2 that night after a long debate at the dealership regarding the trade in of my 06 GTO.
First thing I couldn't stand were the gigantic chrome nerf bars. Did some research on options and fell in love with the U-steps. Finally found a set for a great price. They were pretty beat up so I had them chemically stripped and PC'ed. Insanely better than those huge chrome nerfs.
Next was the DRL's change to LED's. The SMD's are quite a bit brighter than the stock bulbs and look a hell of a lot better.
Something I've always done is change over the interior to LED. Much brighter, crisper light.
After that I put in a Lev-o-Gage just for fun.
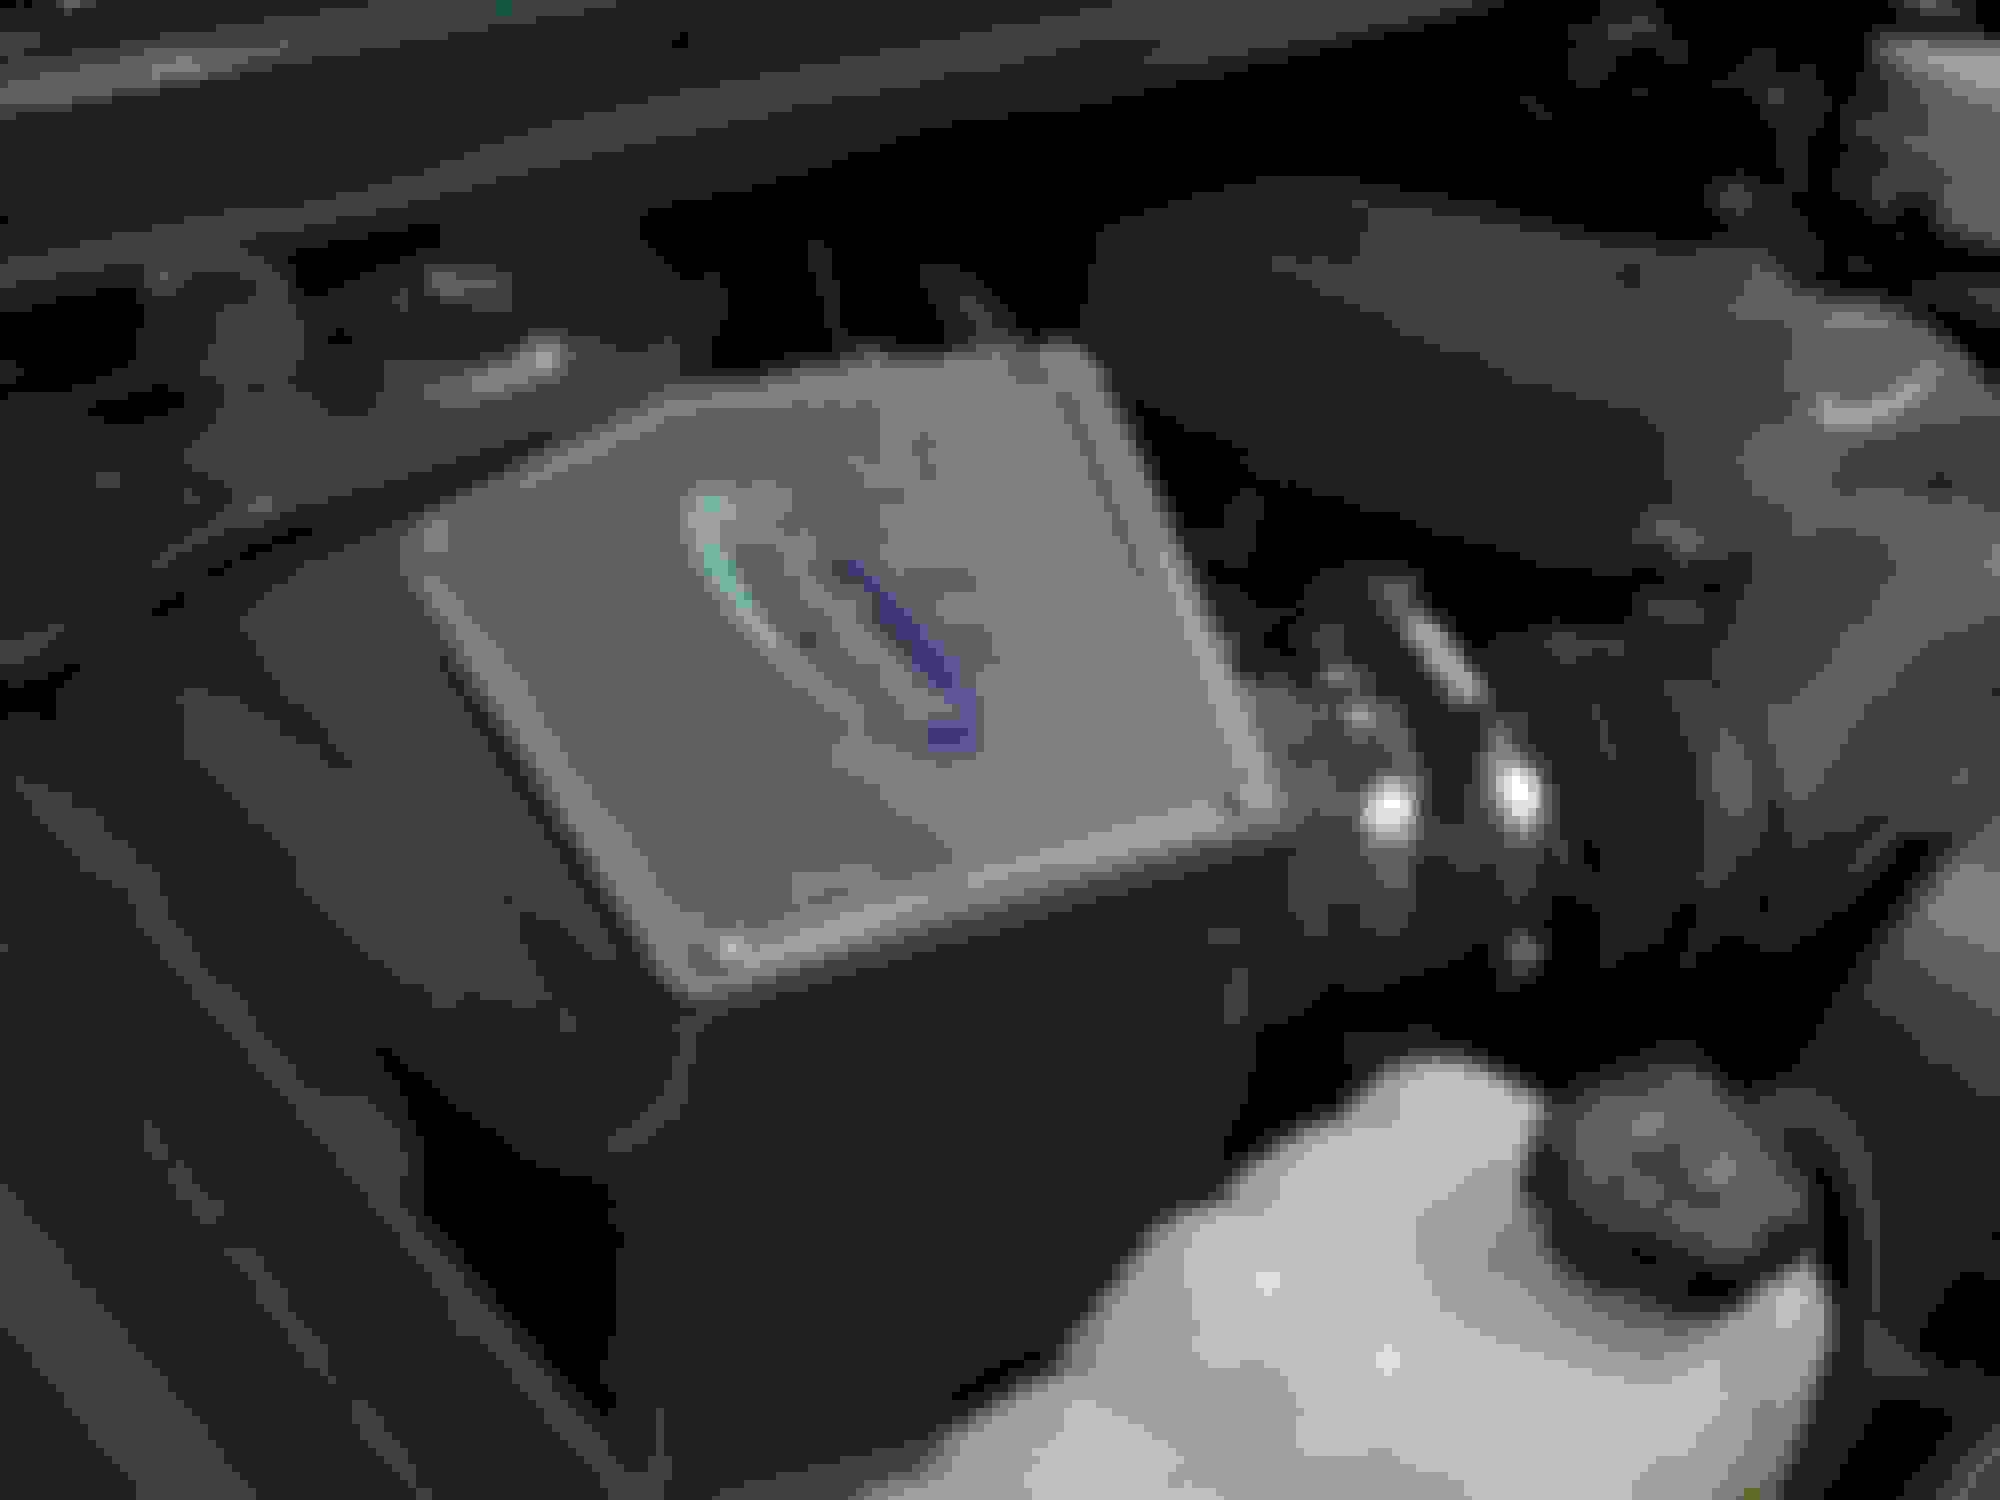
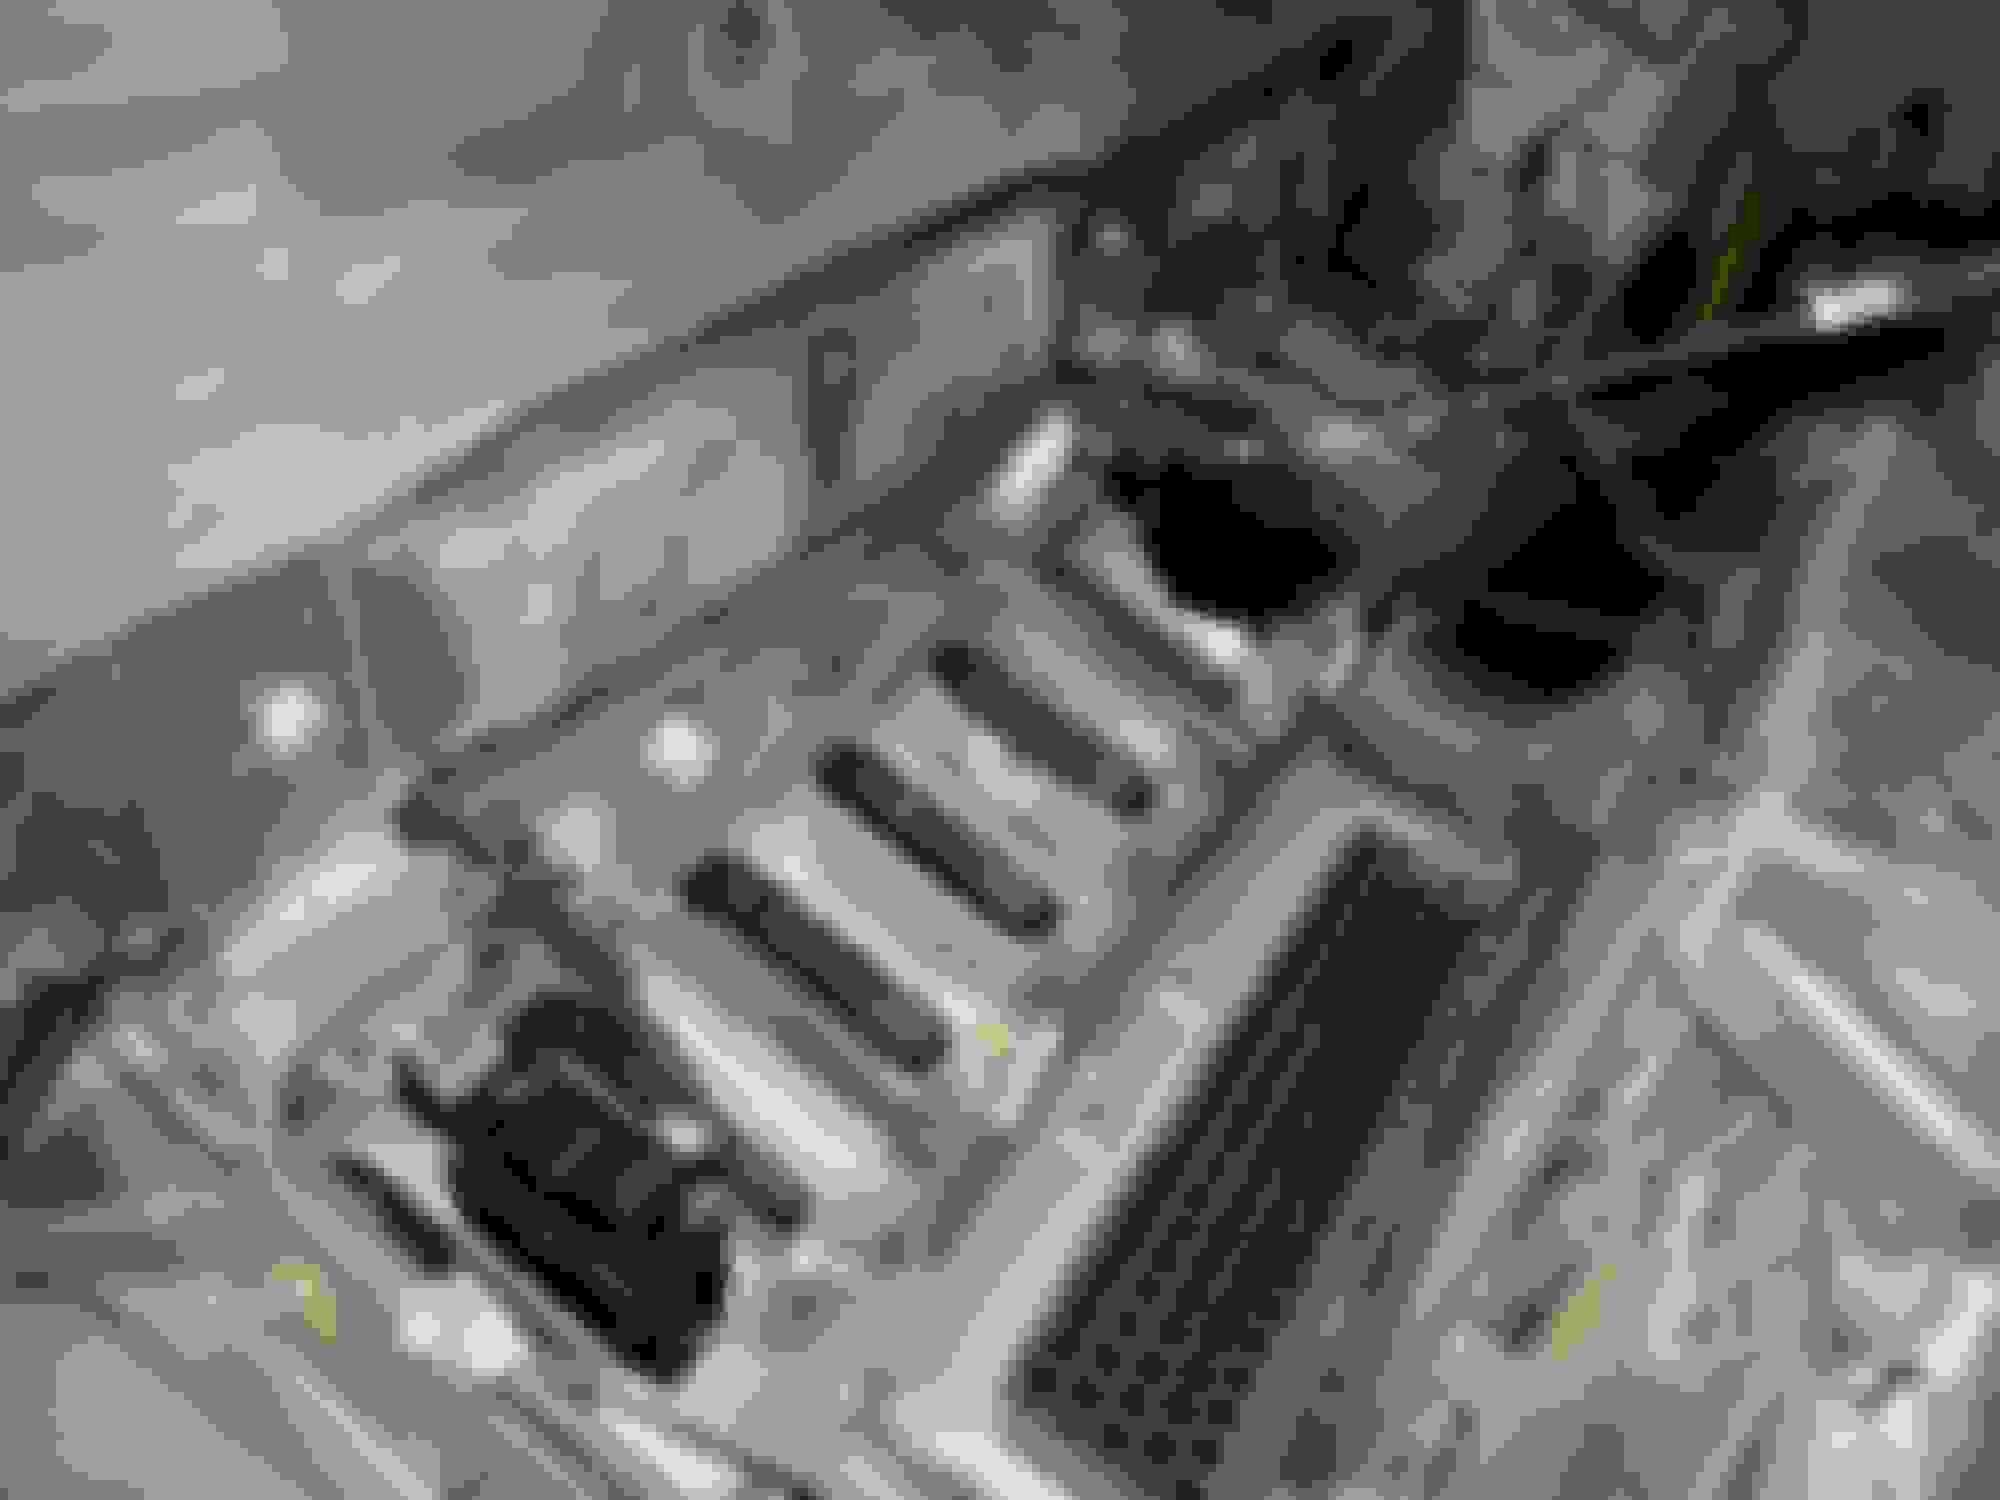
Next on the list was a Volant air box. I couldn't stand how much of a PITA it was to take the stock lid off so I opted for a Volant.
Pic of the silicone coupers and t-bolt clamps I used. The Volant adapter included is worthless.
Last edited by LoJac963; Dec 30, 2017 at 04:40 PM.
Picked up a Gobi Stealth for $850 shipped brand new. Install was interesting getting the gigantic thing on top of the truck.
Here are the 2 rear lights installed
Now onto the bigger project. I didn't like the idea of only1 light in each section on the front of the rack so I opted to make my own double light brackets.
Started with a 1" x 4' piece of aluminum stock
Cut that down into 12" sections
After quite a bit of cutting, filing, drilling and threading we went from this
To this
Here is one of the brackets painted and ready for the rack.
This is the final product with all the lights on the rack
Stay tuned, definitely more to come hopefully soon!
Last edited by LoJac963; Dec 30, 2017 at 04:41 PM.
Small update, finally ordered and received my Gobi ladder.Went with the driver side but now I'm thinking one on the passenger would look good too. I didn't drill the hole the instructions say to, just used the factory hole with the included bolts and the set screws on the bottom.
Also finished wiring up all the roof lights, one hell of a project.
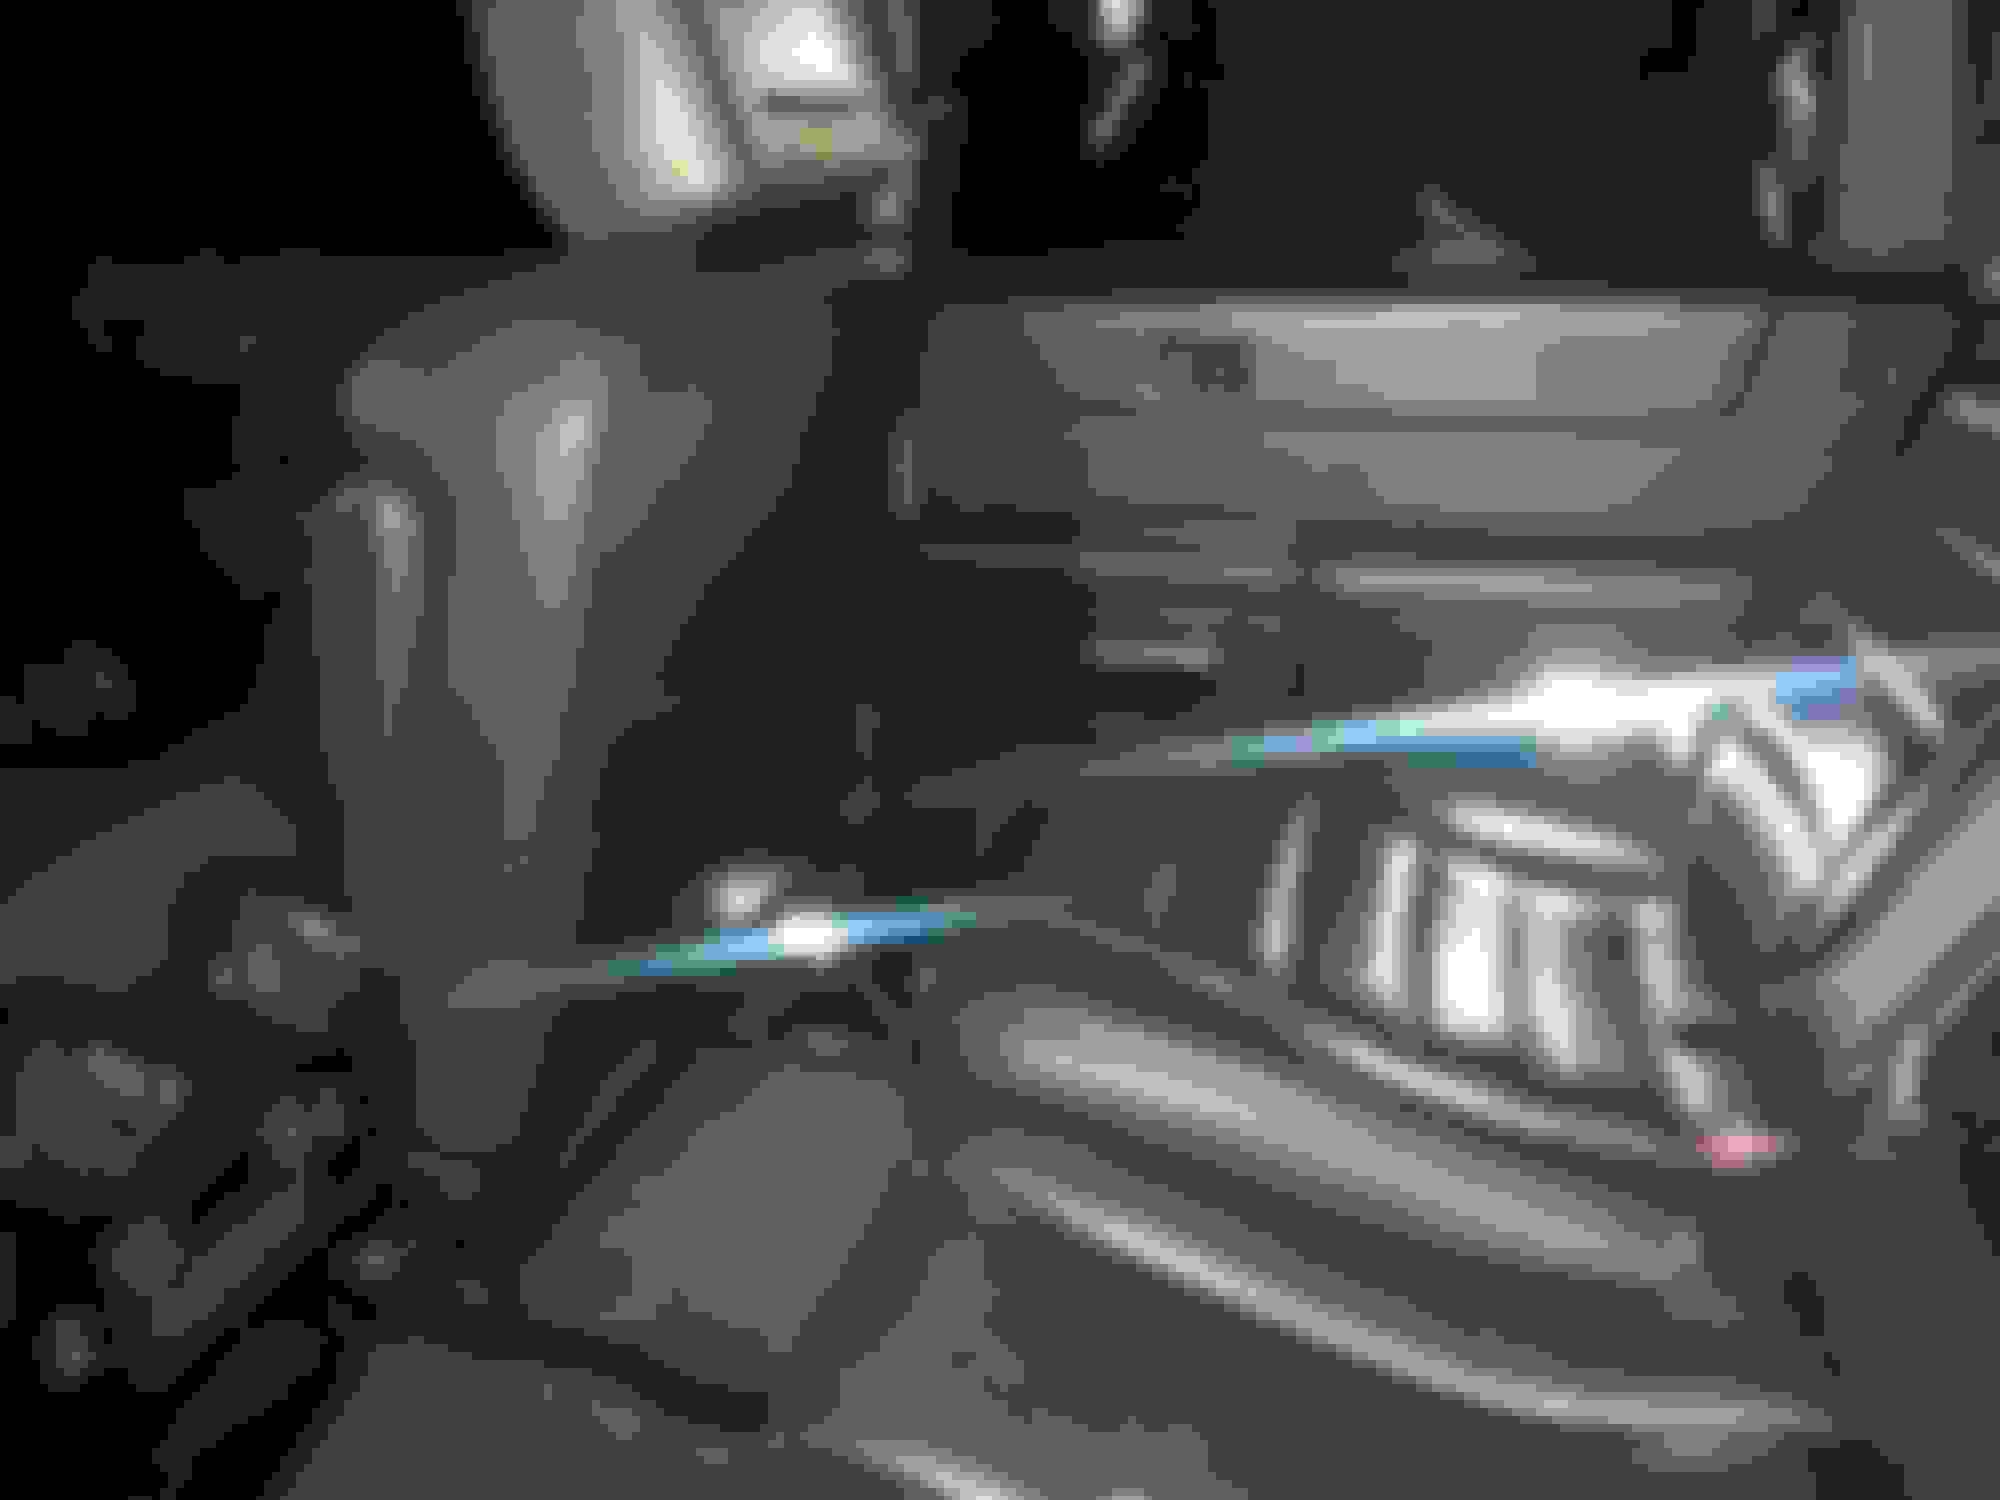
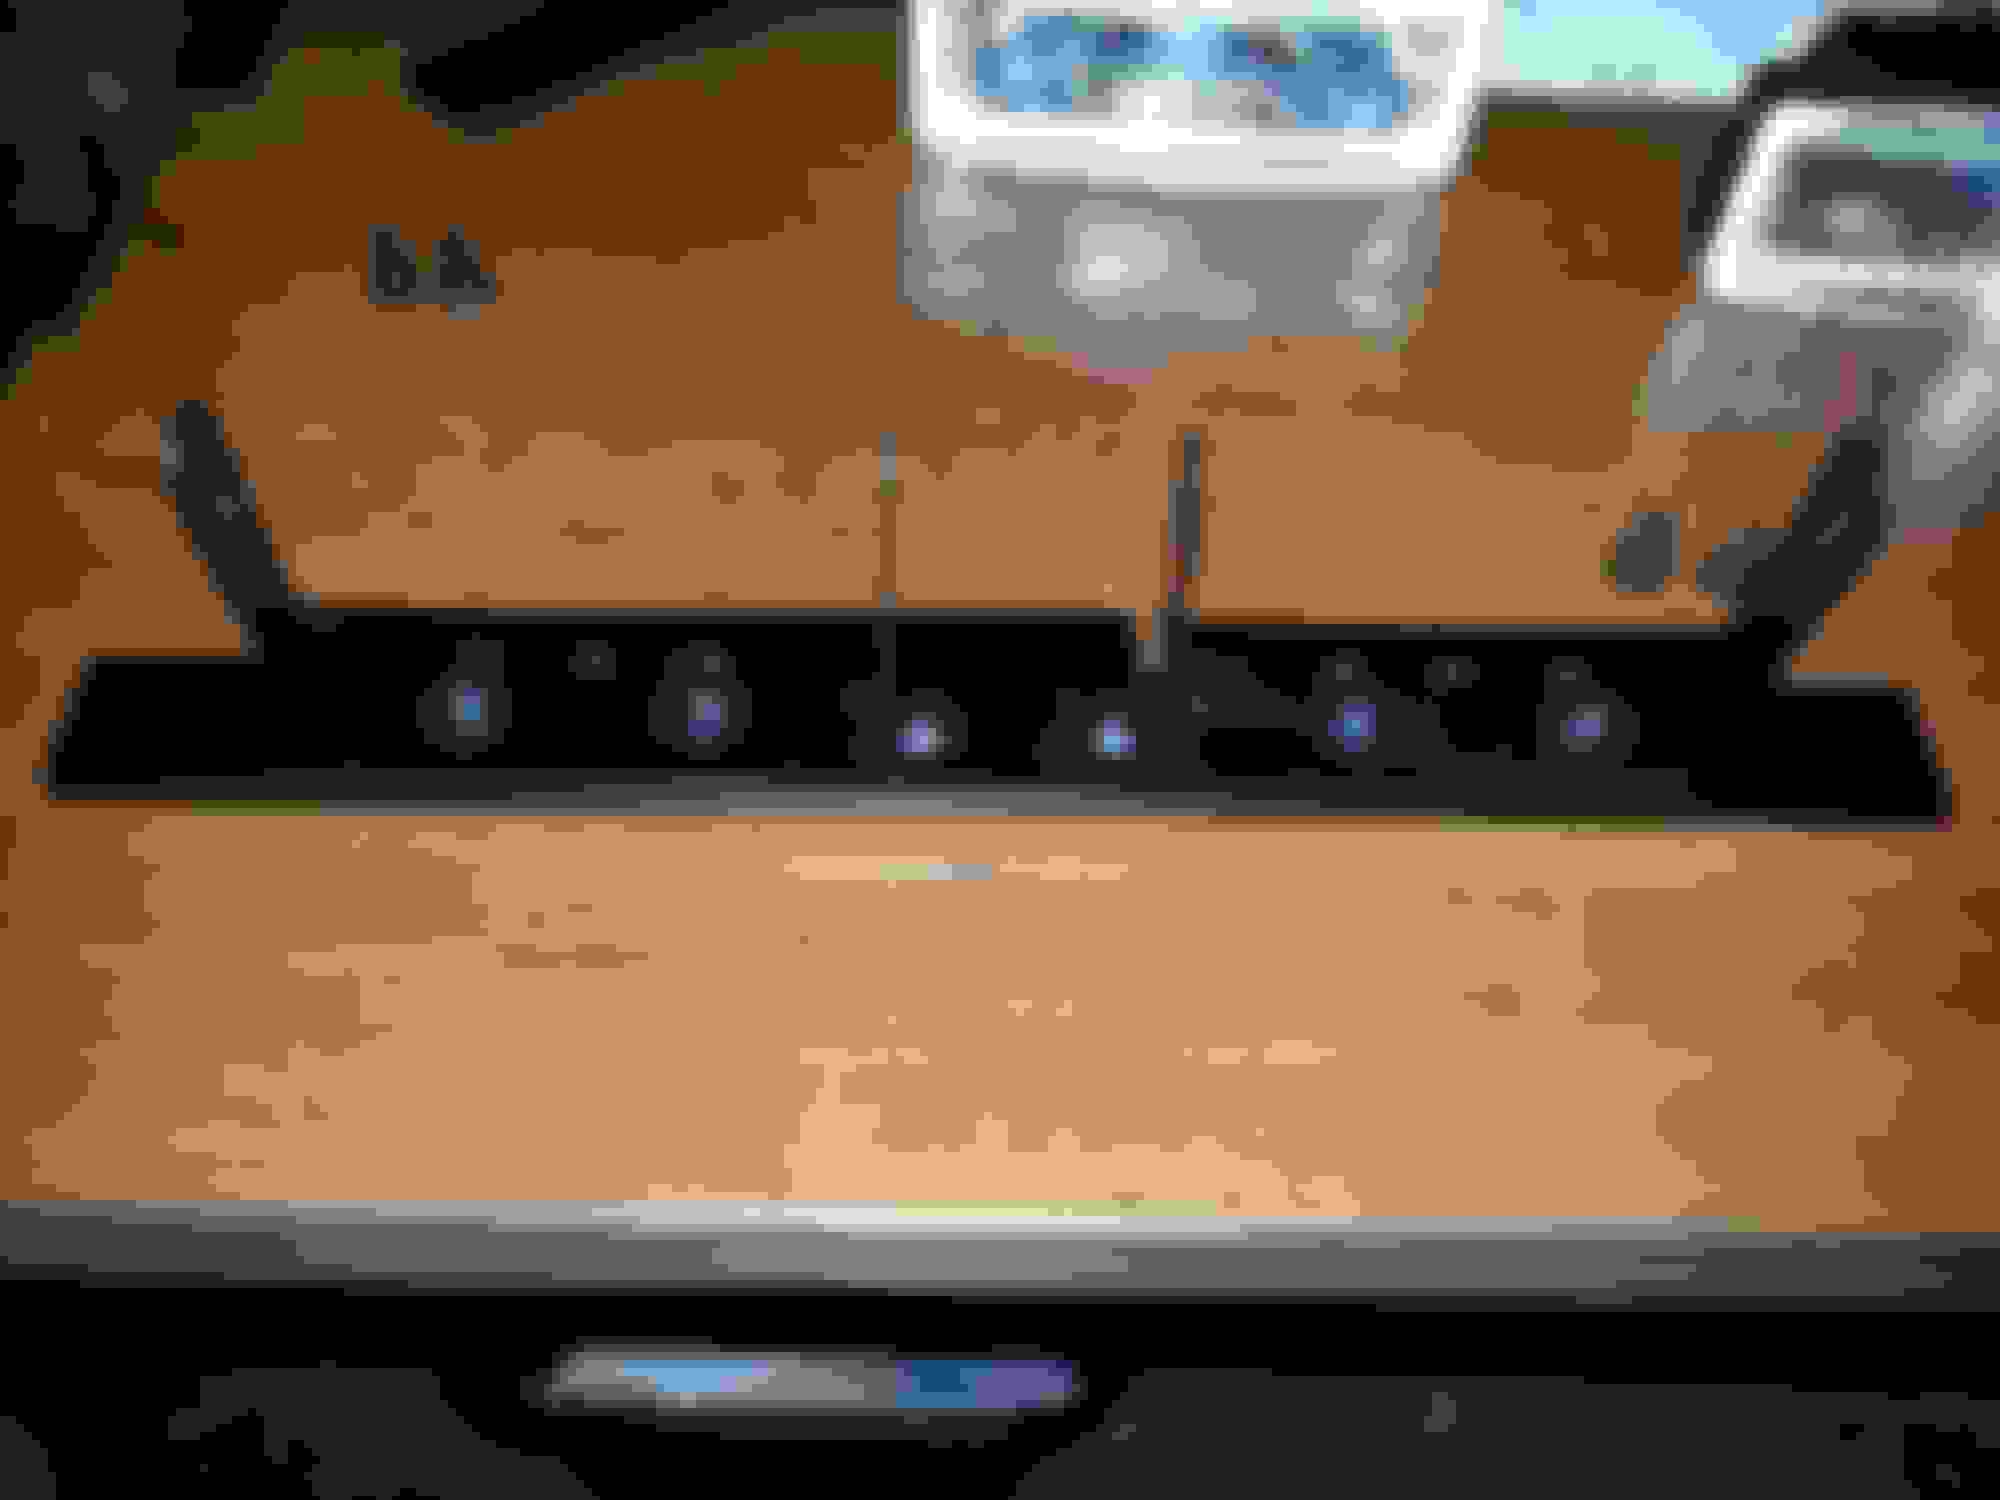
One switch runs the center 4 lights, one switch runs the outside 4 lights and the far switch runs the 2 rear lights.
Switches Pics of the wiring for everything:
The wiring runs through the side marker trim down through the outside window trim, through the cowel cover down next to the side vents and into the engine compartment.
Center 4 lights on:
Outside 4 lights on:
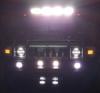
Here is all 8 lights on:
And finally the rear lights:
I need to take it out somewhere very dark and see how these things light the road up. They seem very bright but we will see.
Last edited by LoJac963; Dec 30, 2017 at 04:43 PM.
Here's another update but let me preface this by saying:
I am a firm opponent of HID's in reflector housings due to the massive amounts of glare. All my vehicles so far have had factory projectors but I cannot justify spending (at this moment) the $1,000 on STARR projectors and I have absolutely no desire to break apart my lights to attempt a retro fit. I have done it in the past but is more hassle than its worth IMO.
Anyway here are DDM Tuning (which I order all my HID's from)55 watt 10,000K HID's with relay harness.
55 watt kits look one level lower on the Kelvin scale due to the higher wattage washing the color out so they are actually closer to the6-8k color. Surprising to me the 7" round housings we have do a halfway decent job with the glare compared to other vehicles I've seen on the road.
Pics of the ballasts and wiring:
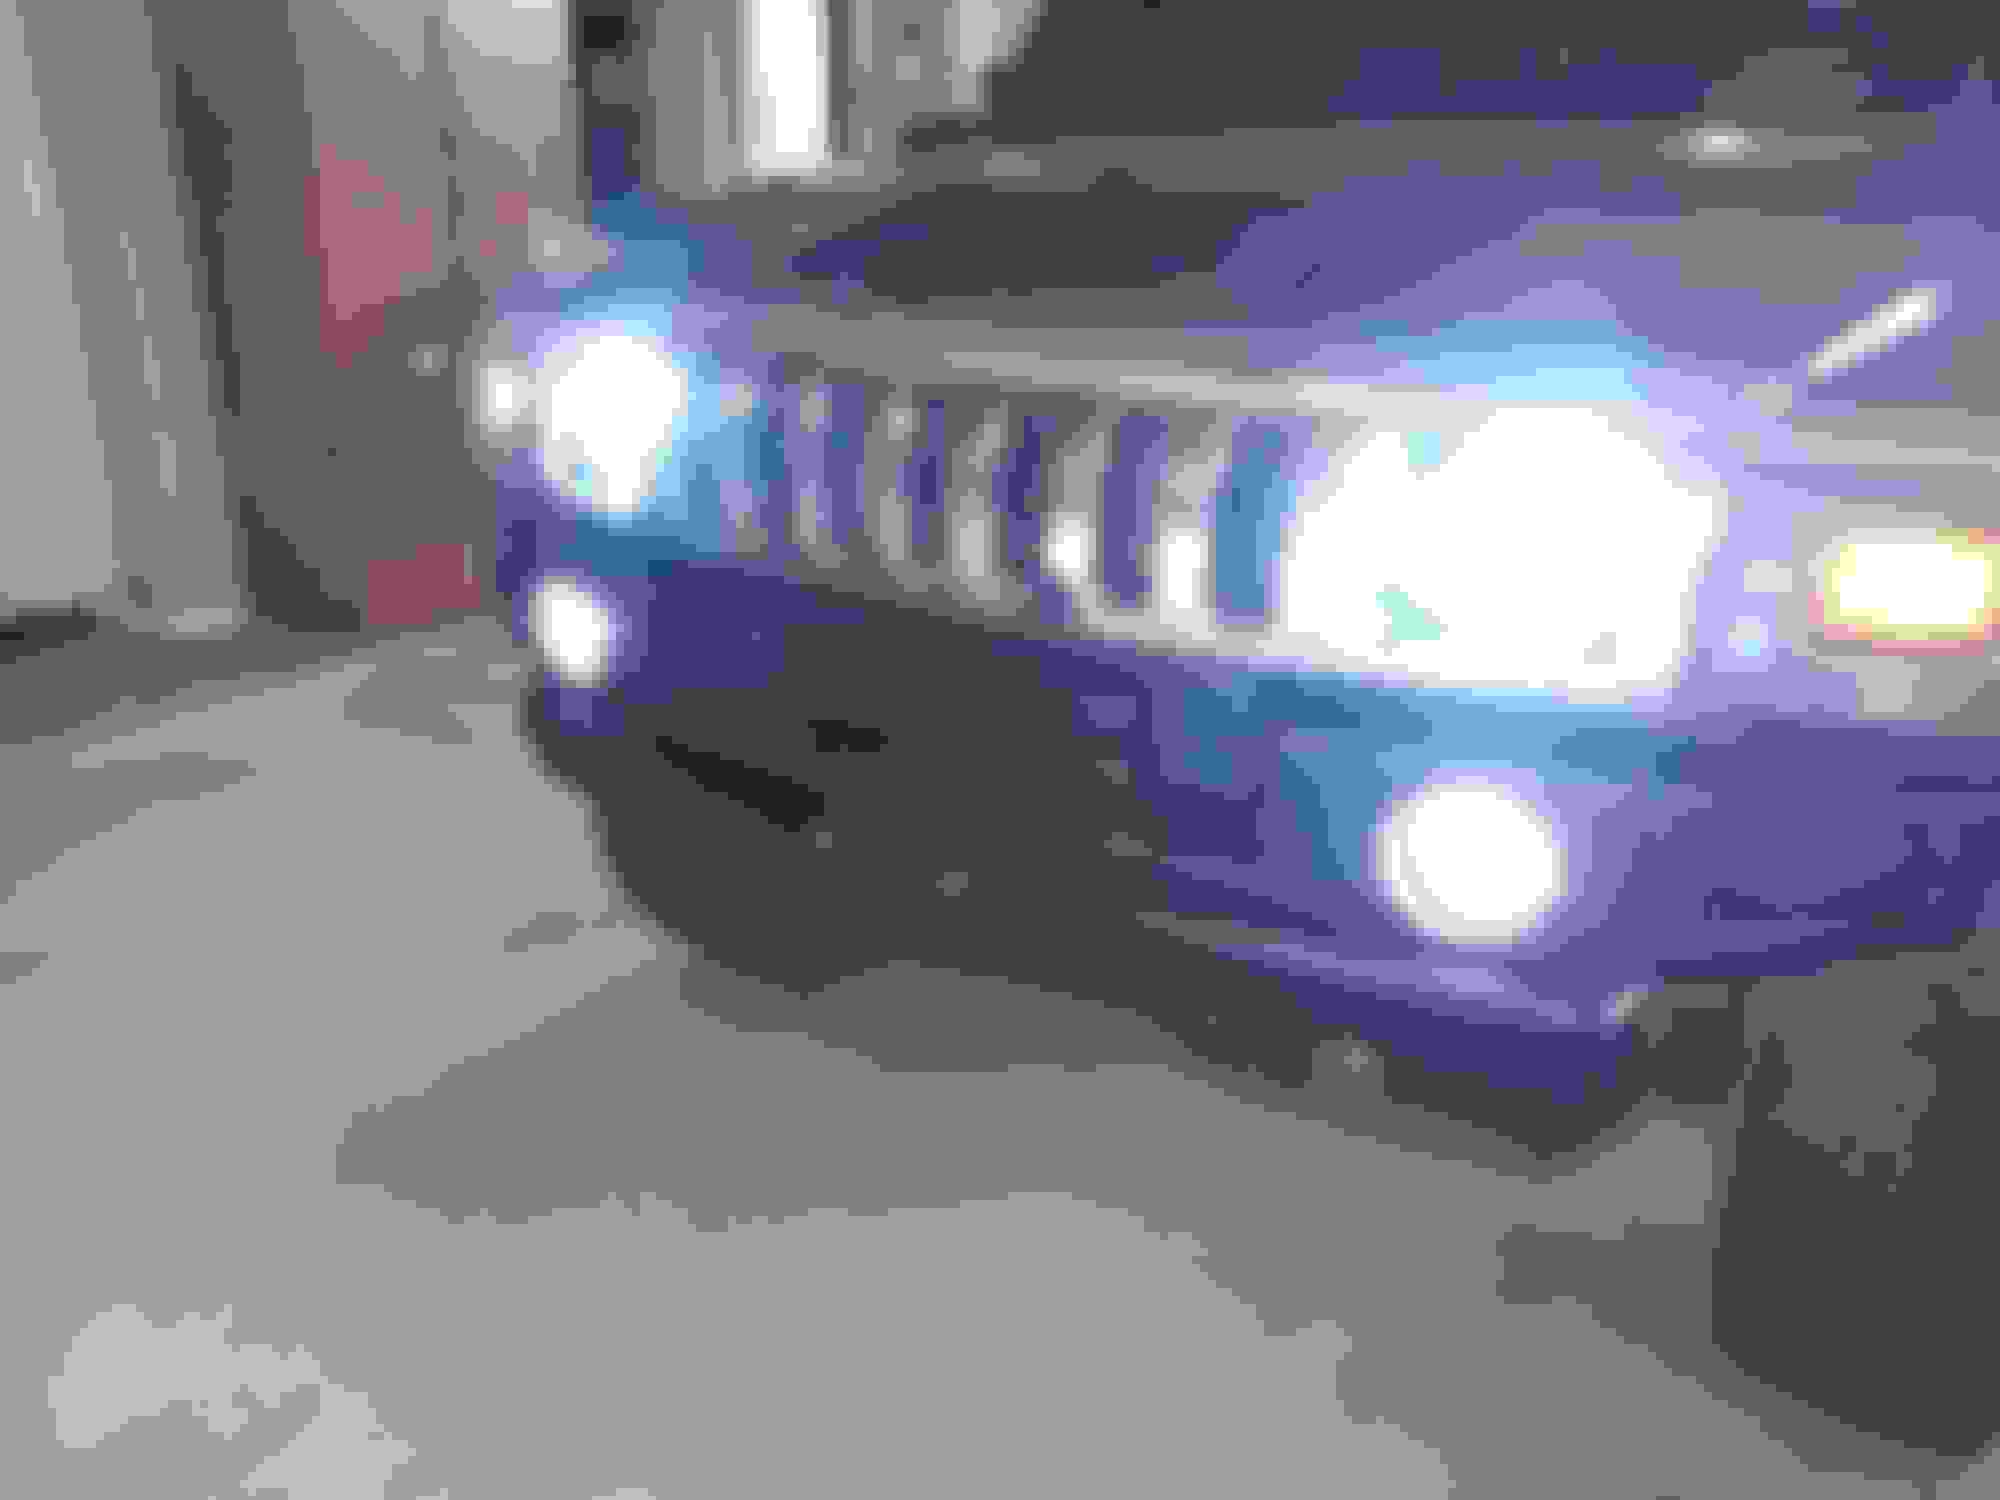
Heads finally match my DRL's now:
ALL the front lights on:
I'll have those damn STARR's one day........lol
Last edited by LoJac963; Dec 30, 2017 at 04:43 PM.
Small update. I picked up a set of Delco Remy 4 note horns.4 horns in total to make the train horn sound, apparently these used to be stock in the old caddies.
Here's the horns before install:
Here are all 4 installed, these are the two behind the front grill:
Driver side:
Passenger side:
Here is a short vid of what they sound like. I was already getting late by the time I had the wiring finished up so just tapped the horn a couple times:
I love the sound of them, they are definitely loud and beat the hell out of the baby stock horns!
Last edited by LoJac963; Dec 30, 2017 at 04:44 PM.
Ok gents here we go. LED's came in today....well now yesterday ugh. I've been working on this for probably about 7 hours so far.
Some issues here and there, definitely not as easy as I thought and may be in a little over my head with all this.
So here's some pics of whats done so far. The colors are much darker in person, dark blue and dark red.
Driver Door controls:
Passenger seat heater controls:
Steering wheel buttons:
Headlight, rear washer controls:
Now here is the circuit board from the radio. I didn't mind ripping it all apart because I needed to replace 2 buttons with white showing through that were there when I bought the truck:
Radio complete:
TC2 buttons:
Best pic I can get of the 4x4 selector buttons. This set uses a big clear plastic reflector to direct the light to all the buttons. As you can see they are barely lit so I have to figure something out with that....
Oh and now my two steering wheel controls on the top are doing crazy things to the radio-I'm waiting for some solder wick to arrive tomorrow because I know I some how got some solder on one of the button contacts so I'm hoping all that is.
So now that the steering wheel controls and radio are done I have come to the conclusion these LED's are TOO BRIGHT!!! If I turn the dimmer down a bit then slight dark spots show in addition to them still being bright.The reason I didn't buy the diffused LED's is because the mcd was about half of the clear water lens. Game plan now is to order some blue diffused and use the min the climate controls and see how they look compared to the radio.
So far its going good, not looking forward to redoing the radio if I decide to keep the diffused LED's...ugh.
I'll keep this thread updated!
Last edited by LoJac963; Dec 30, 2017 at 04:46 PM.
So the wife came home from work and I figured I'd have her take a look at everything I've gotten done. She was less than enthused to say the least. She made 2 valid points, one being the blue is just too damn bright which I agreed and two the blue just didn't look classy for a truck like an H2to which I EVENTUALLY agreed lol.
She suggested to do everything in white to which I thought well its all in white stock. BUT white LED is much much crisper and clean than the stock white. So I ended up taking out one of the steering wheel controls and threw 2 white LED's in there and here's the result:
Definitely a crisp clean white but also insanely bright.This is now the route I'm going, however the major change will be using diffused lenses on everything to tone down the mcd of each LED. White and not as bright I think is going to turn out very very nice and will match my next project that's in the mail ;-)
So more LED's on order, I guess I'll just leave the truck torn down this week, no point in putting it all back together just to rip into it again. I'll keep you all updated.
Last edited by LoJac963; Dec 30, 2017 at 04:49 PM.
Ok gents here we go, project 95% complete with the exception of the door window controls on all 4 doors. Those have reverse mount SMD LED's which I cannot find anywhere HOWEVER the passenger airbag LED was an SMD and I desoldered it and worked in a 3mm LED in its place and it works great so that is my plan with them. So another LED order going in for those.
The blue is gone, white is in!
Here is the center stack, the white is awesome. Completely crisp white, I used diffused LED's this time so no hot spots. For some reason the 4x4 controls and traction controls have a blue lens so they are a little blue:
Driver seat controls:
Headlight controls:
Airbag switch, used a non diffused which resulted in a little hot spot so I may replace with a diffused white when I place my next order:
Steering wheel controls:
Passenger seat heater I left red:
Roof buttons:
And this is completely badass!
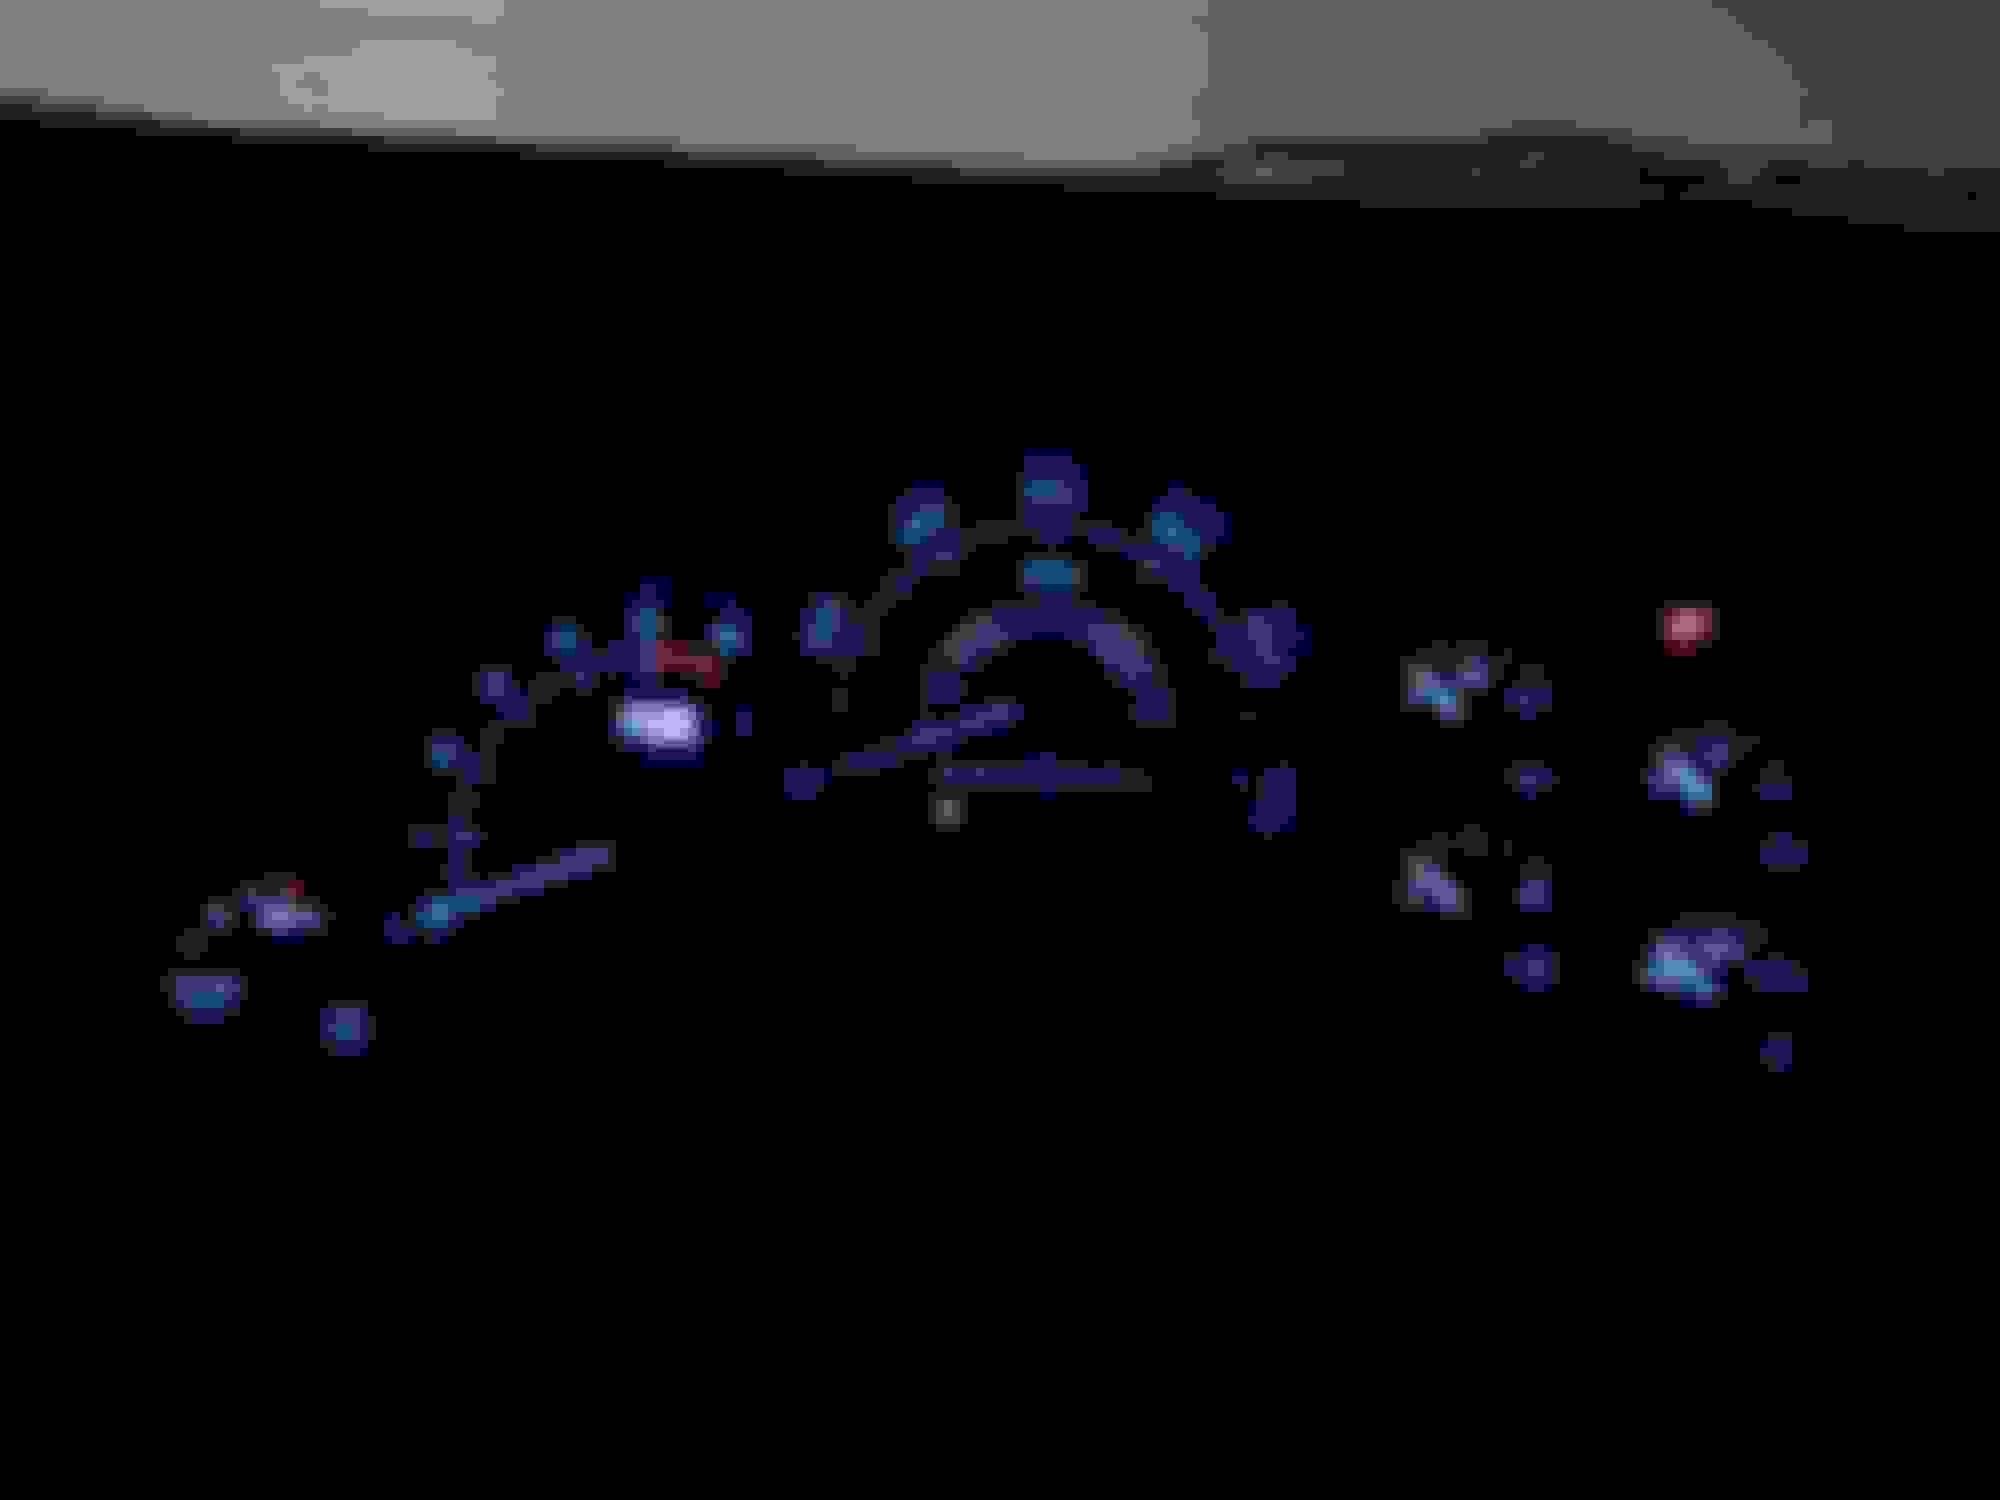
Escalade gauge face with aftermarket white needles. I replaced all my cluster bulbs with white LED's but the gauge overlay is tinted blue which gave everything a nice subtle blue color. I really like how it turned out!
This project is not for the faint of heart. Quite a few of the button packs are not meant to be disassembled just replaced if you have issues with them. However with enough persistence everything does come apart...very carefully!
I am so glad the dull stock yellow/white is gone!
I'll update again once I get the window controls finished up.
Last edited by LoJac963; Dec 30, 2017 at 04:51 PM.
Ordered a Purple Cranium Spyder rear diff protector. Took about 2 weeks from time of order to them fabricating and powdercoating the thing and getting it to my door. Not too bad.
There are over 50 powdercoat options and different decal options. I decided to go with the Silver Hammertone powdercoat and the red decals. I really like the color combo, its enough to stand out and say HEY I'm here but not too overbearing.
Pic before install:
Installed:
More to come hopefully soon!
Last edited by LoJac963; Dec 30, 2017 at 04:52 PM.