


Stealthy amp install...


Thread Starter
|
Junior Member
Joined: Nov 2011
Posts: 3
 Stealthy amp install...
Step 1: Remove some of the plastic out back.
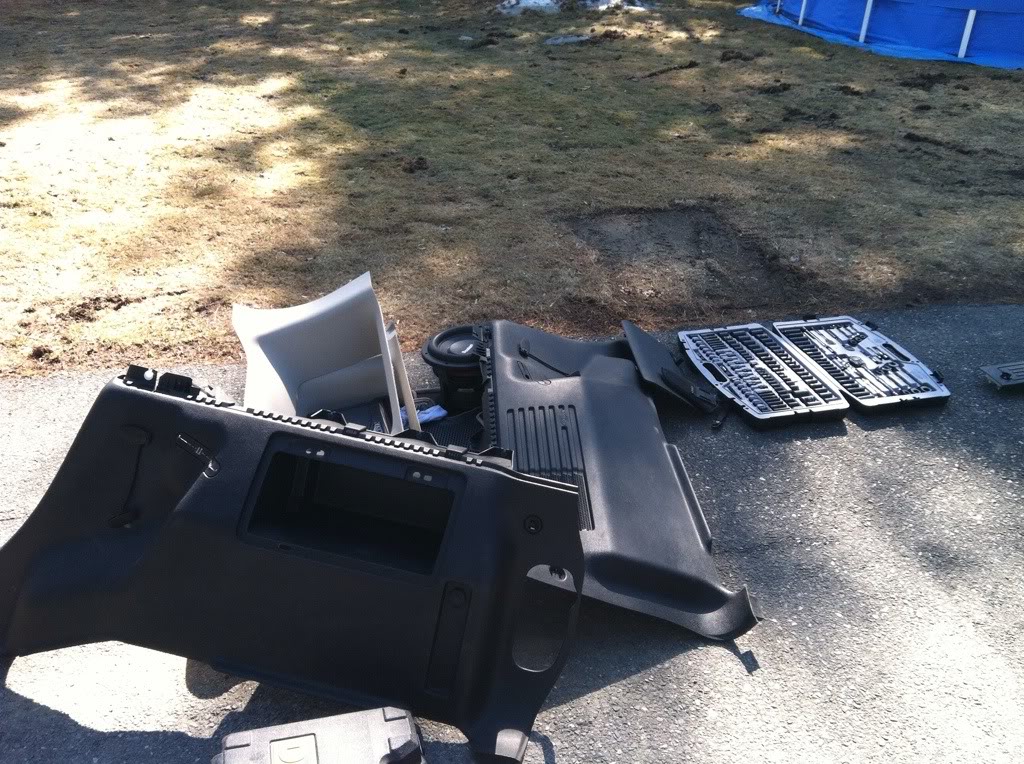
Step 2: You don't need to remove the factory amp and sub, but if you want to do the wiring say, from your couch, it's only 4 bolts.
Step 3: Bridge off the connection going to the sub woofer.
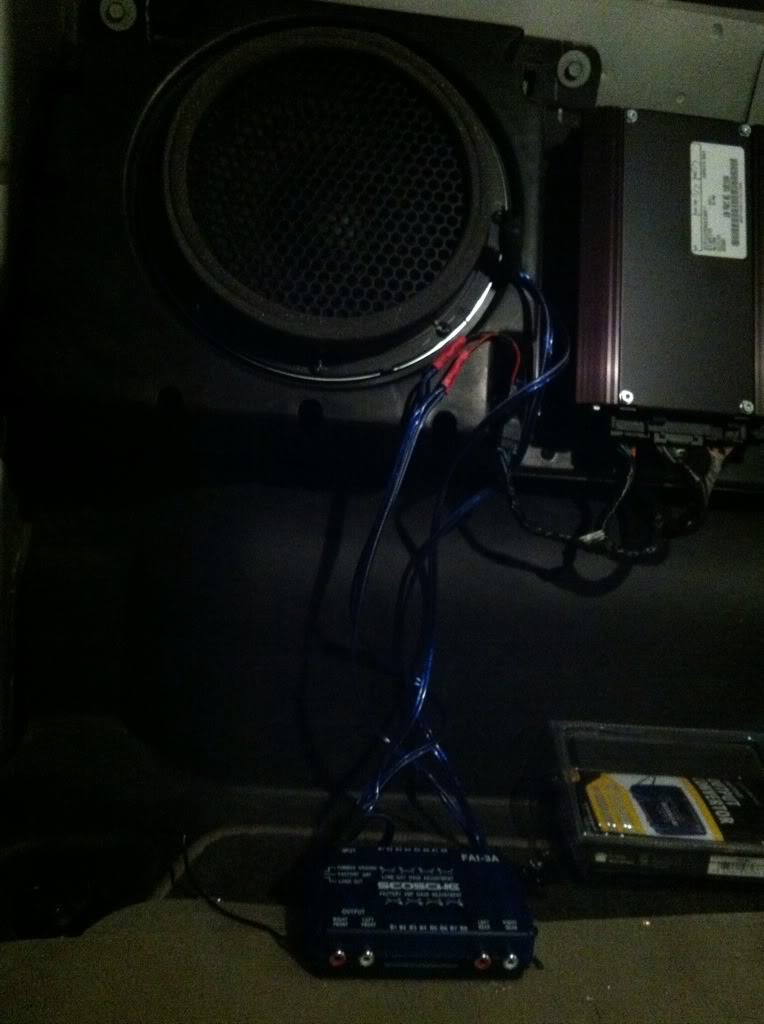
*The RCA cables can be run under the rubber mat.... no chaffing, no rattling*
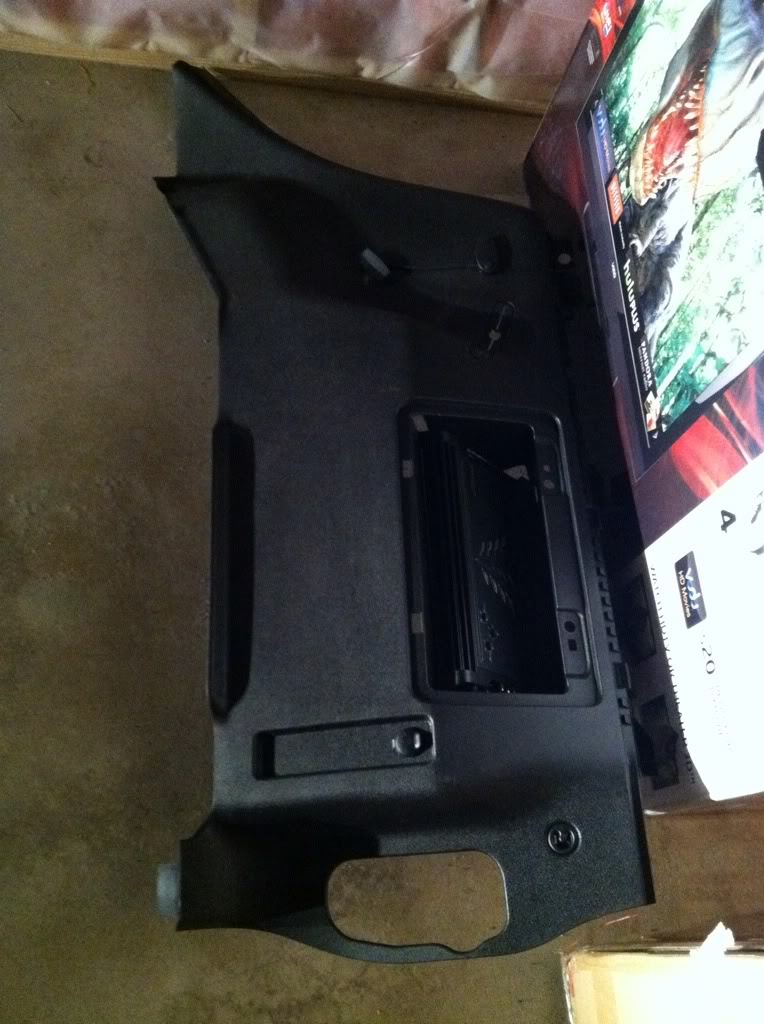
Step 4: Time to cut the plastic cubby hole to fit the new amp. The reason I put the amp in the cubby opposed to behind the cubby is primarily for heat management but also allows for adjusting the gain on the amp.
Should look like this
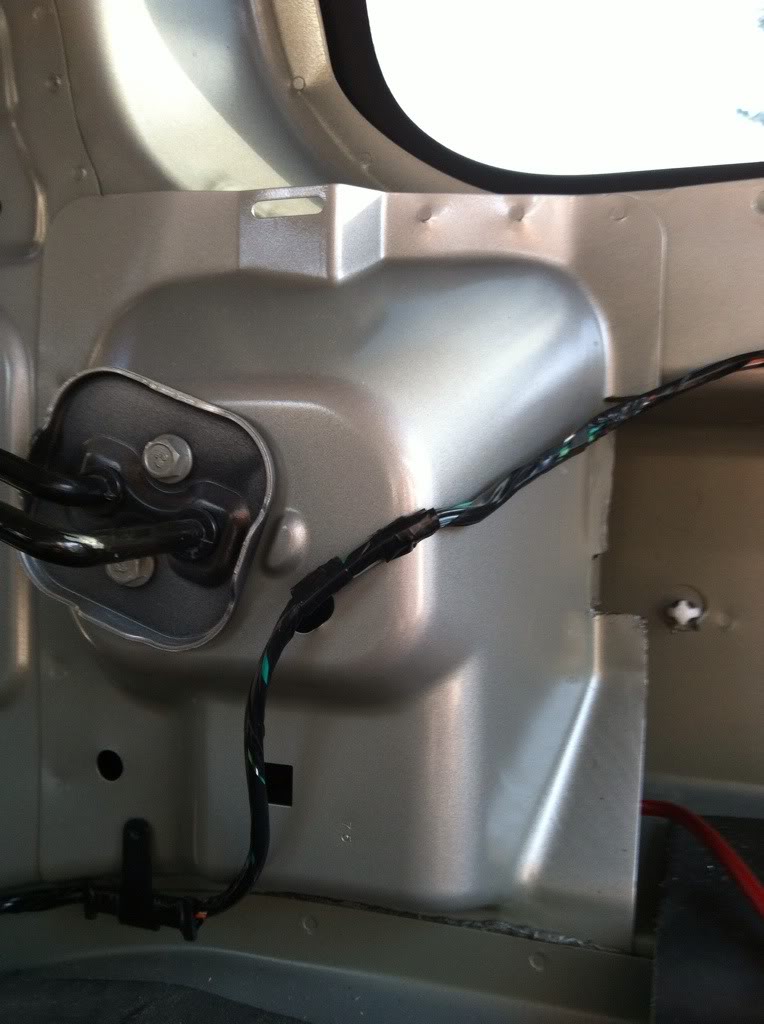
Step 5: Make adjustments to the metal as needed to allow everything to fit back together. I had to cut in about an inch on the mount for the seat bracket. I just folded the metal back a little, shown here:
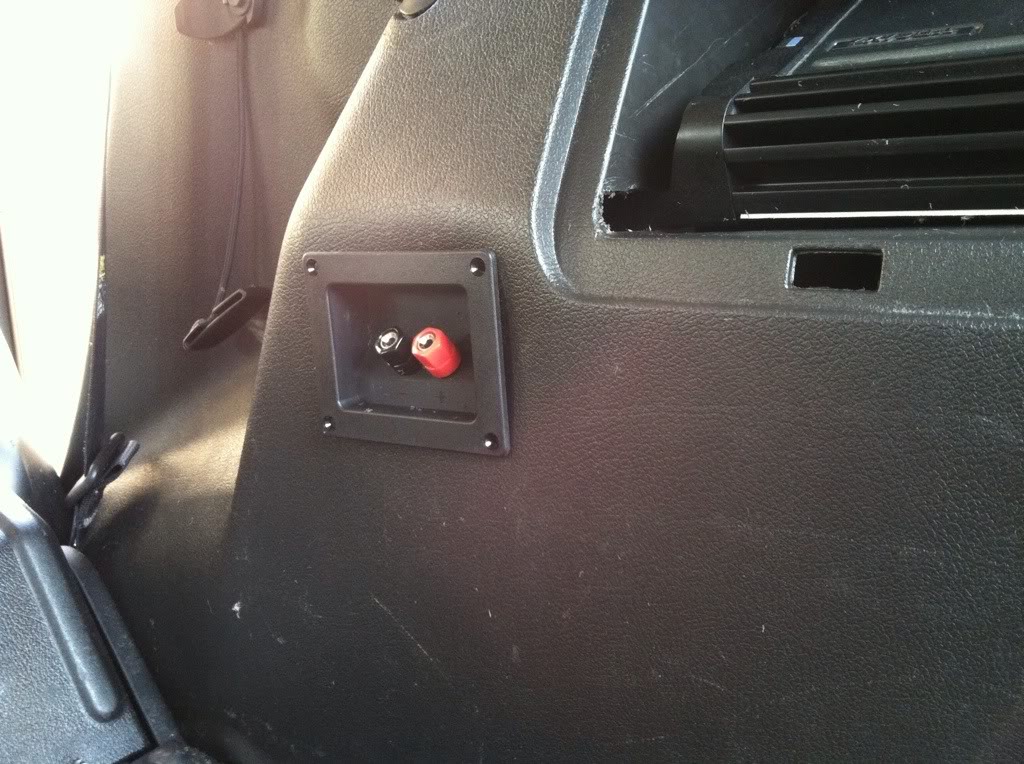
Step 6: Wires. I recommend putting in a normal speaker terminal which can be found at Radio Shack. This makes removing the speakers easy in case you need to carry some cargo. It also keeps the visible wiring nice and tidy. Now is also an okay time to connect the power and ground wires. Be sure to leave a little slack so you can wiggle the panel back into place.
Step 7: Optional - I added a switch out back that disables the remote wire so that if I take the speakers out the amp wont even turn on.
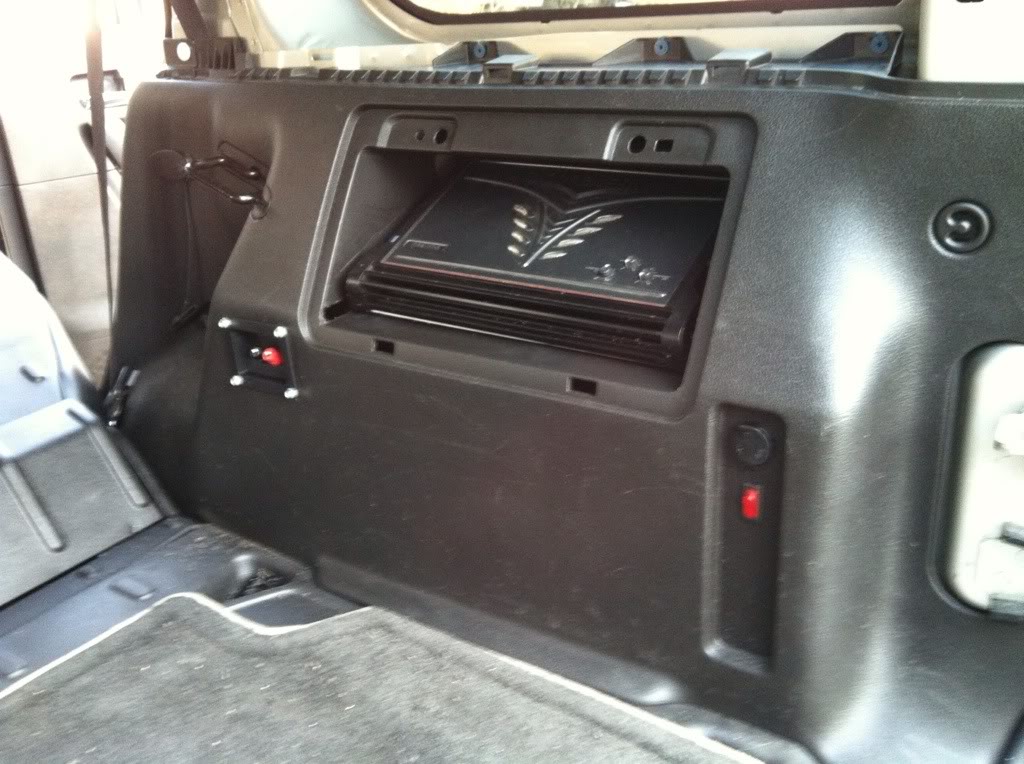
Step 8: Connect your signal wires if you haven't already. Then connect your power wire to the battery.
Step 9: Connect a speaker of some type to the terminal and turn on the stereo to make sure everything works.
Step 10: If everything worked, put it all back together, connect your subs and enjoy!

Next project: Building a speakerbox that suits the H3 better.
Step 2: You don't need to remove the factory amp and sub, but if you want to do the wiring say, from your couch, it's only 4 bolts.
Step 3: Bridge off the connection going to the sub woofer.
*The RCA cables can be run under the rubber mat.... no chaffing, no rattling*
Step 4: Time to cut the plastic cubby hole to fit the new amp. The reason I put the amp in the cubby opposed to behind the cubby is primarily for heat management but also allows for adjusting the gain on the amp.
Should look like this
Step 5: Make adjustments to the metal as needed to allow everything to fit back together. I had to cut in about an inch on the mount for the seat bracket. I just folded the metal back a little, shown here:
Step 6: Wires. I recommend putting in a normal speaker terminal which can be found at Radio Shack. This makes removing the speakers easy in case you need to carry some cargo. It also keeps the visible wiring nice and tidy. Now is also an okay time to connect the power and ground wires. Be sure to leave a little slack so you can wiggle the panel back into place.
Step 7: Optional - I added a switch out back that disables the remote wire so that if I take the speakers out the amp wont even turn on.
Step 8: Connect your signal wires if you haven't already. Then connect your power wire to the battery.
Step 9: Connect a speaker of some type to the terminal and turn on the stereo to make sure everything works.
Step 10: If everything worked, put it all back together, connect your subs and enjoy!
Next project: Building a speakerbox that suits the H3 better.

Thread Starter
|
Junior Member
Joined: Nov 2011
Posts: 3
The goal is to find some H3 rear seats and make a box using the plastic from the backing with a fiberglass interior, then bolt it to the seats so the speakers would be pointing up normally, or forward when the seats are down.
Option number 2 is to find a nice military tote, something like the air drop airtight crates and again do a resin interior to keep the sound solid. I'm thinking I want to do a sealed enclosure.
Those Boston speakers are a little much when they're ported. The are about 40 Lbs each, and that's with the lightweight magnets. It's not so much the noise they make, the pressure when they hit a good bass drop physically hurts.
Option number 3 is to create a box with an interchangeable speaker deck so I can swap to my 12" subs or a single 15" on the fly.
We'll see what's in the budget because I also have an M3 I'm trying to get ready for show season. Plus I want the brush guard, steel bumper and winch on the H3 before next Winter.
Option number 2 is to find a nice military tote, something like the air drop airtight crates and again do a resin interior to keep the sound solid. I'm thinking I want to do a sealed enclosure.
Those Boston speakers are a little much when they're ported. The are about 40 Lbs each, and that's with the lightweight magnets. It's not so much the noise they make, the pressure when they hit a good bass drop physically hurts.
Option number 3 is to create a box with an interchangeable speaker deck so I can swap to my 12" subs or a single 15" on the fly.
We'll see what's in the budget because I also have an M3 I'm trying to get ready for show season. Plus I want the brush guard, steel bumper and winch on the H3 before next Winter.

Thread
Thread Starter
Forum
Replies
Last Post
samiparts
PRIVATE For Sale / Trade Classifieds
15
Aug 23, 2016 01:10 PM
intensityderen
PRIVATE For Sale / Trade Classifieds
3
Apr 5, 2008 11:07 PM
AZBoltz
PRIVATE For Sale / Trade Classifieds
0
Nov 8, 2007 10:33 PM


