Kevwood's mods - The H3 build thread


Thread Starter
|
Member
Joined: Jul 2012
Posts: 48
From: A Canadian in Dubai, United Arab Emirates
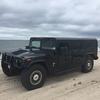
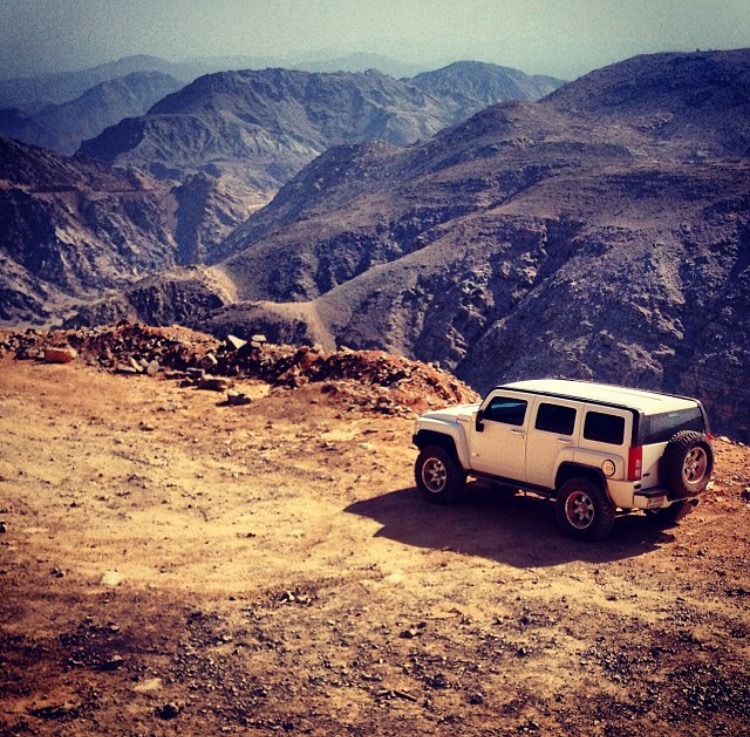
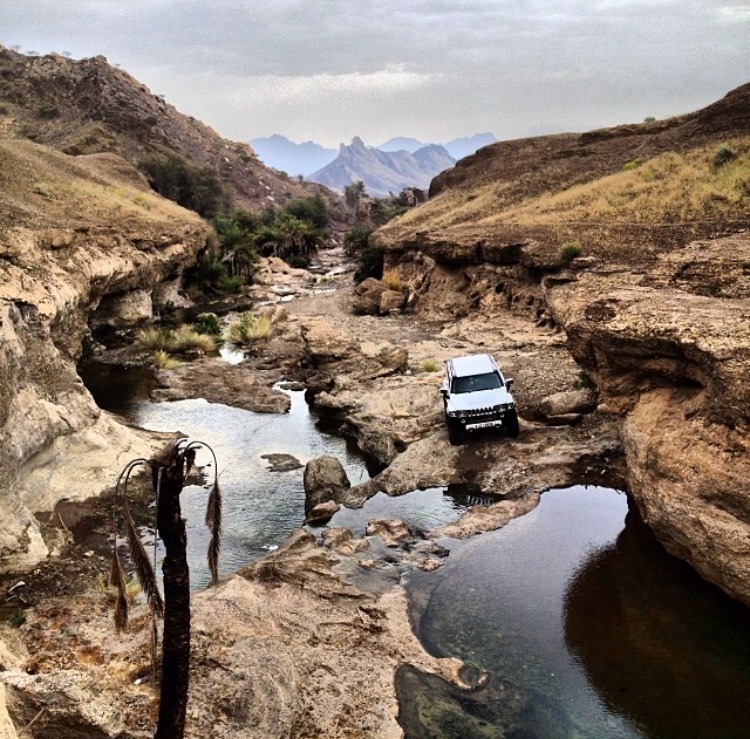
Zero issues with it, I've had water well up and over the hood while wadi crossing a few times, no problems there either.

Thread Starter
|
Member
Joined: Jul 2012
Posts: 48
From: A Canadian in Dubai, United Arab Emirates
Continuing on with the facelift theme and with the vehicle still stripped I decided to get working on the lighting. I wanted to upgrade to HID lights but as we all know, halogen housings + HID lighting = a mess of light everywhere, no focus and angry drivers in approaching lanes. So, if you're going to do it, do it right and convert to projector headlights.
In doing research I found a set of projector HID headlights for the H3 made by STARR, bought a set and was extremely impressed with the quality. Only problem is that before I bought them I was told they ONLY will work on US made Hummers, not on the South African Hummers sold here in the UAE (and what I have). Meh, nothings impossible.
After getting a projector housing unpackaged I pulled off a OEM headlight and immediately noticed that the mounting studs on the South African headlight brackets are quite a bit different than those on the US headlight. So, the STARR projector headlight would not mount to the South African headlight bracket. After searching extensively for US headlight brackets it became immediately obvious that it was actually cheaper to buy a new headlight & signal set off eBay that comes with the bracket. After a month of waiting they arrived;
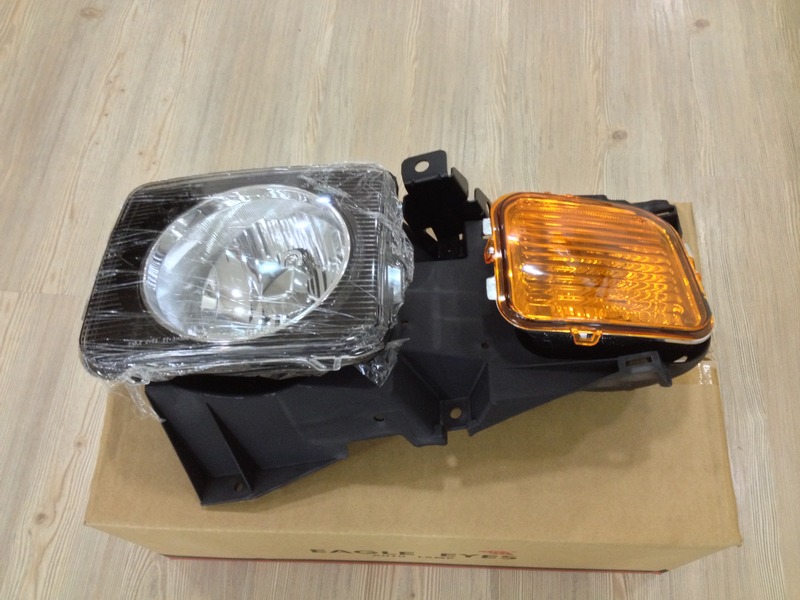
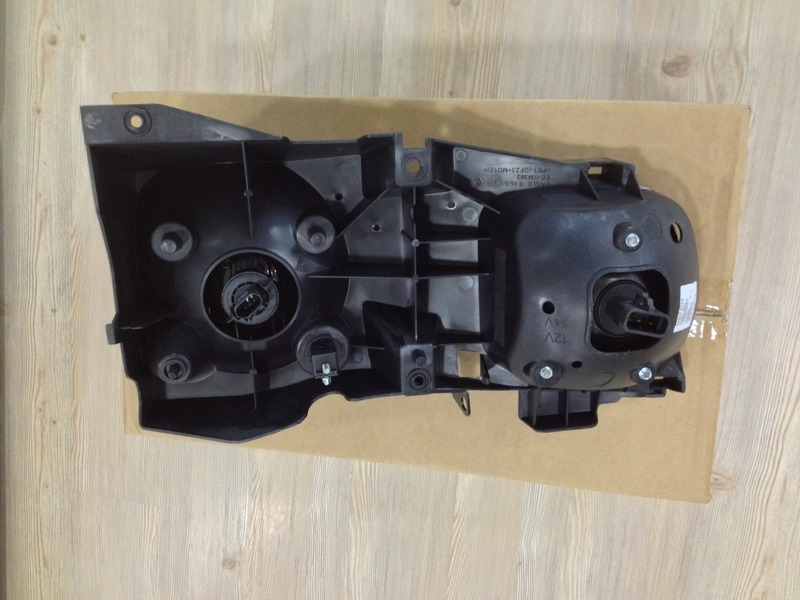
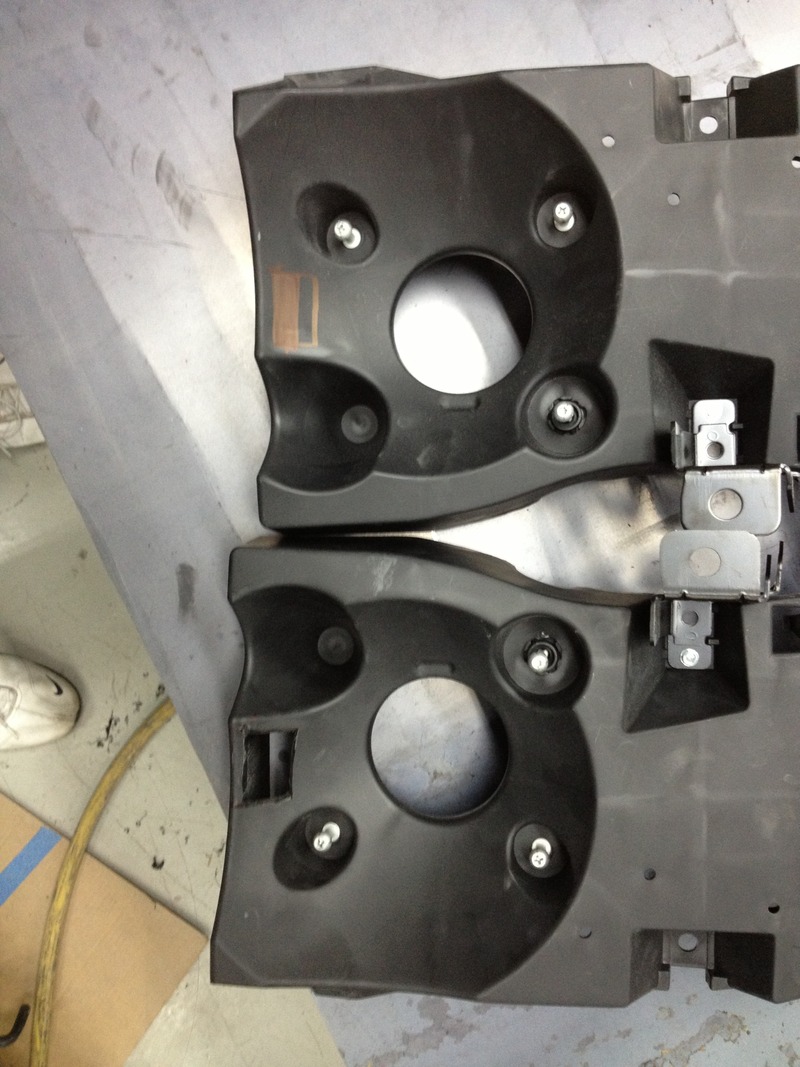
An initial inspection of the new US brackets showed that they were identical to the South African ones I had with exception to the headlight mounting studs. Interesting to also notice that the US Hummers come with 'rounded' headlights with black surrounds where as the South African models come with more 'oval' headlights with chrome surrounds. Mine also has clear signal lenses where as the US models have amber.
So, the bracket was stripped and marked out for a cutout needed to be made for the new HID headlight wiring;
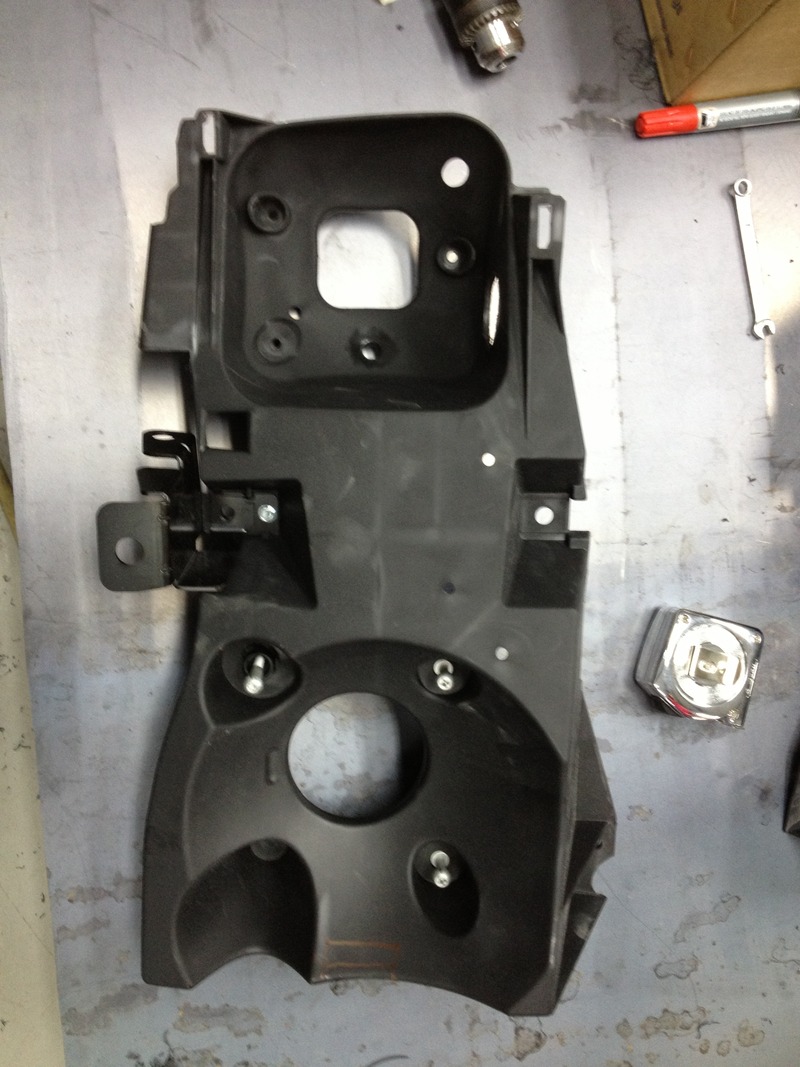
Here is a side-by-side of one cutout versus not;
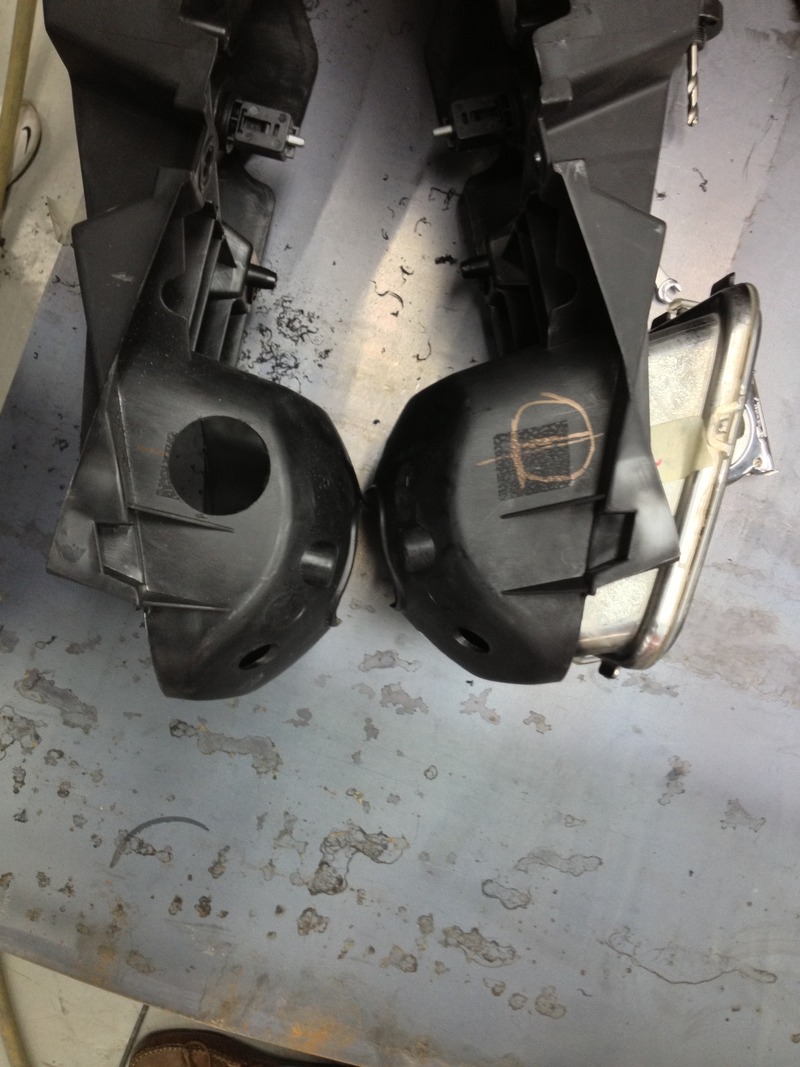
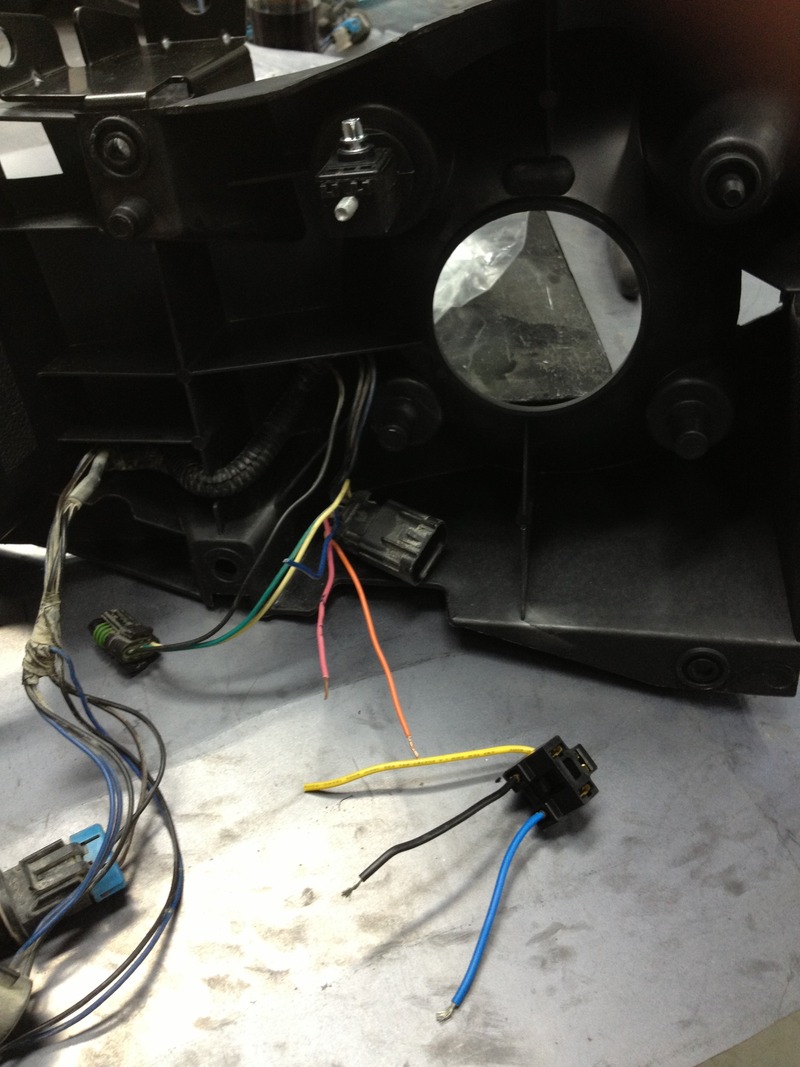
It was then that I realized that there is also a difference in the US and South African Hummer signals, mine not only has the primary bulb but also a small 194 style bulb used as marker/parking lights which entered the signal housing from the underside. So, I needed to modify the bracket for that as well. Due to the size of the connector the hole had to be made quite large, I used a piece of tape to get the centerline then measured back;
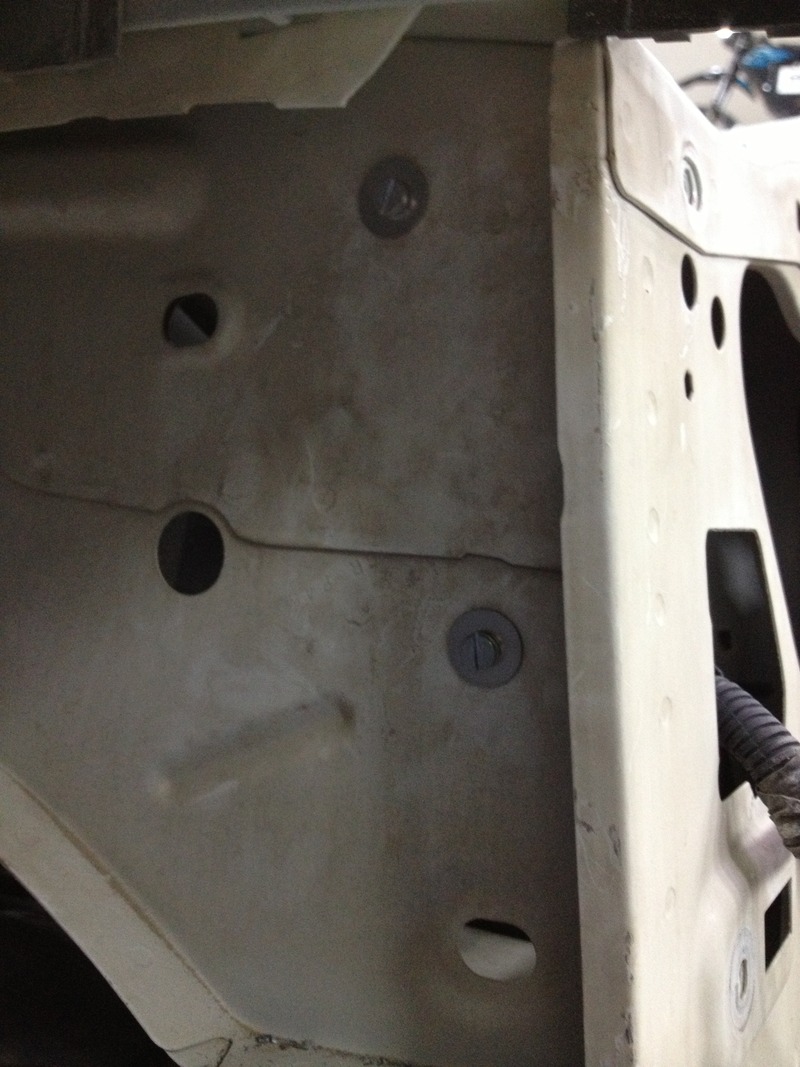
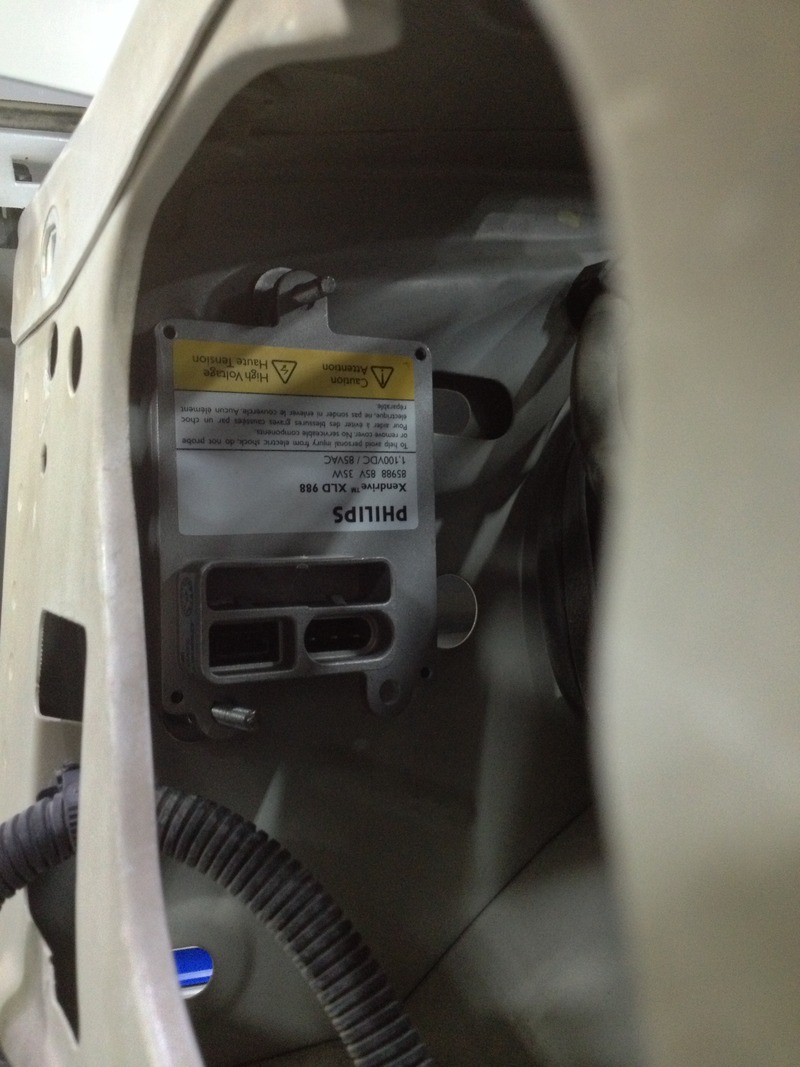
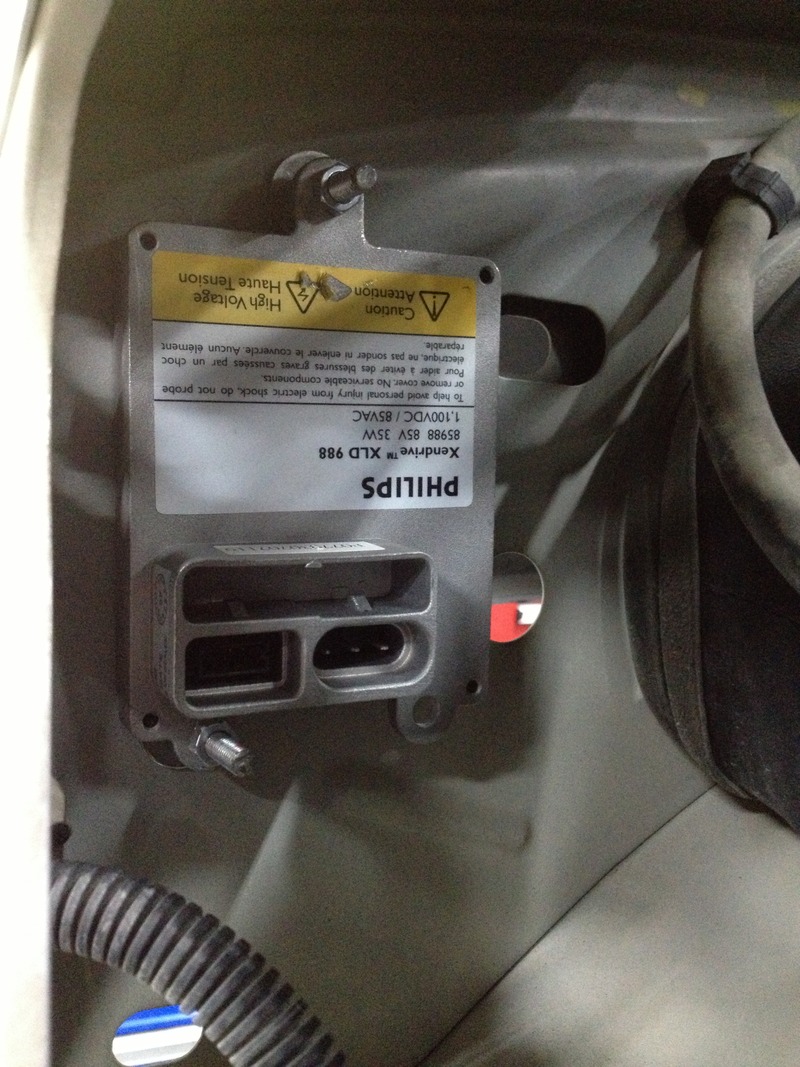
With this done I mounted the brackets on the Hummer and found a suitable location to mount the ballasts. I wanted to make the ballasts fairly accessible but keep them out of the way. I decided to mount them against the wheel wells on each side. I marked out the mounting holes them drilled through, ran studs through, Loctite double nutted them, them slid the ballast over top and used a lock washer with a nut. This way the ballast could be easily removed (if need be) and the mounting studs remained in place;
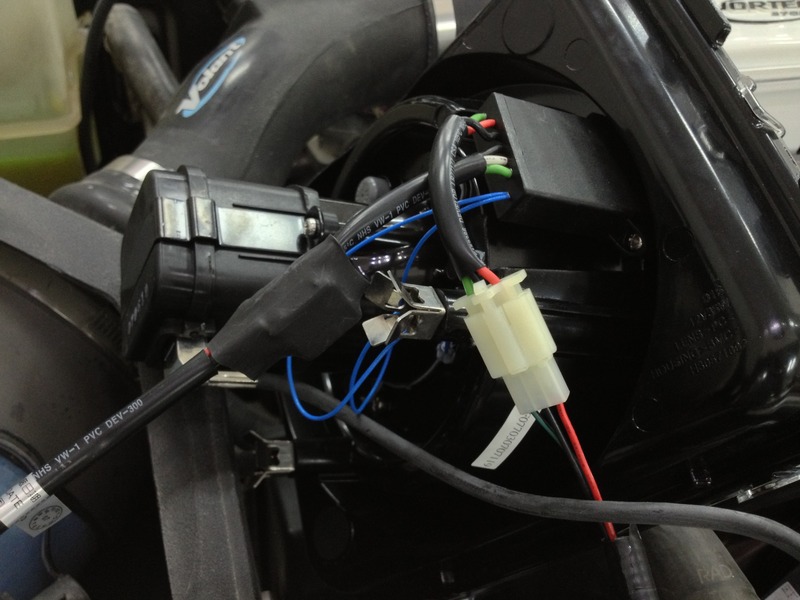
From there I hooked up all the wiring for a test run before snapping the headlights into place;
Nothing worked...
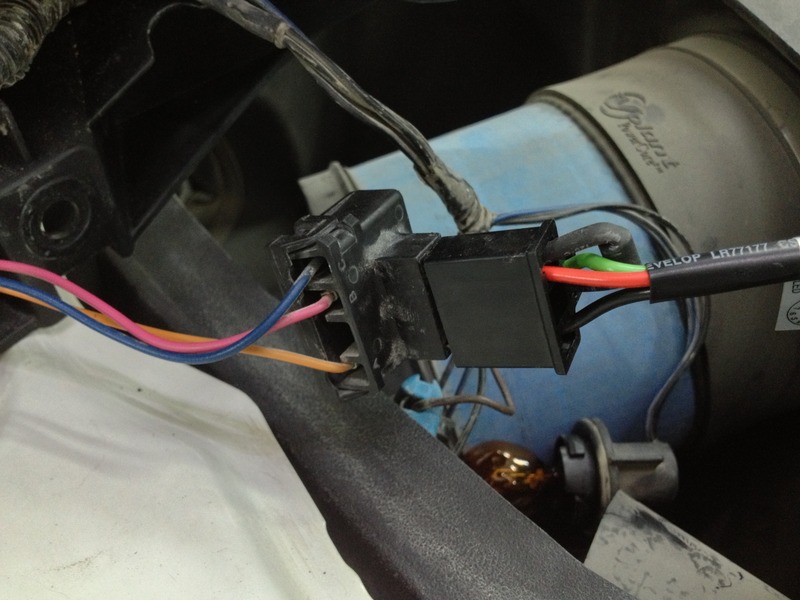
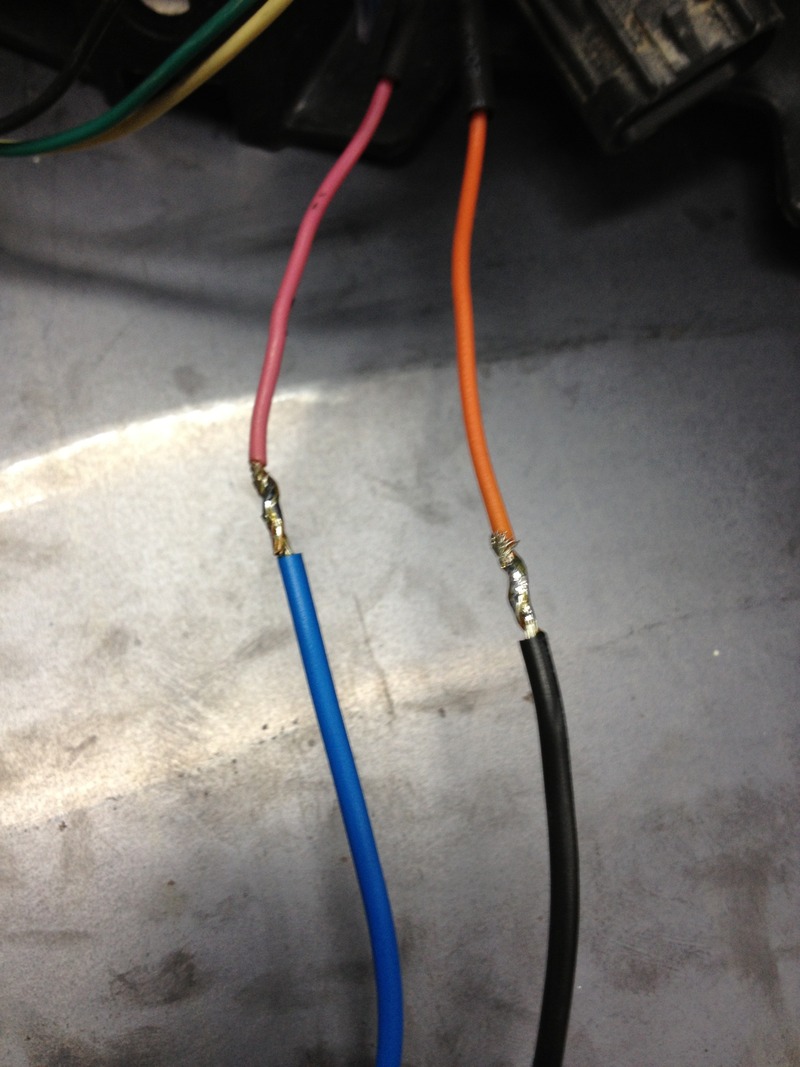
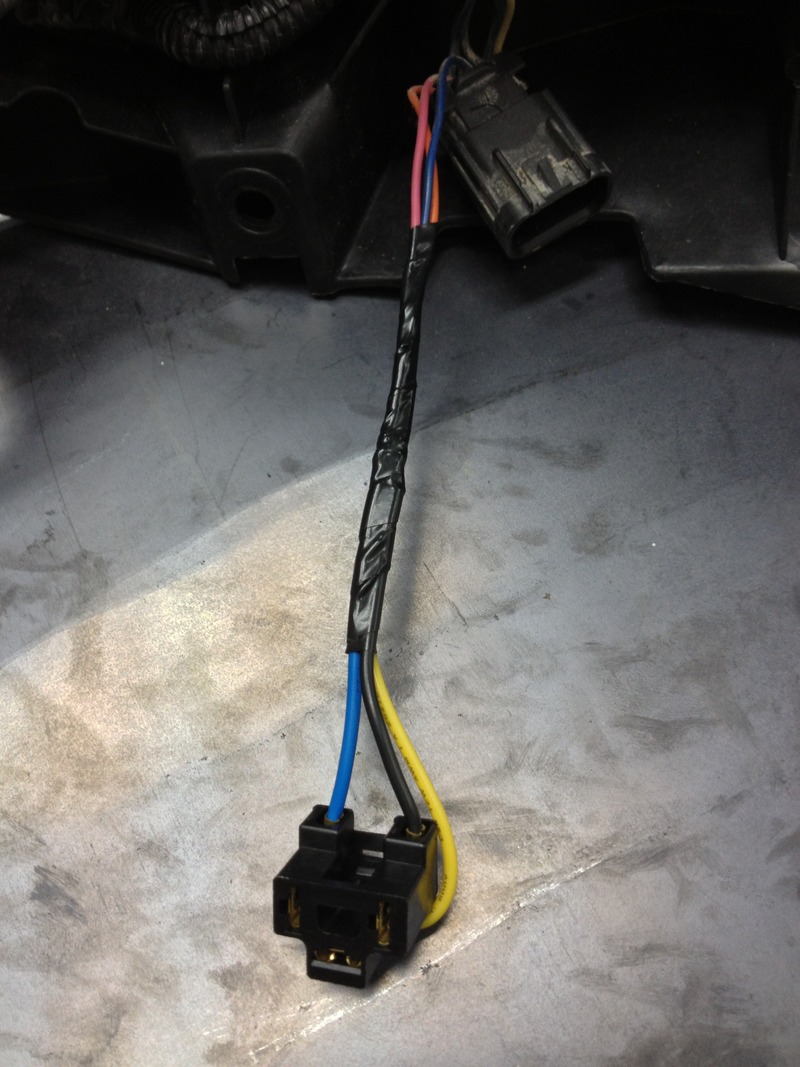
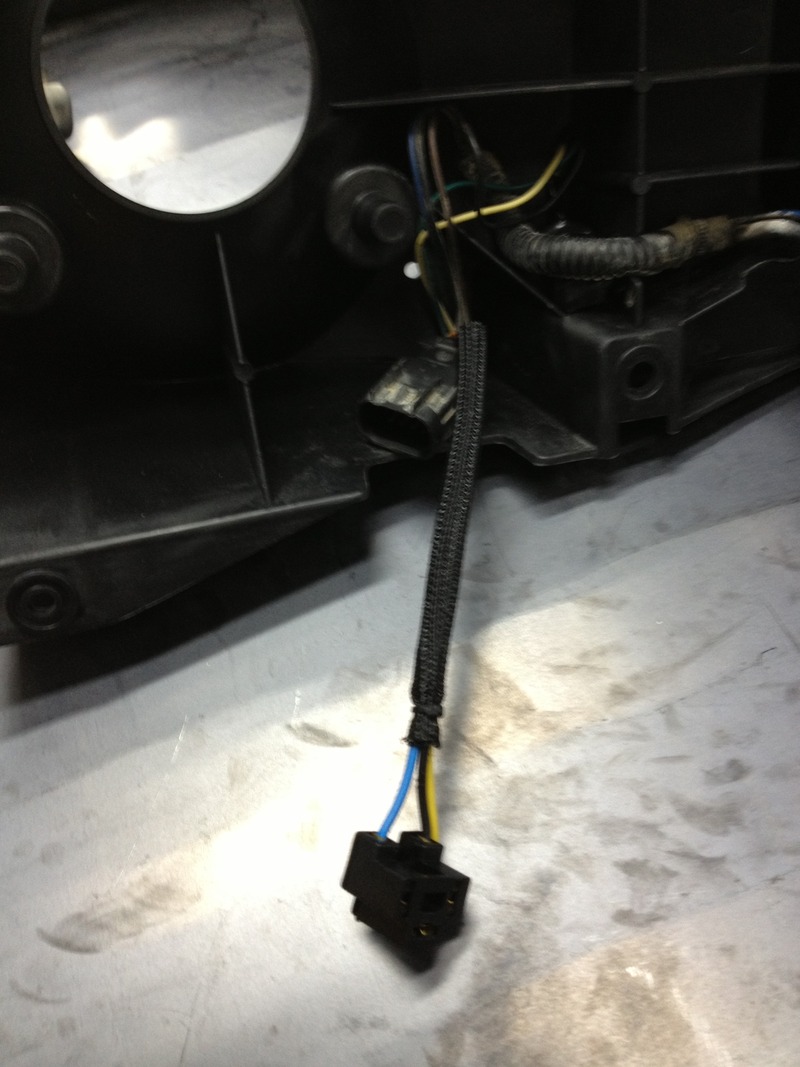
After spending about an hour with my multimeter I discovered that the wiring between the US models and South African models was different, the triggers are opposite to each other. So, I cut the OEM connector off and used a new one to 'mix' the wires correctly. I soldered, heatshrunk, taped and loomed everything - no crimp connectors, no cutting corners;
With everything done, success;
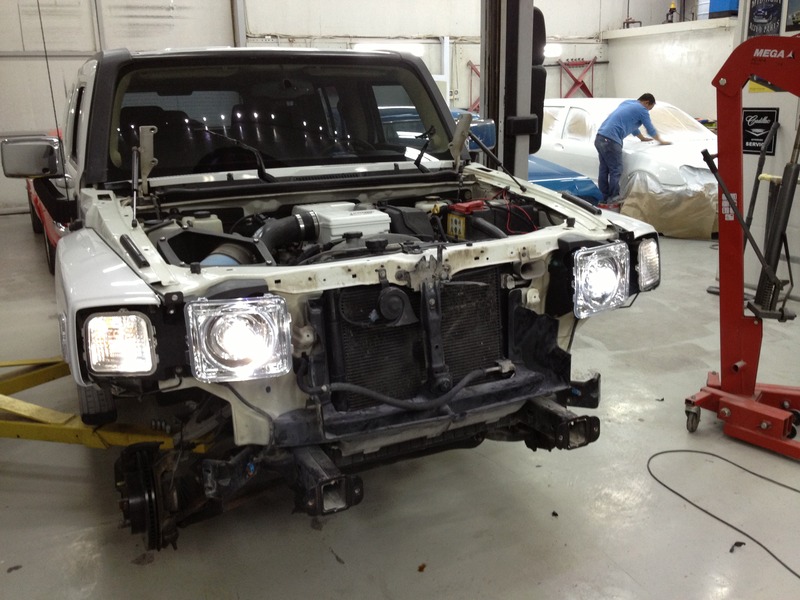
I also changed out all the bulbs to LEDs while I was at it, cleaner looks and vibrant colors. The new HID lights are very bright, perfectly focused and can be used on South African made Hummers with just a bit of work. This was by far the most time consuming project but also the most fun, challenge accepted and completed.
In doing research I found a set of projector HID headlights for the H3 made by STARR, bought a set and was extremely impressed with the quality. Only problem is that before I bought them I was told they ONLY will work on US made Hummers, not on the South African Hummers sold here in the UAE (and what I have). Meh, nothings impossible.
After getting a projector housing unpackaged I pulled off a OEM headlight and immediately noticed that the mounting studs on the South African headlight brackets are quite a bit different than those on the US headlight. So, the STARR projector headlight would not mount to the South African headlight bracket. After searching extensively for US headlight brackets it became immediately obvious that it was actually cheaper to buy a new headlight & signal set off eBay that comes with the bracket. After a month of waiting they arrived;
An initial inspection of the new US brackets showed that they were identical to the South African ones I had with exception to the headlight mounting studs. Interesting to also notice that the US Hummers come with 'rounded' headlights with black surrounds where as the South African models come with more 'oval' headlights with chrome surrounds. Mine also has clear signal lenses where as the US models have amber.
So, the bracket was stripped and marked out for a cutout needed to be made for the new HID headlight wiring;
Here is a side-by-side of one cutout versus not;
It was then that I realized that there is also a difference in the US and South African Hummer signals, mine not only has the primary bulb but also a small 194 style bulb used as marker/parking lights which entered the signal housing from the underside. So, I needed to modify the bracket for that as well. Due to the size of the connector the hole had to be made quite large, I used a piece of tape to get the centerline then measured back;
With this done I mounted the brackets on the Hummer and found a suitable location to mount the ballasts. I wanted to make the ballasts fairly accessible but keep them out of the way. I decided to mount them against the wheel wells on each side. I marked out the mounting holes them drilled through, ran studs through, Loctite double nutted them, them slid the ballast over top and used a lock washer with a nut. This way the ballast could be easily removed (if need be) and the mounting studs remained in place;
From there I hooked up all the wiring for a test run before snapping the headlights into place;
Nothing worked...
After spending about an hour with my multimeter I discovered that the wiring between the US models and South African models was different, the triggers are opposite to each other. So, I cut the OEM connector off and used a new one to 'mix' the wires correctly. I soldered, heatshrunk, taped and loomed everything - no crimp connectors, no cutting corners;
With everything done, success;
I also changed out all the bulbs to LEDs while I was at it, cleaner looks and vibrant colors. The new HID lights are very bright, perfectly focused and can be used on South African made Hummers with just a bit of work. This was by far the most time consuming project but also the most fun, challenge accepted and completed.


Thread Starter
|
Member
Joined: Jul 2012
Posts: 48
From: A Canadian in Dubai, United Arab Emirates
For my CLK Kleemann project I was buying LEDs online and importing them from Superbright but for the Hummer I've been sourcing them locally. The quality and longevity is just as good, probably all come from the same factory anyways.
Thread Starter
|
Member
Joined: Jul 2012
Posts: 48
From: A Canadian in Dubai, United Arab Emirates
Been a while since I've updated this thread, got sidetracked with my Aston Martin project, it's done now so back to finishing the Hummer.
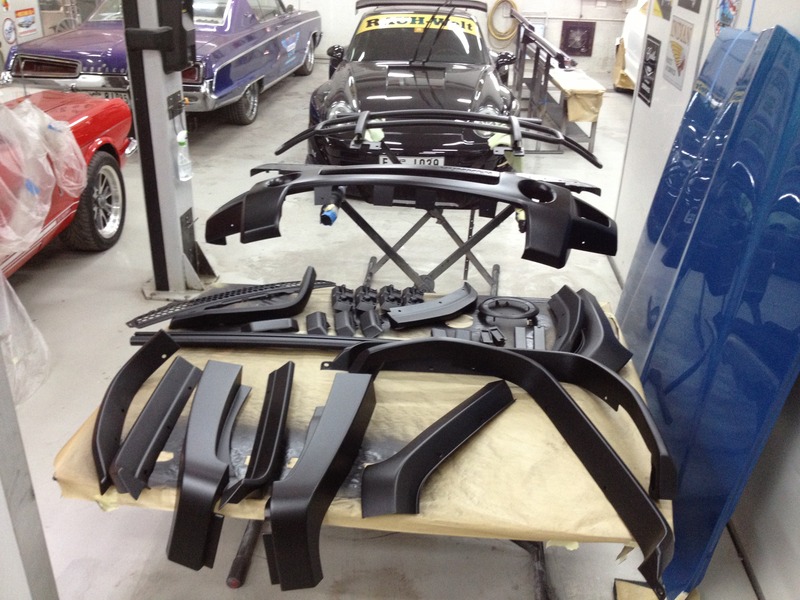
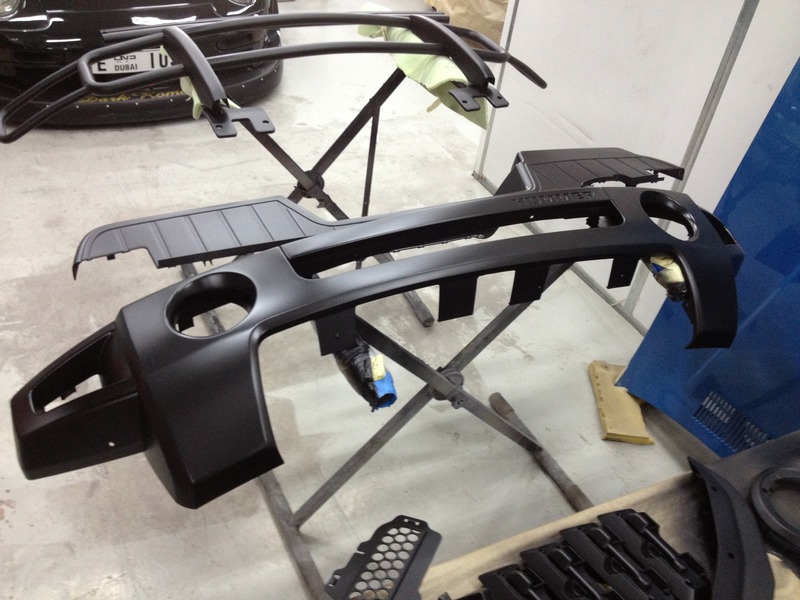
With all the parts painted it's time to start putting it back together, the sanded down and satin black finish on the trim turned out extremely well;
Before putting the front end back together I converted the fog lights to HID. Unlike the headlights, I didn't go with projector lenses as I wanted the fogs to scatter light low since they are only going to be used for off-roading anyways;

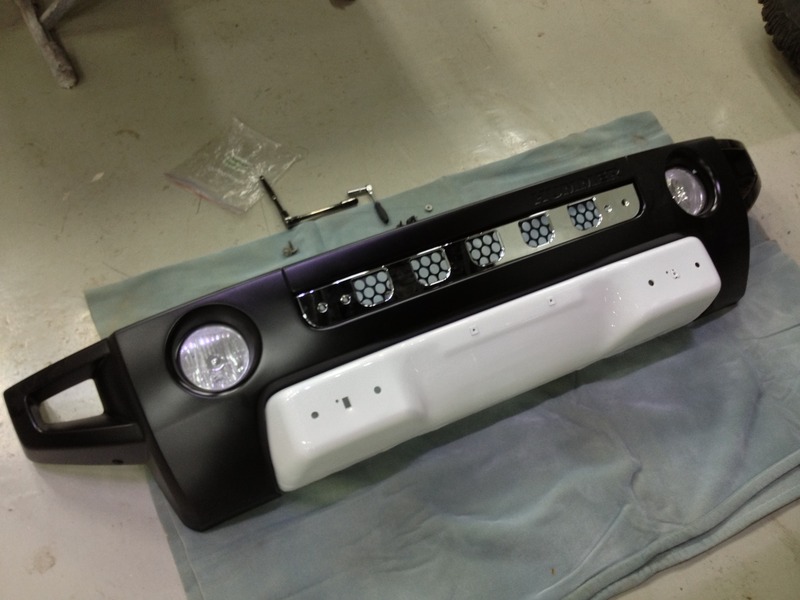
With that done, I reassembled the front bumper and added a small chrome grill insert. Nothing too blingy, just going with the basic theme of a facelift;
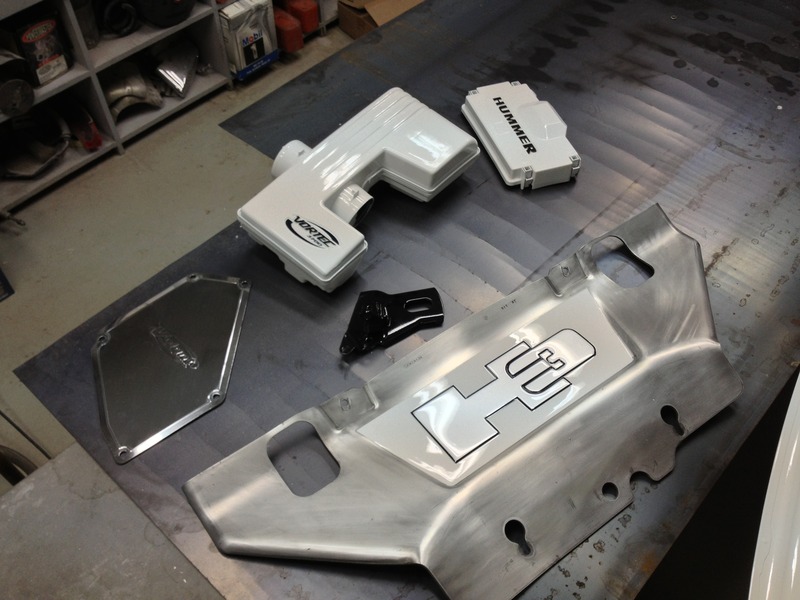
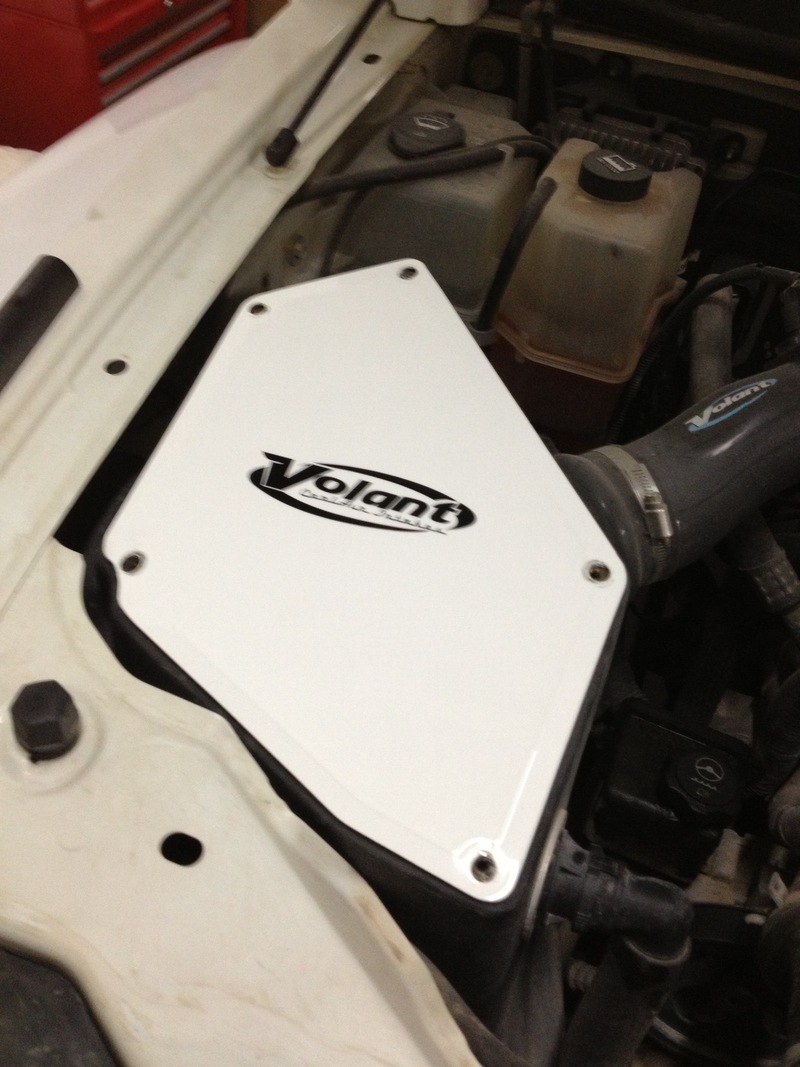
We had some body paint left from doing the bumpers so we decided to use it on a few under hood parts just for the hell of it;
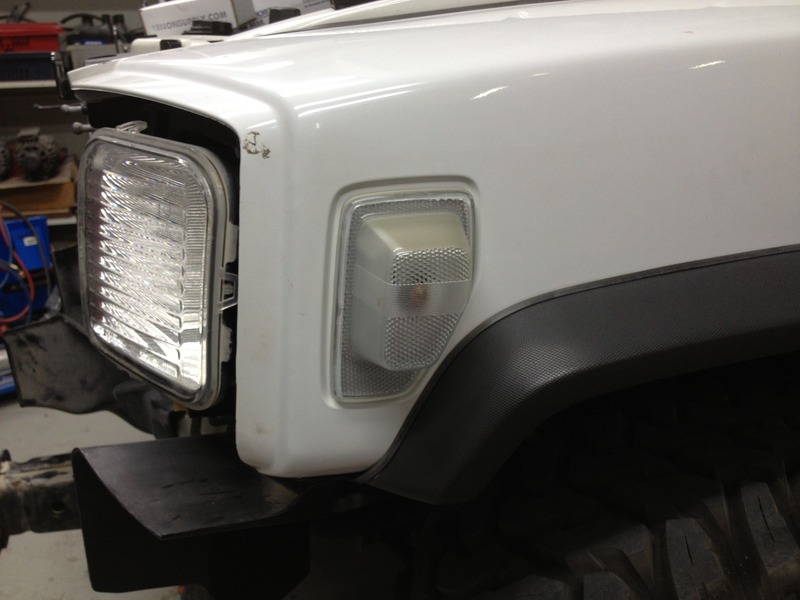
I also changed out the OEM side markers for flat crystal style ones and changed all the front signal and marker bulbs to LED;
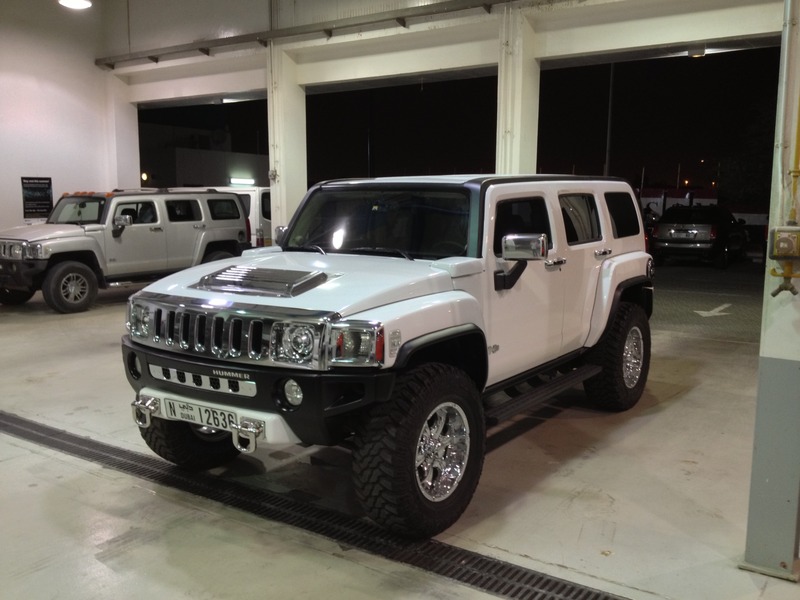
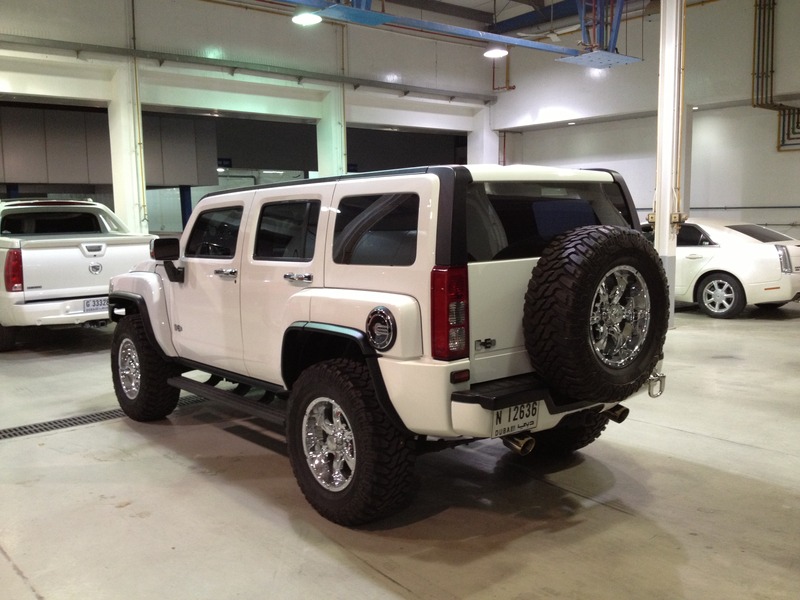
With it all put back together I took it in for service and got a few decent pics under the lights. The guys at the dealership commented that it looked brand new and did have an OEM facelift look to it;

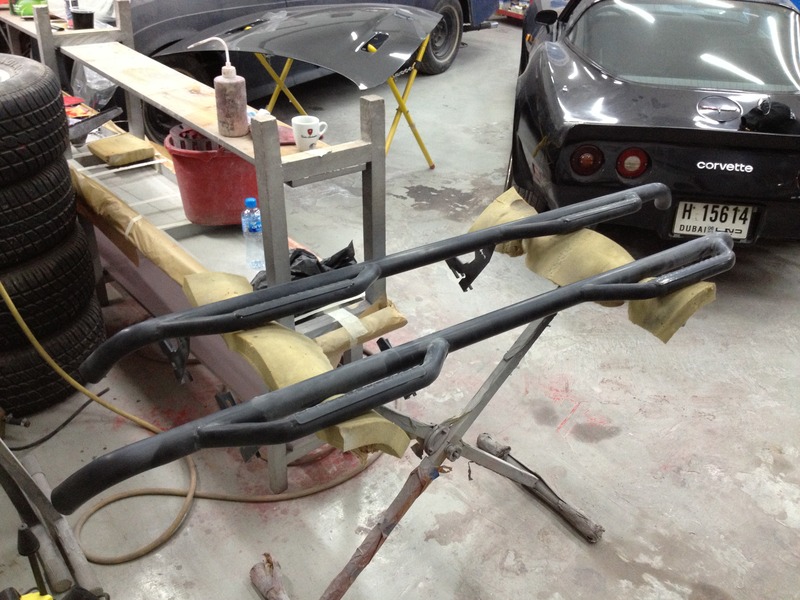
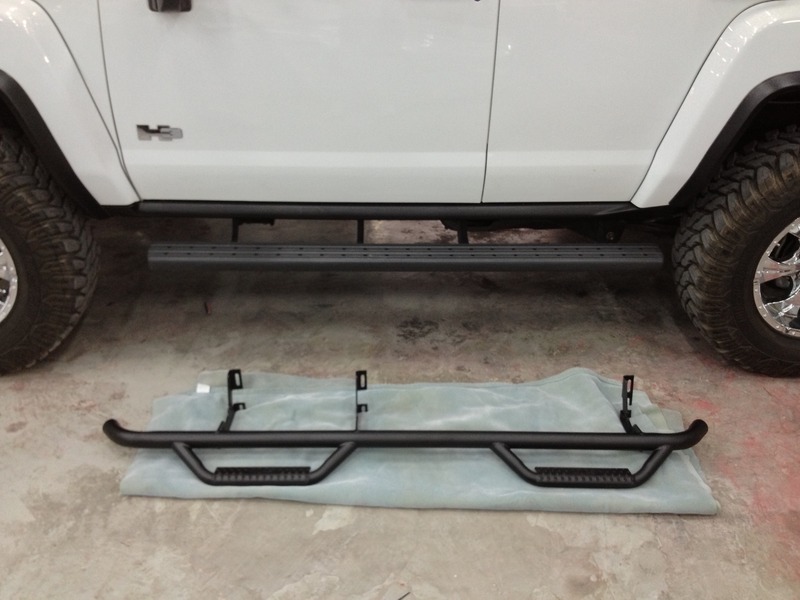
Before heading off-road my N-Fab hoop steps showed up, so I ditched the God awful OEM boards. Before installing the steps I sanded them down and painted them satin black to match the rest of the trim;
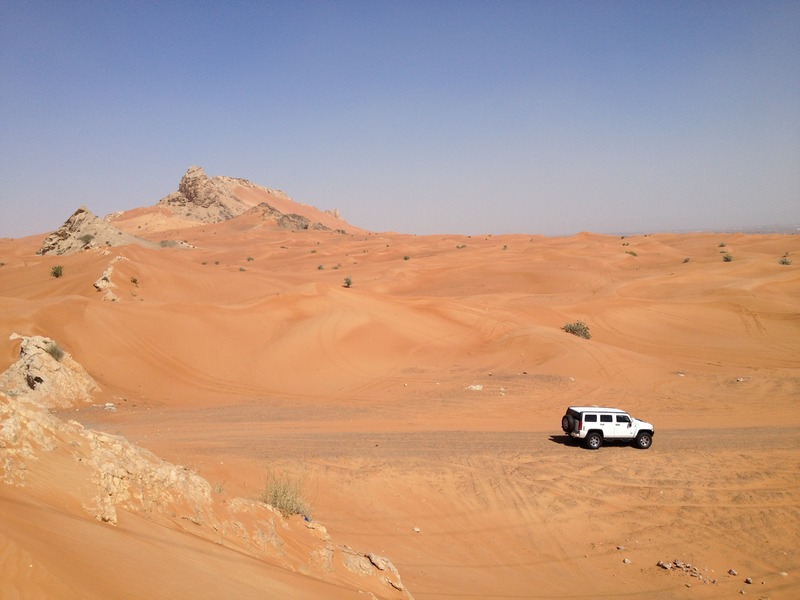
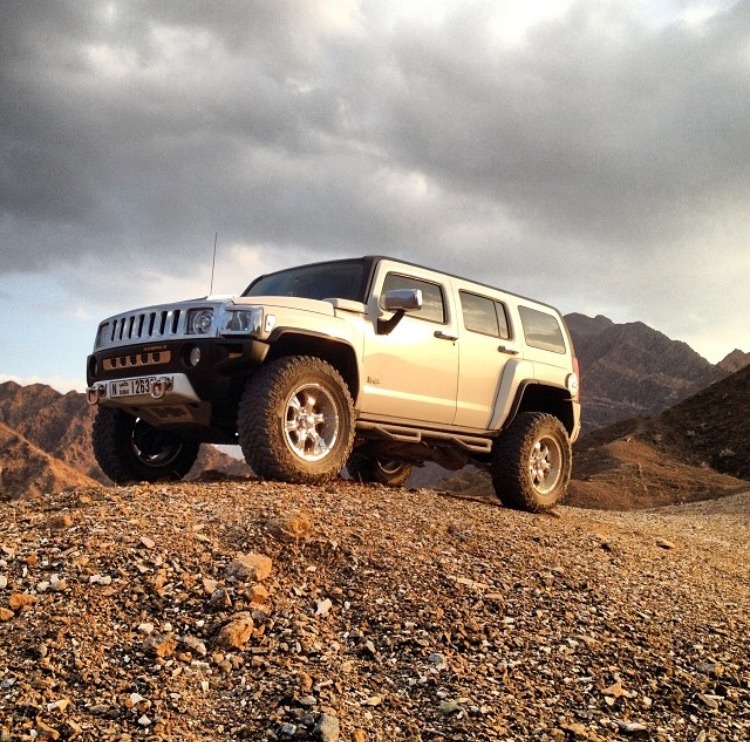
Washed up and on the street it looks great but that's not what I'm building it for so it was time to start enjoying it before starting on the next projects;

Way more to come...
With all the parts painted it's time to start putting it back together, the sanded down and satin black finish on the trim turned out extremely well;
Before putting the front end back together I converted the fog lights to HID. Unlike the headlights, I didn't go with projector lenses as I wanted the fogs to scatter light low since they are only going to be used for off-roading anyways;
With that done, I reassembled the front bumper and added a small chrome grill insert. Nothing too blingy, just going with the basic theme of a facelift;
We had some body paint left from doing the bumpers so we decided to use it on a few under hood parts just for the hell of it;
I also changed out the OEM side markers for flat crystal style ones and changed all the front signal and marker bulbs to LED;
With it all put back together I took it in for service and got a few decent pics under the lights. The guys at the dealership commented that it looked brand new and did have an OEM facelift look to it;
Before heading off-road my N-Fab hoop steps showed up, so I ditched the God awful OEM boards. Before installing the steps I sanded them down and painted them satin black to match the rest of the trim;
Washed up and on the street it looks great but that's not what I'm building it for so it was time to start enjoying it before starting on the next projects;
Way more to come...