PRIVATE For Sale / Trade Classifieds Sell/Trade your stuff for free! NO COMMERCIAL POSTS!

Custom Sub Boxes

Thread Tools
 
Search this Thread
 
Old Mar 21, 2014 | 08:14 PM
  #1  
CliffordH3's Avatar
Thread Starter
|
Junior Member
Joined: Mar 2014
Posts: 13
Default Custom Sub Boxes

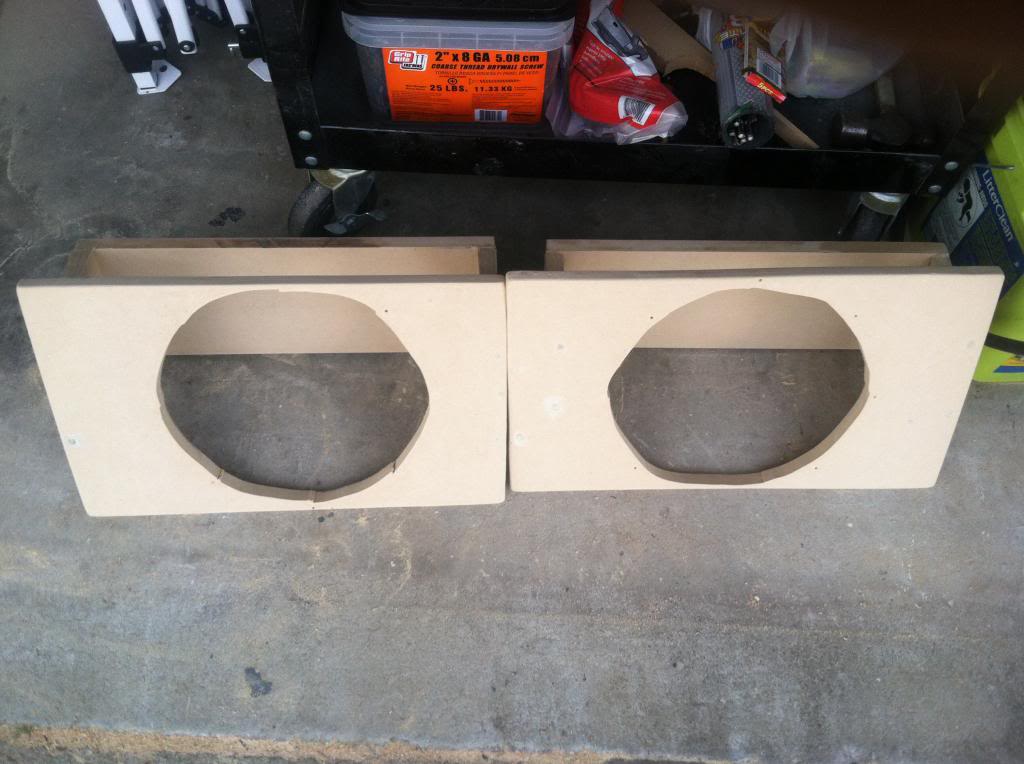
Hey whats up everybody? Well after i stalked the websites trying to find out some custom sub box ideas but not finding the idea i wanted, i ventured out on my own. My friend has an 07 H3 and i do all the upgrades on it for him, (i have been doing custom car work for about 4 years). Anyway what we wanted to do is mount to 12s in the back of his hummer, one on each side where the storage compartments are, got alot done today, will post pics in a few
 
Attached Thumbnails Custom Sub Boxes-image.jpg  
Old Mar 21, 2014 | 08:22 PM
  #2  
CliffordH3's Avatar
Thread Starter
|
Junior Member
Joined: Mar 2014
Posts: 13
Default

Interior gone!
Name:  image_zps33687daa.jpg
Views: 161
Size:  72.6 KB
Factory floor mat trimmed
Name:  image_zps42f28cdc.jpg
Views: 101
Size:  88.7 KB
Factory compartment gone! Looks a lil empty.......

Ah, much better, powerbass 12
Name:  image_zps2af2fd87.jpg
Views: 107
Size:  66.1 KB
 
Old Mar 21, 2014 | 08:41 PM
  #3  
CliffordH3's Avatar
Thread Starter
|
Junior Member
Joined: Mar 2014
Posts: 13
Default

Factory cover fits!
Name:  image_zps091940b1.jpg
Views: 142
Size:  81.8 KB
My garage right now
Name:  image_zpsf34528d0.jpg
Views: 178
Size:  101.9 KB
 
Old Mar 23, 2014 | 12:01 AM
  #4  
CliffordH3's Avatar
Thread Starter
|
Junior Member
Joined: Mar 2014
Posts: 13
Default

Well got it all done today, sort of. Couldnt build a complete box because of how big the woofer is, so its a free air sub. I put fatmat down on all the metal in the back (well as much as i could, i ran out before i could finish) then we raided doller general of 6 pillows and gutted them for the cotten and filled in the large holes with that. Mounted the amp to a piece of mdf and bolted it to the rear sear plastic (pain in the a** to get those seats out by yourself). Gotta pull it all apart again after spring break, touch up everything and paint the boxes & amp rack. Picks to follow at the end of the week. Im off for spring break, time to party! Later
 
Old Mar 28, 2014 | 02:28 PM
  #5  
CliffordH3's Avatar
Thread Starter
|
Junior Member
Joined: Mar 2014
Posts: 13
Default

Alright well after much r&d, the plastic rattles a little bit. So i bolted the black plastic piece in where the 3 plastic clips were under the back glass (1/4" bolts work perfect). Helped alot but wasnt perfect so took the top plastic pieces back out and got some truck camper top weatherstrip rubber and put it around several places. Havent got to try it out yet, friend had to go to work. Here is a pic of the top pieces
Name:  image_zpsf8fd7008.jpg
Views: 138
Size:  97.4 KB
 
Old Mar 28, 2014 | 03:33 PM
  #6  
atari800's Avatar
Senior Member
Joined: Jan 2014
Posts: 355
From: Central Fla
Default

cool project!!!
 
Old Mar 29, 2014 | 03:57 AM
  #7  
CliffordH3's Avatar
Thread Starter
|
Junior Member
Joined: Mar 2014
Posts: 13
Default

Thanks!
 
Old Mar 31, 2014 | 07:34 PM
  #8  
CliffordH3's Avatar
Thread Starter
|
Junior Member
Joined: Mar 2014
Posts: 13
Default

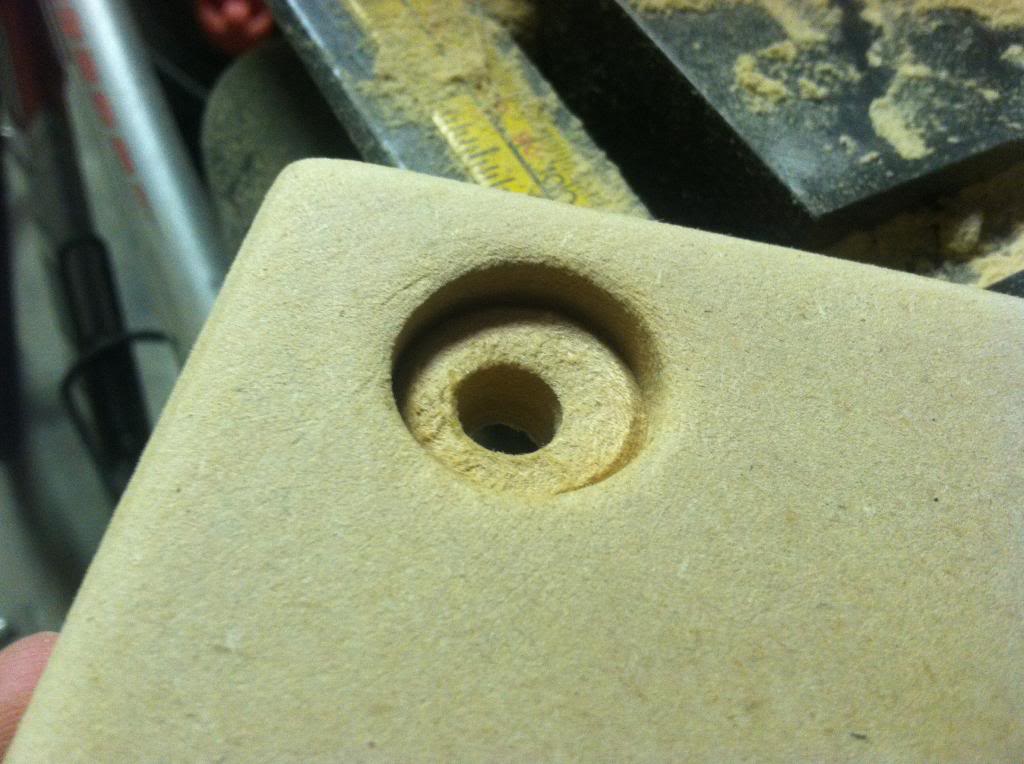
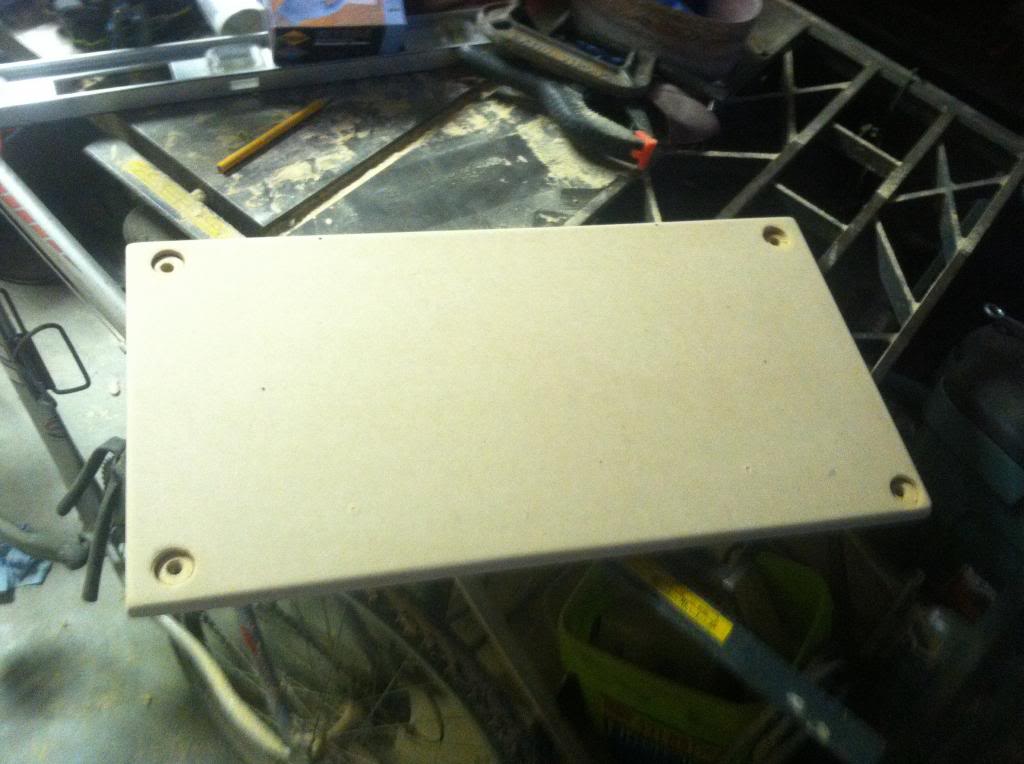
Got a lil bit done today, started sanding to prep for painting, got all the pieces done (2 sub boxes, amp mount) i rounded all the edges on all the parts and inset the 4 mointing bolts of the amp rack (its mounted to the seat plastics). Also glued and put a few more to screws in the boxes so there good to go (only had 4 in there before). There is 8 screws in each box now
Name:  image_zps0936103e.jpg
Views: 134
Size:  92.2 KB
Name:  image_zpsce7865fc.jpg
Views: 194
Size:  76.1 KB
Name:  image_zpscb43103d.jpg
Views: 130
Size:  82.2 KB
 
Old Apr 1, 2014 | 04:25 PM
  #9  
CliffordH3's Avatar
Thread Starter
|
Junior Member
Joined: Mar 2014
Posts: 13
Default

Got it all primed twice with 3, sanded inbetween the 2 times
Name:  image_zpsdd491739.jpg
Views: 141
Size:  56.0 KB
 
Old Apr 2, 2014 | 12:37 PM
  #10  
CliffordH3's Avatar
Thread Starter
|
Junior Member
Joined: Mar 2014
Posts: 13
Default

Got the painting done today! Still have a few things to finish up on it but the paint looks great!
Used my old trans am hatch to dial in the gun
Name:  image_zpsfce89104.jpg
Views: 156
Size:  126.0 KB
Shiny
Name:  image_zpsc667e945.jpg
Views: 119
Size:  37.5 KB
Everything painted
Name:  image_zpsa98e50db.jpg
Views: 138
Size:  88.9 KB
Here is my trans am
Name:  0203131414a_zps6af33ad4.jpg
Views: 151
Size:  90.3 KB


All times are GMT -5. The time now is 01:56 PM.