Anyone have the Day Star 1" Body lift?
#21
 01-09-2012, 09:20 PM


I know, I know. One year old thread, but I am interested in the write up and end results. I did not want to start a new thread only to be told to do a search. I would like to see if this one can be played out.
I've looked at the Day Star instructions (which was done on an H3T) and would really like to know if there were any H3 differences. I'm thinking the back bumper.
Jake1z, did you ever complete the lift? If so, would you recommend the lift to others? Any drawbacks that you have discovered (besides the bumper gaps)? Did you run into any differences from the instructions? Any tricks you learned that you could pass on?
If not jake1z, has anyone else done this body lift to an H3? if so, same questions...
#22
01-09-2012, 09:42 PM

THe hummer s long gone now but I put it on and did a small write up with pictures just search threads started by me. I'm on my phone so I can't find it and cut and paste it . It was pretty easy and worth it. Now I have an 09 ram hemi with a 3" body lift and 2.5" spacer lift that I just put on... Needed some thing with a real engine and towing capacity for my boat.
#23
01-09-2012, 09:42 PM
58Bisc - take a look at his install thread: https://www.hummerforums.com/forum/h...le-pics-22788/
I too have been thinking about doing this, however I might use hockey pucks and save some money for other mods.
This guy did it on a Colorado but you get the idea: How To: 1" Hockey Puck Body Lift install. - Chevrolet Colorado & GMC Canyon Forum
I too have been thinking about doing this, however I might use hockey pucks and save some money for other mods.
This guy did it on a Colorado but you get the idea: How To: 1" Hockey Puck Body Lift install. - Chevrolet Colorado & GMC Canyon Forum
#24
01-10-2012, 11:46 AM
Fancy, thanks for the links. I saw jake1z's link the first day I got on the forum. Been looking for it again ever since. I got to the point that I thought I saw it on another forum. I need to work on my search word selection skills... On the puck lift, I think it is just easier for me to buy the kit. I did a lot of low budget upgrades in my youth. I found that by the time I was done, it would have been easier and cheaper to just buy a kit.
Jake1z, I have a couple of questions if you don't mind. What did you end up doing on the rear side steps? Were you able to raise them? I have fender flairs with splash gaurds and want to keep them. Moving the rear side steps up will be key.
The next question is on the fan shroud. Did you ever put it back on? If so, did you cut it or flip it some how (like the Chevy)?
Last one, did you find any issue after the fact and would you do it to an H3 again?
#25
01-10-2012, 11:58 AM
I was just posting the options, however a spacer is a spacer so I might give the pucks a try with some grade 8 bolts.
I too am interested in the questions to Jake.
I too am interested in the questions to Jake.
#26
01-10-2012, 04:31 PM
Jake1z, I have a couple of questions if you don't mind. What did you end up doing on the rear side steps? Were you able to raise them? I have fender flairs with splash gaurds and want to keep them. Moving the rear side steps up will be key.
The next question is on the fan shroud. Did you ever put it back on? If so, did you cut it or flip it some how (like the Chevy)?
The next question is on the fan shroud. Did you ever put it back on? If so, did you cut it or flip it some how (like the Chevy)?
With the I5 you can flip it 180 degrees I have heard. Alphas will have to do some trimming.
Hope this helps in your decision.
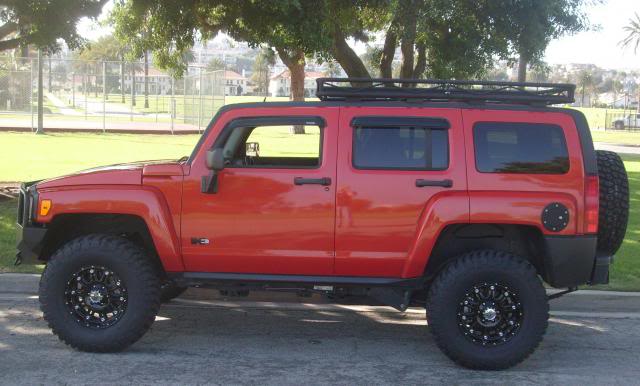
I have attached some pix of an H3 with a body lift:
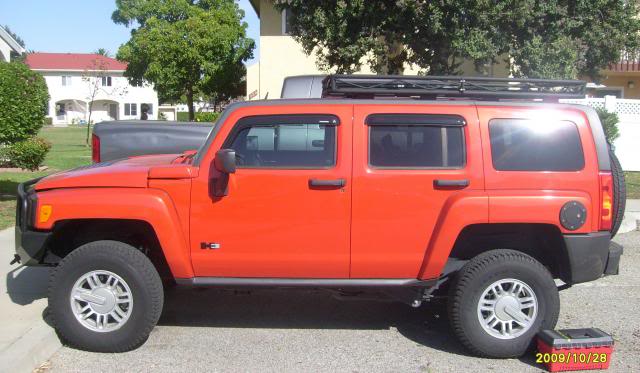
H3 w/265s before 1" Daystar Body Lift:
H3 w/265s after 1" Daystar Body Lift:
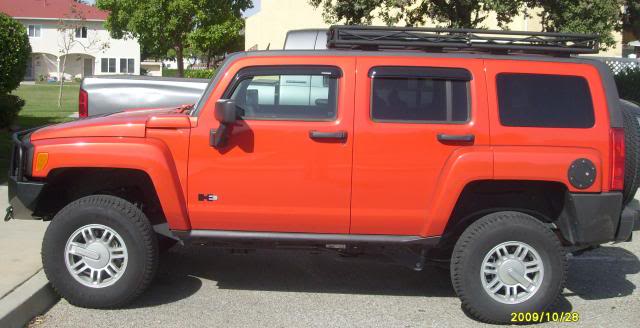
Same H3 with 315s after 1" Daystar Body Lift:
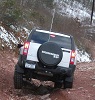
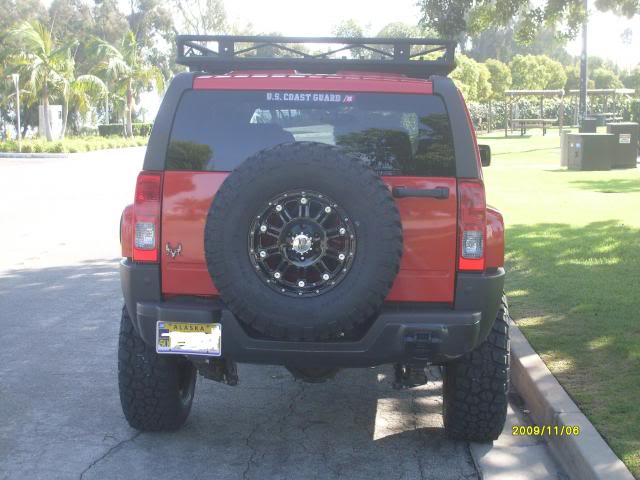
Same H3 with 315s after 1" Daystar Body Lift rear view, note the slightly larger gap between the rear bumper and the rear door/gate (no difference in the side plastic pieces):
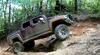
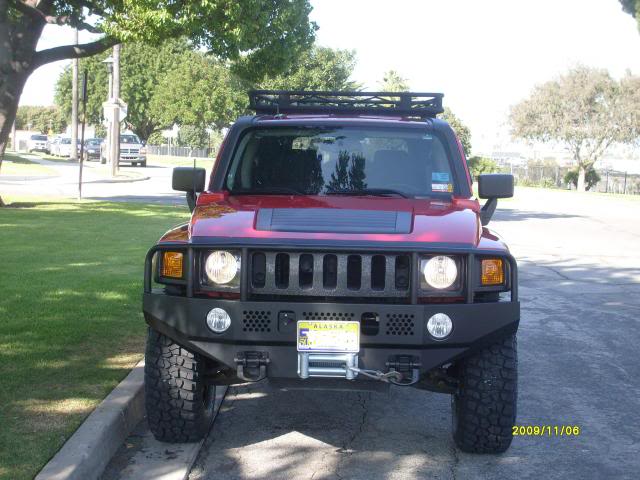
Same H3 with 315s after 1" Daystar Body Lift front view with a BA bumper:
#27
01-10-2012, 08:11 PM
I called the bumper filler panels side steps because jake1z called them that and I did not want to confuse him. I would never attempt to put any weight of any type on them. I was attempting to determine if the inter support structure stayed with the filler panel or had to be disconnected. Since jake1z has done this and talked about having to only use two of four possible connection points, I wanted to see what was involved and if I had anything I needed to be prepared for.
The pictures are great, thanks for sharing!
In jake1z write up he said that he removed the bottom half of the fan shroud and had not trimmed or reinstalled it. On the Colorado pick up web site, they showed that on the Colorado, it is possible to just spin the inner shroud without even removing it. It did not appear from the pictures to be the same as the H3. I was hoping jake1z could shed some light on it with his real world experience on this projects.
Thanks for the input and pictures
#28
01-10-2012, 09:11 PM
I wouldn't treat the Colorado site as gospel. I only posted that to show the hockey puck idea. According to the daystar manual (can be downloaded online from their site), it says to trim 1/4" from the bottom of the shroud.
Daystar Install Instructions: http://daystarweb.com/attachments/in...structions.pdf
Daystar Install Instructions: http://daystarweb.com/attachments/in...structions.pdf
Last edited by Mr. Fancy Pants; 01-10-2012 at 09:15 PM.
#29
01-11-2012, 07:40 AM

Since I dont have my truck with me right now...does anyone know how many body mounts are on the H3? And are all the body mount bolts the same length? I have looked at the Daystar kit and it comes with 12 bolts at 160mm length, and 4 at 90mm. I am assuming that the shorter ones that come with the kit are for the bed on the H3t?

