
Windshield Rattles when Driving

Thread Starter
|
Senior Member
Joined: May 2013
Posts: 369
From: Austin, Texas
I have owned several H2s and 100% of my 2003's have had this, so I'm thinking the 3M mount tape Hummer used on the Windshield Garnish Reveal Molding (GM Part 20787557 & 20787558) is only lasting 13 years or so.
Therefore, if you own a 2003 or 2004 or you have had your windshield replaced (check if you have a GM windshield for those that bought pre-owned) then there is an extremely high probability you have these rattles and perhaps are so use to it, you don't even know it.
An easy test: temporarily take some chewed chewing gum and squeeze under your moldings and drive the truck to see if it doesn't quieten the wind noise.
To rectify the issue you will need a philips screw driver, Goof-Off, and 1/2" 3M Scotch Mount Molding Tape, and 1 hr of time:
Step 1: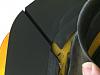
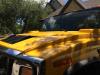
Start at the top of your Upper Door Weather Strip and pull this away from the body of the truck over the front door area and down the A-pillar and then un-hook it from the bottom of the Molding.
Step 2: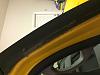
Remove the two philip screws. With both hands take the molding and slide it down slightly to pull the molding away from the top trim, then un-hook the molding from the cowling below.
Step 3:
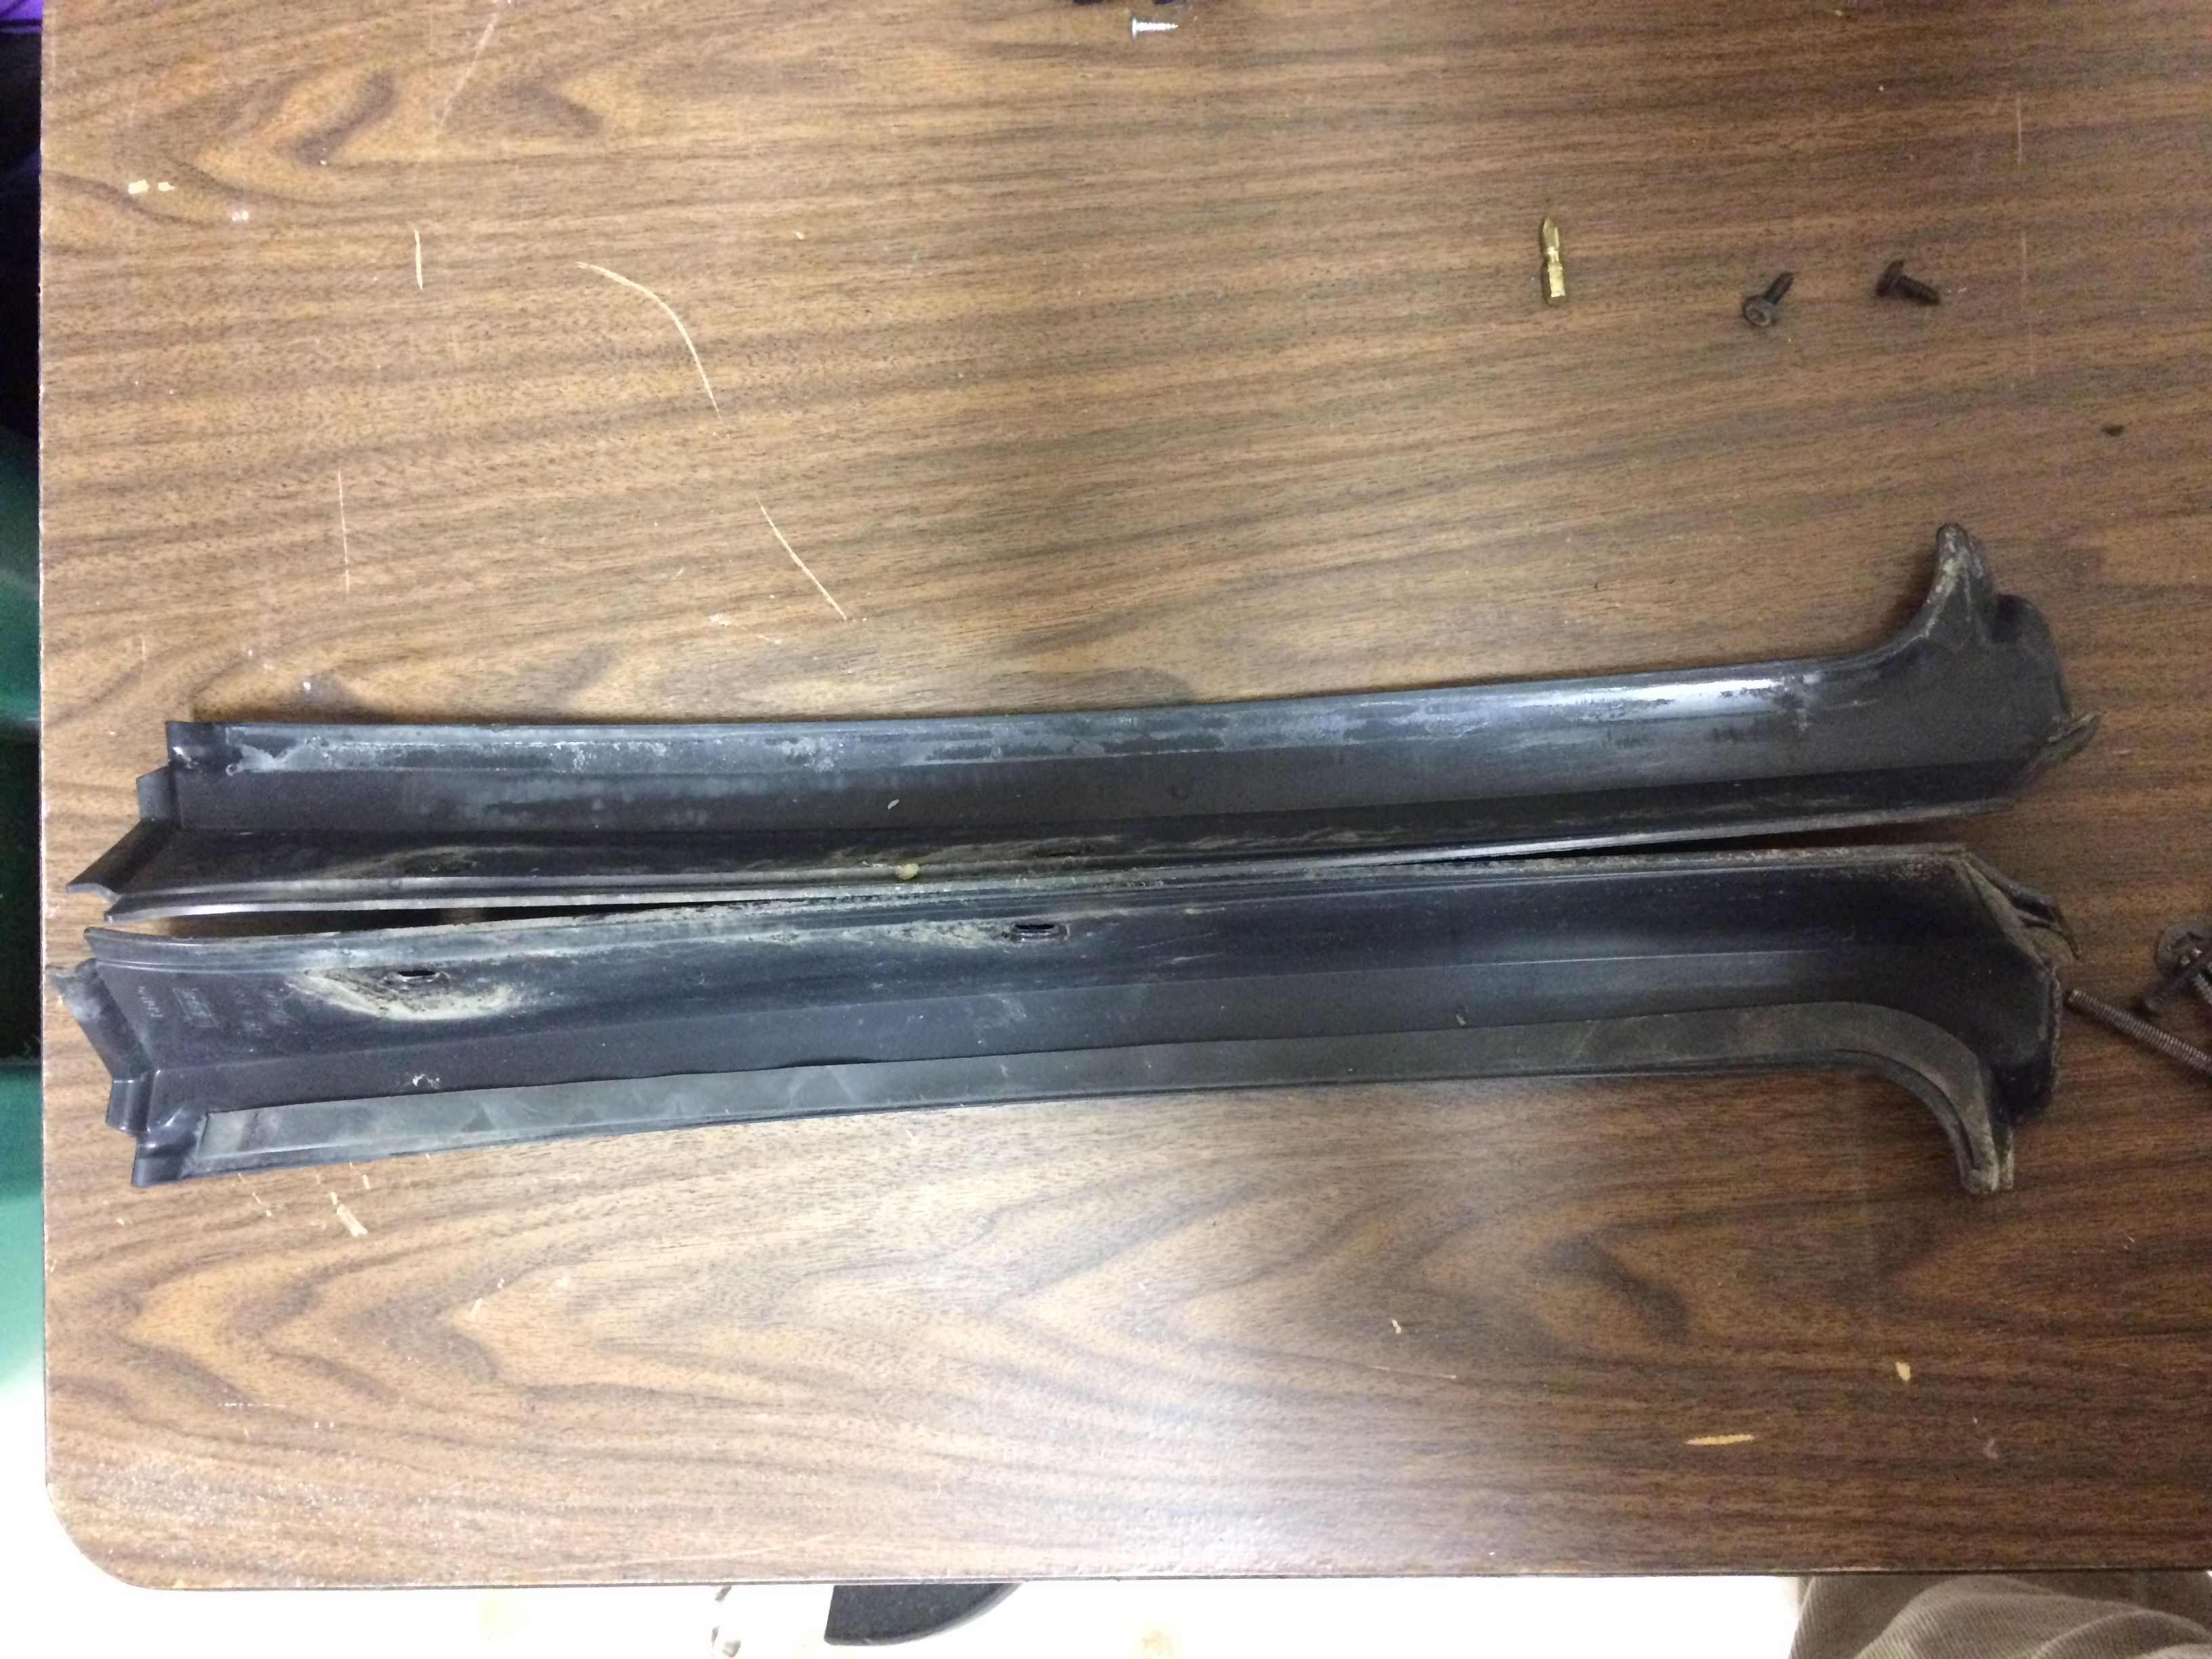
Here you will see 3M strip that no longer have their adhesion. Remove the old molding tape and complete by removing any tape residue with Goof-Off. Goof-Off is also great as an adhesion promoter for the new tape.
Step 4: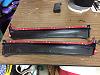
Apply new tape as shown leaving about 1mm from the edge. In fact you will begin to feel a lip as to where the tape should go. Also, remember to replace the small tape piece on the lower part of the molding as well.
Step 5:
Clean your A-pillar on the body of the truck really well. Don't forget to remove that small piece of tape that will most likely remain on the truck within the door jam. Acetone or Alcohol that area where the tape was along with your windshield to promote good adhesion to your new tape.
Step 6:
Remove red tape backing and reinstall your molding by hinging in the bottom section into the cowling, and without allowing the tape to touch, lip the top section under the body trim. Once you feel you are centered, then set the tape by pulling the molding in to the truck. Replace the two screws while continuing the pressure on the molding to ensure a good seating of the tape. Also ensure the lower tape piece is nicely seated as well.
Step 7: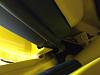
Re-hook your Door Weather Strip on the bottom of the molding first. If hooked correctly the Door Weather Strip fits flush along the molding as noted in the picture. Then stretch the Door Weather strip up until the cleat is seated nicely between the molding and upper body trim. Finish seating the rest of the weather strip above the doors.
Therefore, if you own a 2003 or 2004 or you have had your windshield replaced (check if you have a GM windshield for those that bought pre-owned) then there is an extremely high probability you have these rattles and perhaps are so use to it, you don't even know it.
An easy test: temporarily take some chewed chewing gum and squeeze under your moldings and drive the truck to see if it doesn't quieten the wind noise.
To rectify the issue you will need a philips screw driver, Goof-Off, and 1/2" 3M Scotch Mount Molding Tape, and 1 hr of time:
Step 1:

Start at the top of your Upper Door Weather Strip and pull this away from the body of the truck over the front door area and down the A-pillar and then un-hook it from the bottom of the Molding.
Step 2:

Remove the two philip screws. With both hands take the molding and slide it down slightly to pull the molding away from the top trim, then un-hook the molding from the cowling below.
Step 3:
Here you will see 3M strip that no longer have their adhesion. Remove the old molding tape and complete by removing any tape residue with Goof-Off. Goof-Off is also great as an adhesion promoter for the new tape.
Step 4:

Apply new tape as shown leaving about 1mm from the edge. In fact you will begin to feel a lip as to where the tape should go. Also, remember to replace the small tape piece on the lower part of the molding as well.
Step 5:
Clean your A-pillar on the body of the truck really well. Don't forget to remove that small piece of tape that will most likely remain on the truck within the door jam. Acetone or Alcohol that area where the tape was along with your windshield to promote good adhesion to your new tape.
Step 6:
Remove red tape backing and reinstall your molding by hinging in the bottom section into the cowling, and without allowing the tape to touch, lip the top section under the body trim. Once you feel you are centered, then set the tape by pulling the molding in to the truck. Replace the two screws while continuing the pressure on the molding to ensure a good seating of the tape. Also ensure the lower tape piece is nicely seated as well.
Step 7:

Re-hook your Door Weather Strip on the bottom of the molding first. If hooked correctly the Door Weather Strip fits flush along the molding as noted in the picture. Then stretch the Door Weather strip up until the cleat is seated nicely between the molding and upper body trim. Finish seating the rest of the weather strip above the doors.

Great job on the how to!
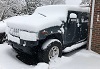
Common problem for most H2's. My 06 had the issue on a trip to northern AZ. The rattle was so loud at highway speeds I had to pull over at a gas station. 3M tape and you're good to go!
Common problem for most H2's. My 06 had the issue on a trip to northern AZ. The rattle was so loud at highway speeds I had to pull over at a gas station. 3M tape and you're good to go!
From Phoenix! Glad to have you here! I'm out in the far west valley.

Member
Joined: Dec 2014
Posts: 34
From: Phoenix Az
I work on the West side. Out at the Goodyear Airport. I plan on fixing this noise and pulling the "OnStar" unit this week.
Nice, I used to work at West Valley Hospital for 5 years so I know the area!
