Kevwood's mods - The H3 build thread


#13
 10-04-2015, 12:34 AM

Join Date: Jul 2012
Location: A Canadian in Dubai, United Arab Emirates
Posts: 48
With brakes, suspension, steering, leveled, wheels, tires, intake, filter, header, exhaust and ECU done it's was time to turn to cosmetics to not only give the truck an updated look, but also to increase functionality in some cases.
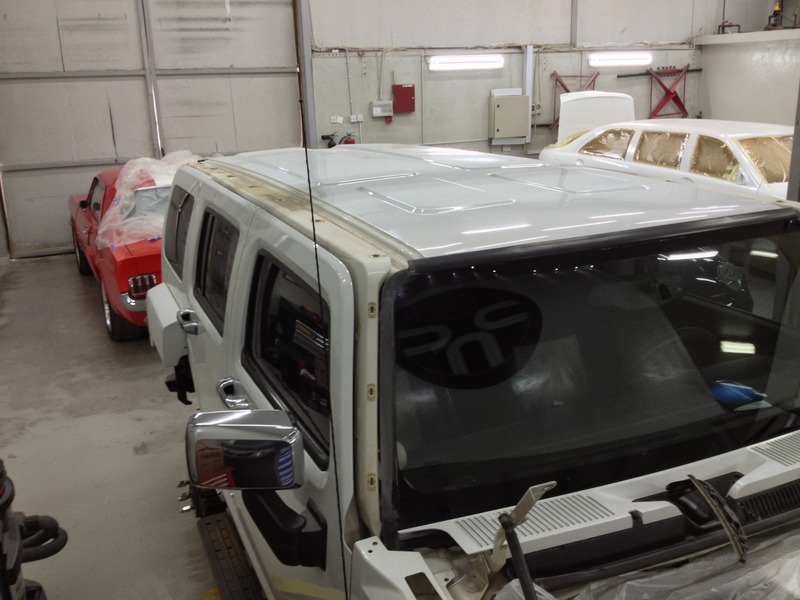
The first thing to do was address the faded grey trim. No matter how much protectant you apply it never looks 'great' and all the pieces see to fade at different speeds and degrees. Since this is a South African manufactured H3 it came with the OEM off-road fender flares, so these would need to be addressed along with the rest of the trim. As part of the "facelift" idea I didn't want to do anything radical so I decided the best thing to do was to sand down all the trim to remove the texture and paint it all satin black. This would match the window trim & other rubber pieces as well as contrast far better than the off grey. The satin finish would also give a bit more vibrance than flat but again, contrast nicely against the gloss white paint.
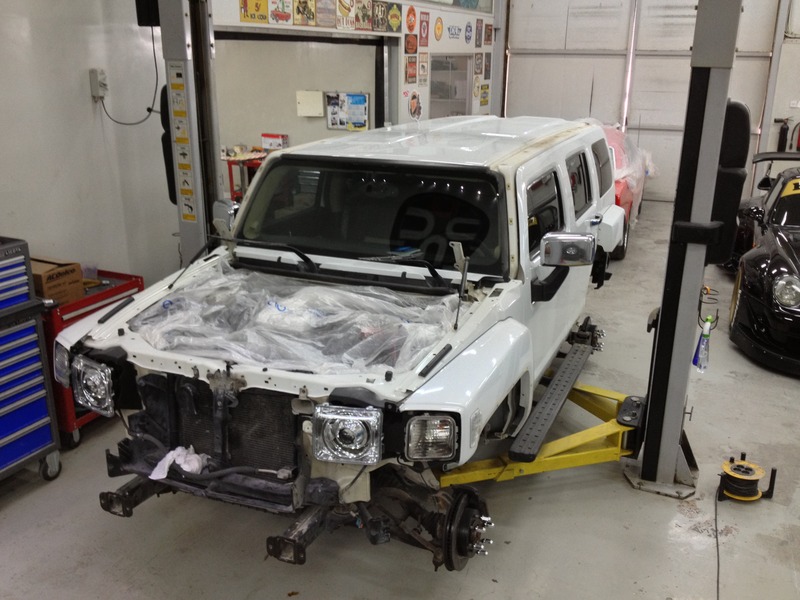
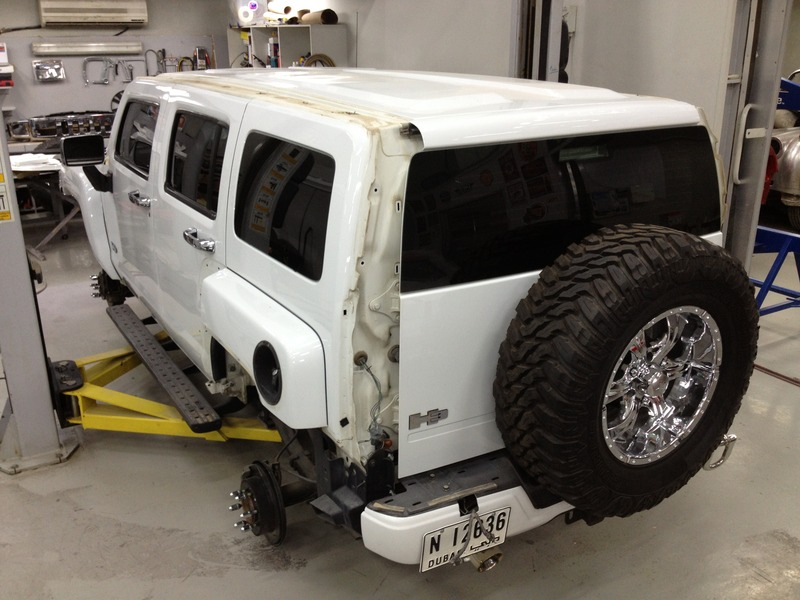
So, every piece of trim was stripped off the truck, this took me the better part of the afternoon;
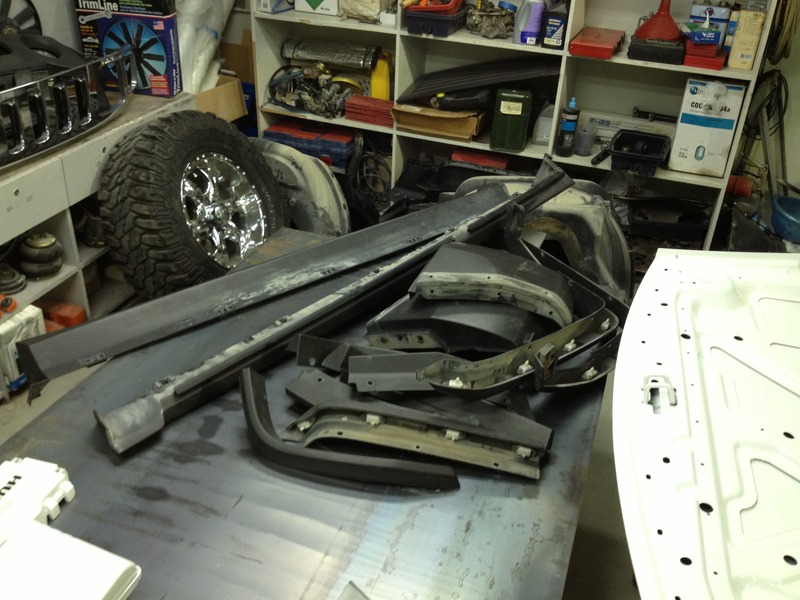
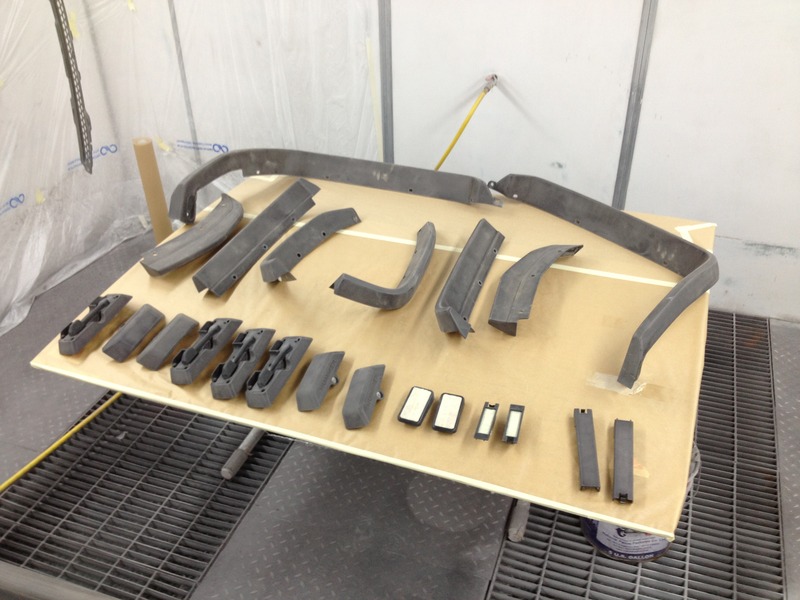
With all the trim stripped, each piece was sanded to remove the OEM texture;
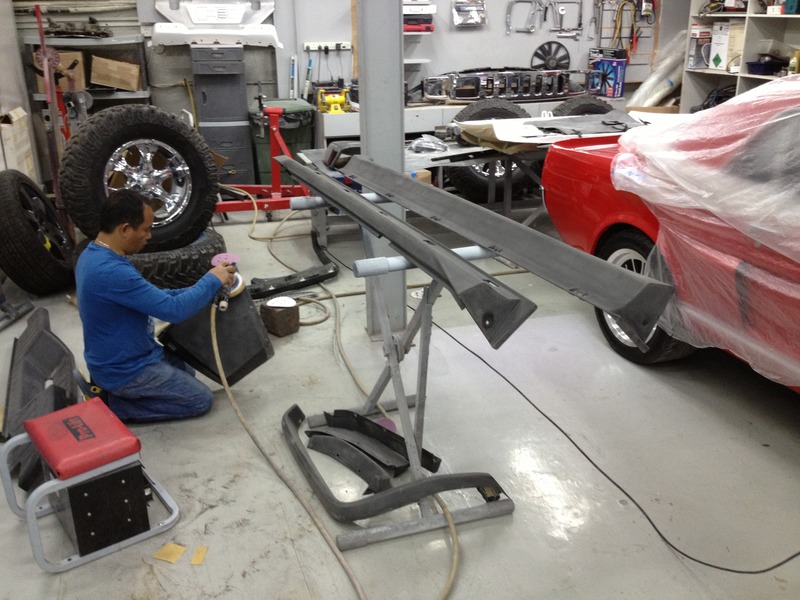
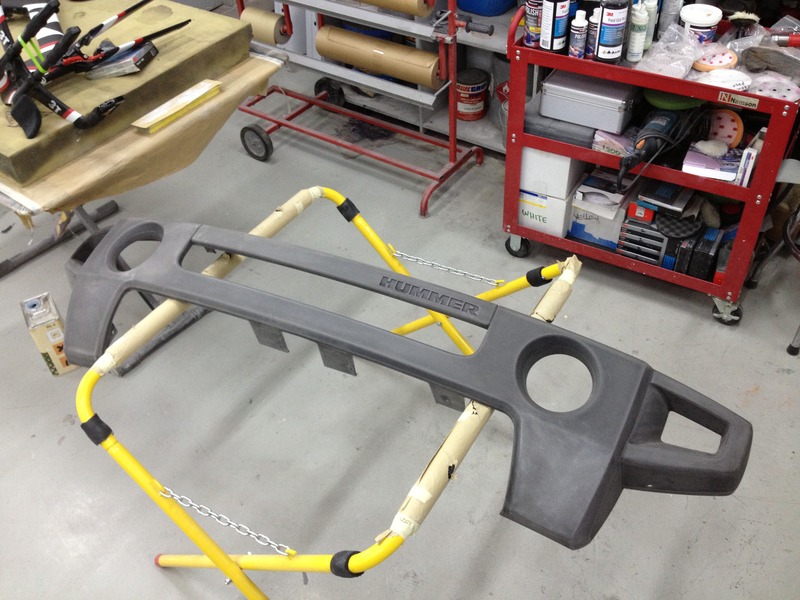
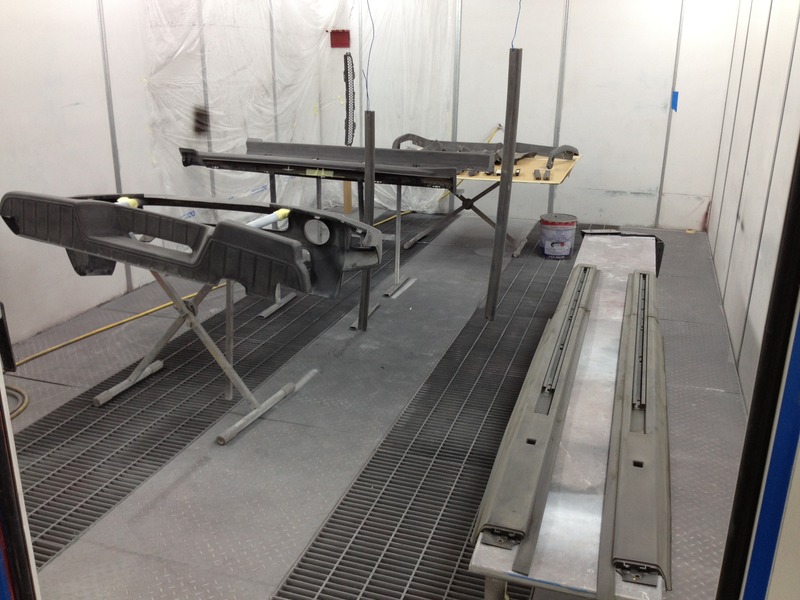
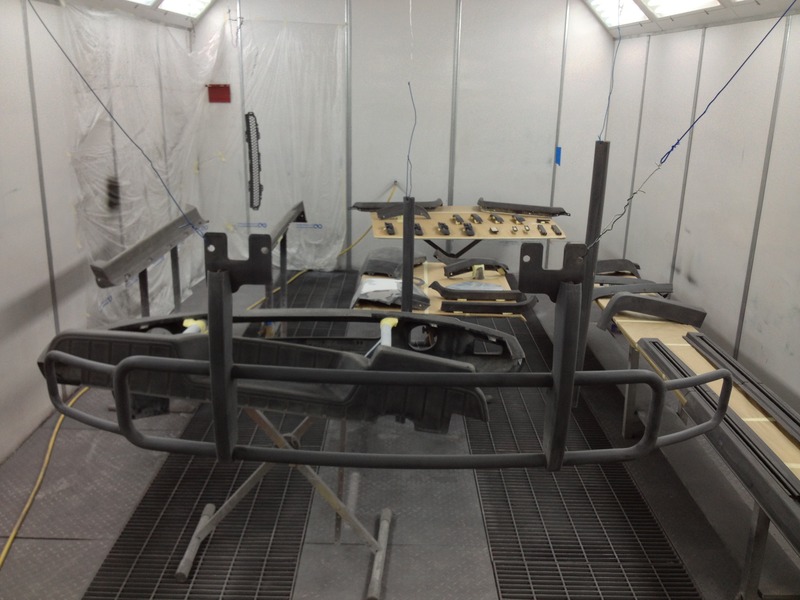
Once everything was done is was time to load everything into the paint booth where it would be treated to 800R adhesive, then primer, then paint and finally the matted clear (DuPont 6600) to give it the satin look & high UV protection;
The first thing to do was address the faded grey trim. No matter how much protectant you apply it never looks 'great' and all the pieces see to fade at different speeds and degrees. Since this is a South African manufactured H3 it came with the OEM off-road fender flares, so these would need to be addressed along with the rest of the trim. As part of the "facelift" idea I didn't want to do anything radical so I decided the best thing to do was to sand down all the trim to remove the texture and paint it all satin black. This would match the window trim & other rubber pieces as well as contrast far better than the off grey. The satin finish would also give a bit more vibrance than flat but again, contrast nicely against the gloss white paint.
So, every piece of trim was stripped off the truck, this took me the better part of the afternoon;
With all the trim stripped, each piece was sanded to remove the OEM texture;
Once everything was done is was time to load everything into the paint booth where it would be treated to 800R adhesive, then primer, then paint and finally the matted clear (DuPont 6600) to give it the satin look & high UV protection;
#14
10-06-2015, 05:40 AM
Join Date: Jul 2012
Location: A Canadian in Dubai, United Arab Emirates
Posts: 48
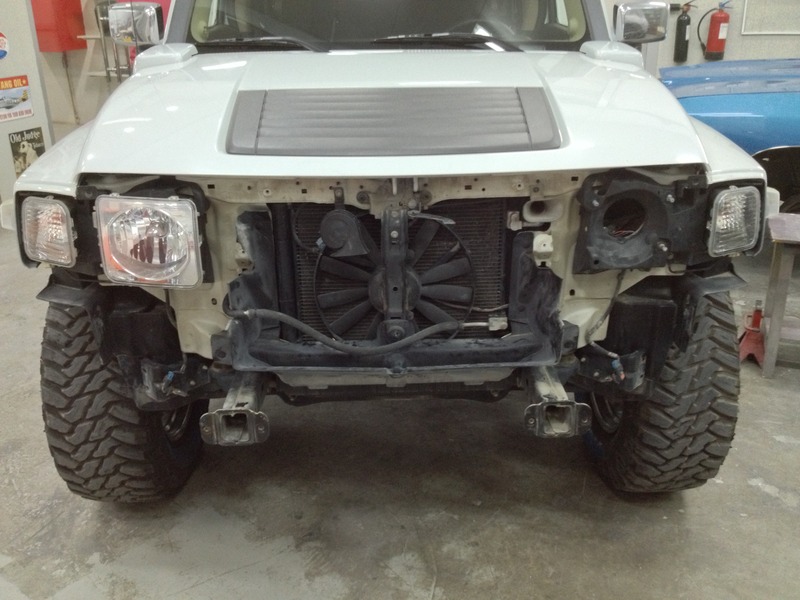
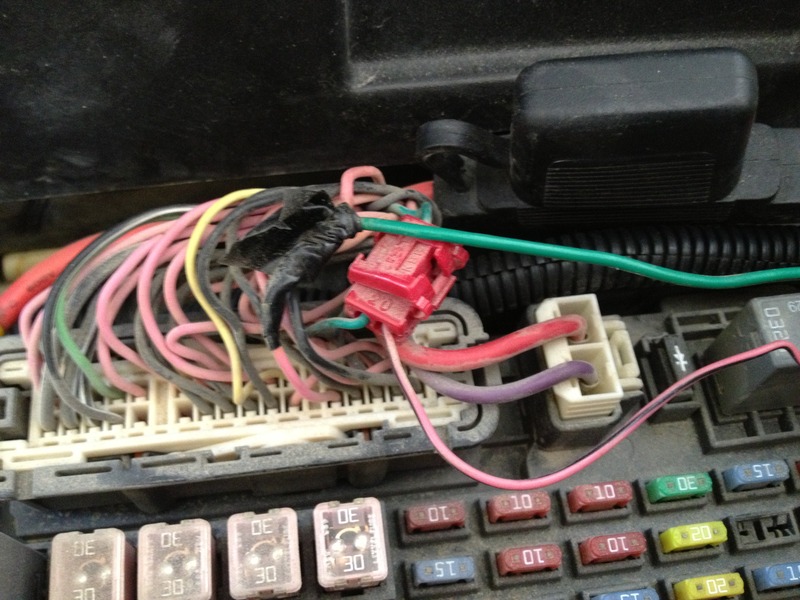
With all the trim pieces removed and being painted as part of the cosmetic 'facelift', I was able to see that an aux fan had been installed in the truck. It wasn't working and had damaged the rad so I removed it;
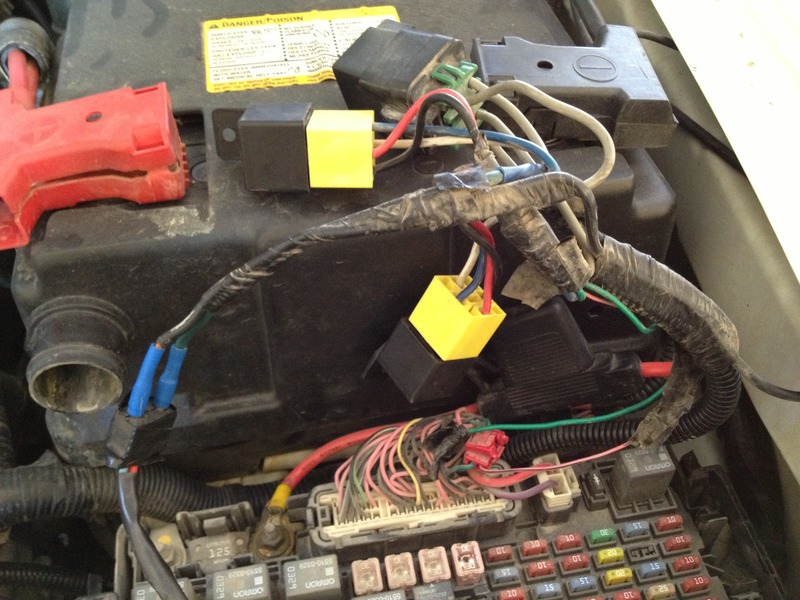
When I started to remove the wiring I was horrified to see how it had been hacked in, no matter how many times I see crap like this it still amazes me that people actually accept this kind of work;
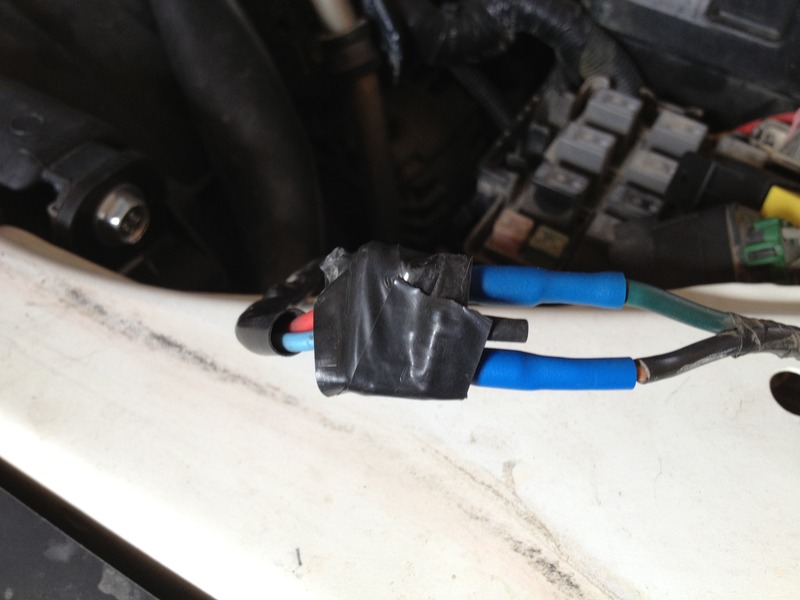
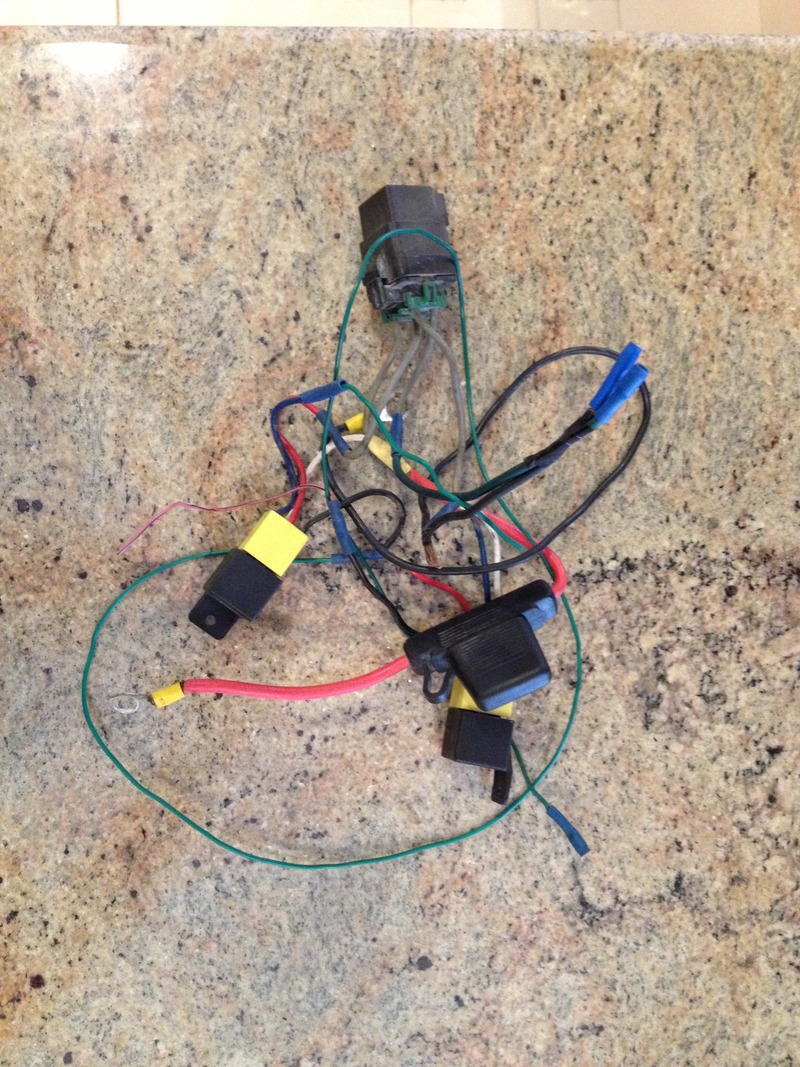
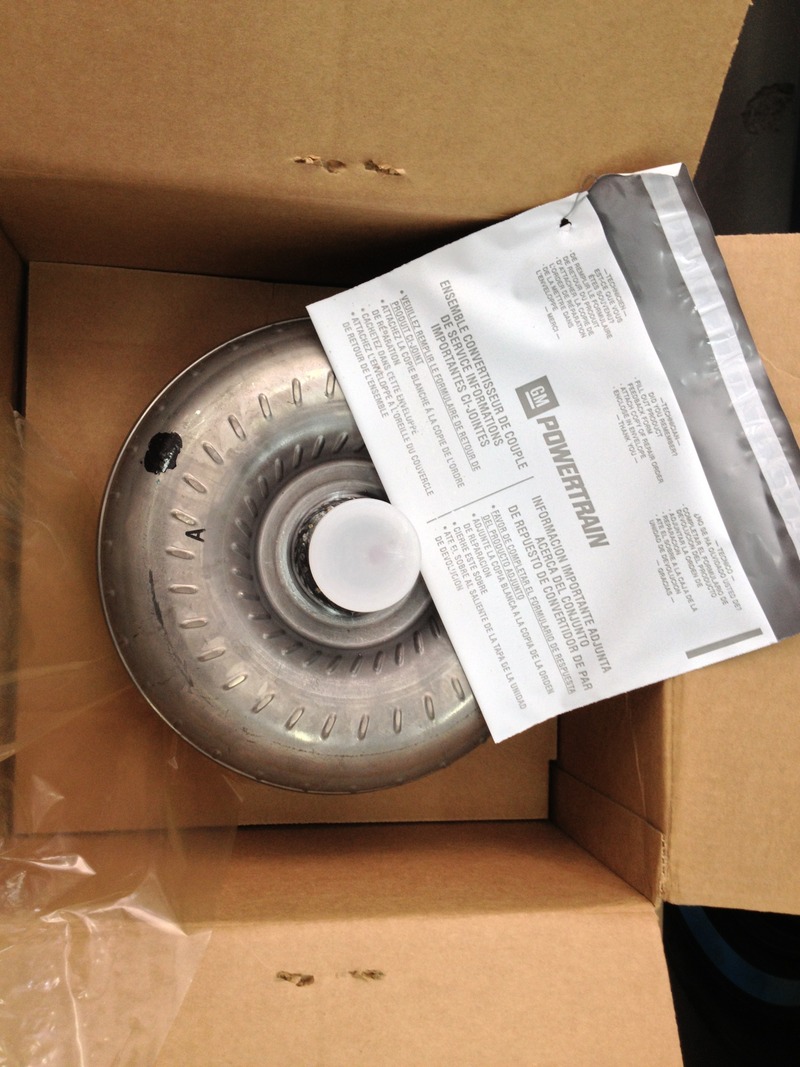
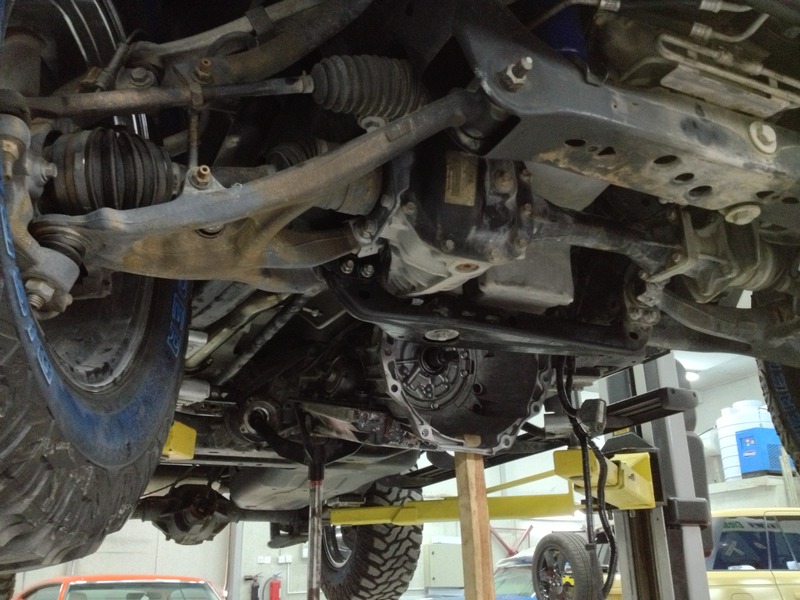
With that rats nest removed and damaged wires repaired/replaced, I replaced the rad (no pictures) and installed the new torque converter at the same time. The TC was making noise (bearing) so it had to go;
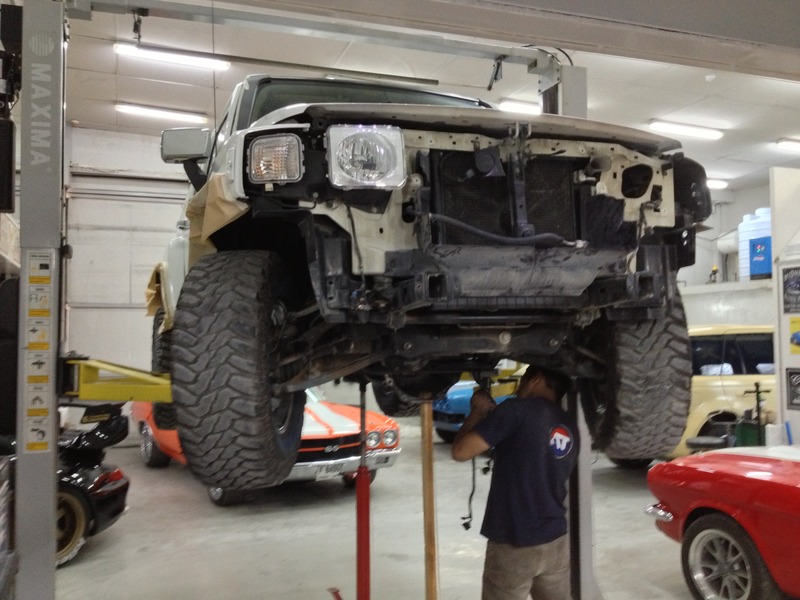
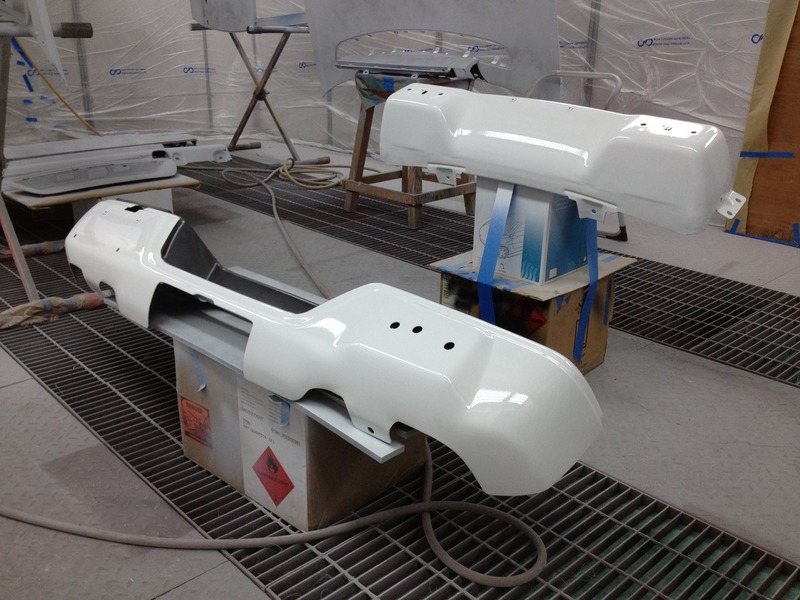
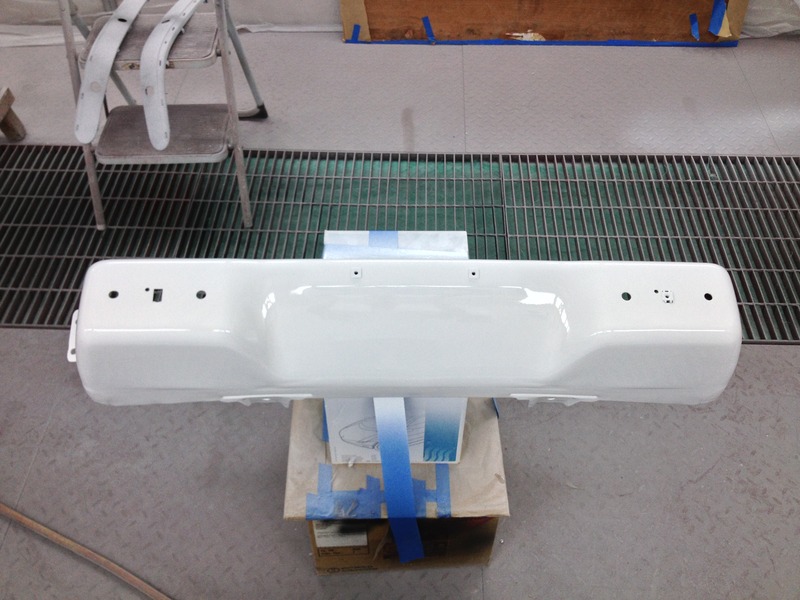
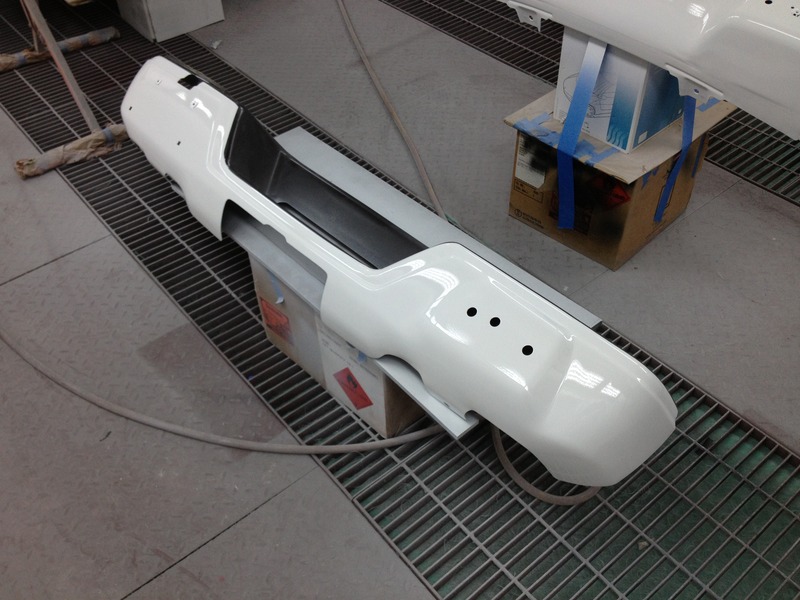
While this was going on we continued the facelift project by painting the front & rear bumpers and rear bumper caps in body color;
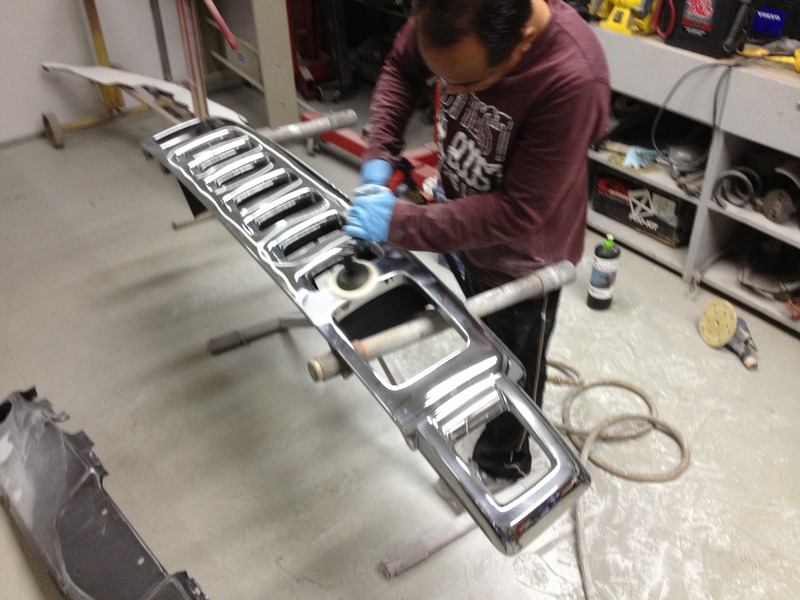
With the front grill removed we did a three step polish, it made a dramatic difference. Smooth and good gloss;

When I started to remove the wiring I was horrified to see how it had been hacked in, no matter how many times I see crap like this it still amazes me that people actually accept this kind of work;
With that rats nest removed and damaged wires repaired/replaced, I replaced the rad (no pictures) and installed the new torque converter at the same time. The TC was making noise (bearing) so it had to go;
While this was going on we continued the facelift project by painting the front & rear bumpers and rear bumper caps in body color;
With the front grill removed we did a three step polish, it made a dramatic difference. Smooth and good gloss;
#16
10-18-2015, 01:32 AM
Join Date: Jul 2012
Location: A Canadian in Dubai, United Arab Emirates
Posts: 48
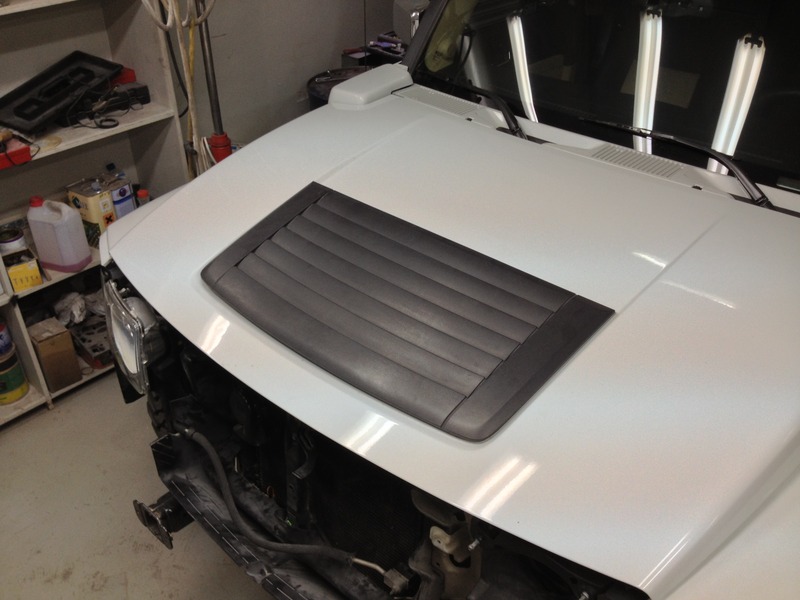
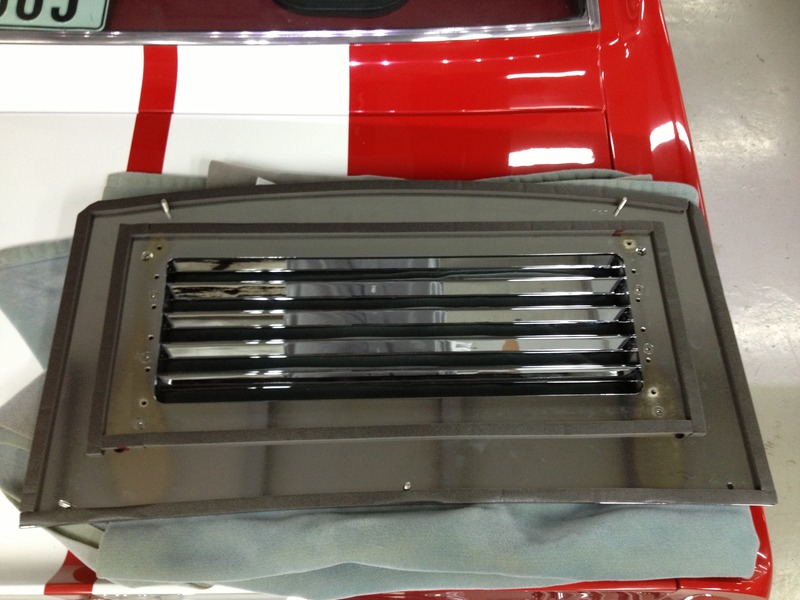
With the trim being finished I turned to the hood in an attempt to address the heating issue and continue the updated facelift theme. I purchased a billet aluminum hood grill, chromed, to go along with the white, black and chrome theme I was working with.
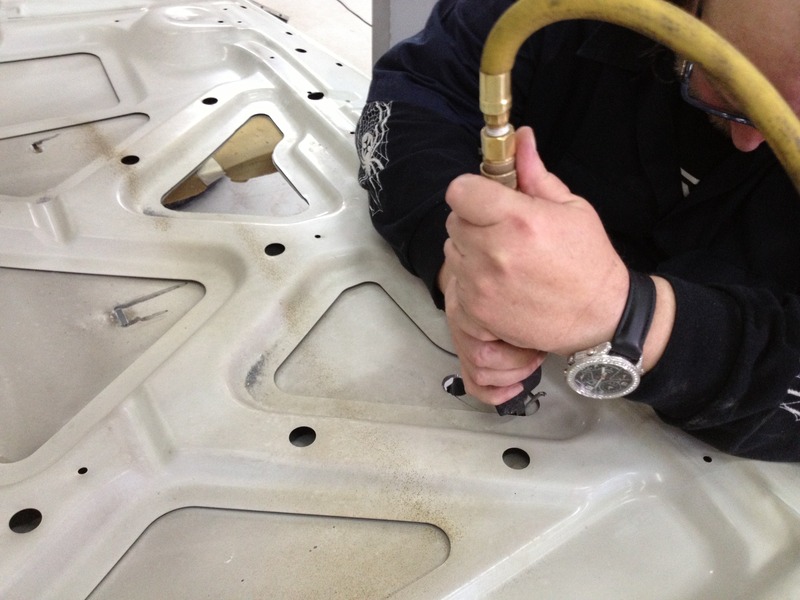
First thing to do was to remove the ugly and non functional plastic hood cover;
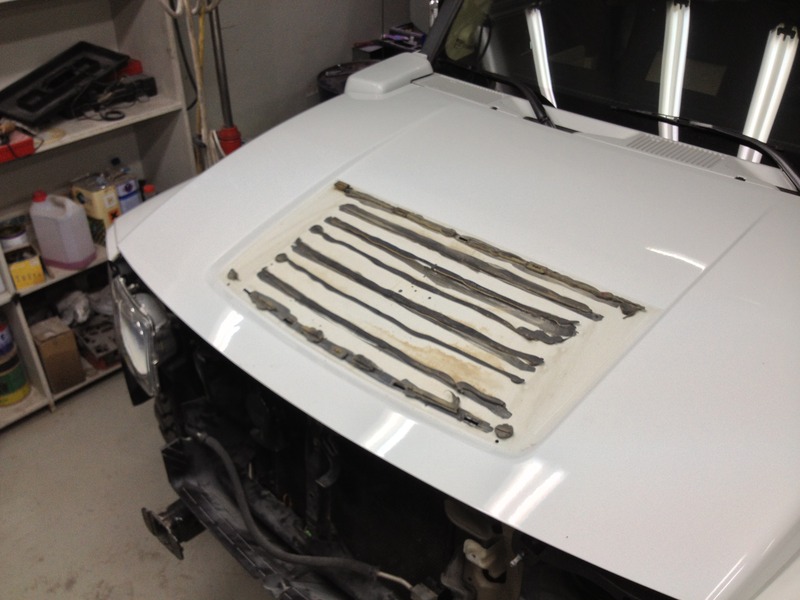
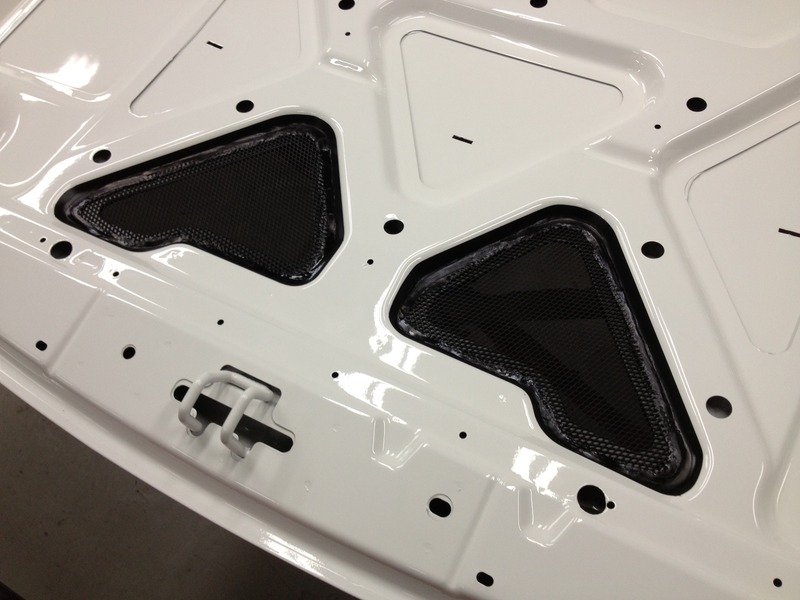
With the hood removed, two cutouts were made to coincide with the new grill;
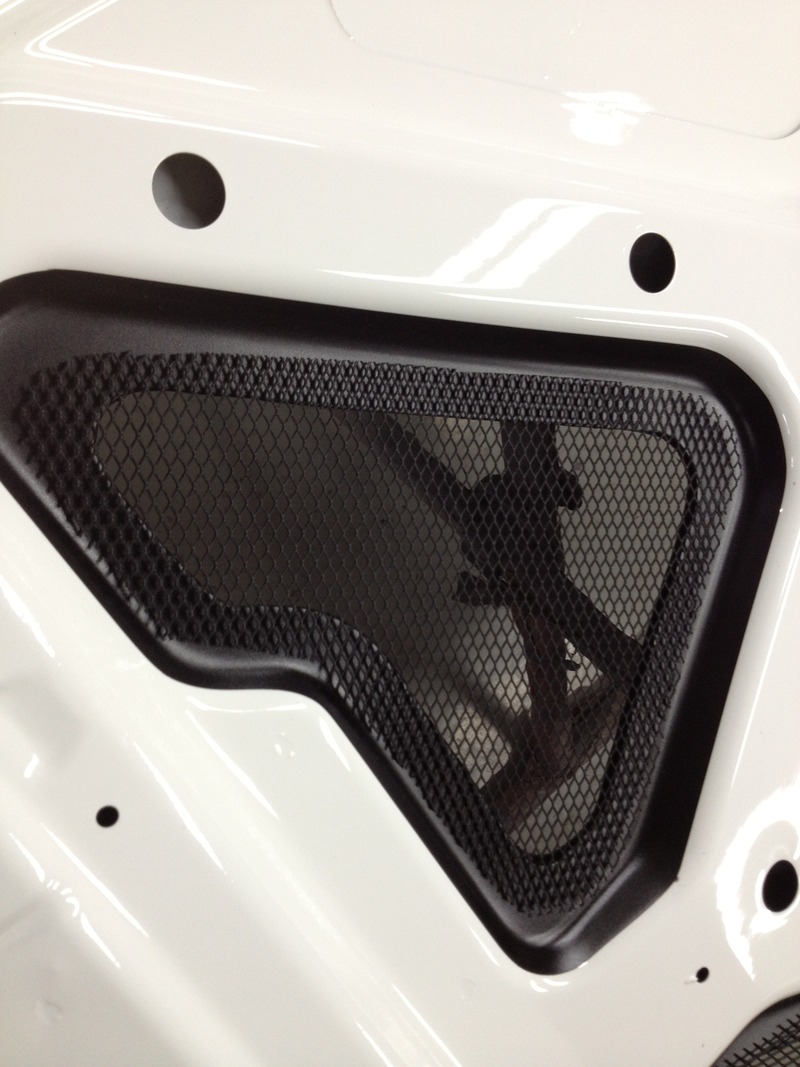
Instead of leaving it open, I cut out two pieces of mesh to fit into the cutouts;
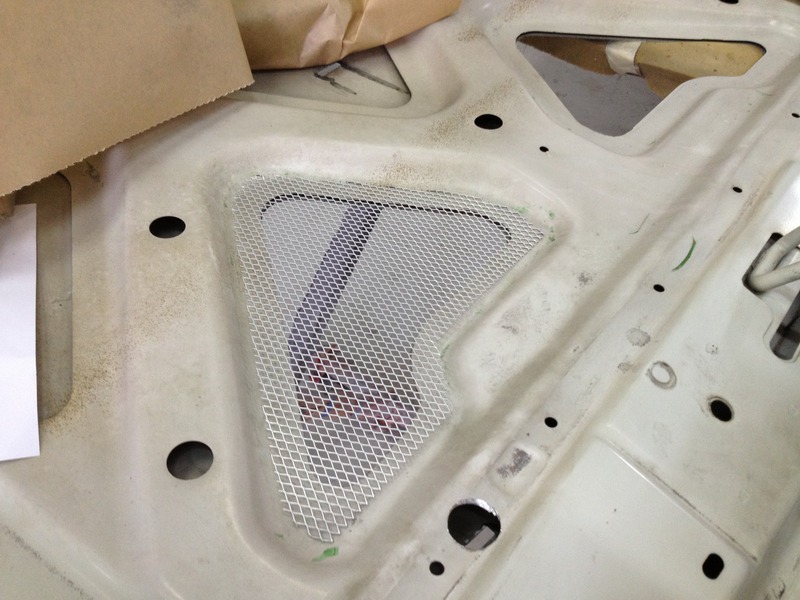
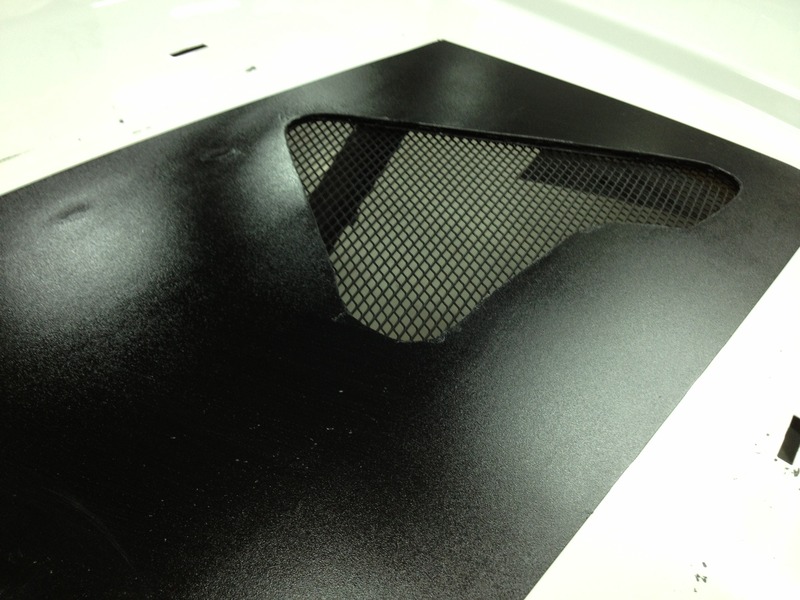
After the cutting was done, the underside of the hood was painted body color with clear coat, the area where the mesh sits was painted satin black as well as the top side of the hood beneath the new grill;
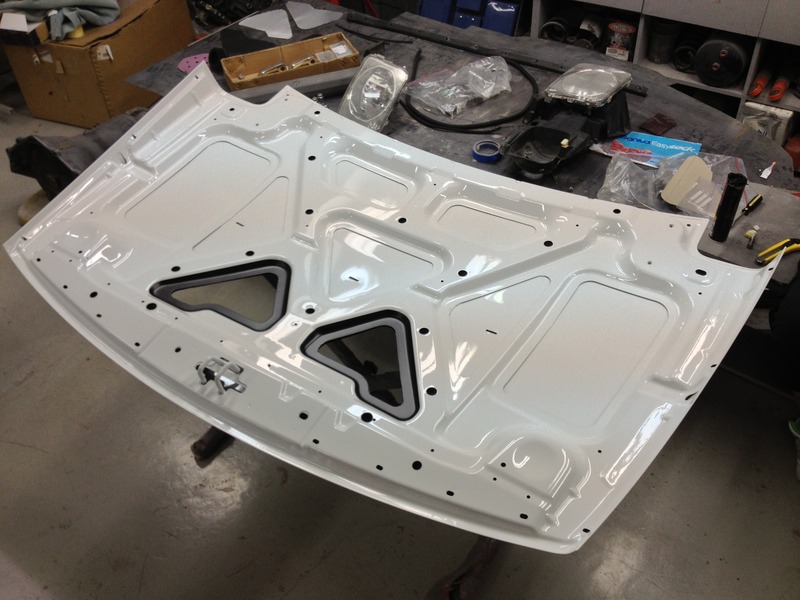
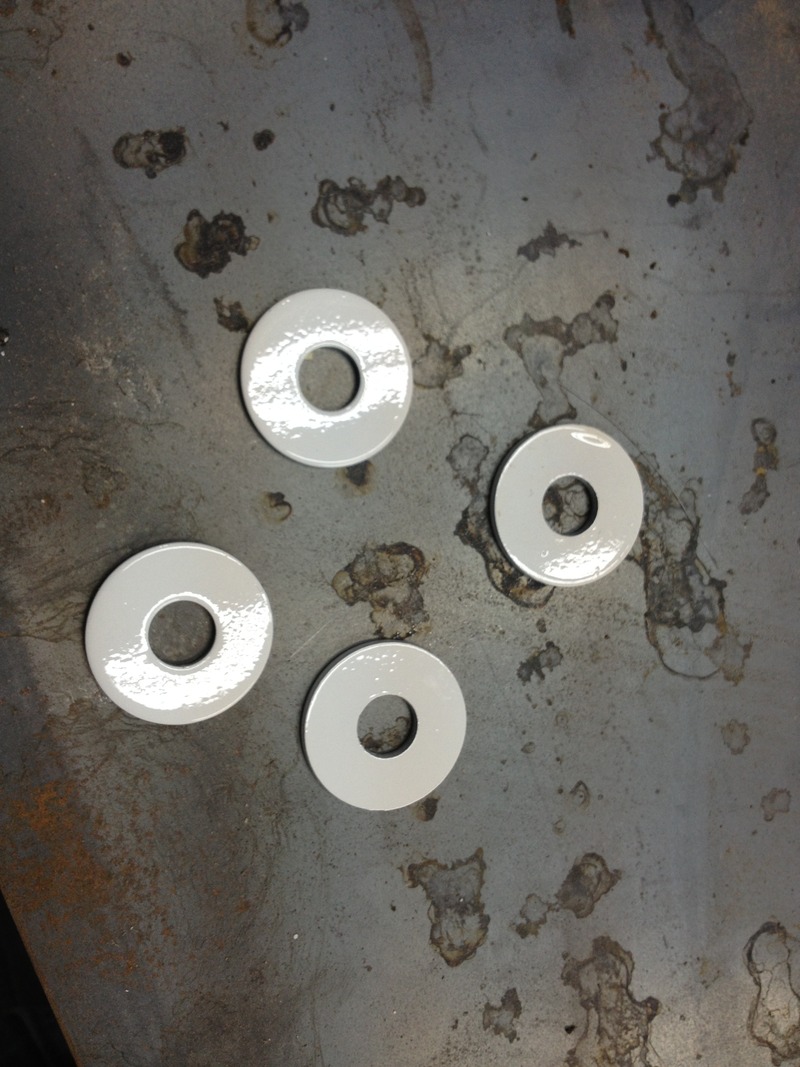
I also painted large washers body color so they wouldn't stand out on the underside of the hood;
With the mesh also painted satin black, it was siliconed in place;
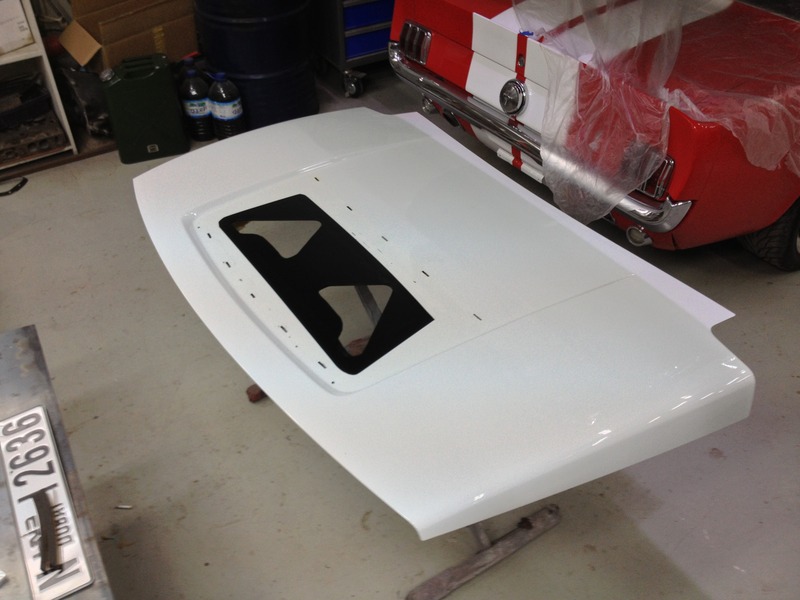
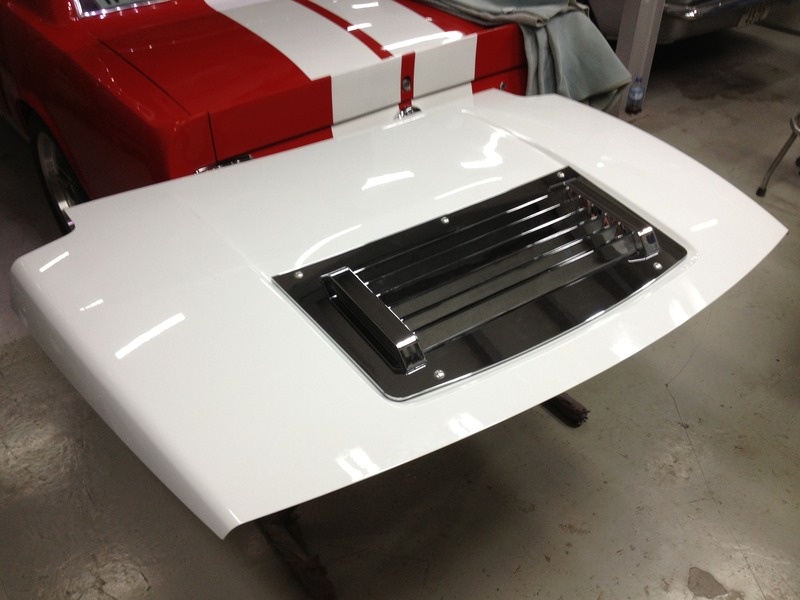
Because the new grill is flat and does not perfectly match the slight curve of the hood, I lined it with double sided foam tape, this would allow a proper seal to be made and take up the gaps at the end of the grill;
With the grill in place it looks pretty much OEM and most importantly, it's functional;

First thing to do was to remove the ugly and non functional plastic hood cover;
With the hood removed, two cutouts were made to coincide with the new grill;
Instead of leaving it open, I cut out two pieces of mesh to fit into the cutouts;
After the cutting was done, the underside of the hood was painted body color with clear coat, the area where the mesh sits was painted satin black as well as the top side of the hood beneath the new grill;
I also painted large washers body color so they wouldn't stand out on the underside of the hood;
With the mesh also painted satin black, it was siliconed in place;
Because the new grill is flat and does not perfectly match the slight curve of the hood, I lined it with double sided foam tape, this would allow a proper seal to be made and take up the gaps at the end of the grill;
With the grill in place it looks pretty much OEM and most importantly, it's functional;
Last edited by Kevwood; 10-18-2015 at 01:38 AM. Reason: added picture
#18
10-18-2015, 07:39 AM
Join Date: Jul 2012
Location: A Canadian in Dubai, United Arab Emirates
Posts: 48
Thanks, lots and lots to go still.
The shop was managed by a close friend of mine, he's since moved back to the U.S. They specialize in classic car restoration and exotic car modifications. I used to help them out with electrical trouble shooting, audio and old school engine tuning so in turn they let me use the shop to get work done on my vehicle when they had space, it was a great barter.
The shop was managed by a close friend of mine, he's since moved back to the U.S. They specialize in classic car restoration and exotic car modifications. I used to help them out with electrical trouble shooting, audio and old school engine tuning so in turn they let me use the shop to get work done on my vehicle when they had space, it was a great barter.