New Engine After All....lots of info
#1
Hello gents,
Well....after officially screwing up my OEM engine in January 2018, I was devastated, pissed, confused, and a whole variety of other things.
I still don't really know how in the world I managed to not screw in one of the oil pick up tube bolts. Truthfully, I didn't find it in the oil pan...so, I just forgot.
So.....fast forward to March 2018. I decided to buy an engine from AutoZone....PROFormance brand, 4yr, unlimited mile, no fault warranty. https://www.autozone.com/powertrain/...9_362102_11266
It was a fully re-manufactured, long block engine. It came with valve covers, timing chain cover, rear main seal cover, oil pan, drain plug and all the install gaskets you could/would need. Very please with turn around time...ordered on a Friday morning....engine showed up Monday afternoon...came out of a Dallas warehouse. Engine was completely put together....very much "plug and play."
Fun facts: Reman'd engine is .030 bored over....not a new block....just a "re-manufactured" one...got to smooth out the imperfections and start with "fresh" material
It came in a very nice plastic enclosure with a solid base. Last but not least...I was fooling myself thinking that a "new engine" would be all I would have to buy. See below for details.
Lessons learned during install:
1. 13 year old vehicle with 209k miles is probably going to need motor mounts....bought new left and right
2. New A/C Delco spark plugs
3. Re-used my wires since I had purchased new A/C Delco Sept 2016 and had barely put 2k miles on them
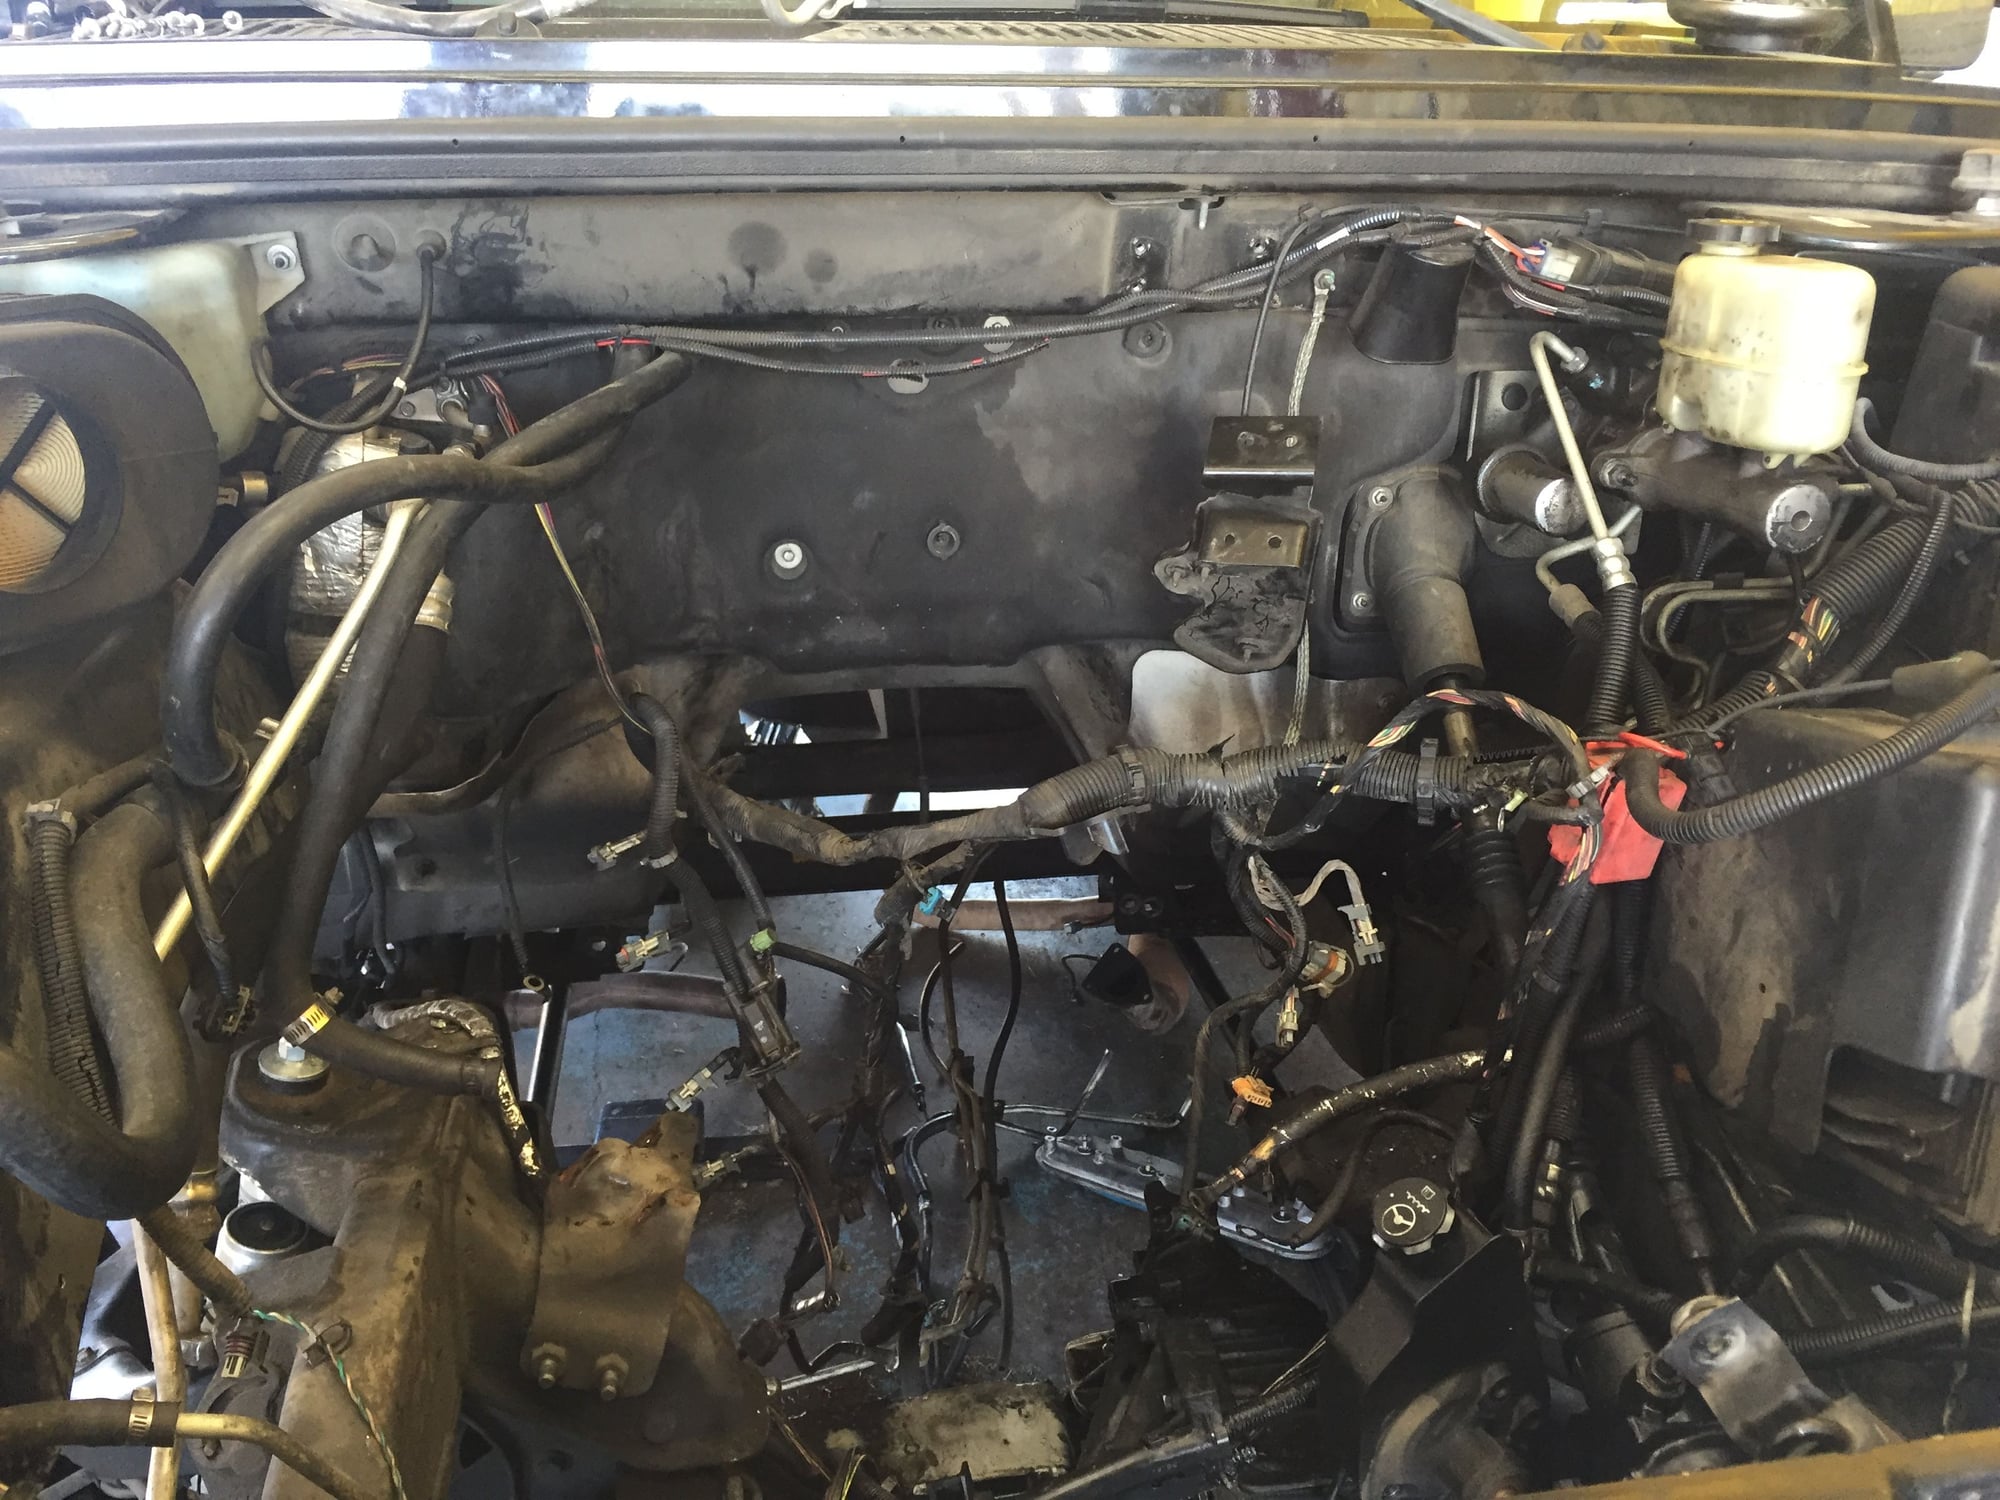
4. All of the plastic covering/sheathing that surrounds the multiple wiring harnesses just crumbled....both during engine removal and during installation
5. One of the radiator hoses bit the dust during removal
6. Radiator fan came off easily
7. Radiator fan would NOT go back on to the water pump pulley
8. Somehow, the threads on the shaft on the water pump got worn down/flattened during removal
9. I completely ruined the threads during re-installation b/c I forced the fan on
10. Bought a new water pump and fan clutch
11. Radiator fan spun onto the shaft on the water pump so easy I thought something was wrong....lol
12. I filled the engine/water pump through the top inlet.....It took FOREVER!!!
13. New thermostat
14. Re-used both belts
15. Alternator develop a slight squeal...no idea why. Got it bench tested 3 separate times....tested 100%
16. The JBA shorty headers I bought months ago finally got installed.
17. Bought zinc treated bolts for headers
18. New knock sensors
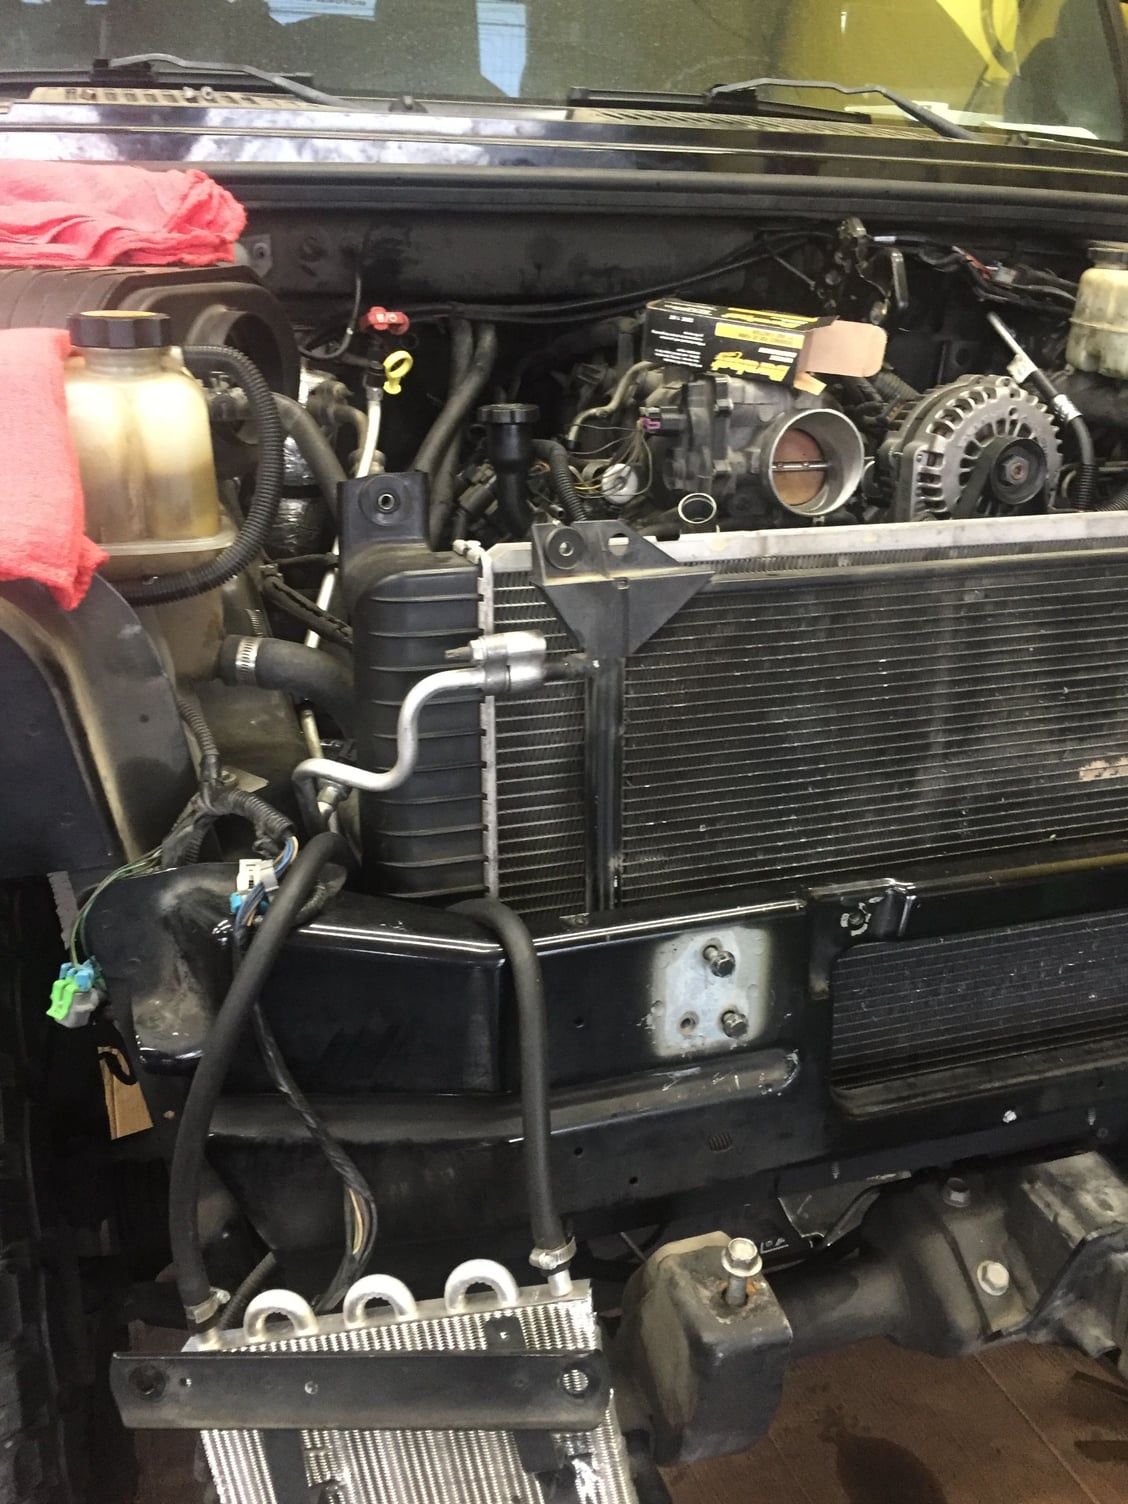
19. New power steering hoses
20. Had to re-route trans cooler lines.....took a few hours just to get these "right"
21. Dipstick tube...broke during re-install...ending up breaking 1 more before getting the "right fit"
22. Dipstick broke at handle
23. Dipstick broke at measuring tip
24. Dorman replacement dipsticks suck....!!!! Ordered GM b/c the knock off replacement doesn't have the rivets in the center section that allow the dipstick to flex enough to make its way down the multiple curves
25. A sending unit for something or another was changed out
26. Had to buy a new harmonic balancer b/c the old one would NOT come off the seized engine...go figure...lol
27. Bolts on the water pump need to be tightened all the way...until the back of the water pump housing is flush with engine. I was scared I would mess something up and did not tighten the bolts enough...led to coolant leak.
28. I used Permatex Ultra Black sealant on thermostat and water pump rubber gaskets
29. Initial motor oil fill was 6 quarts
30. Added another 1/2 quart of oil after starting it and letting it run for 3 mins
31. Oil pressure is at 80 PSI consistently
32. Decide if you want to remove engine and tranny as a whole
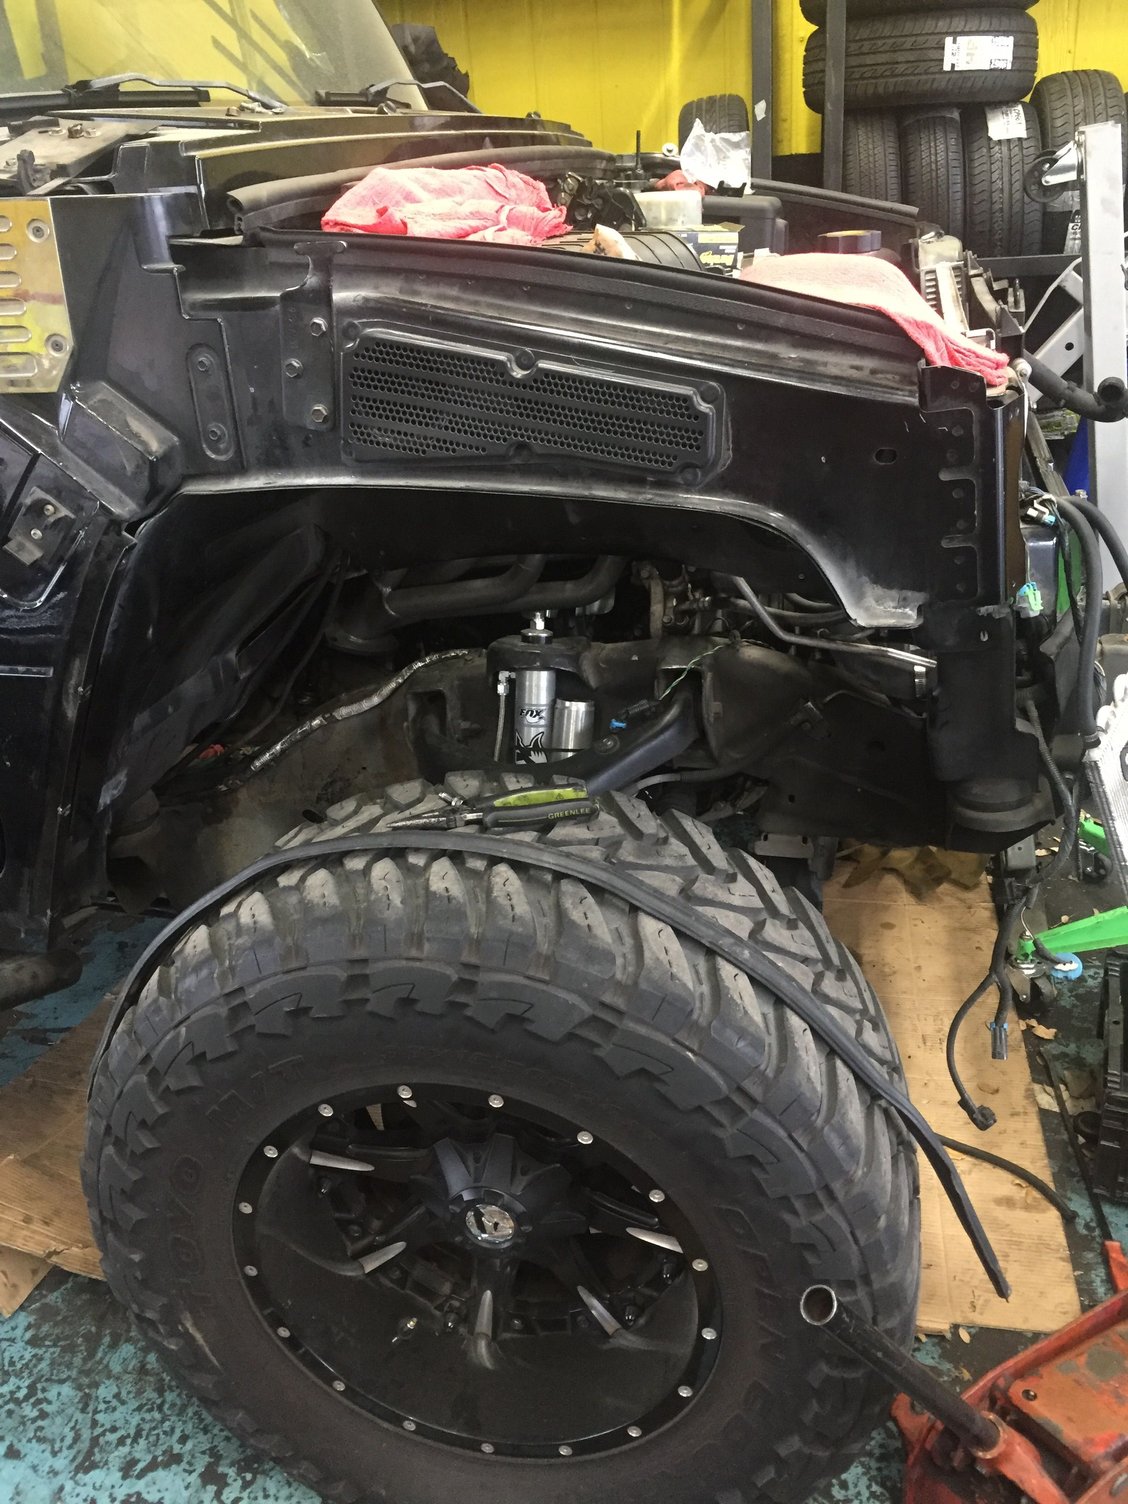
33. I removed transmission first....this time around removed cross member under transfer case instead of removing torsion bars and accompanying cross member
34. Rent the crazy long/wide mouth wrenches to remove fan clutch....saves ALOT of time
35. Be careful with wiring harnesses upon engine installation so as to not “pinch” them and cause a short
36. Somehow I not only pinched but mostly severed 1 single wire....to my surprise...it goes to the A/C. Black electrical tape is holding it together for now
37. Obtain a quality engine hoist that you trust. I bought one from AutoZone. https://m.autozone.com/engine-and-ve..._0_0?location=
I think that may be all regarding new engine install. I have some pics I will post.
I will also share info regarding the new/remanufactured tranny I bought. More to come...
Last edited by RoH2; 04-27-2018 at 10:07 PM. Reason: More info
#10
Wow, that is a good chunk of work to do by yourself in the garage. Nice to see a tech post on here with pics and detailed descriptions of what youve encountered along the way. I get alot of satisfaction from wrenching on my own junk. As frustrating as it may be when it goes south. In the end you get it done right.
Youre getting close. Take your time and methodically pic away at it. When youre done with something and its torqued down. Mark the bolts with a paint pen. So when you do your prefire check you can visually see that yes that bolt is tight and complete. Keep the pics coming. Good luck
Youre getting close. Take your time and methodically pic away at it. When youre done with something and its torqued down. Mark the bolts with a paint pen. So when you do your prefire check you can visually see that yes that bolt is tight and complete. Keep the pics coming. Good luck
Last edited by madmayo; 04-27-2018 at 08:57 AM.


