
H3 Trailer Hitch


Thread Starter
|
Member
Joined: Feb 2011
Posts: 95
I'm looking into installing a trailer hitch on my 2007 Base H3 but do not want the kind that hangs lower than the bumper...
Looking into the parts I found one on GMparts web site and they are asking for 437$. I've looked under the back of my bumber and found that the harnest is there and has holes for a 2" square pipe where the reciver pipe should be. The thing is, I can find a 2" square adjustable receiver for about 130$ and just need to know if it's possible.
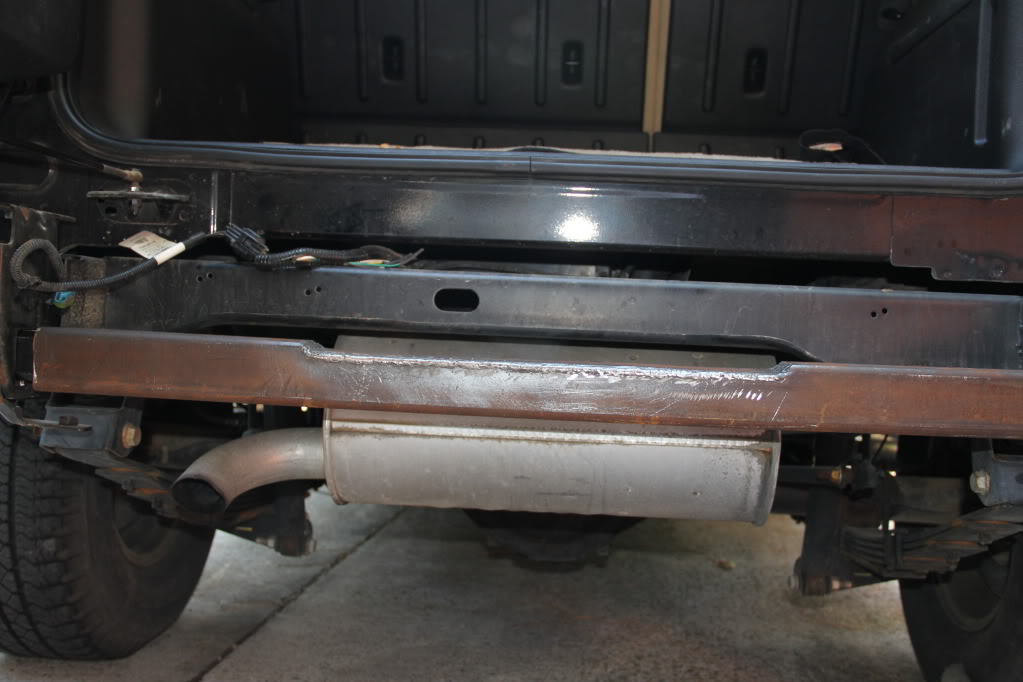
Can someone post some pictures of their OEM hitch, I'm especialy intrested if the OEM pipe has an angle on it or is it just straight, and how the square pipe (6) is attached to the bumper (3) area.
Thank you much.

Looking into the parts I found one on GMparts web site and they are asking for 437$. I've looked under the back of my bumber and found that the harnest is there and has holes for a 2" square pipe where the reciver pipe should be. The thing is, I can find a 2" square adjustable receiver for about 130$ and just need to know if it's possible.
Can someone post some pictures of their OEM hitch, I'm especialy intrested if the OEM pipe has an angle on it or is it just straight, and how the square pipe (6) is attached to the bumper (3) area.
Thank you much.

Senior Member
Joined: Mar 2006
Posts: 749
I bought an aftermarket hitch with a receiver that hangs below the rear bumper, they're all set up this way so that the rear bumper doesn't need to be cut. On my hitch, the equivalent part #6 is a straight tube with mounting flanges already welded at each end. It was like $99 on an internet site sale.
I've been thinking about doing what you are considering with my aftermarket hitch. It would be very easy for a shop to cut off the receiver and its stand-off from the cross-bar and reweld it so that it's higher and would poke through a cut hole in the rear bumper just like factory.
Have you visited a trailer hitch/towing shop yet? They could just mod an H3 or fab up a universal frame hitch this way from the start for half the price of the factory hitch.


Thread Starter
|
Member
Joined: Feb 2011
Posts: 95
Custom Hummer H3 Trailer Hitch
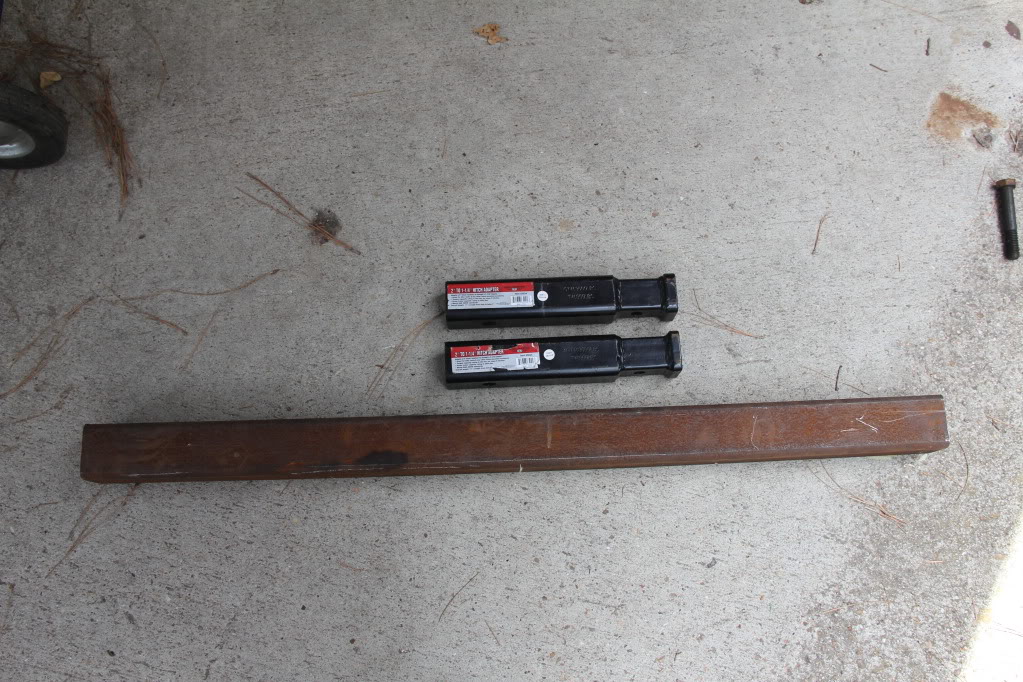
2 - Hitch Adapter 2" to 1-1/4" Trailer Hitch Receiver, 12" Long
1 - 2-1/2� x 2-1/2� x �� square mill steel 4� Long
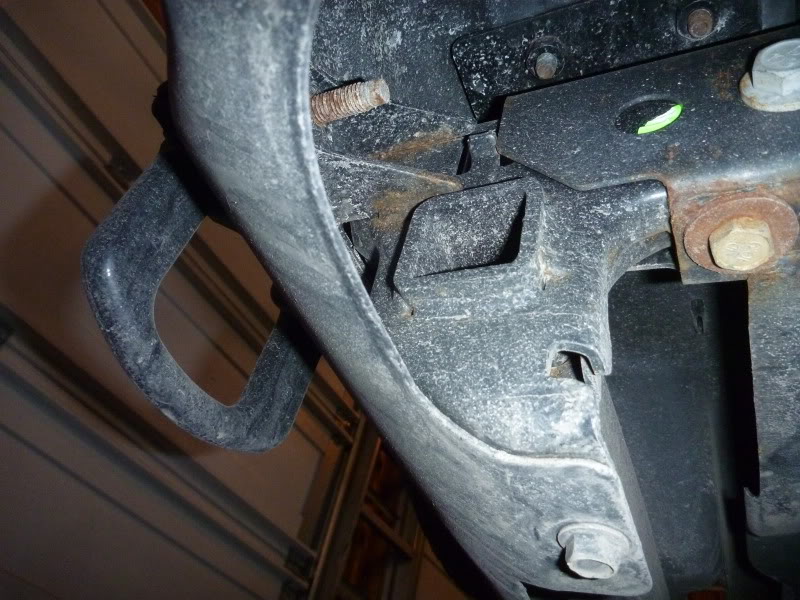
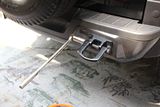
Start by removing the tow hooks
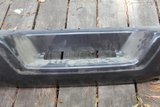
Remove the plastic bumper cover. I used a large screw driver to add some upward pressure to make it easier to force the plastic to pop up while I was under the vehicle pinching the clips.

Pinch and push clips through the metal using pliers, and remove plastic cover.
Be careful not to damage the wire harness attached under the metal bumper
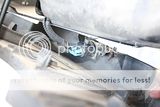
From the top of the bumper, pinch and push clips through the bumper.
. Note that at this point, there are three bolts holding the bumper down on each end, two above and one below. Remove the bolts and bumper.
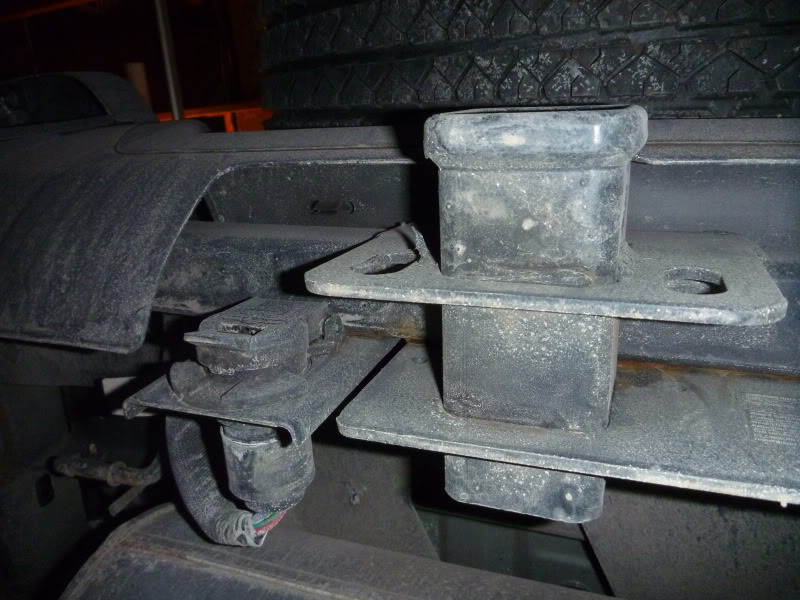
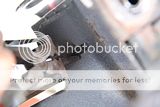
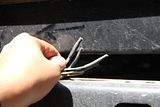
At this point I noticed some loose cables within the harness
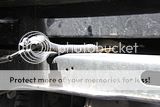
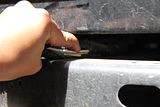
These cables are used for the trailer connections and e-brake.
Move the cables aside for now.
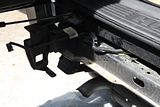
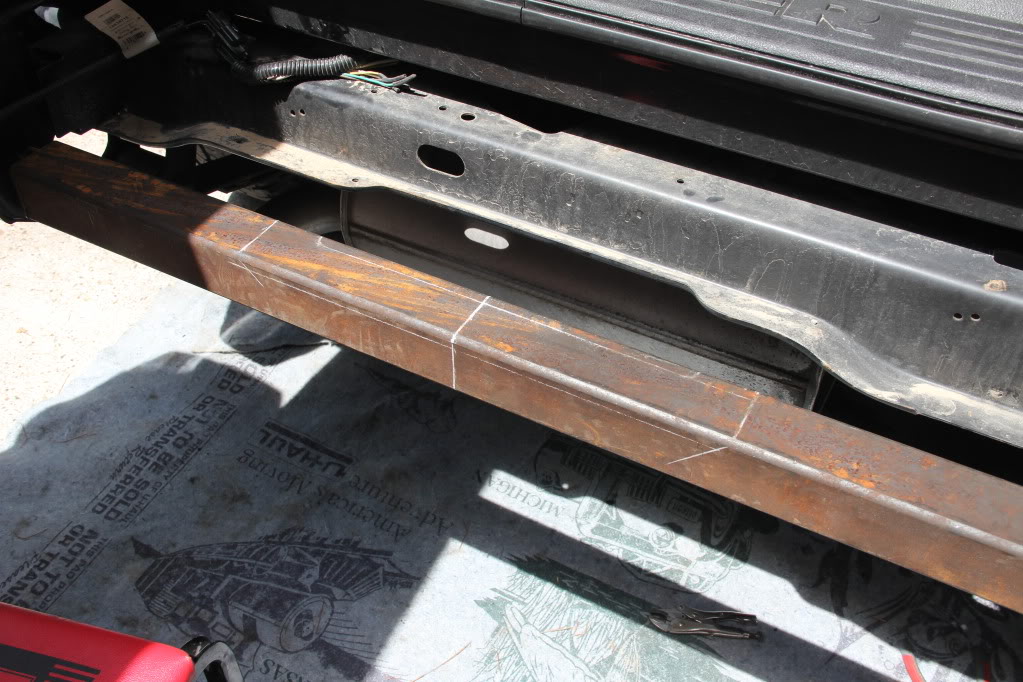
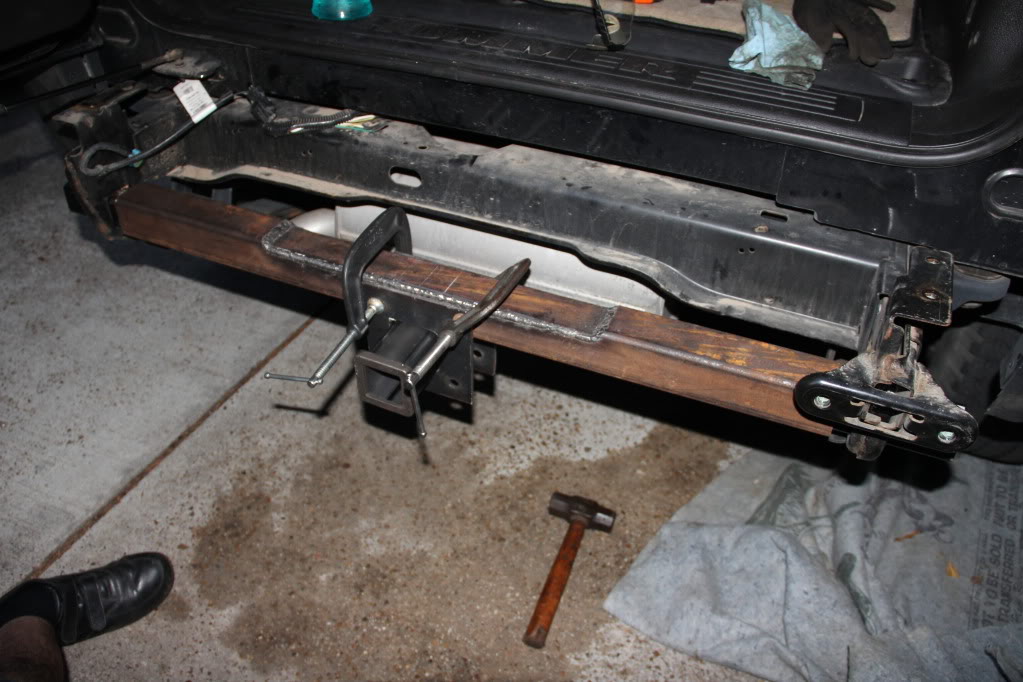
Loosely installed all the metal hardware and measured to find center.
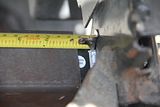
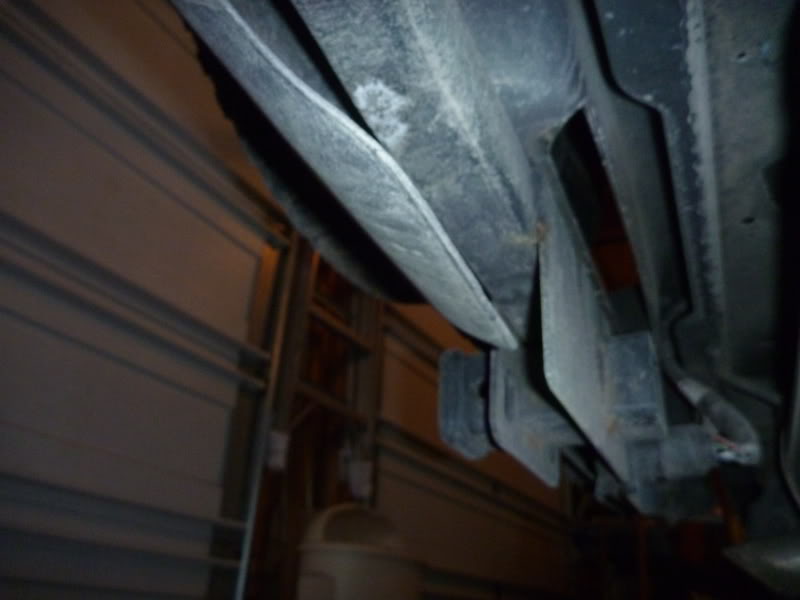
I then placed the bumper back on and found that the larger diameter square pipe did not allow the bumper to rest properly.

A few more measurements to make way for the step in the bumper.
2 - Hitch Adapter 2" to 1-1/4" Trailer Hitch Receiver, 12" Long
1 - 2-1/2� x 2-1/2� x �� square mill steel 4� Long
Start by removing the tow hooks
Remove the plastic bumper cover. I used a large screw driver to add some upward pressure to make it easier to force the plastic to pop up while I was under the vehicle pinching the clips.
Pinch and push clips through the metal using pliers, and remove plastic cover.
Be careful not to damage the wire harness attached under the metal bumper
From the top of the bumper, pinch and push clips through the bumper.
. Note that at this point, there are three bolts holding the bumper down on each end, two above and one below. Remove the bolts and bumper.
At this point I noticed some loose cables within the harness
These cables are used for the trailer connections and e-brake.
Move the cables aside for now.
Loosely installed all the metal hardware and measured to find center.
I then placed the bumper back on and found that the larger diameter square pipe did not allow the bumper to rest properly.
A few more measurements to make way for the step in the bumper.
Thread Starter
|
Member
Joined: Feb 2011
Posts: 95
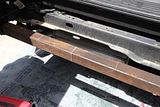
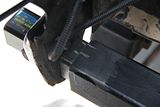
Fits like a glove now.
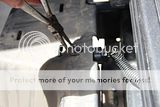
I found some 6x6x1/4 � plates and used them to secure the receiver.
A little cleaning and painting, starting to look good.
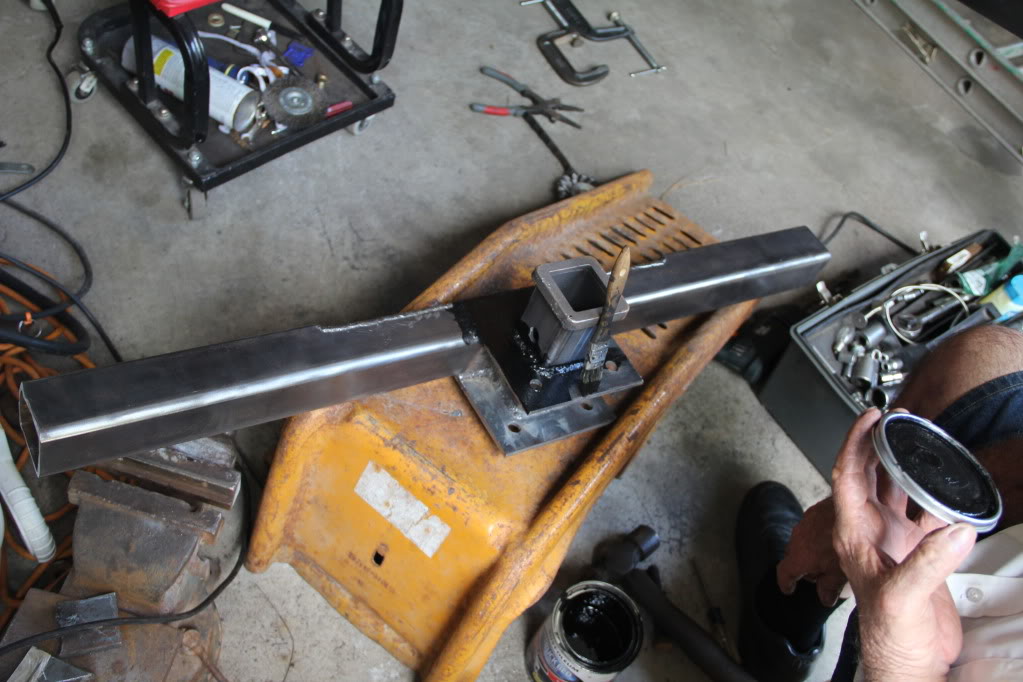
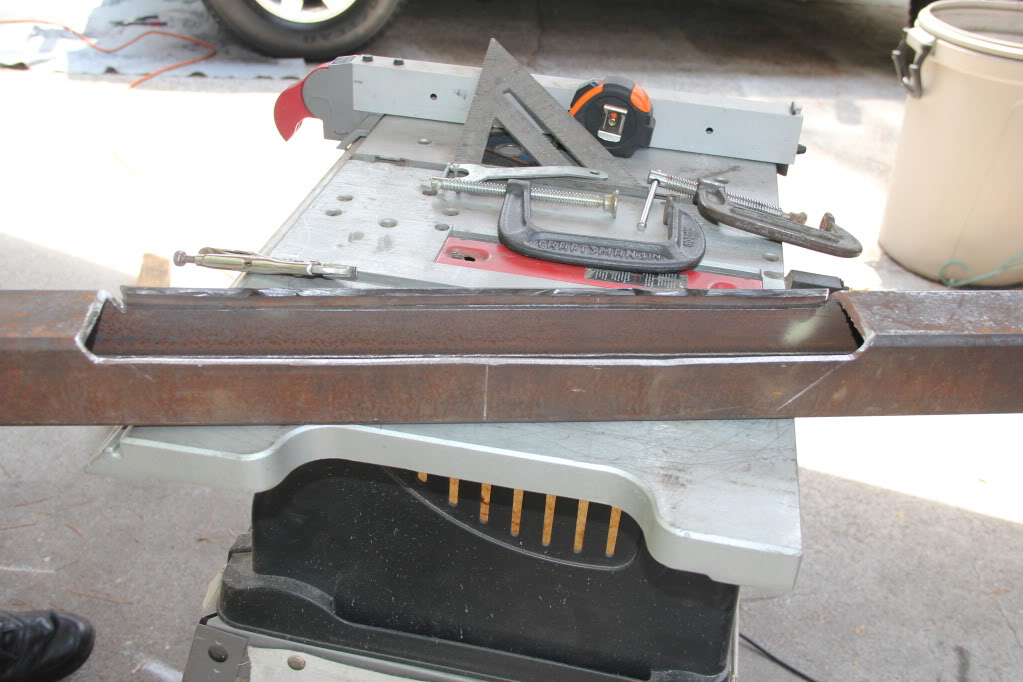
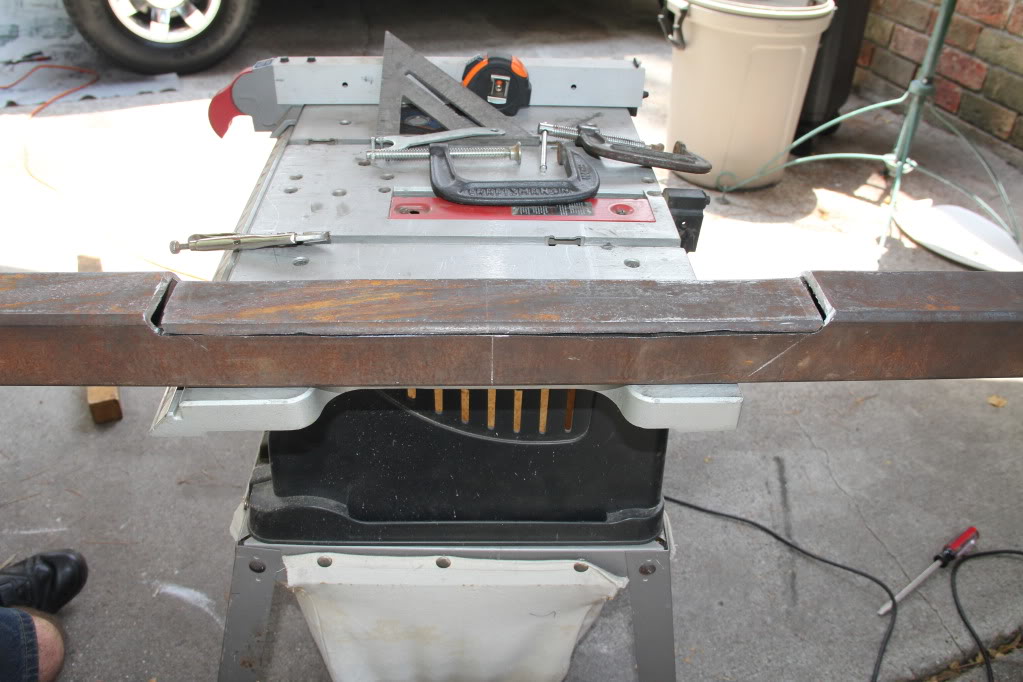
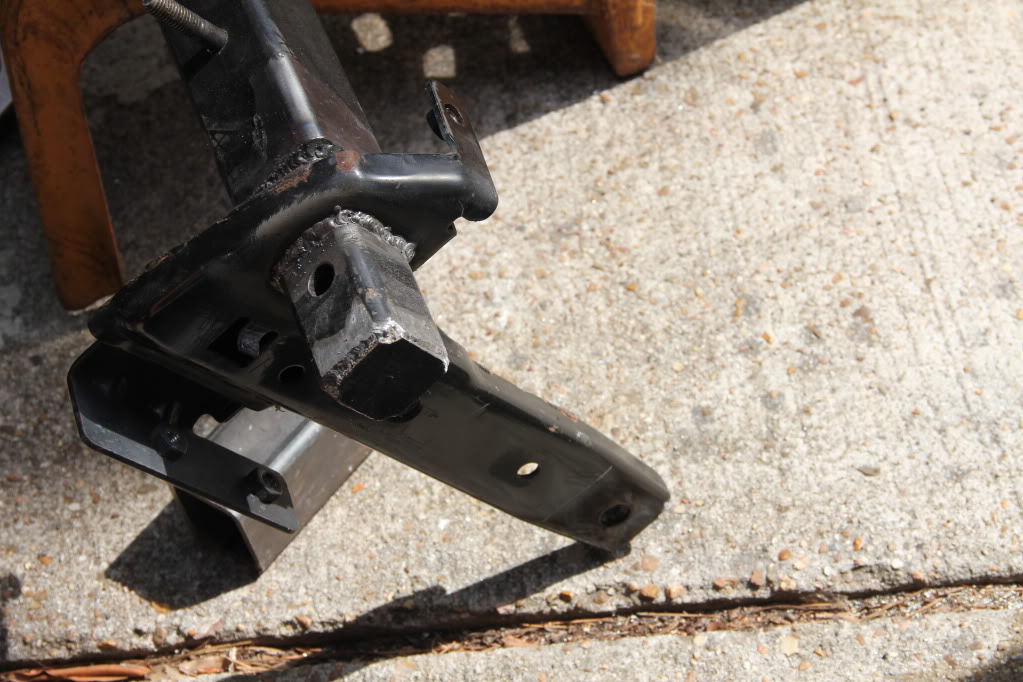
A few more measurements and welded it to the bumper bases
Removed the braces to weld everything together.

Plugged the ends of the tubes to not allow mud and sand in.
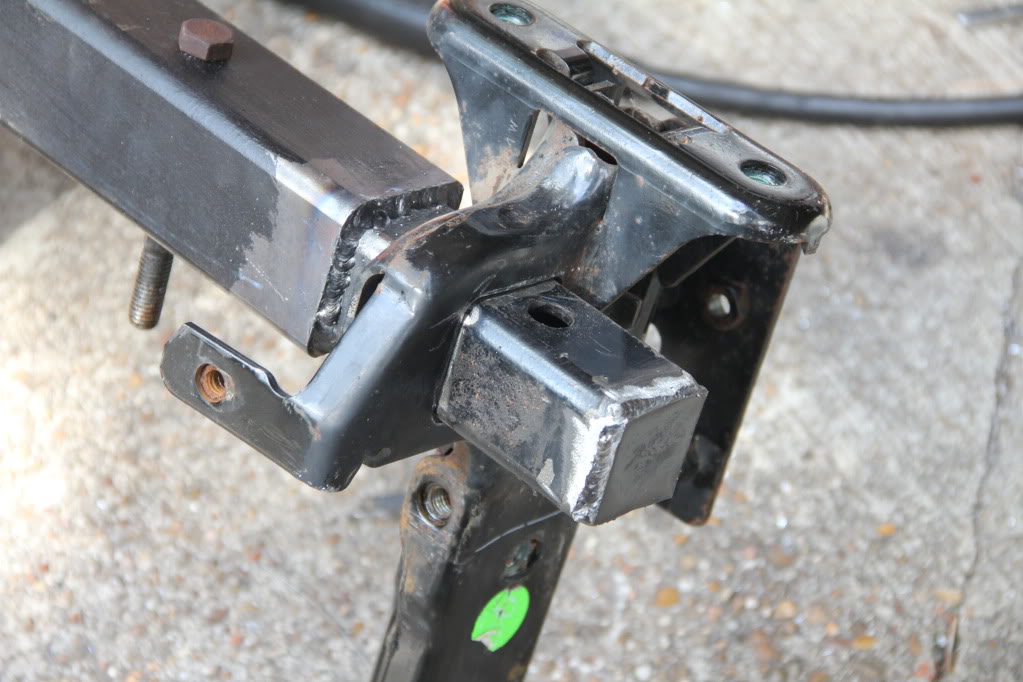
Welded everything in place and added a little more paint.
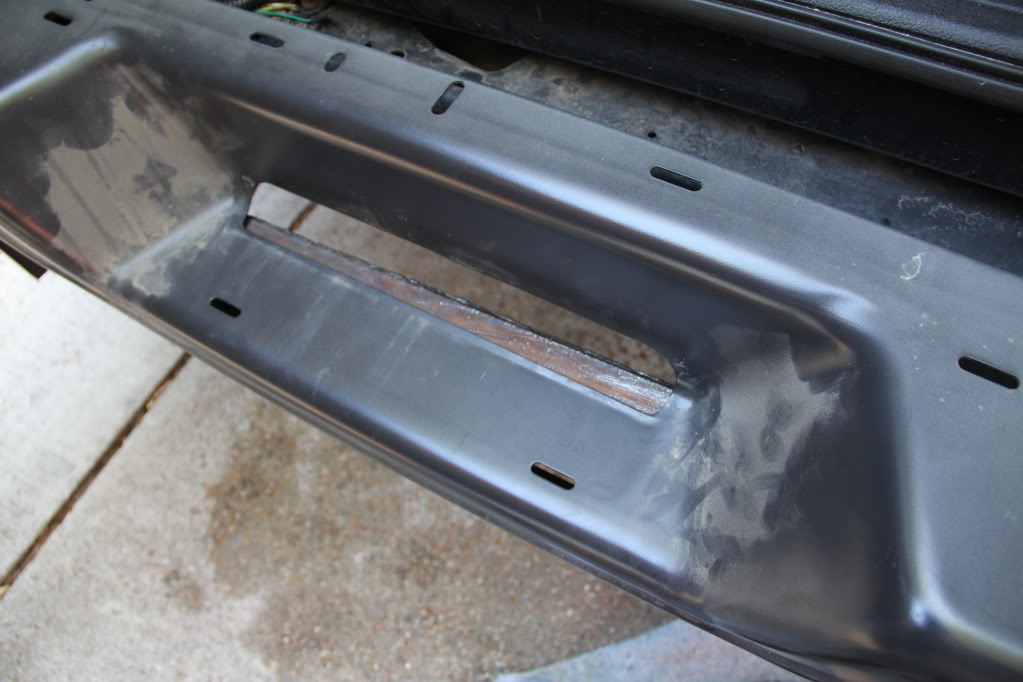
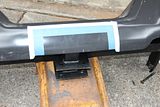
Measured and taped off the area on the bumper to cut away.
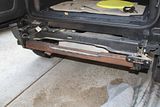
Installed the new hitch and bolted loosely.
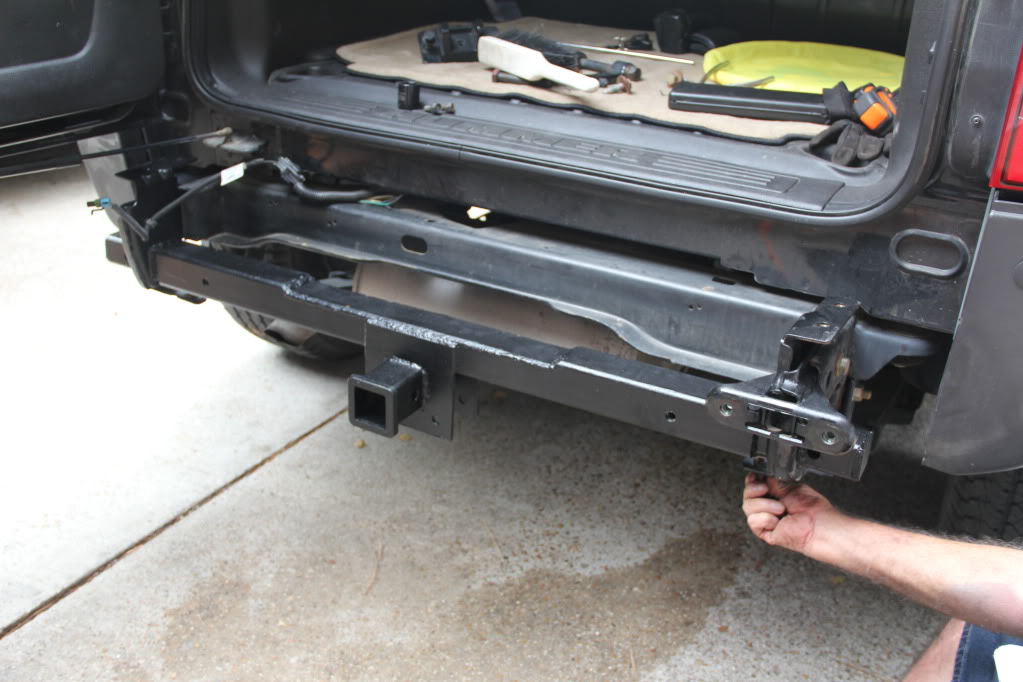
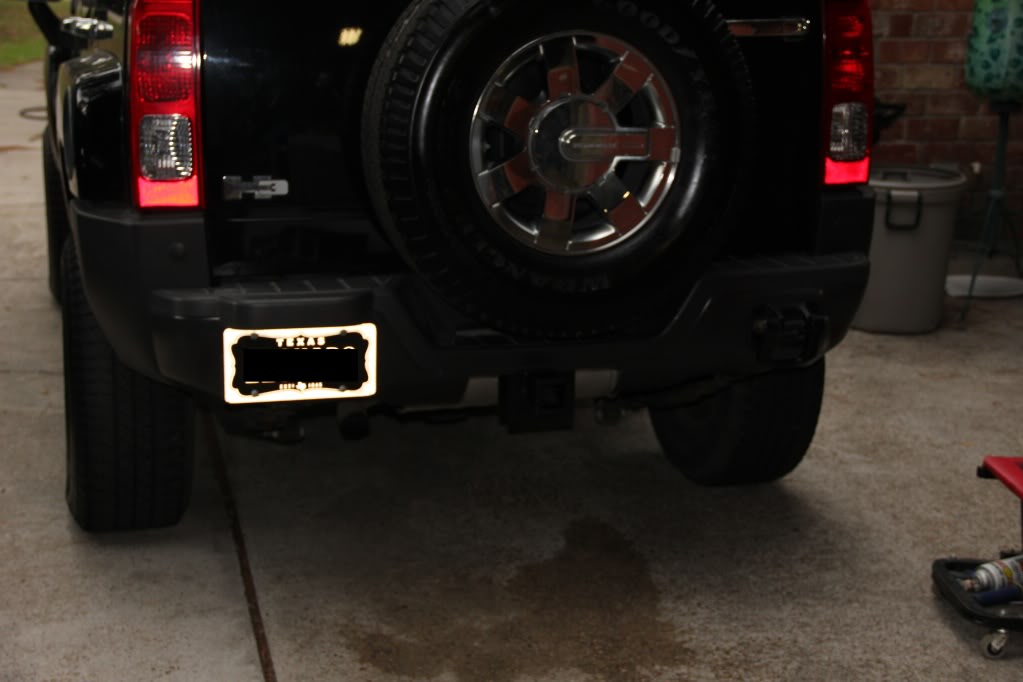
Install bumper and tighten all bolts down.
Install bumper cover.
I found some 6x6x1/4 � plates and used them to secure the receiver.
A little cleaning and painting, starting to look good.
A few more measurements and welded it to the bumper bases
Removed the braces to weld everything together.
Plugged the ends of the tubes to not allow mud and sand in.
Welded everything in place and added a little more paint.
Measured and taped off the area on the bumper to cut away.
Installed the new hitch and bolted loosely.
Install bumper and tighten all bolts down.
Install bumper cover.
