
Paparazzi's Expedition H3 Build


Thread Starter
|
Senior Member
Joined: May 2008
Posts: 283
From:
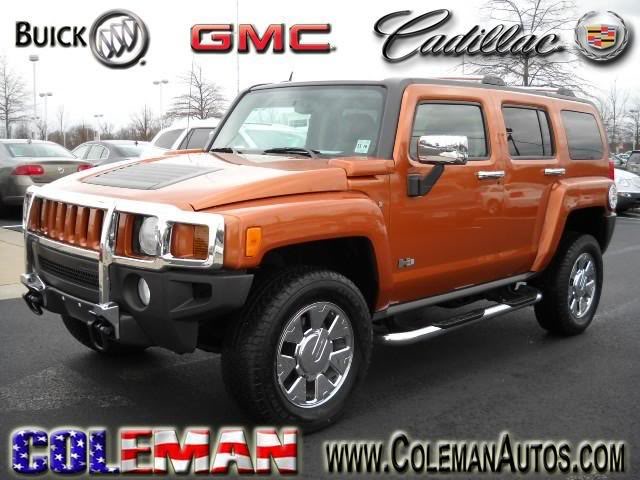
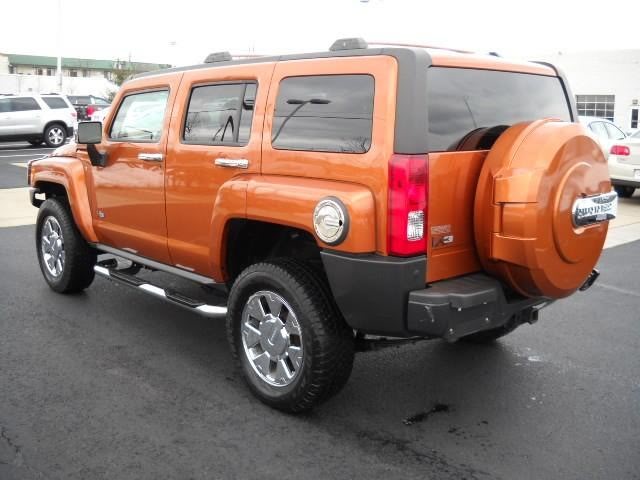
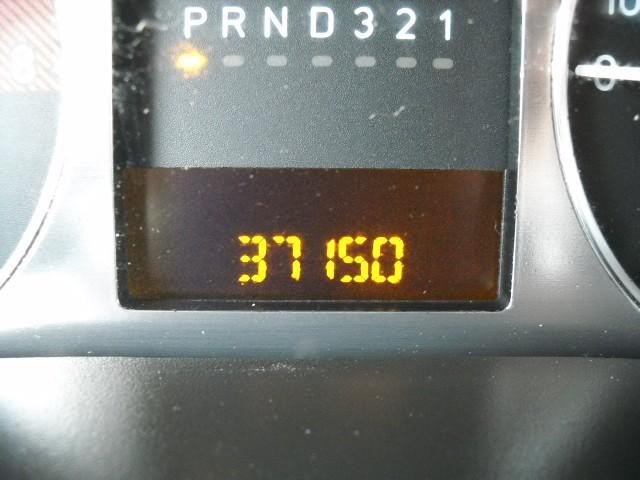
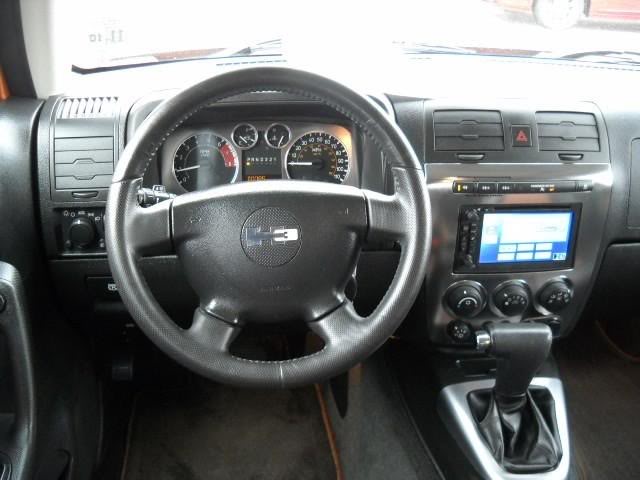
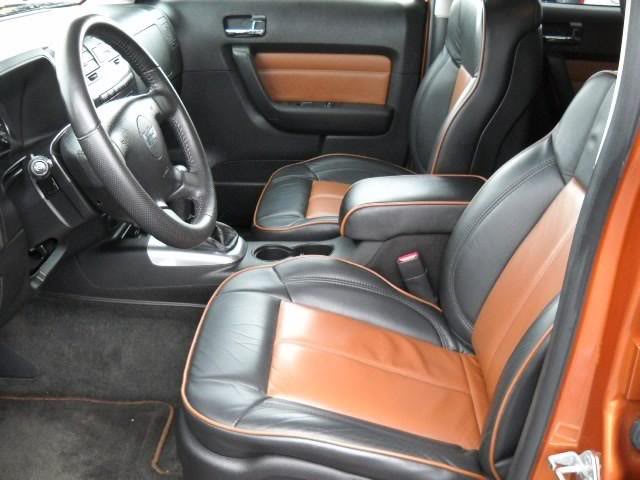
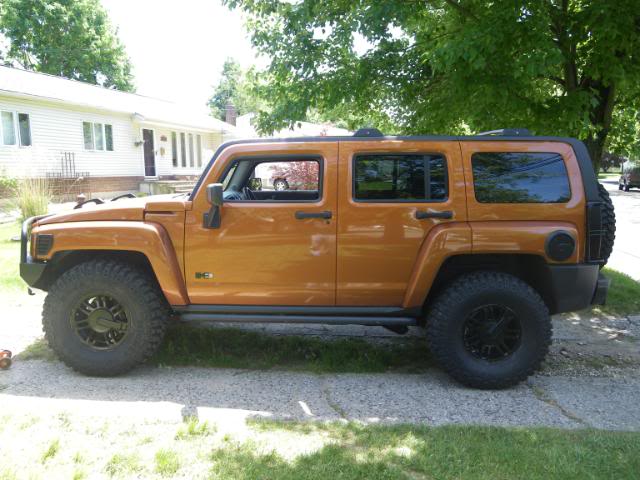
On April 24th during the CHO Rausch Creek run, Dagkana let Paparazzi_on37s(My wife Deb) drive his Hummer H3 on part of a blue trail. She loved it. Deb wanted her own trail rig for awhile now but wanted something smaller then our H2. On April 25th on our way home from RC we discussed buying a H3. On April 26th which was my birthday we drove back to NJ from NY to look at a 2007 Desert Orange H3X. The H3 was beautiful with only 37,000 miles on it. We test drove it and never looked back, we drove it home that night. Happy Birthday to me..:d
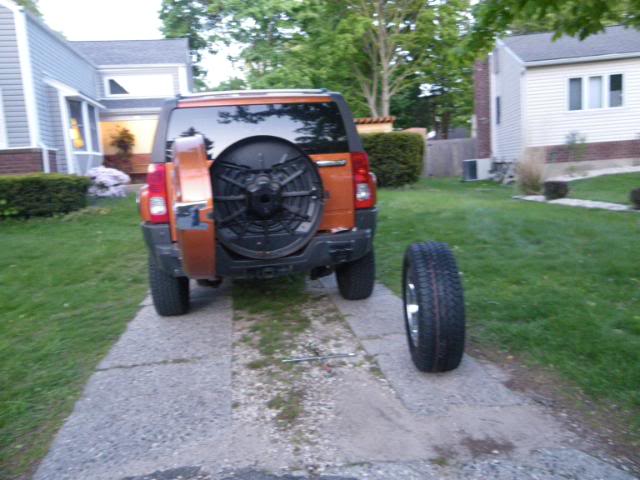
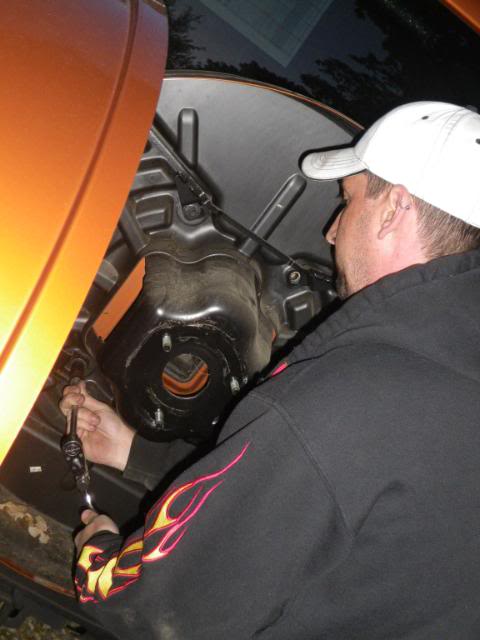
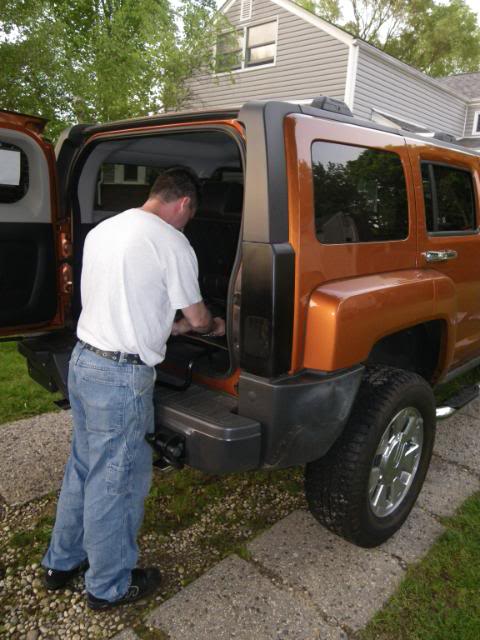
On the way home we made a call to Tim from Expedition Hardware and told him that we picked up the H3 and I wanted to have the H3 built and ready to reveal by the CHO Wharton trip which was supposed to be on Memorial day weekend (4 weeks away). Within a few day while I was doing other misc. stuff like ripping off the tire cover, blacking out the lights, Tim's parts started to arrive. Thanks Tim..,..
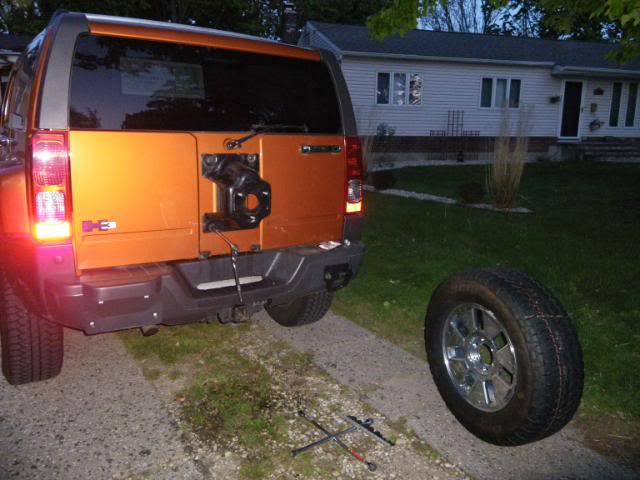
spare tire cover removal
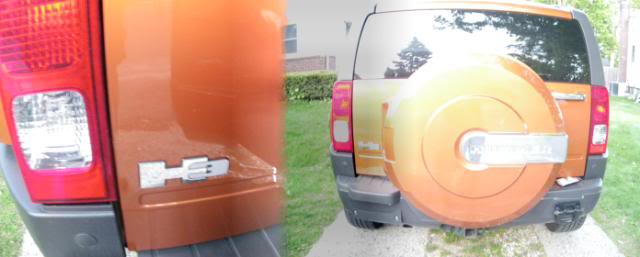
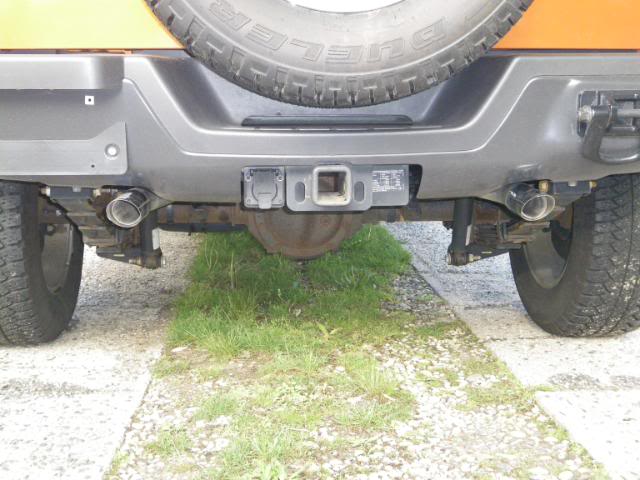
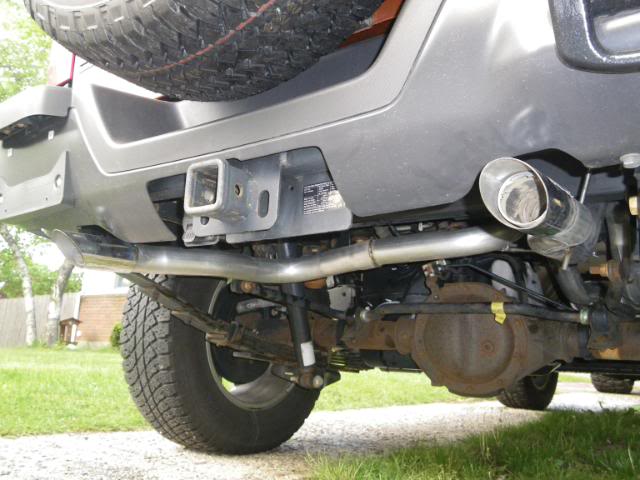
A couple of days after we bought it I did the 3rd mod. I took and had the resignator and muffler swapped out for a 40 series Flowmaster. Sounds good now..
On the way home we made a call to Tim from Expedition Hardware and told him that we picked up the H3 and I wanted to have the H3 built and ready to reveal by the CHO Wharton trip which was supposed to be on Memorial day weekend (4 weeks away). Within a few day while I was doing other misc. stuff like ripping off the tire cover, blacking out the lights, Tim's parts started to arrive. Thanks Tim..,..
spare tire cover removal
A couple of days after we bought it I did the 3rd mod. I took and had the resignator and muffler swapped out for a 40 series Flowmaster. Sounds good now..
Last edited by Hummeron37s; Jun 9, 2010 at 08:12 PM.
Thread Starter
|
Senior Member
Joined: May 2008
Posts: 283
From:
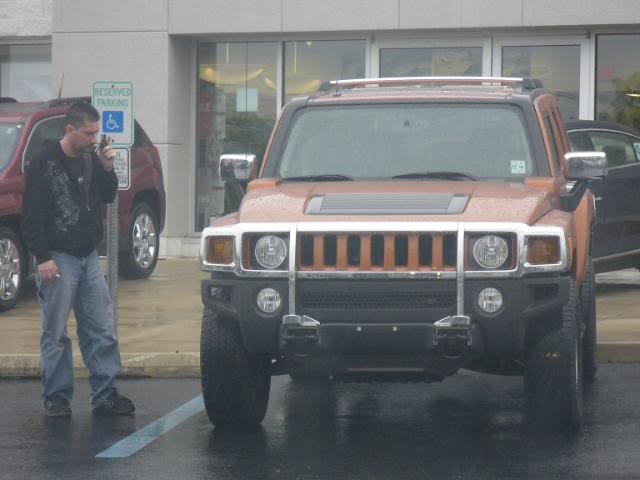
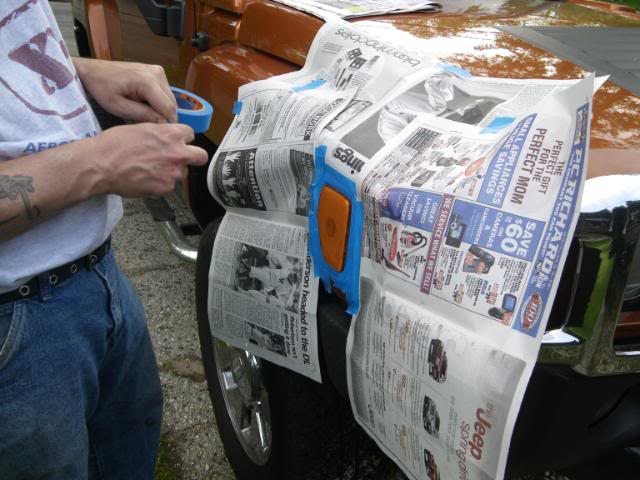
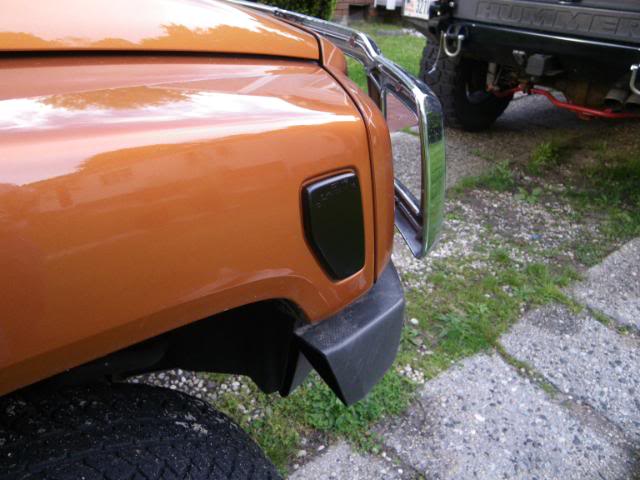
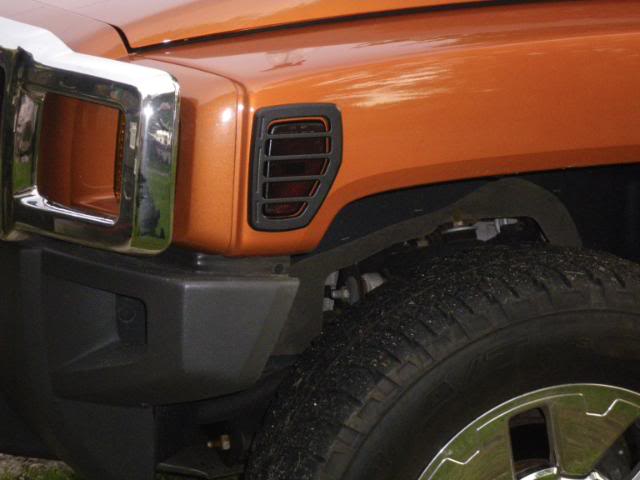
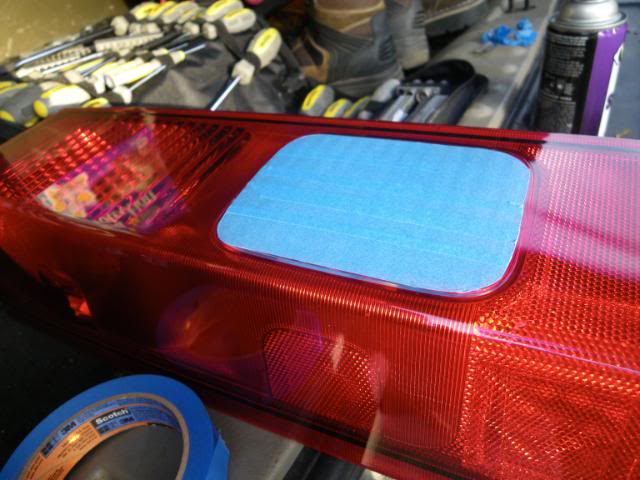
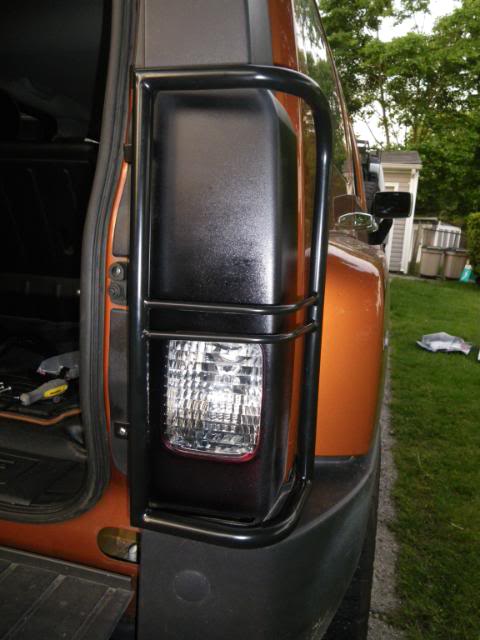
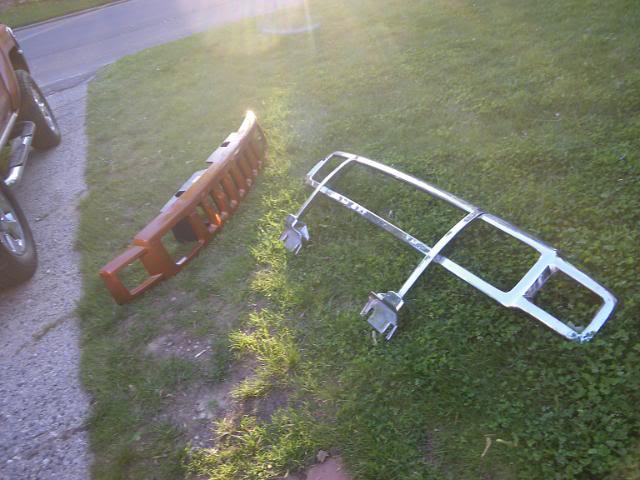
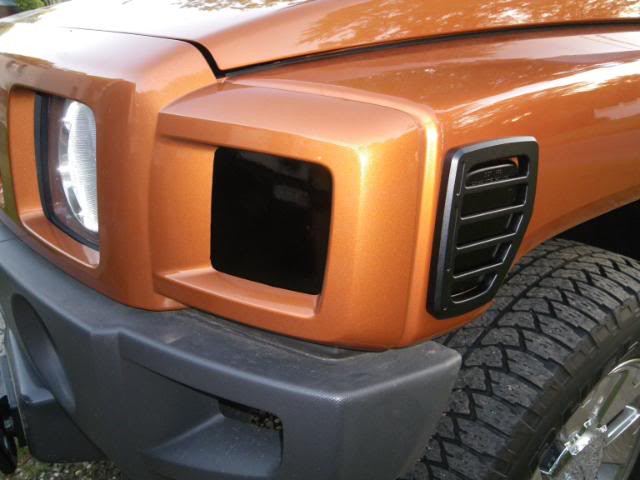
Next up was blacking out the lights with good ole VHT Night Shades. Putting on RW marker light guards, Aries taillight guards and removing the GM chicket emblems. For the front blinkers I removed the grill and figured I would get rid of the chrome brushguard at the same time, but for the marker lights I just taped the off and sprayed them on the truck because they looked like a real bitch to get off the truck.
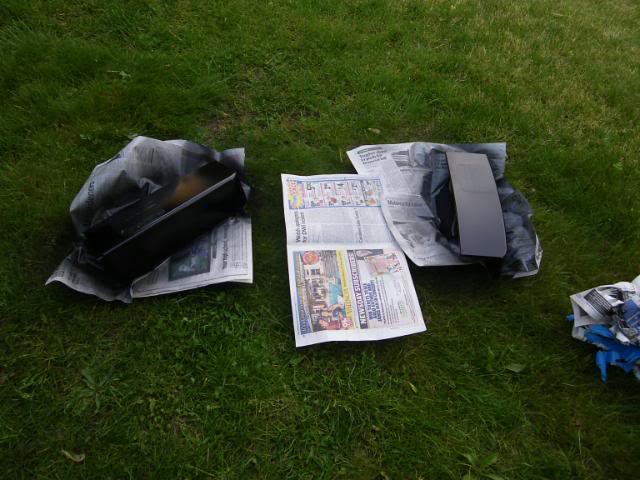


Chicklet Emblems are easy to take off. Just slide a piece of fishing line behind it and cut the double sided tape with it. Take some goo gone and clean off the residue.
Since dechroming was going so well the running boards were next to go. btw anyone want chrome running boards cheap?
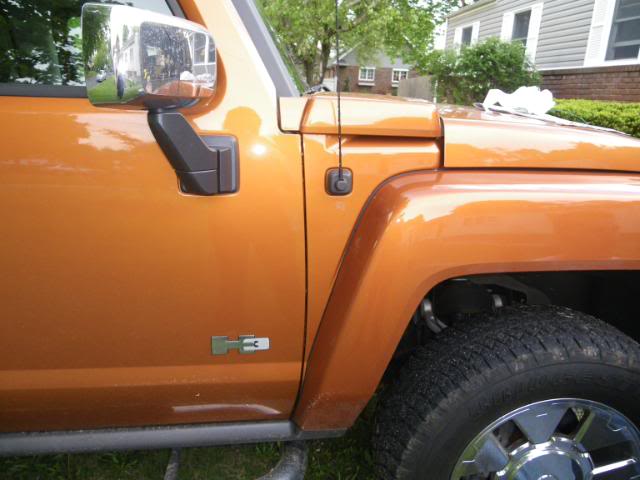
Also with a little tech advise from Tim, the chrome door handles came off and all 5 black ones were installed in less then 25 minutes...,..
The only remaining chrome at this point was the rims, mirrors and fuel door.
The rims I already had purchased a set from Dagkana and he went out of his way for us and got them powdercoated by him because it was alot cheaper then PCing them here in NY. Many thanks Dan! ,..
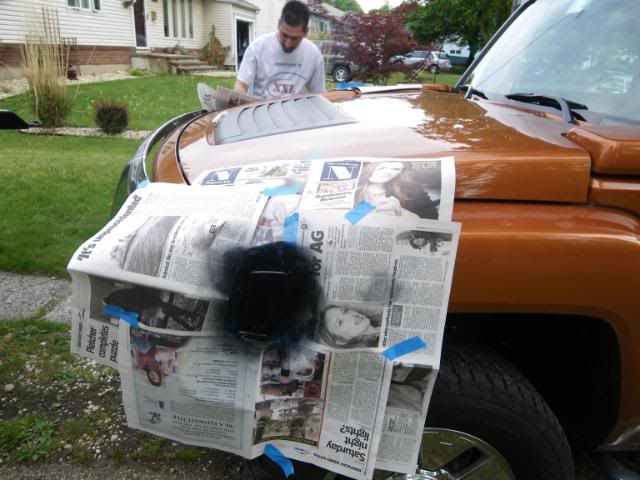
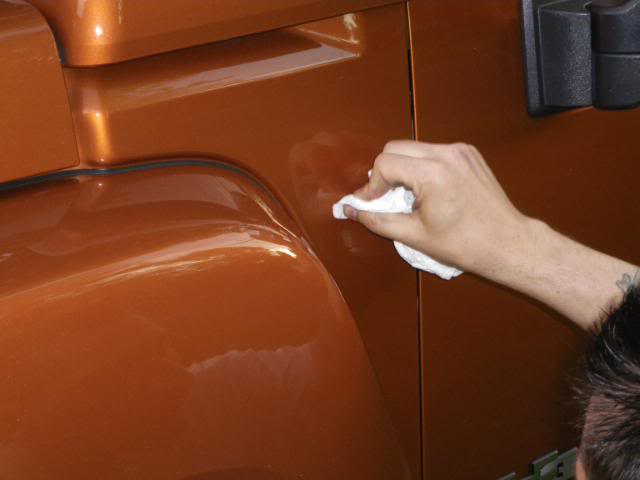
The mirrors were on order, so all that was left was the OEM fuel door. So I broke out the paint.

Chicklet Emblems are easy to take off. Just slide a piece of fishing line behind it and cut the double sided tape with it. Take some goo gone and clean off the residue.
Since dechroming was going so well the running boards were next to go. btw anyone want chrome running boards cheap?
Also with a little tech advise from Tim, the chrome door handles came off and all 5 black ones were installed in less then 25 minutes...,..
The only remaining chrome at this point was the rims, mirrors and fuel door.
The rims I already had purchased a set from Dagkana and he went out of his way for us and got them powdercoated by him because it was alot cheaper then PCing them here in NY. Many thanks Dan! ,..
The mirrors were on order, so all that was left was the OEM fuel door. So I broke out the paint.
Thread Starter
|
Senior Member
Joined: May 2008
Posts: 283
From:
At this point parts were piling up and I need to start the bolt ons.
UCP
RockRails from Seth. Thanks for shipping them from CA to NY.
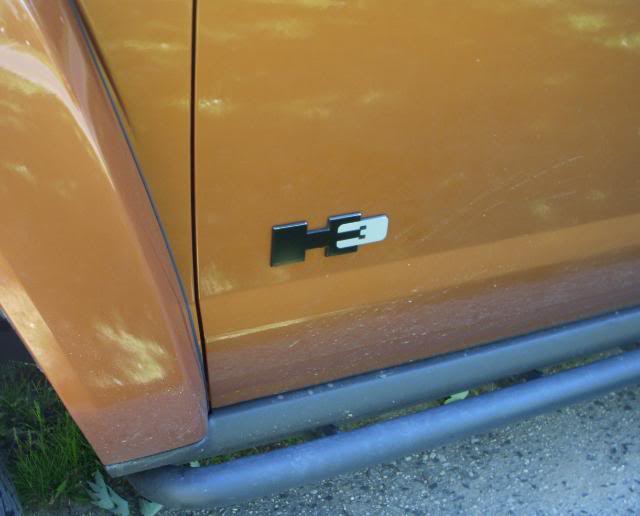
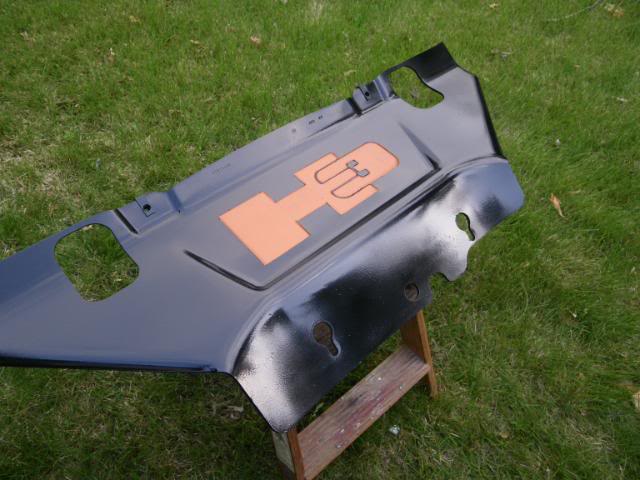
Also blacked out the emblems.
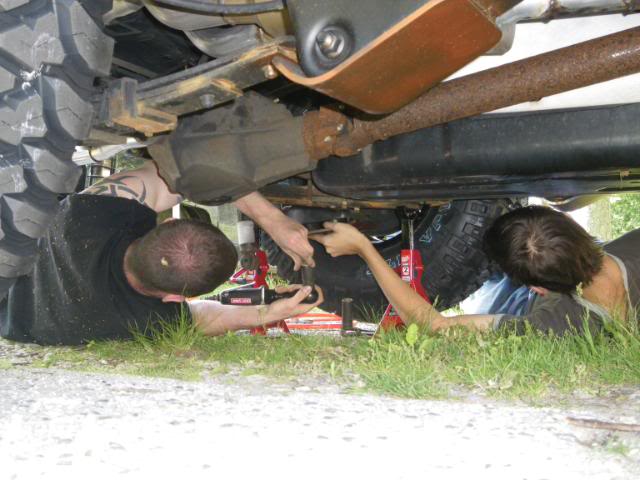
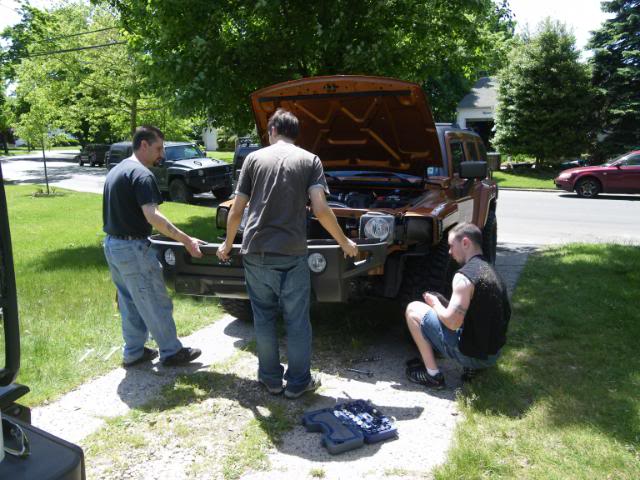
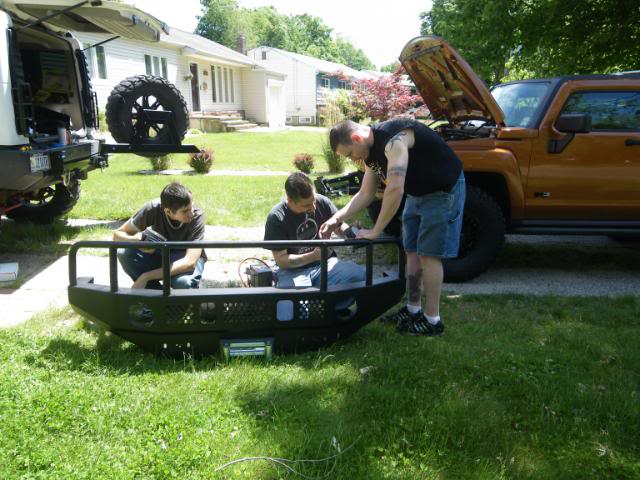
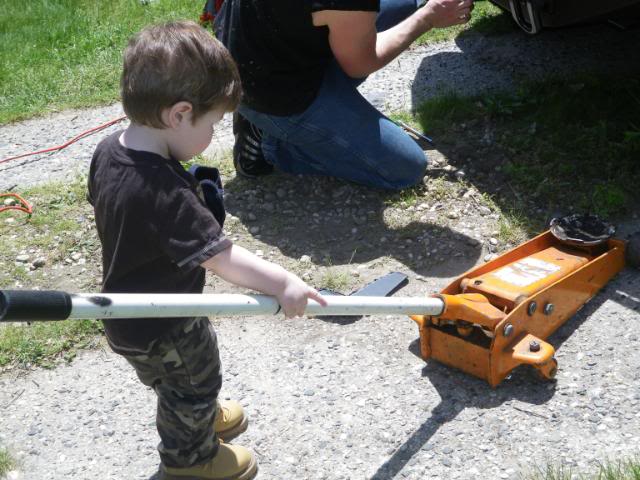
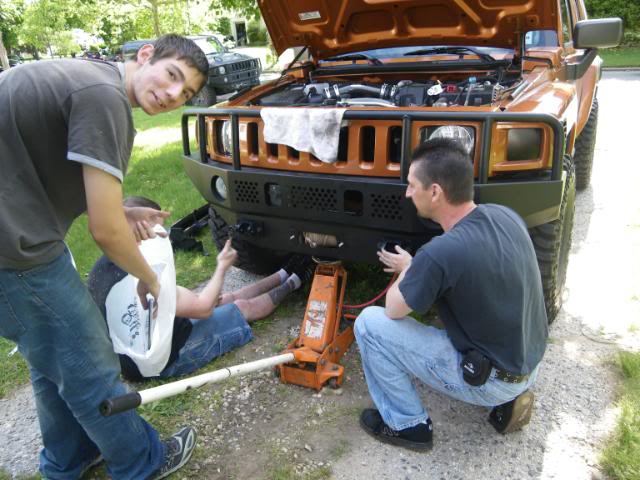
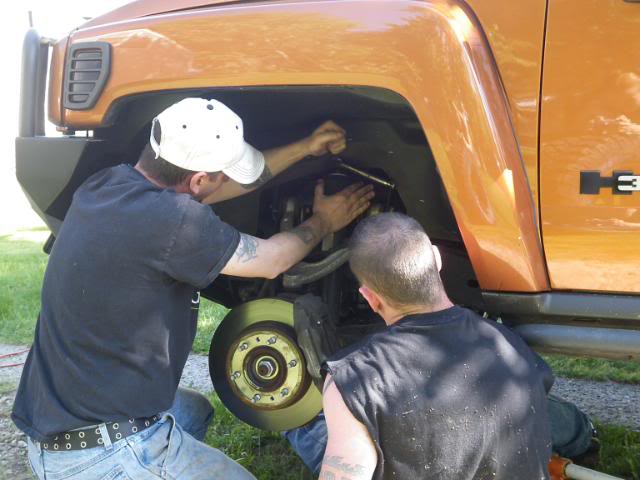
so many mods, so little time...had to call in the reinforcments for a install party.
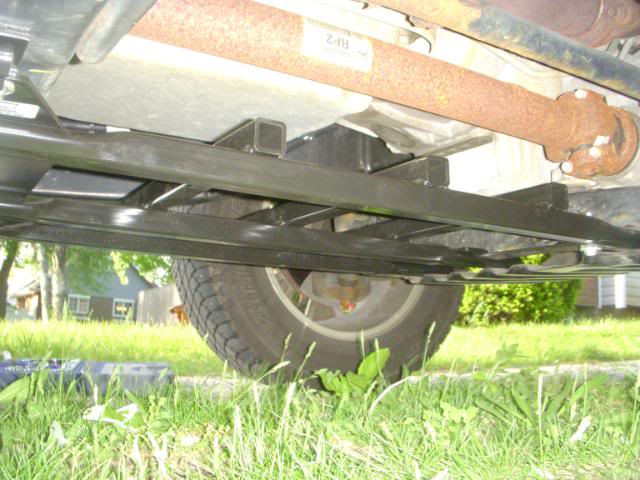
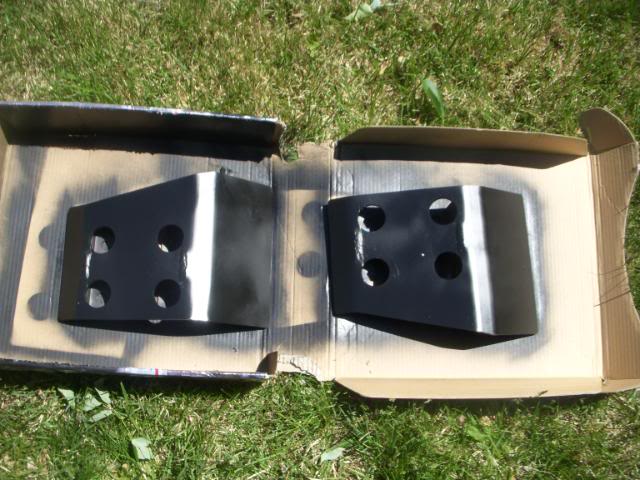
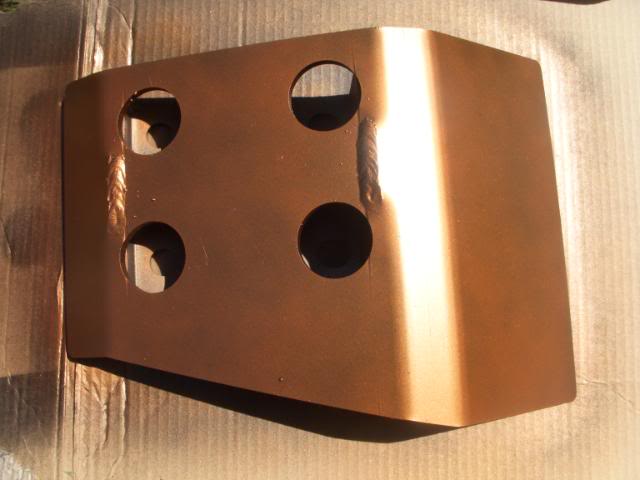
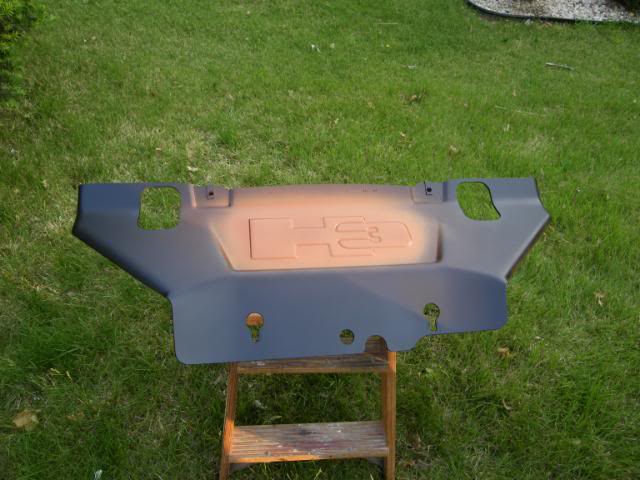
I painted the Hunner extreme skids and the front skidplate and got a Purple Cranium Spider custom powdercoated to match the truck..

I want to again thank Dan for coming to my house and drinking my beer and eating my food...jk you are welcome here anytime. Without your help I don't think I would of been able to get it completed in time...,..
Also want to thank Ray for not eating my wife's delicous chili, because it left more for me and Dan...
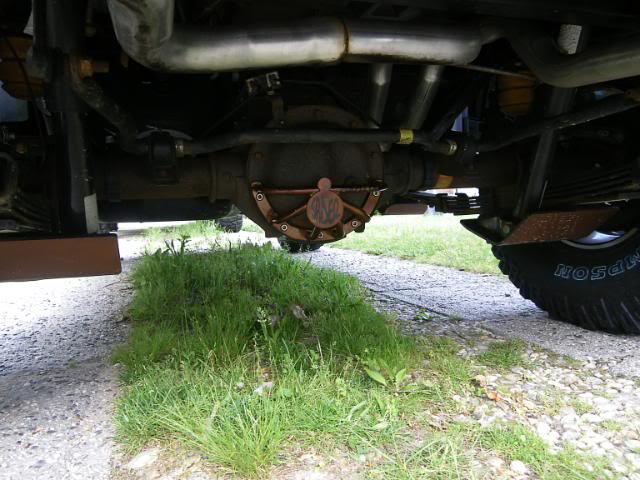
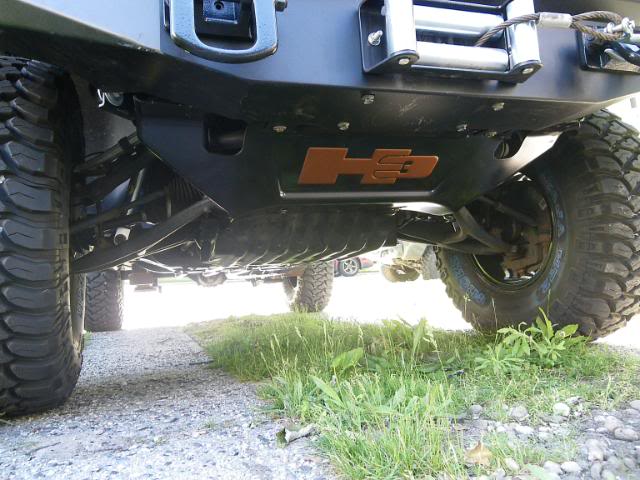
I just wanted to also inform everyone that the Hunner Extreme skids are just plain awesome. It is a must have in my opinion for any wheeler. Great product Hunner...
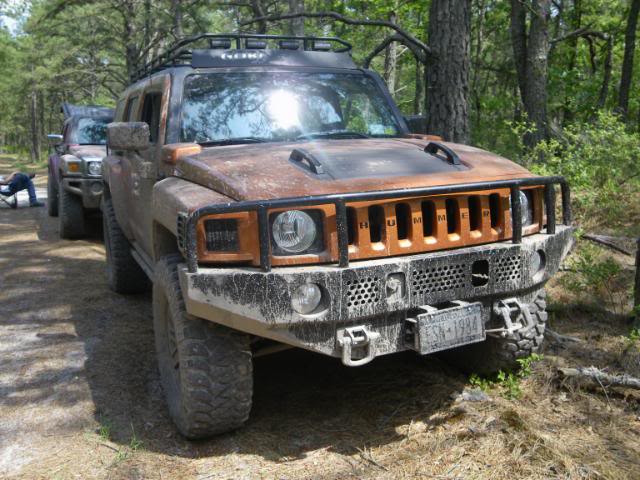
So while Dan was still here we installed the Boulder Accessories bumper I got from Ray for a great price, (thanks Ray) with the FREE milemarker SE9500C winch I got from Stan (who got it from Dan).

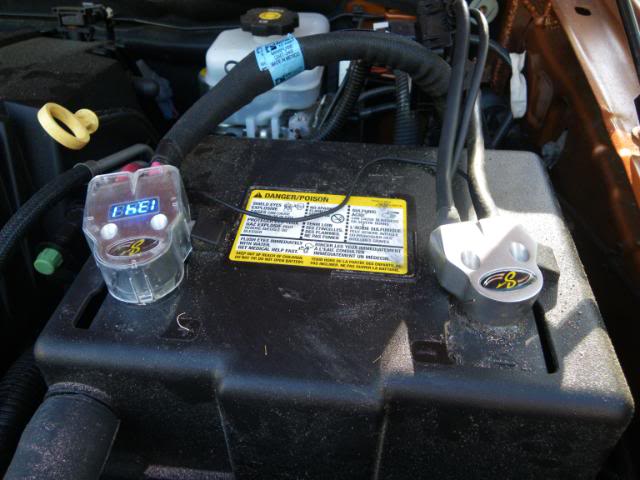
While I was at Stan's house picking up the winch I also got a great deal on battery terminal for when I wire the winch. Thanks Stan...,..
UCP
RockRails from Seth. Thanks for shipping them from CA to NY.
Also blacked out the emblems.
so many mods, so little time...had to call in the reinforcments for a install party.
I painted the Hunner extreme skids and the front skidplate and got a Purple Cranium Spider custom powdercoated to match the truck..
I want to again thank Dan for coming to my house and drinking my beer and eating my food...jk you are welcome here anytime. Without your help I don't think I would of been able to get it completed in time...,..
Also want to thank Ray for not eating my wife's delicous chili, because it left more for me and Dan...
I just wanted to also inform everyone that the Hunner Extreme skids are just plain awesome. It is a must have in my opinion for any wheeler. Great product Hunner...
So while Dan was still here we installed the Boulder Accessories bumper I got from Ray for a great price, (thanks Ray) with the FREE milemarker SE9500C winch I got from Stan (who got it from Dan).
While I was at Stan's house picking up the winch I also got a great deal on battery terminal for when I wire the winch. Thanks Stan...,..
Thread Starter
|
Senior Member
Joined: May 2008
Posts: 283
From:
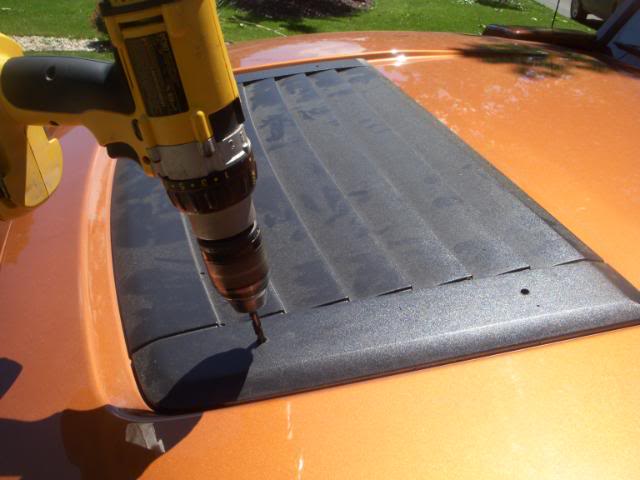
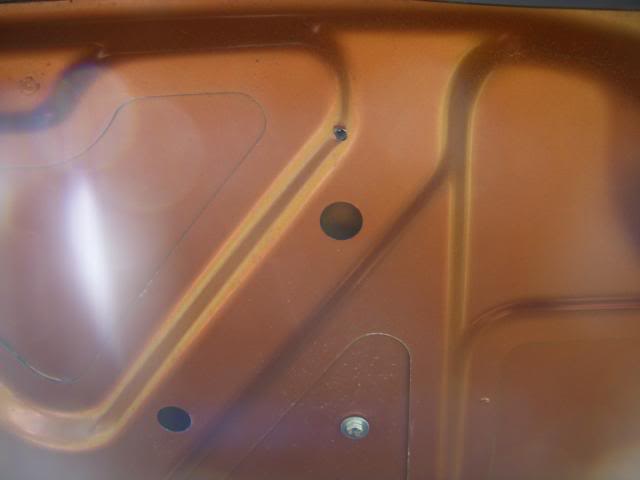
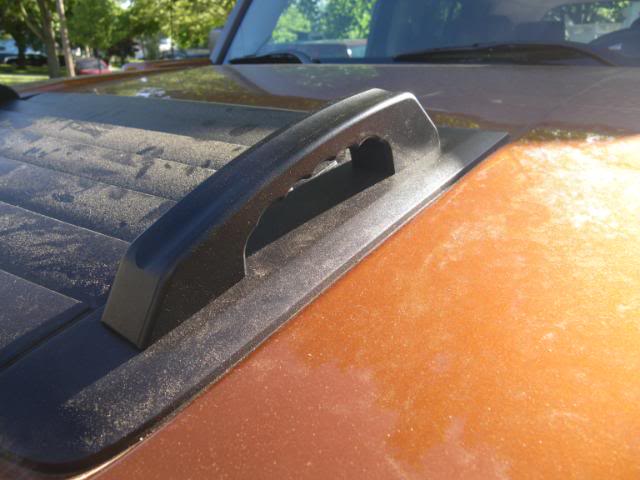
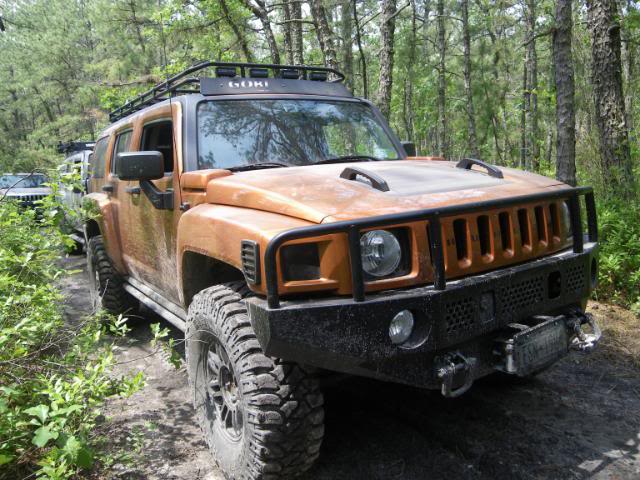
The H3 had the hood grille recall but I didnt take it to the dealer to fix it. I had a set of hood handles to install and decided to drill through the grill and hood and buy longer bolts and use the handles to hold down the hood grille. Gm is glueing them on and I said **** it and bolted the bitch..:winkie:
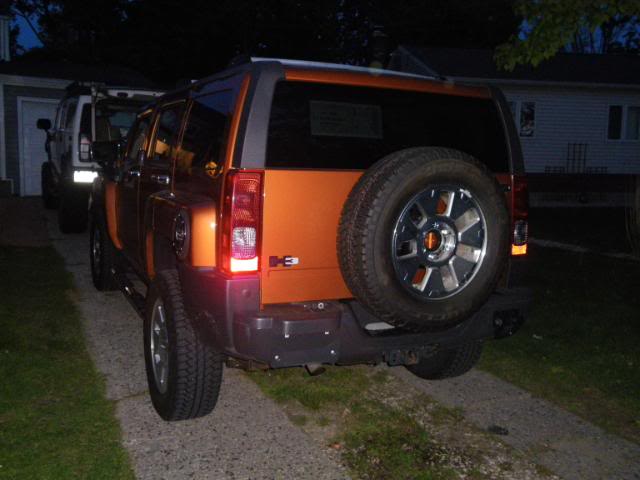
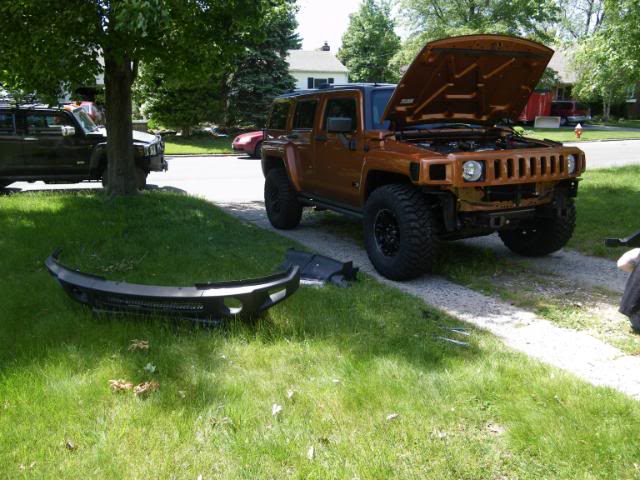
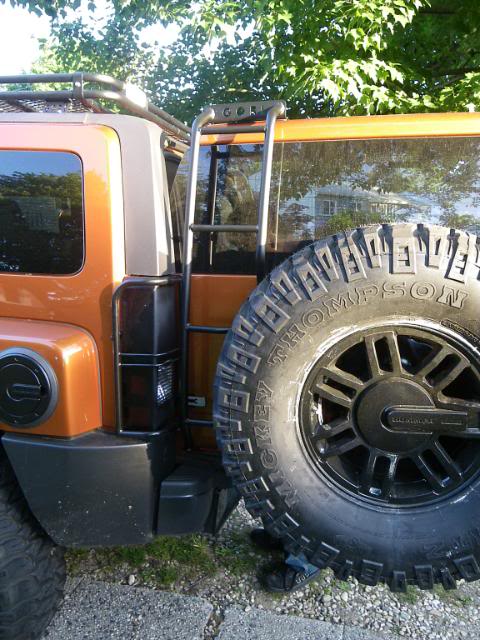
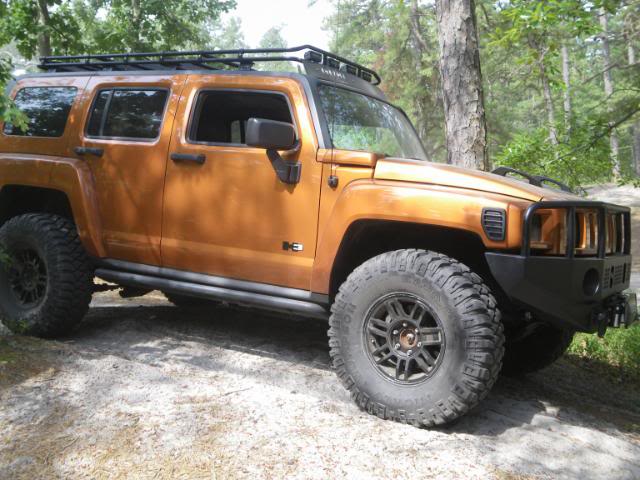
While Dan was here we also had the 315/75/16 Mickey Thompsons MTZ mounted on the rims he had powdercoated for me.

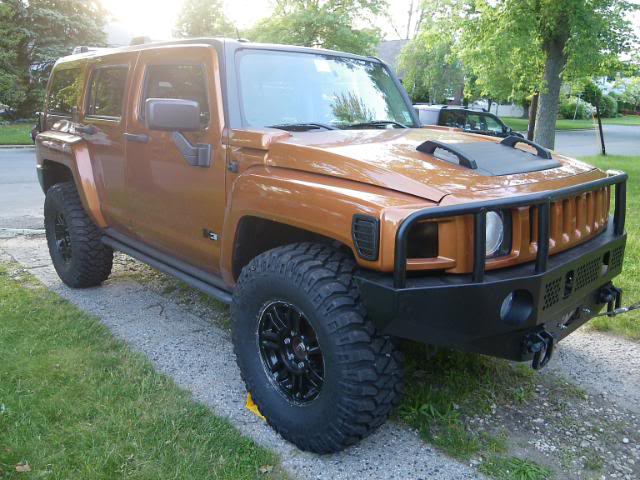
Looks a little unlevel what do you think we did next?
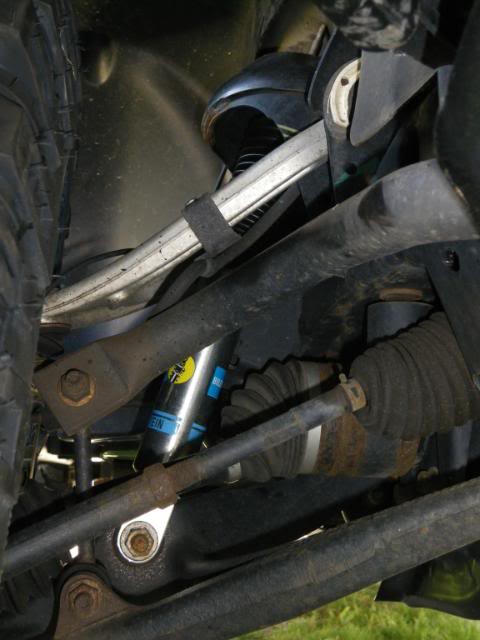
Dan cranked the T-bars, while I sat there and held a tape measure and cracked joke that my arms were tired and he should hurry up. It was classic..
Then we installed the bilstein and bump stops to complete the lift.

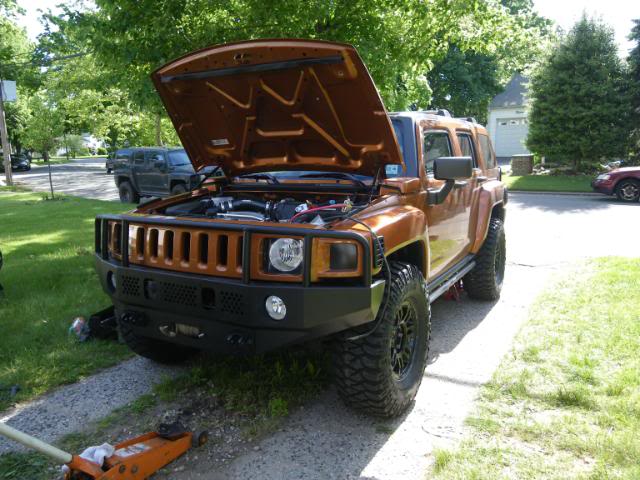
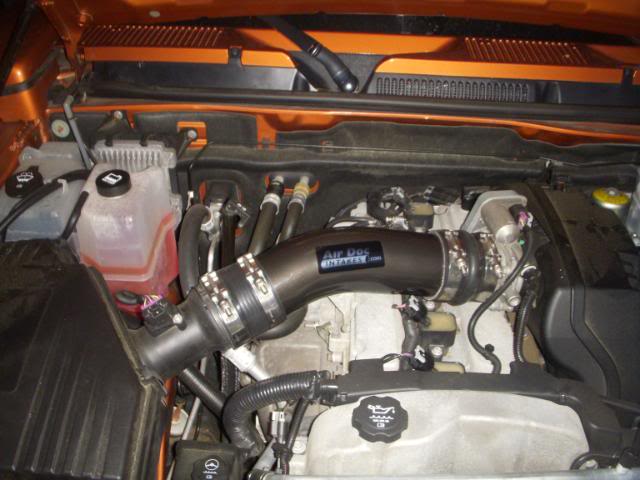
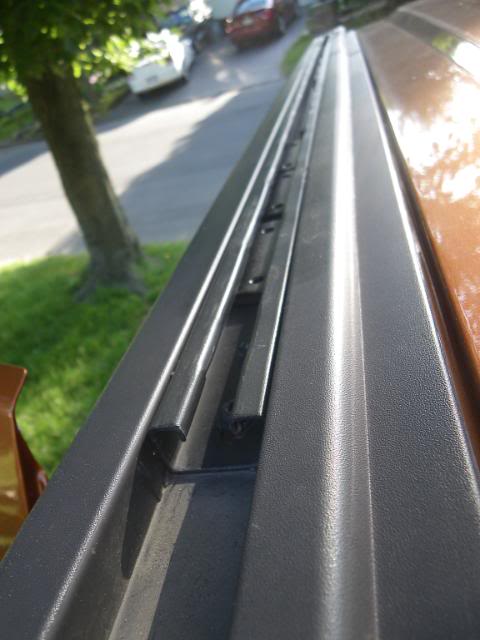
I was going to post installs of the Gobi next but decided to wait so on to AirDocs Intake. Another great product with great benefits. Thanks Doc...,..
Two other mods which are not noticable but in this pic are the PCM tune and the K&N air filter.
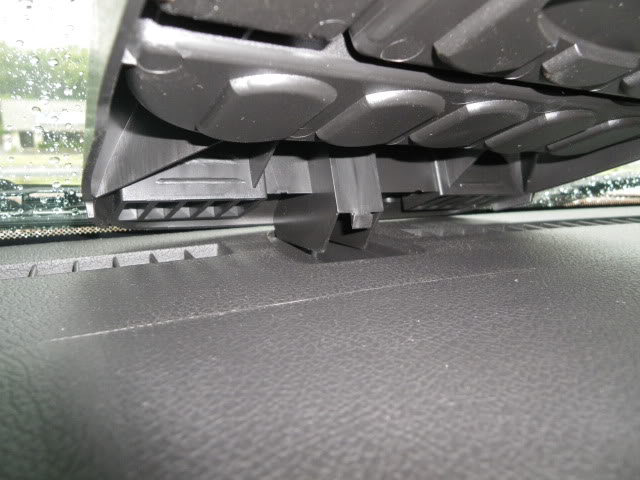
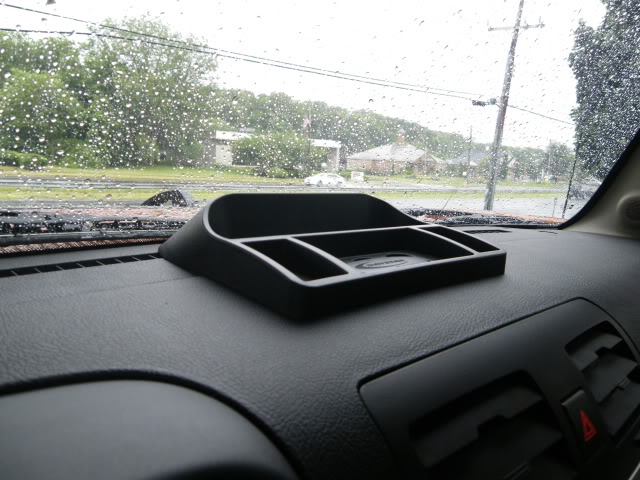
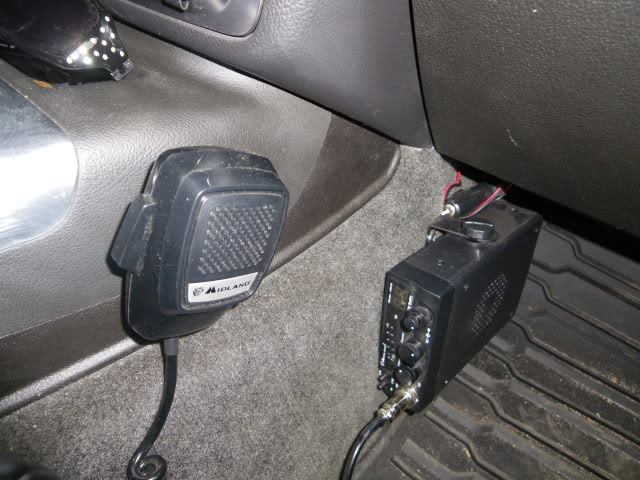
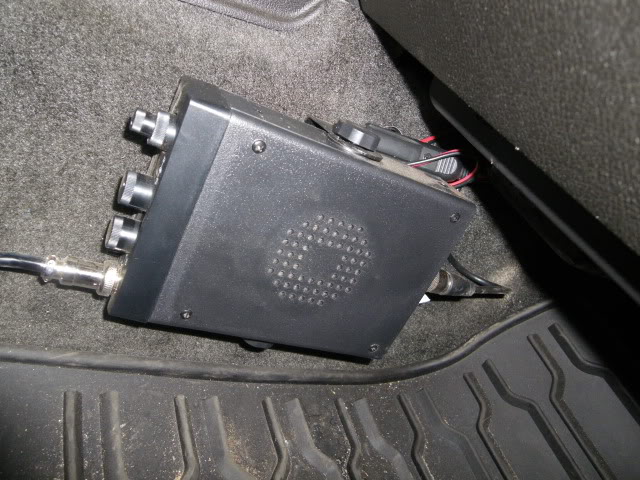
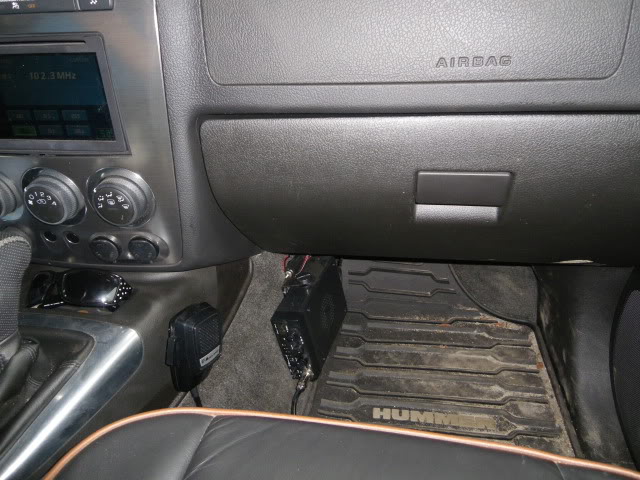
Deb and I havent taken any pics of the CB install or the Daystar yet but we will post them up soon. I think I can get to the Gobi now...
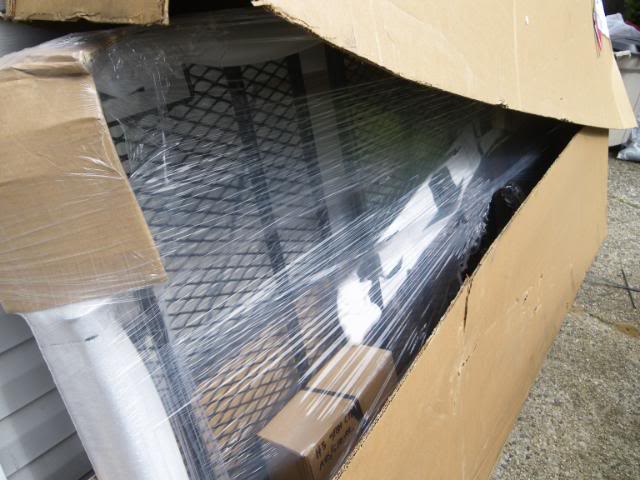
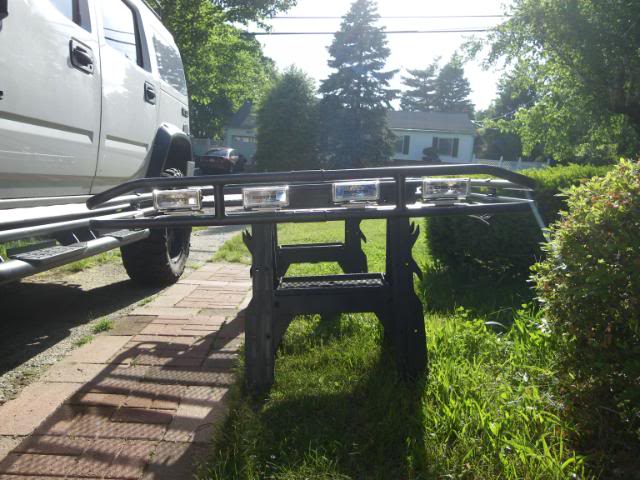
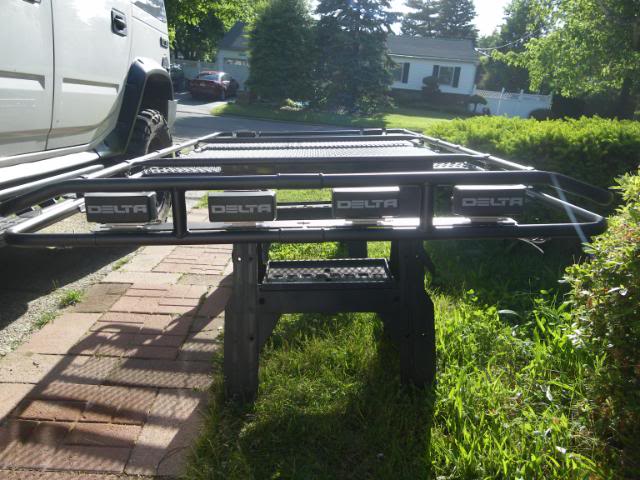
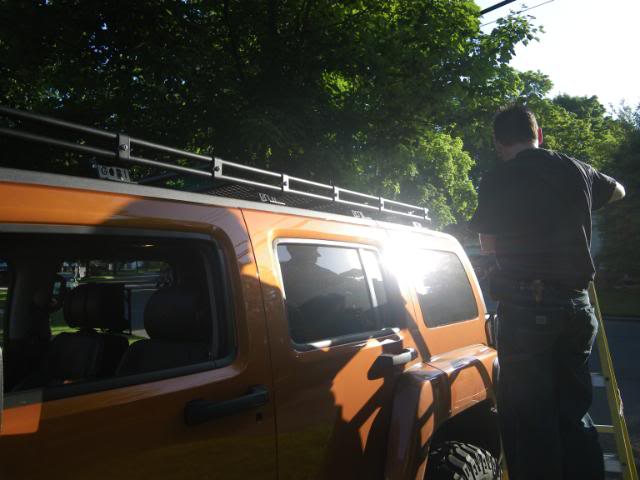
Gobi time is brought to by:

While Dan was here we also had the 315/75/16 Mickey Thompsons MTZ mounted on the rims he had powdercoated for me.
Looks a little unlevel what do you think we did next?
Dan cranked the T-bars, while I sat there and held a tape measure and cracked joke that my arms were tired and he should hurry up. It was classic..
Then we installed the bilstein and bump stops to complete the lift.
I was going to post installs of the Gobi next but decided to wait so on to AirDocs Intake. Another great product with great benefits. Thanks Doc...,..
Two other mods which are not noticable but in this pic are the PCM tune and the K&N air filter.
Deb and I havent taken any pics of the CB install or the Daystar yet but we will post them up soon. I think I can get to the Gobi now...
Gobi time is brought to by:
Thread Starter
|
Senior Member
Joined: May 2008
Posts: 283
From:
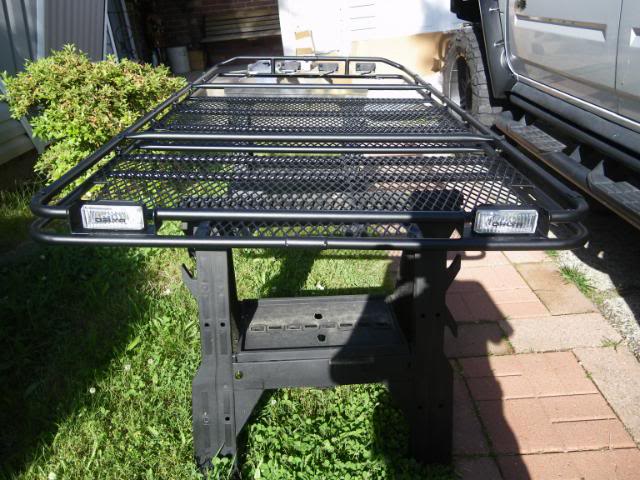
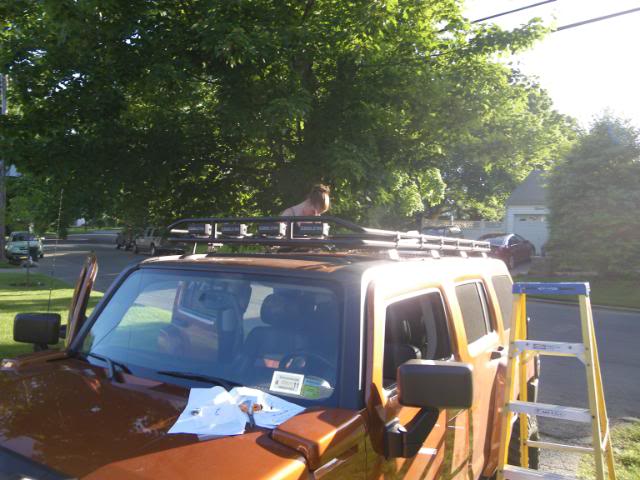
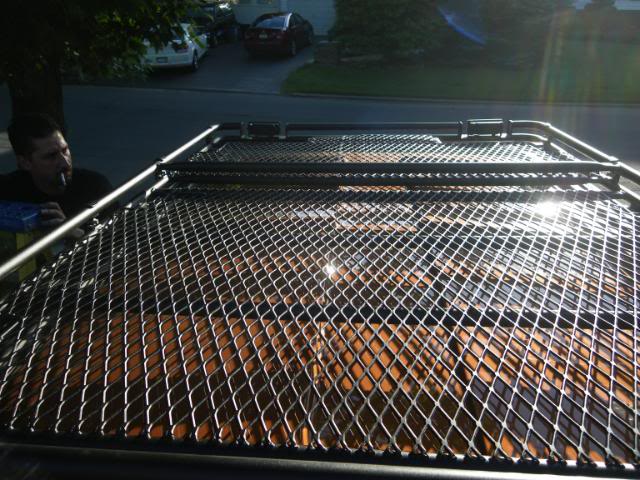
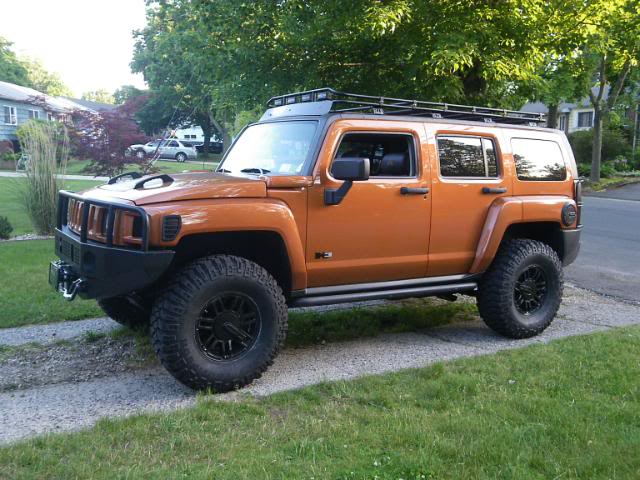
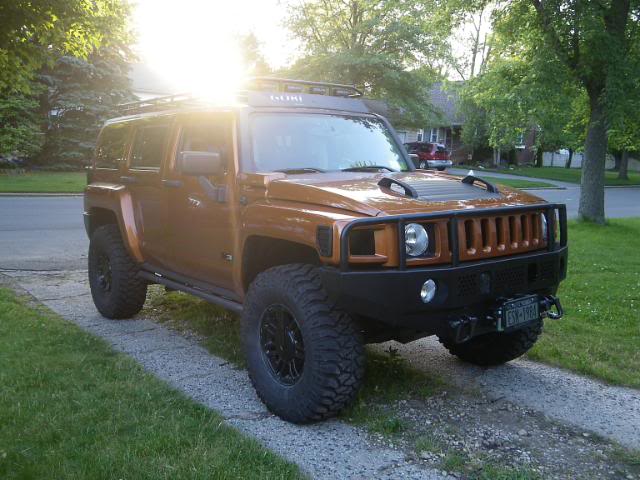
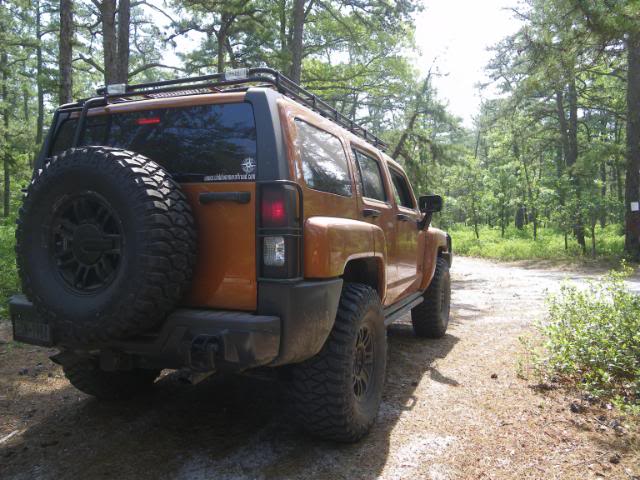
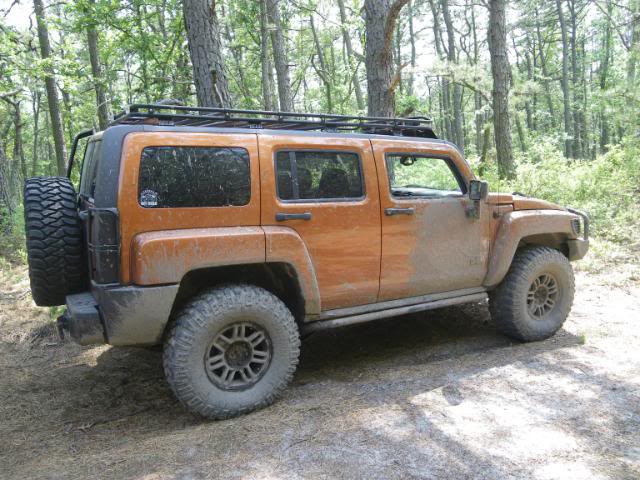
After completion of the Gobi install...,..
I know I left a few things like the front license plate mod, cb install, and daystar. I am sure there is a few other things.
I just want to thank everyone who helped us out along the way and kept our secret for us...
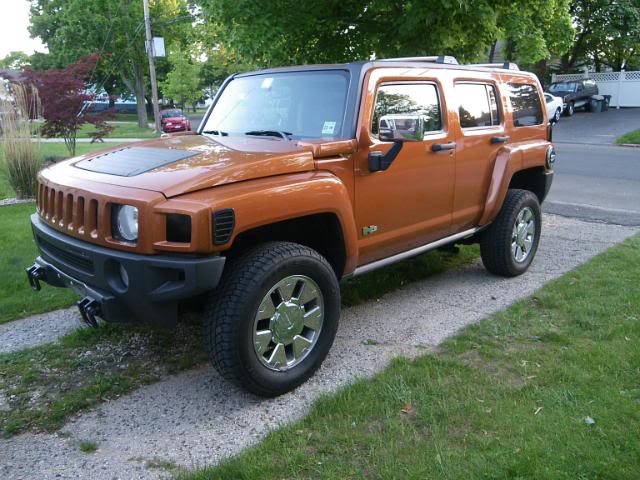
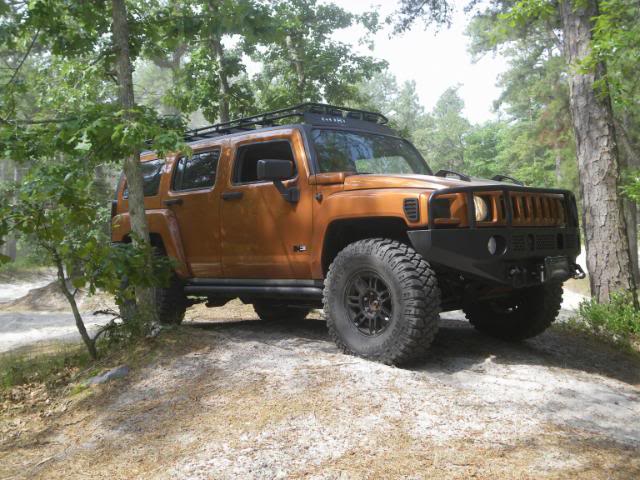
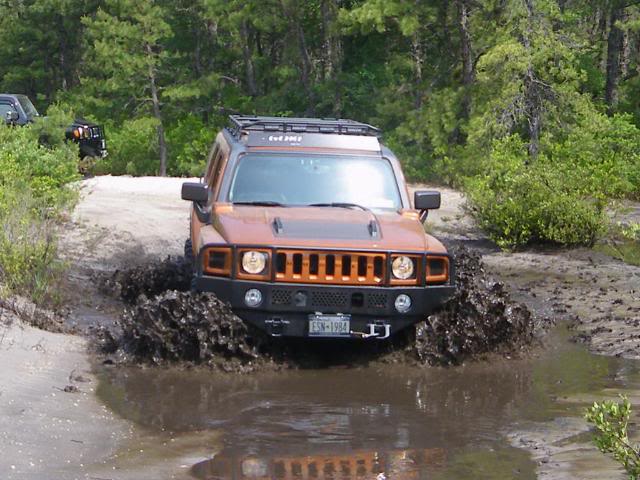
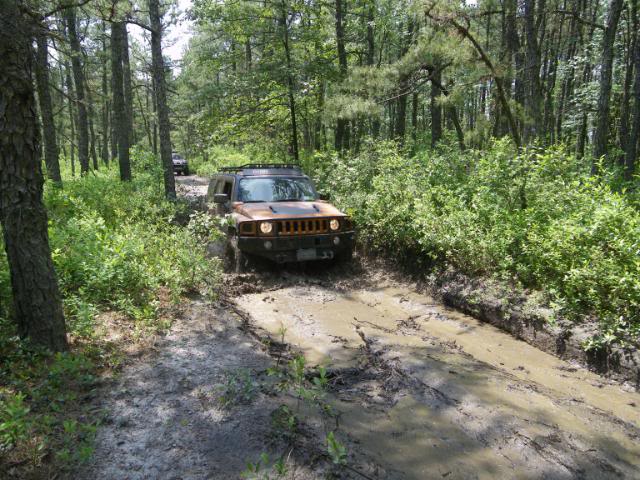
So in 4 short weeks the H3 went through a drastic makeover and on Saturday June 5th 2010, the Blacked out Desert Orange H3X took its maiden voyage offroad with CHO at Wharton State Forest in New Jersey. Here is so pics..
I know I left a few things like the front license plate mod, cb install, and daystar. I am sure there is a few other things.
I just want to thank everyone who helped us out along the way and kept our secret for us...
So in 4 short weeks the H3 went through a drastic makeover and on Saturday June 5th 2010, the Blacked out Desert Orange H3X took its maiden voyage offroad with CHO at Wharton State Forest in New Jersey. Here is so pics..


I really enjoyed reading this as you performed a lot of the same upgrades I have on the agenda for my truck. Especially the VHT. I keep hoping I'll find a black grill. Once that happens, I doubt I will be able to stop myself in the removal of bright surfaces.

