
H3 Alternator R&R from the top. Lots of pictures.


Thread Starter
|
Junior Member
Joined: Jul 2010
Posts: 27
From: Fallbrook Ca as of now
Ok guys my alt was on it way out and I didnt want to remove the driver side wheel, inner fender well, AND remove the A/C compressor. So after looking at it I was pretty sure I could get it out from the top. Here is what I did.
Step 1 Put dirty H3 in the garage.
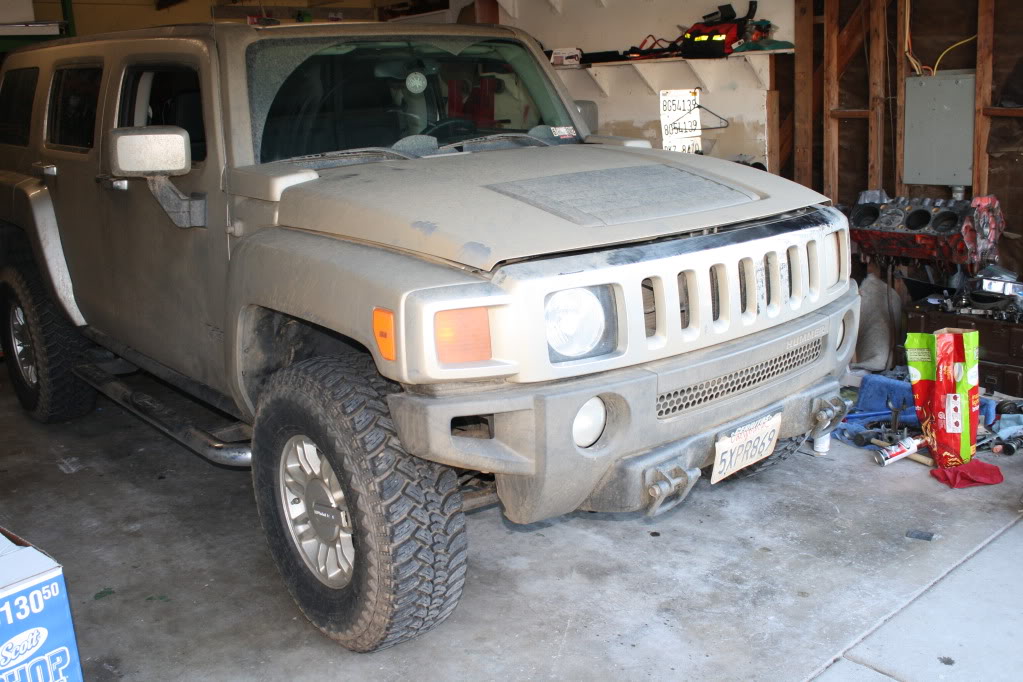
Step 2 Ask yourself why GM did this.

Step 3 Pull battery corver and vent hose.
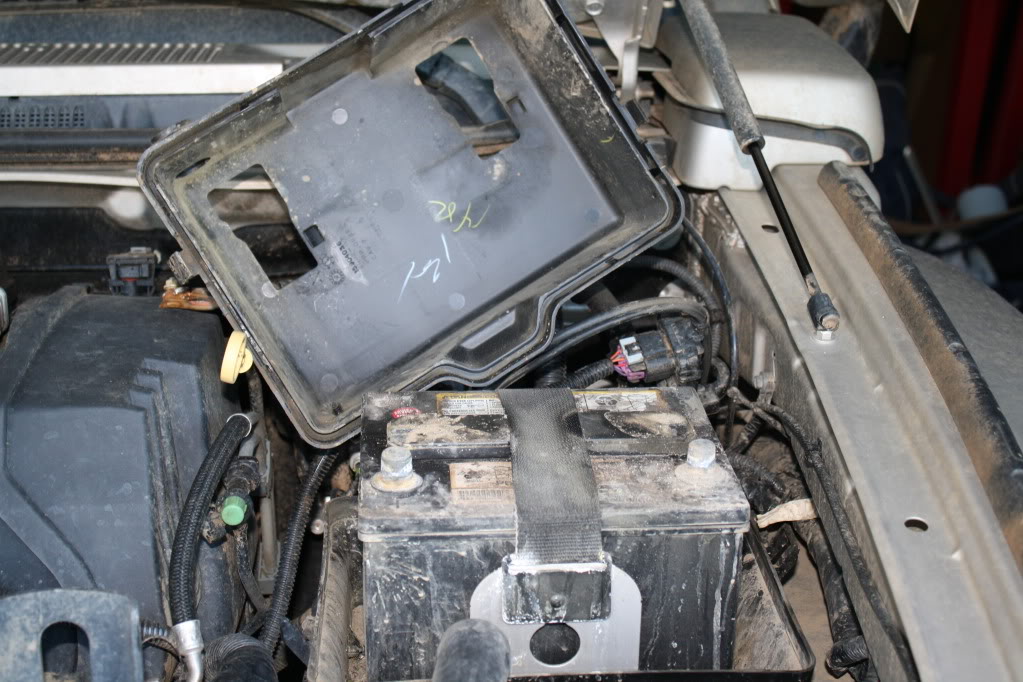
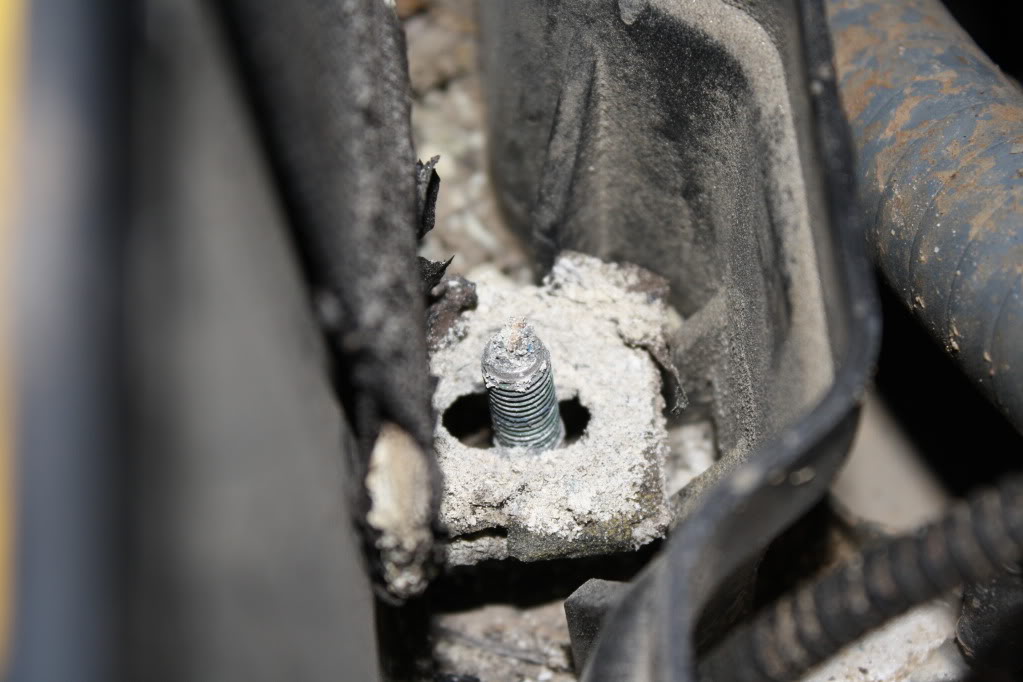
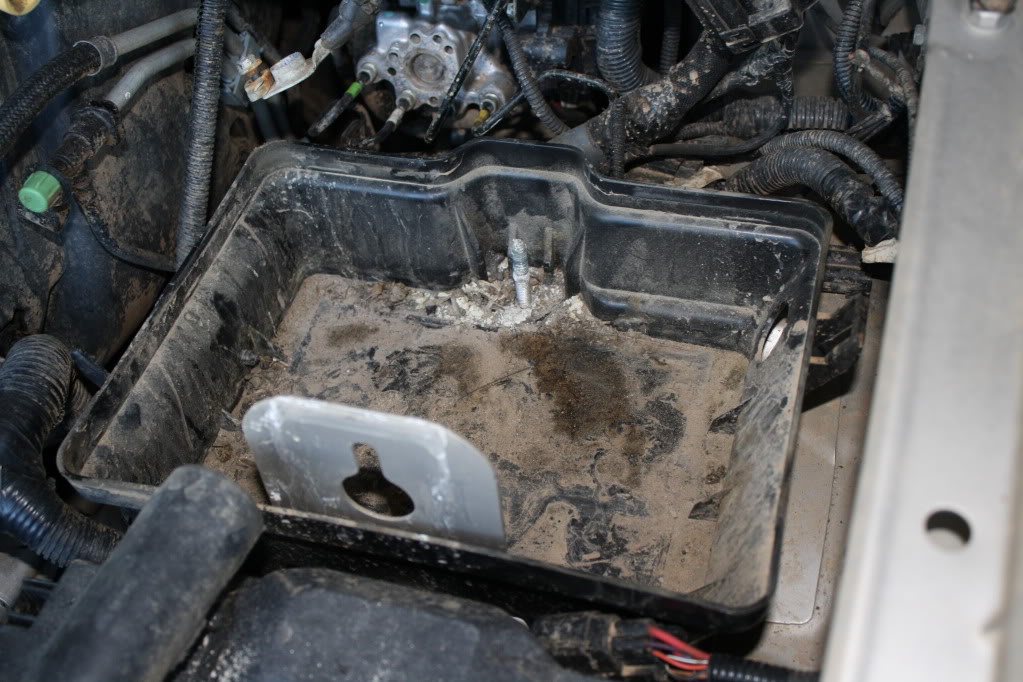
Step 4 Remove tie down nut and battery.
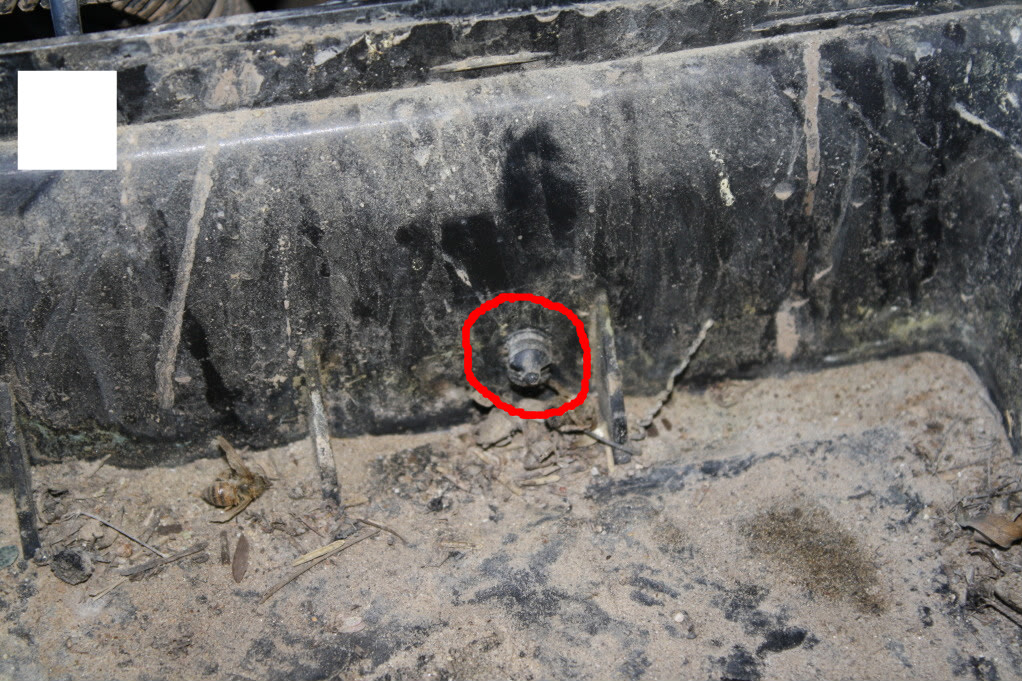
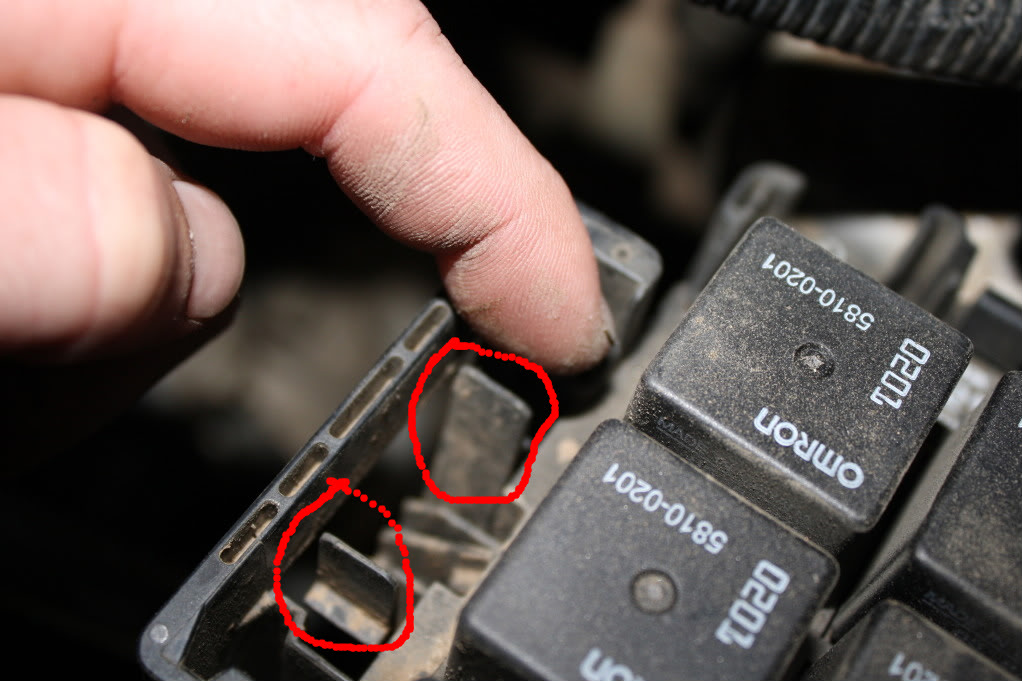
Step 5 Remove wiring harness clips. I think there are 2 of them. They look like this.
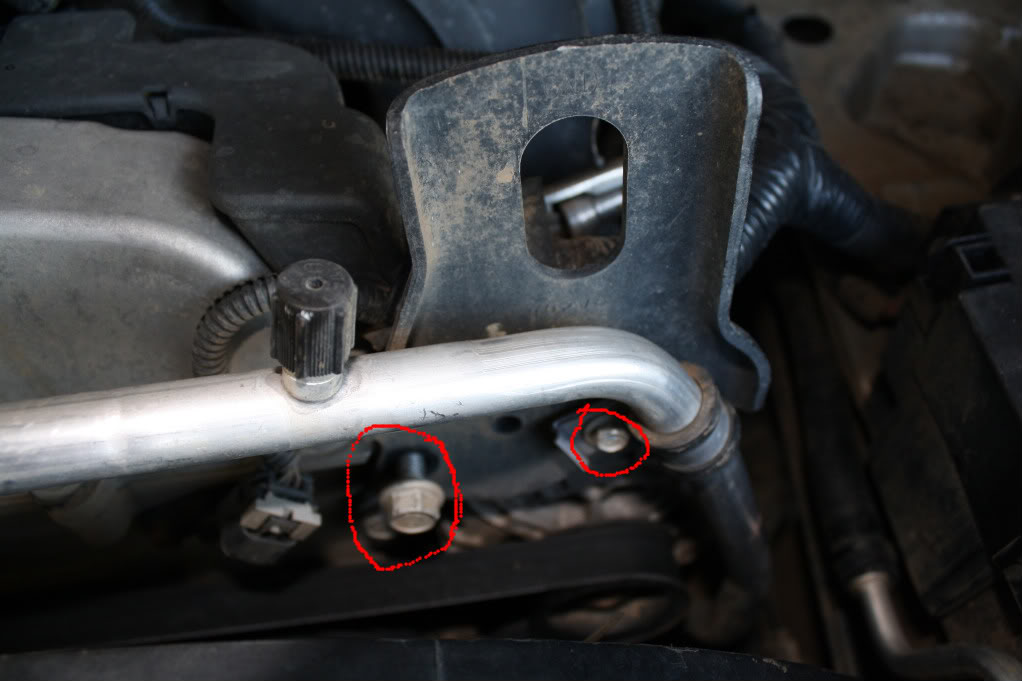
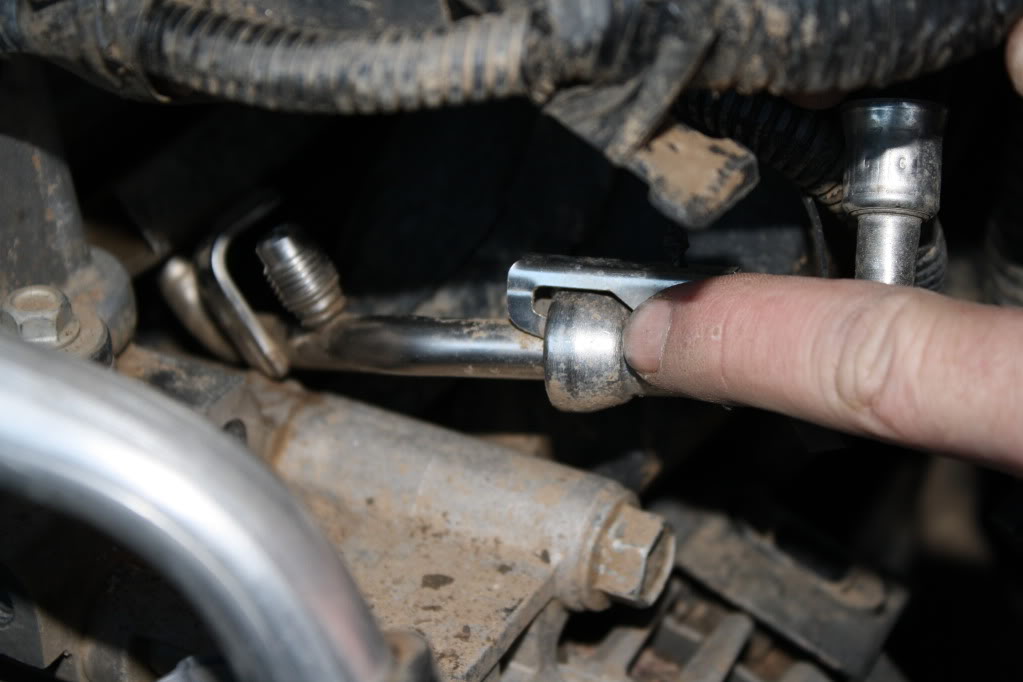
Step 6 Remove the front bracket from the motor. There are 3 bolts on the front and one on the back. DONT NOT BEND THE A/C LINE!!!!
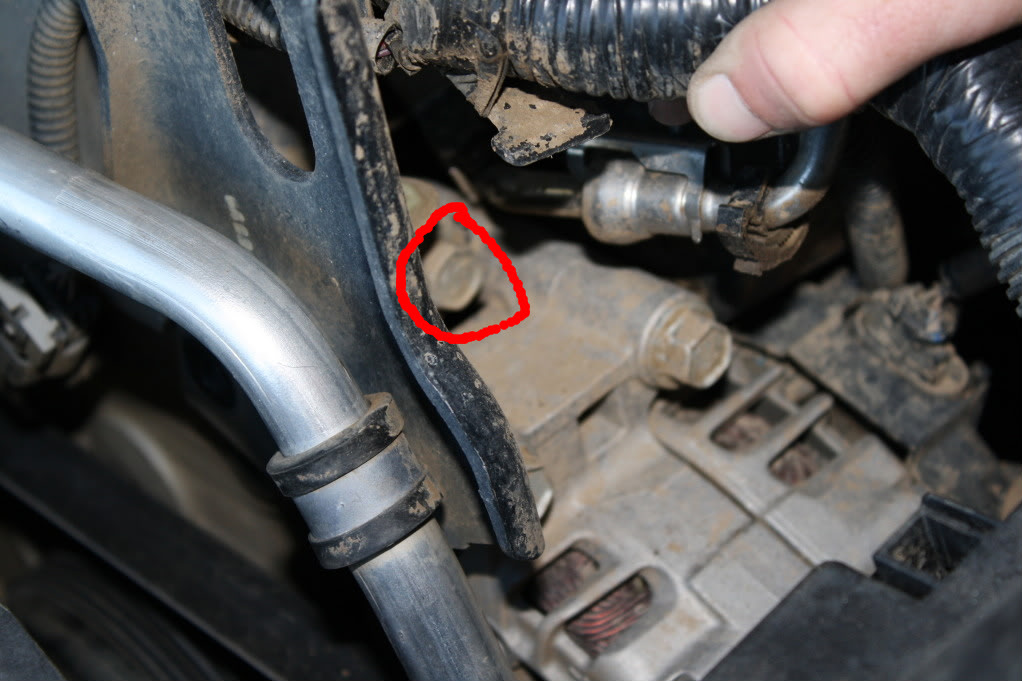
Back bolt.
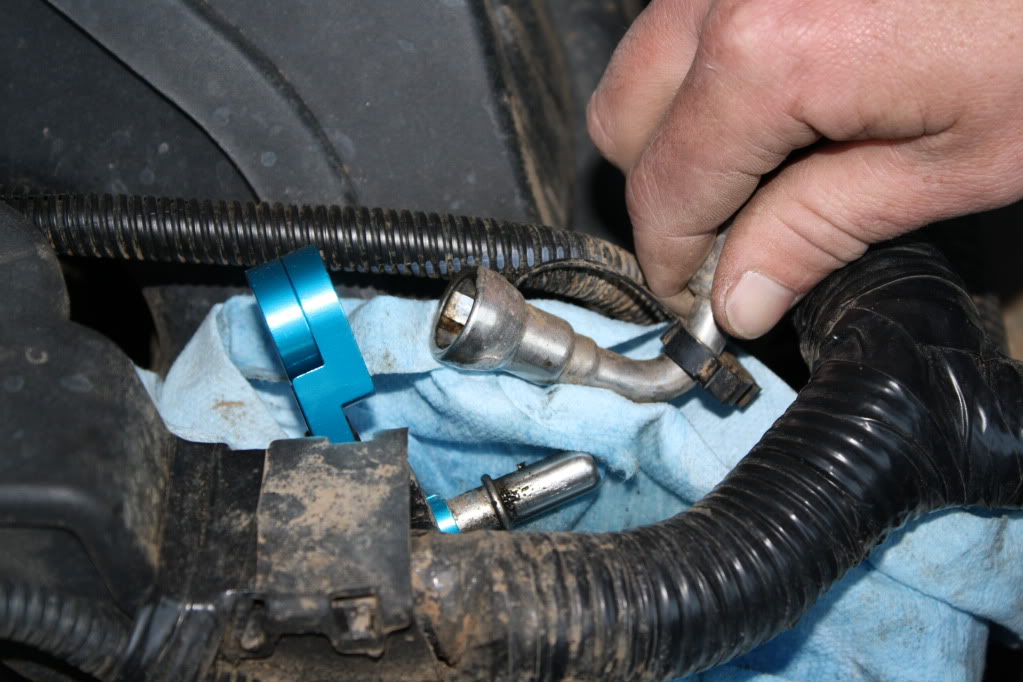
Step 7 Remove bleeder cap and bleed the fuel line. I put a rag under the valve to catch the gas.
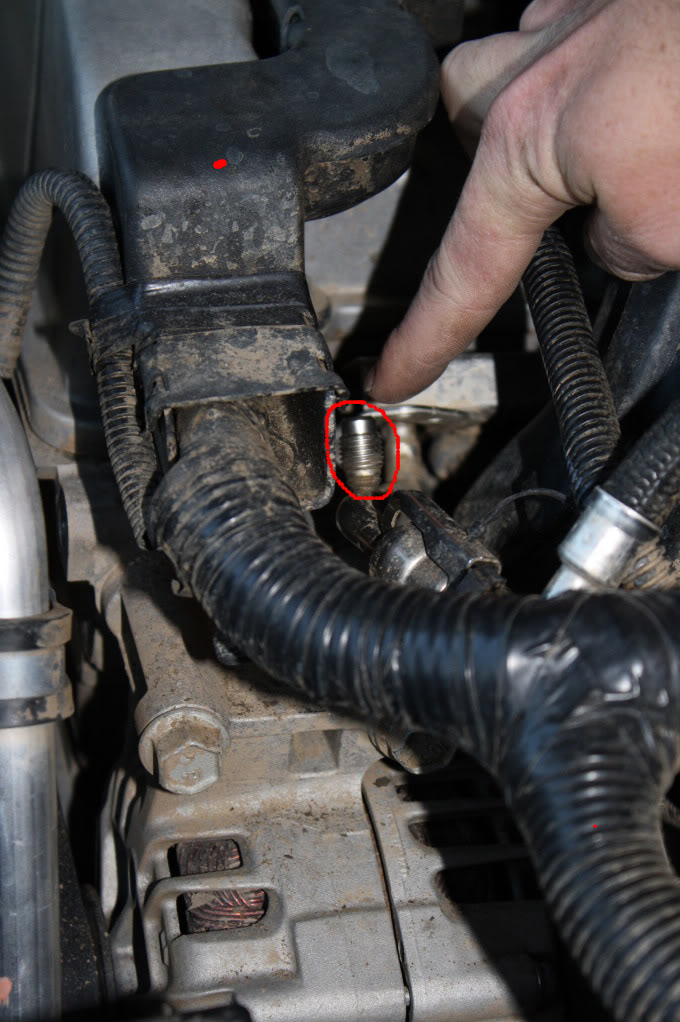
Step 8 Disconnect the fuel line. It used a 3/8 quick disconnect. Once its off you can use the oil dip stick to hold the line out of the way.
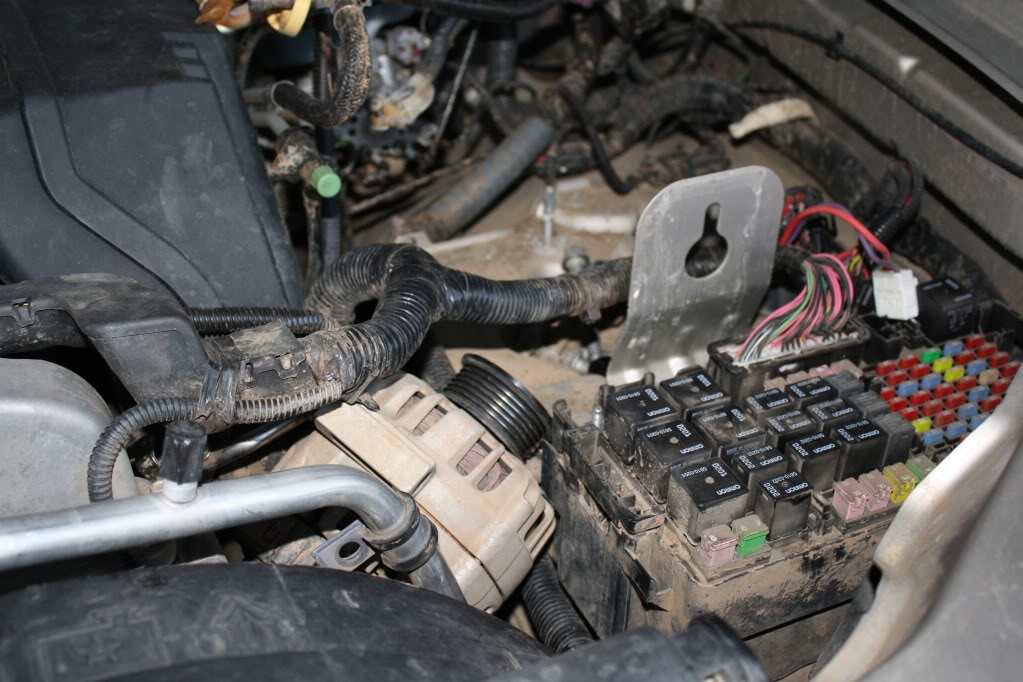
Step 9 From here I took off the belt and unbolted the alt to see what else needed to go. I didnt take picture of me unbolting the alt. There are 2 bolts on top and one on the bottom. Also make sure you take the main wire off and also unplug the cilp before you try to pull it out. As you can see the rest of the fuse box is in the way.
Step 10 Disconnect the harness. Also unbolt the 2 nuts holding the 2 wires on the back left side of the box.
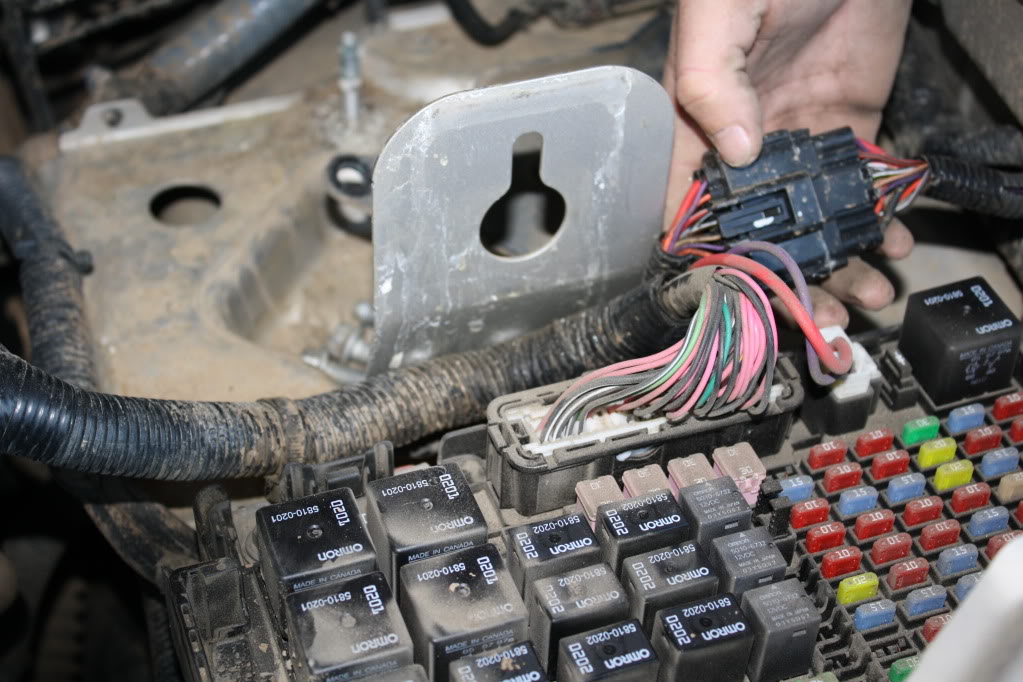
Step 11 Remove the fuse box. There are 2 cilps on each side. Pull them together and the box comes off.
Step 12 Remove the main harness plugs from the fuse box base. There are 3 clips that hold them down. 2 of them are in the right said and 1 one the left. You need to use and small flat head on the left clip. The right 2 can be done by hand. Sorry I didnt get a good picture on them.
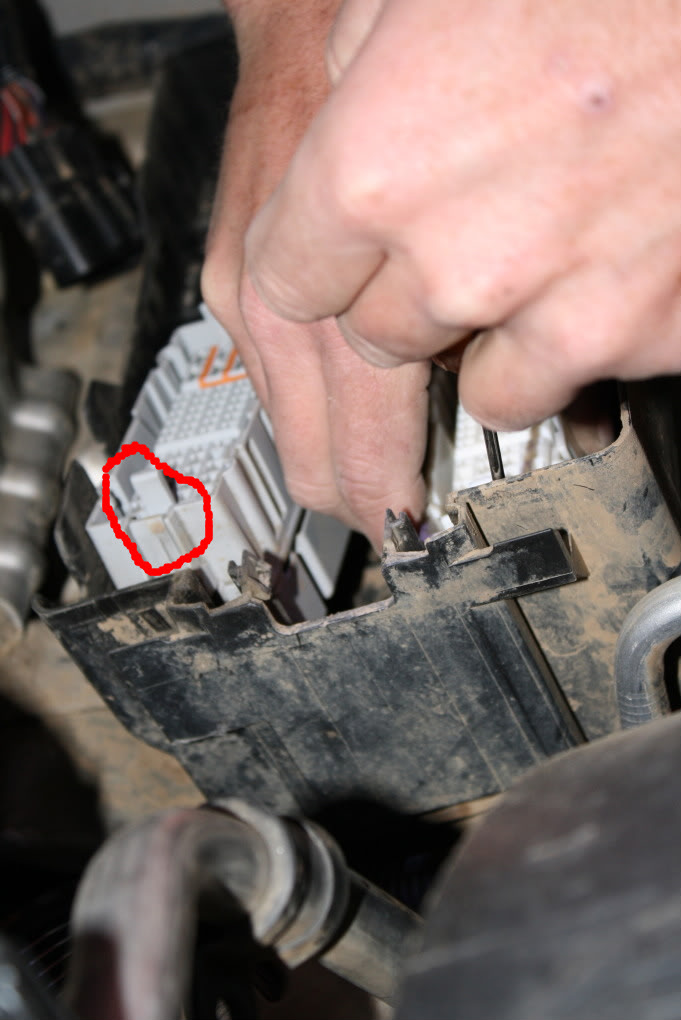
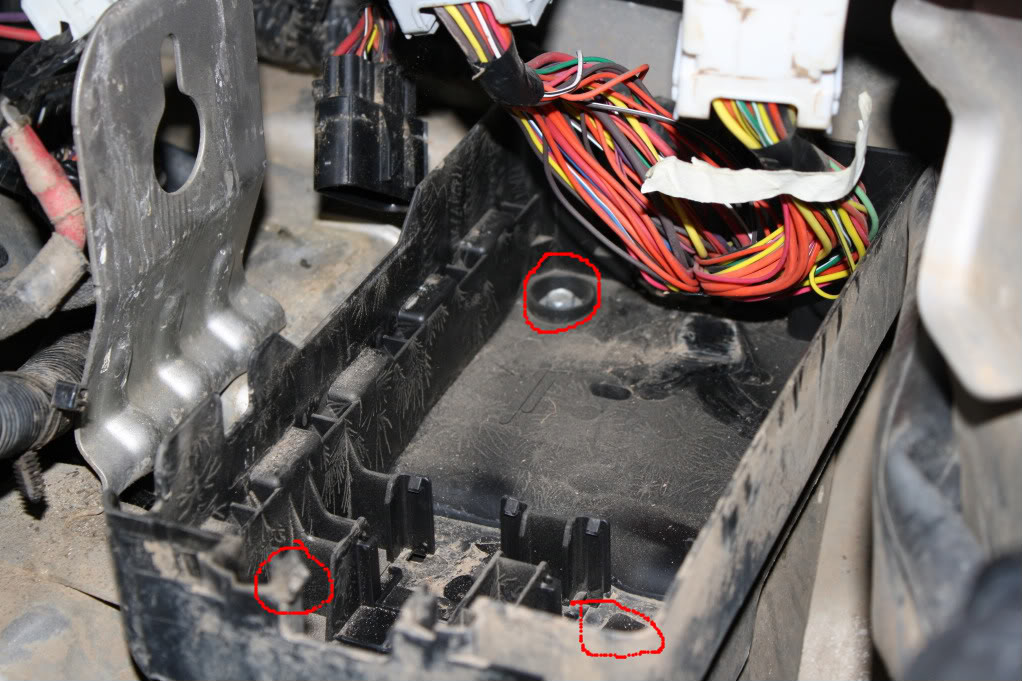
Step 13 Remove the fuse box base. There are 3 bolts that hold it down. You can see the 2 small clips in the bottom of the picture that hold the main plugs in place.
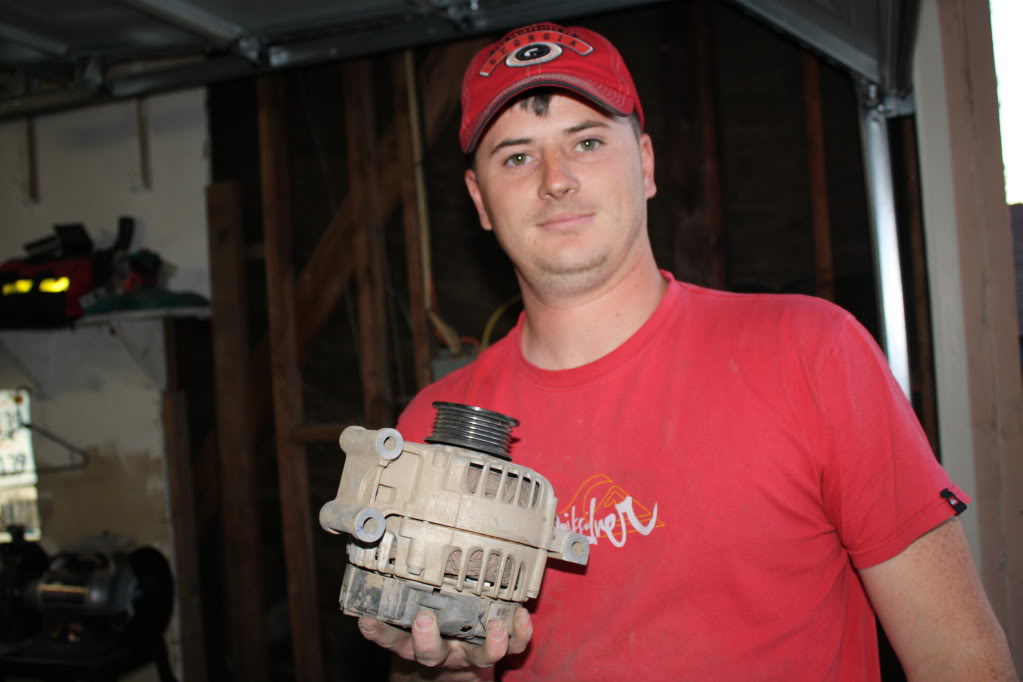
Step 14 Remove alt. You will have to twist it to get it to come out.
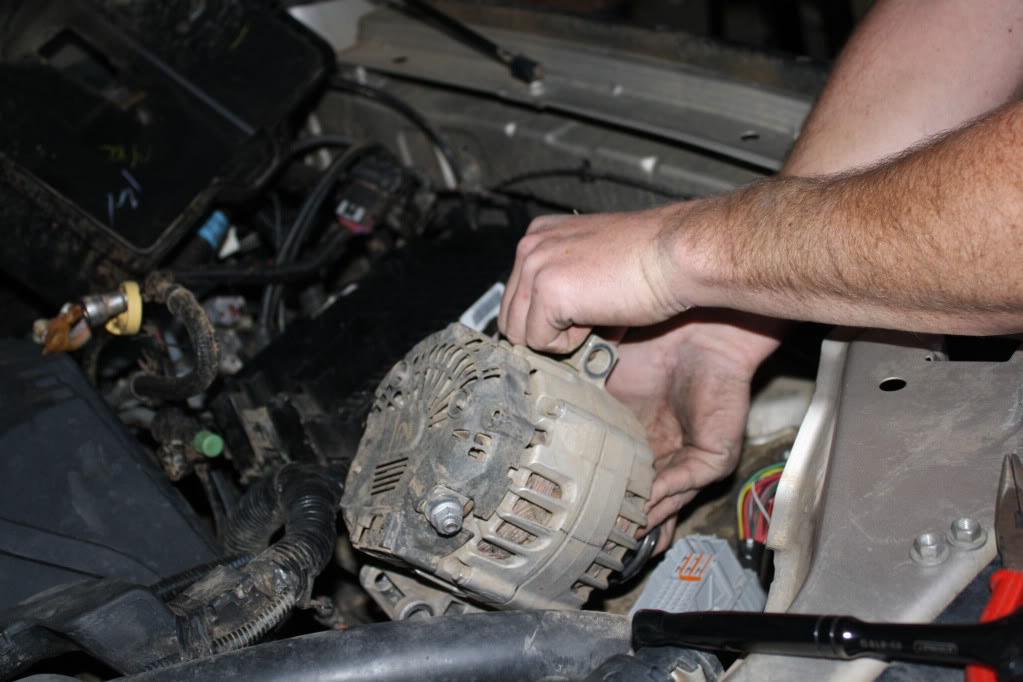
Step 15 Smile because you just saved yourself alot of time.
I hope this will help some of you in the future. I will be picking up the new alt in the morning. I will post of some pictures of the install. It sure beats doing it the way everyone says to. It only took alittle over an hour to get this done. Also I dont have any type of repair manual for the Hummer. This was all done on a "well lets see if this works" attitude. The only special tools you need are the fuel line tools.
Step 1 Put dirty H3 in the garage.
Step 2 Ask yourself why GM did this.
Step 3 Pull battery corver and vent hose.
Step 4 Remove tie down nut and battery.
Step 5 Remove wiring harness clips. I think there are 2 of them. They look like this.
Step 6 Remove the front bracket from the motor. There are 3 bolts on the front and one on the back. DONT NOT BEND THE A/C LINE!!!!
Back bolt.
Step 7 Remove bleeder cap and bleed the fuel line. I put a rag under the valve to catch the gas.
Step 8 Disconnect the fuel line. It used a 3/8 quick disconnect. Once its off you can use the oil dip stick to hold the line out of the way.
Step 9 From here I took off the belt and unbolted the alt to see what else needed to go. I didnt take picture of me unbolting the alt. There are 2 bolts on top and one on the bottom. Also make sure you take the main wire off and also unplug the cilp before you try to pull it out. As you can see the rest of the fuse box is in the way.
Step 10 Disconnect the harness. Also unbolt the 2 nuts holding the 2 wires on the back left side of the box.
Step 11 Remove the fuse box. There are 2 cilps on each side. Pull them together and the box comes off.
Step 12 Remove the main harness plugs from the fuse box base. There are 3 clips that hold them down. 2 of them are in the right said and 1 one the left. You need to use and small flat head on the left clip. The right 2 can be done by hand. Sorry I didnt get a good picture on them.
Step 13 Remove the fuse box base. There are 3 bolts that hold it down. You can see the 2 small clips in the bottom of the picture that hold the main plugs in place.
Step 14 Remove alt. You will have to twist it to get it to come out.
Step 15 Smile because you just saved yourself alot of time.
I hope this will help some of you in the future. I will be picking up the new alt in the morning. I will post of some pictures of the install. It sure beats doing it the way everyone says to. It only took alittle over an hour to get this done. Also I dont have any type of repair manual for the Hummer. This was all done on a "well lets see if this works" attitude. The only special tools you need are the fuel line tools.
Last edited by 0331Marine; Feb 28, 2011 at 12:49 AM.

Senior Member
Joined: Sep 2008
Posts: 6,126
From: SE Michigan
0331Marine, great "TECH" post here! Glad to see I won't have to remove the A/C compressor on mine when it is out of warranty and the alternator goes out! Looks like you had some Bees living inside your battery box.
What's that small block in the garage for???
What's that small block in the garage for???
Last edited by TAINTER; Feb 27, 2011 at 10:48 PM.

Banned
Joined: Aug 2009
Posts: 2,652
NOW YOU CAN SEE, do u think u could unbolt the compressor but not the lines and move it enuf to avoid some of the fuse work? it looks like the tubing is in the way but how much would it need to move?,also the heavy elect cable?
its raining or id go out and peek!!,i real curious now. get more pics!
thanks, this is a big one
its raining or id go out and peek!!,i real curious now. get more pics!
thanks, this is a big one
Thread Starter
|
Junior Member
Joined: Jul 2010
Posts: 27
From: Fallbrook Ca as of now
http://forums.corvetteforum.com/f-bo...ject-pics.html
NOW YOU CAN SEE, do u think u could unbolt the compressor but not the lines and move it enuf to avoid some of the fuse work? it looks like the tubing is in the way but how much would it need to move?,also the heavy elect cable?
its raining or id go out and peek!!,i real curious now. get more pics!
thanks, this is a big one
its raining or id go out and peek!!,i real curious now. get more pics!
thanks, this is a big one
Senior Member
Joined: Sep 2008
Posts: 6,126
From: SE Michigan
[QUOTE=0331Marine;244185] The motor came out of my project car.
http://forums.corvetteforum.com/f-bo...ject-pics.html
I cringed a little bit when I hit the link to a vett forum. But I was plesently suprised to see a split bumper F-body. Good work going into your other ride!
http://forums.corvetteforum.com/f-bo...ject-pics.html
I cringed a little bit when I hit the link to a vett forum. But I was plesently suprised to see a split bumper F-body. Good work going into your other ride!

Thread Starter
|
Junior Member
Joined: Jul 2010
Posts: 27
From: Fallbrook Ca as of now
Yeah its alot better than what they say you has to do. I've been out here for 2 years. I've got one more year then its back to GA.
Last edited by 0331Marine; Feb 28, 2011 at 10:30 AM.
I've been out here eight years! Can't wait to get back. I still have my old family place just south of Dalton. 35 acres of the prettiest woods you've ever seen and lots of national forest nearby with some nice trails to go on. The Hummer is a lot bigger than the 4x4s I had back there. Should still be okay though.
Thread Starter
|
Junior Member
Joined: Jul 2010
Posts: 27
From: Fallbrook Ca as of now
I've been out here eight years! Can't wait to get back. I still have my old family place just south of Dalton. 35 acres of the prettiest woods you've ever seen and lots of national forest nearby with some nice trails to go on. The Hummer is a lot bigger than the 4x4s I had back there. Should still be okay though.
I'm from Chickamauga. I'm only 30min north of Dalton.

