H3 Alternator R&R from the top. Lots of pictures.
#21
 04-21-2011, 03:19 PM


Senior Member
Just replaced my battery last week with an Odyssey and had a dead wasp in the exact spot the dead bee was in the pic. Maybe I'll disconnect that vent tube from the front

#23
04-21-2011, 05:03 PM

I tried removing the tube, but was left with a big hole behind my grill that I wasn't real comfortable with in case of heavy rain, snow, or road debri. I have an optima so I just did away with the top of the box, disconnected the tube, zip tied it in half and tucked it out of the way.
#24
04-21-2011, 09:18 PM

Join Date: Jul 2010
Location: Fallbrook Ca as of now
Posts: 27
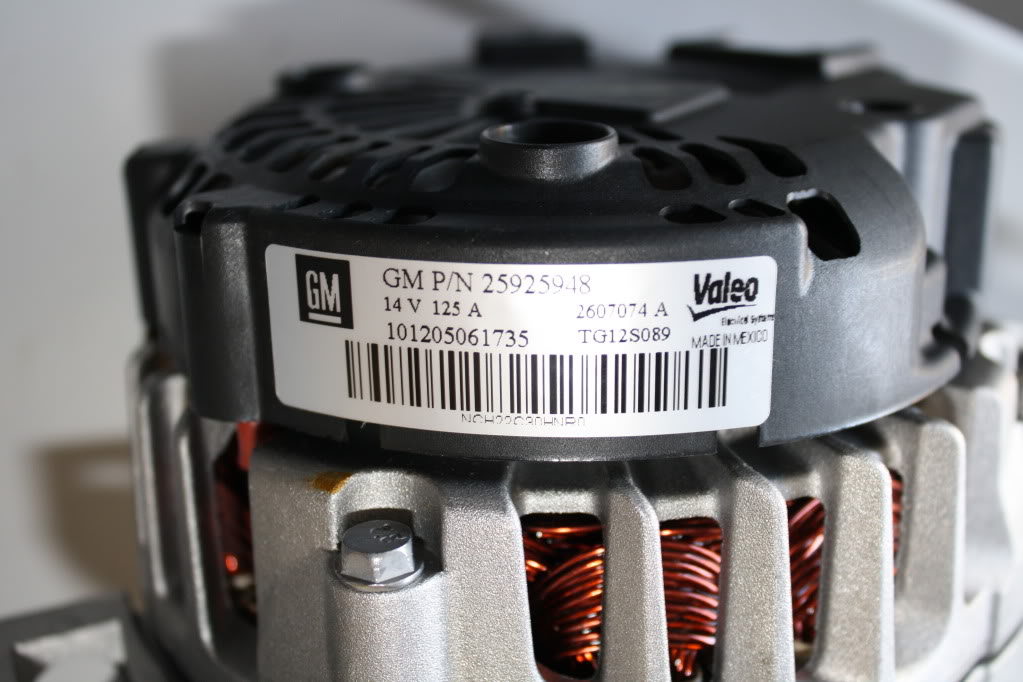
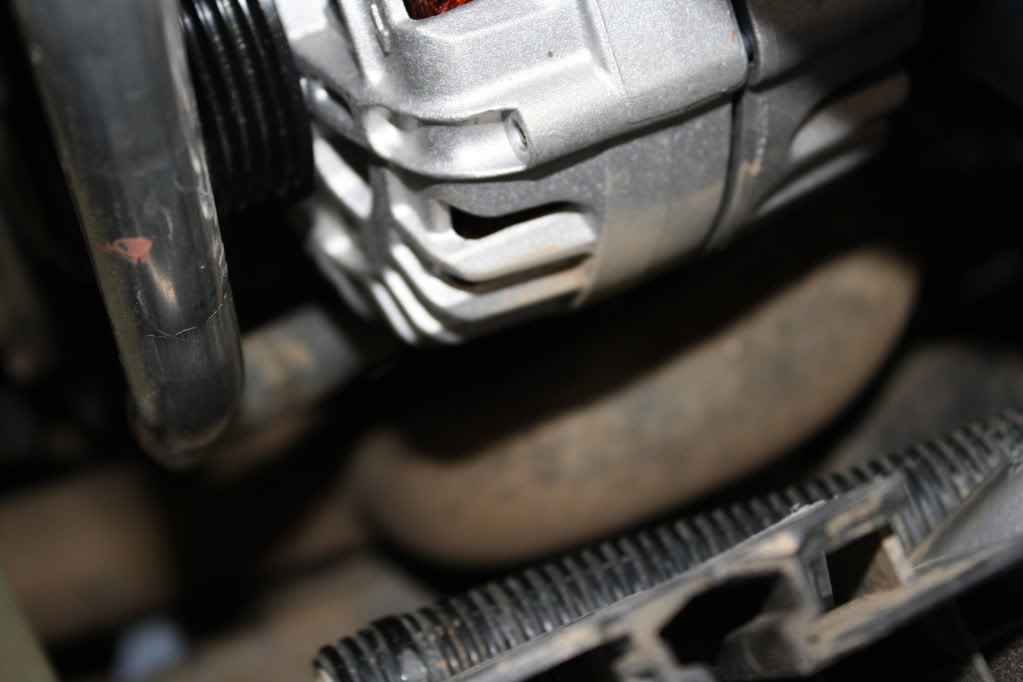
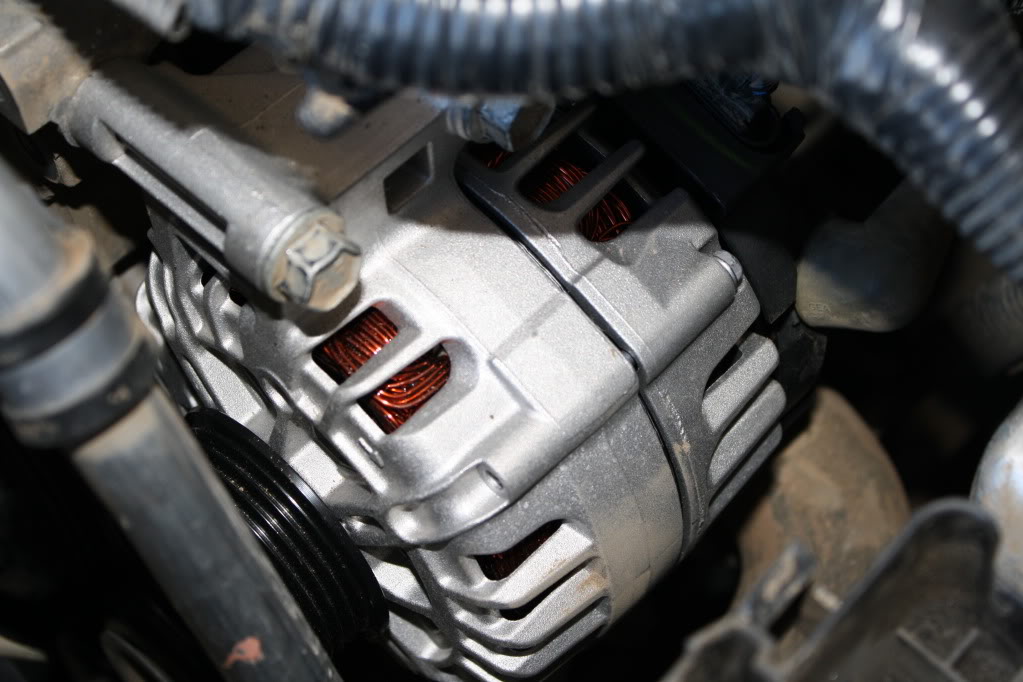
Ok guys here we go.
New alt.
Once you get the alt in and start to put everything back together, there is one thing you need to do.
When you are putting the fuse box back together you MUST put the two wiring harnesses on the fuse box. They take some force(alot) to get them to clip in. If you try to put them in the base and then put the fuse box on, it wont snap into place.
These must snap in to the top first(where all the fuses are).
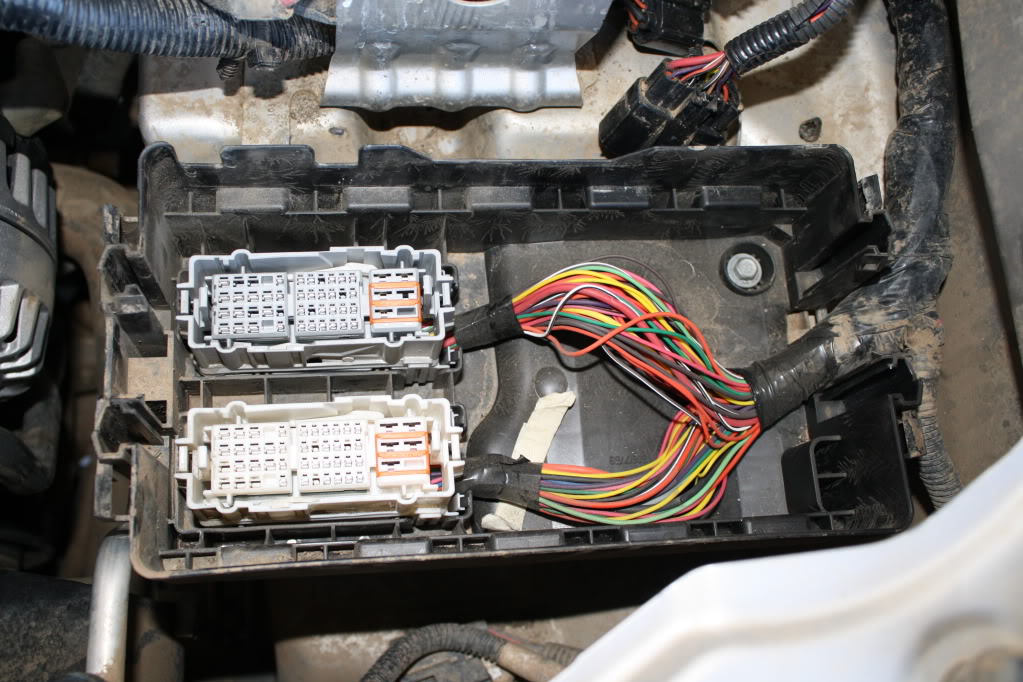
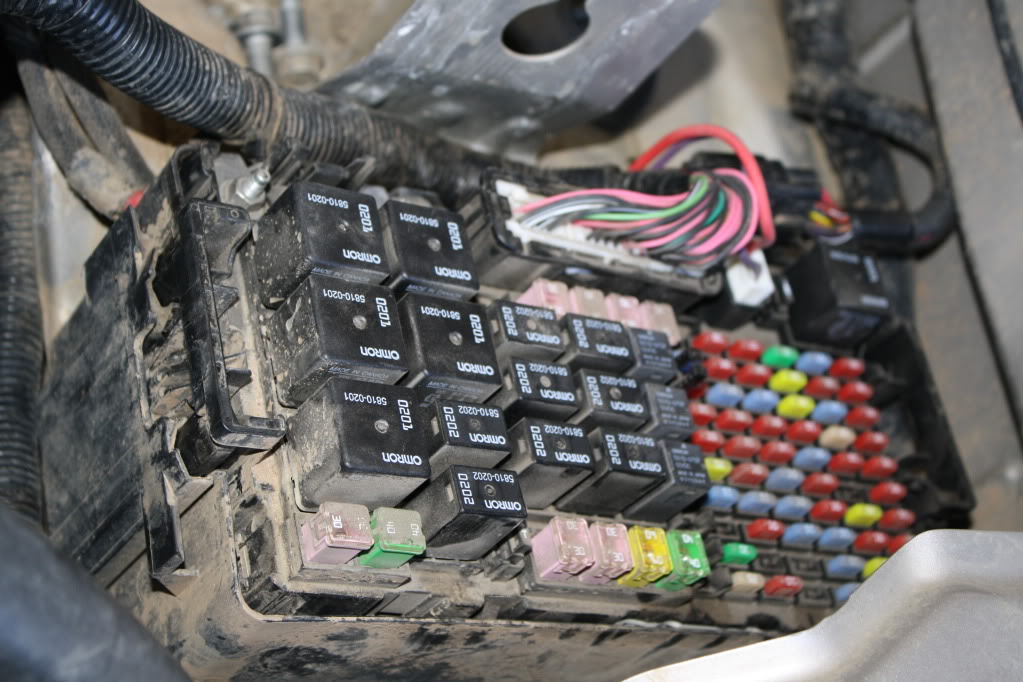
This is what it will look like if you dont put them in first. Notice the gap on the left side.
Once they are on the box will snap into the base.
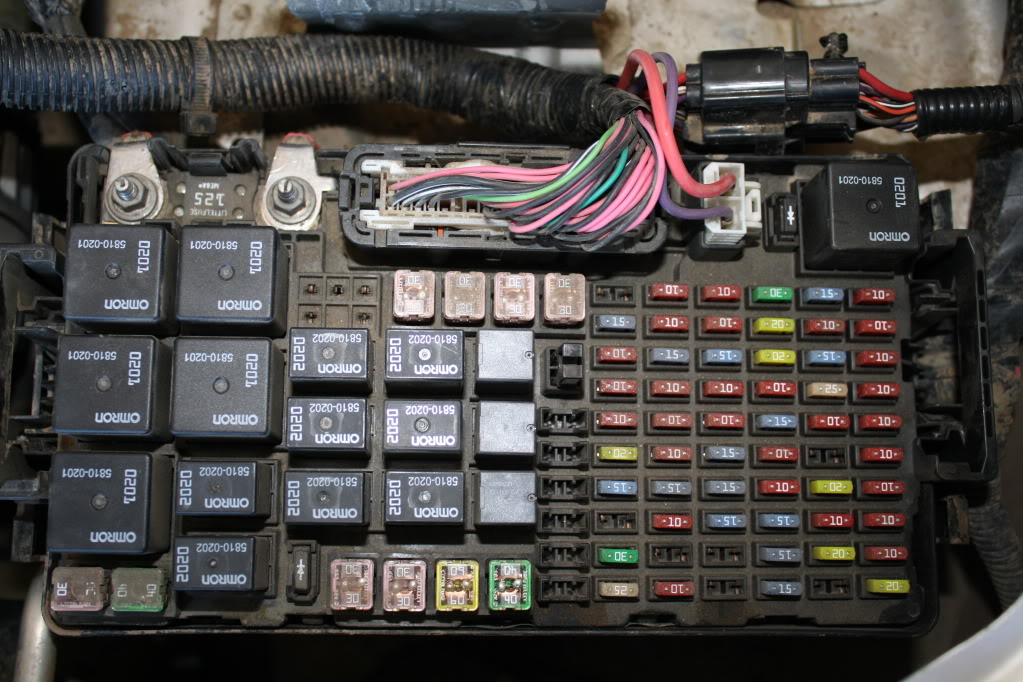
Once you do that hook the batt back up, fuel line back together, replace the belt, and put the A/C line bracket back on and go for a drive.
New alt.
Once you get the alt in and start to put everything back together, there is one thing you need to do.
When you are putting the fuse box back together you MUST put the two wiring harnesses on the fuse box. They take some force(alot) to get them to clip in. If you try to put them in the base and then put the fuse box on, it wont snap into place.
These must snap in to the top first(where all the fuses are).
This is what it will look like if you dont put them in first. Notice the gap on the left side.
Once they are on the box will snap into the base.
Once you do that hook the batt back up, fuel line back together, replace the belt, and put the A/C line bracket back on and go for a drive.
Last edited by 0331Marine; 04-22-2011 at 12:24 AM.

#26
04-21-2011, 10:21 PM
Join Date: Jul 2010
Location: Fallbrook Ca as of now
Posts: 27
Its the same alternator. The parts store ordered the wrong one and it was going to be another week before the right one came in, so they got me one from the Hummer dealership.
Sad part about it is its time to sale the Hummer....
#27
04-21-2011, 11:13 PM
Senior Member
This was a great alternative DIY install. Especially with the in depth descriptions, pics, and commentary. Step 2 can prob. be referred to on more matters than we'd like to admit concerning some aspects of our truck.
Thanks for all the time and attention you put into this 0331Marine
Well in that case I prolly won't remove the tube. Between being to busy w/ work and some rain over here I haven't even popped the hood yet to take a look but I'm not worried about it. I'll prob. end up just stuffing an old prefilter I have in that tube. The real challenge will be first finding that filter in my garage. The insects & dirt can have free reign until then.
Thanks for all the time and attention you put into this 0331Marine
I tried removing the tube, but was left with a big hole behind my grill that I wasn't real comfortable with in case of heavy rain, snow, or road debri. I have an optima so I just did away with the top of the box, disconnected the tube, zip tied it in half and tucked it out of the way.

#29
04-22-2011, 11:09 AM
I figured that may have been the case after thinking about it! It seemed like a really solid alternator, I beat on it for months before rebuilding it to 240A and it took it like a champ with no drop in idle voltage or output.
All said and done the fuses on all my amplifiers add up to 220A, and it had to keep up with two massive Kinetik batteries in the back, and a yellow top under the hood. Then on top of that all the rest of the factory equipment!
I expected to smoke that alternator pretty fast but it was still going strong as the day I got the truck by the time I got around to rebuilding it.
I have a company here in Ohio that is going to work on a dual alternator mount bracket, so I'll probably get another factory alt and have that run the truck, and use the second high output to feed the stereo system.
My biggest concern at this point is that I hope dual alternators won't get in the way of the Artec dual optima mount.....and I really have no way to tell unless I buy the mount so I'm little worried about taking the risk at this point. Worse comes to worse I'd rather have two yellow tops under the hood than two alts, I can always build the alternator up to 300A if needed.....
I really wish I had a way of telling but without having both parts in hand I'm kind of in a catch 22 because I'm sure no one else is running the setup that I am planning on, or at least anyone that I could get in touch with.
The bracket and alt is pretty pricey so I don't want to take the plunge unless I'm sure. Even with a friends machine shop doing the bracket for me, its still not cheap.