When you click on links to various merchants on this site and make a purchase, this can result in this site earning a commission. Affiliate programs and affiliations include, but are not limited to, the eBay Partner Network.
Hummer H2For those who like a little more gleam to their Hummer, the H2 offers a similar rugged look as the H1, but as a lower cost, and with more added features, making it almost a massive luxury SUV.
hello, i have H2 and i got these 4inch halo lights but i cant seem to figure out how to install these halo lights without doing some creative modification. i have see lots of people have these same halo lights installed. i cant figure out how they did it/
any ideas?
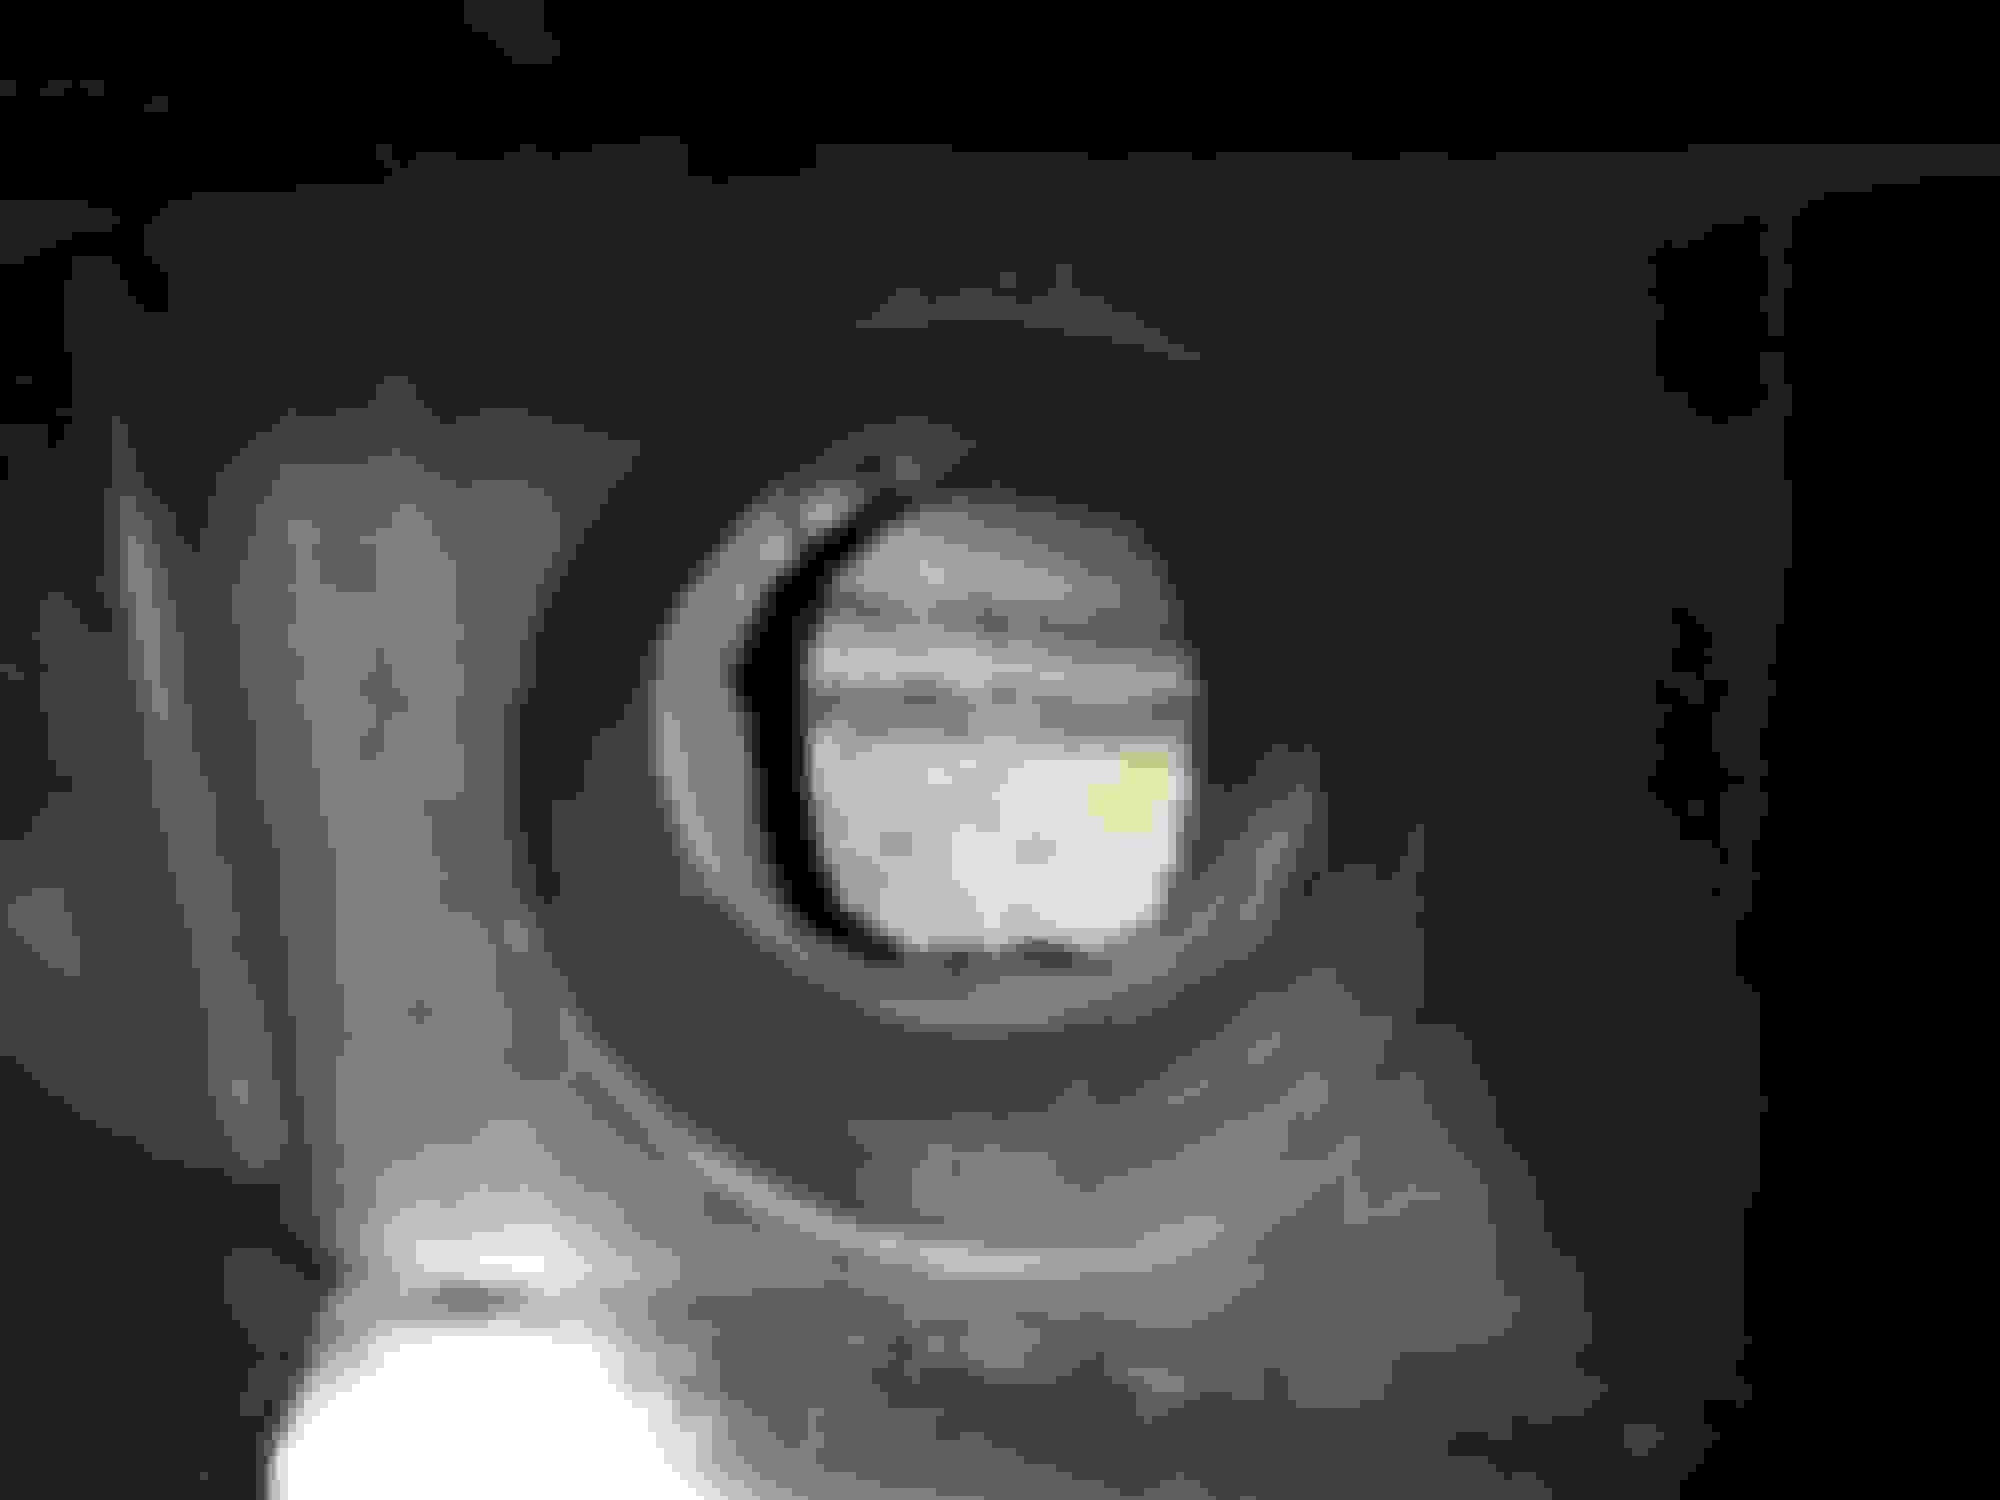
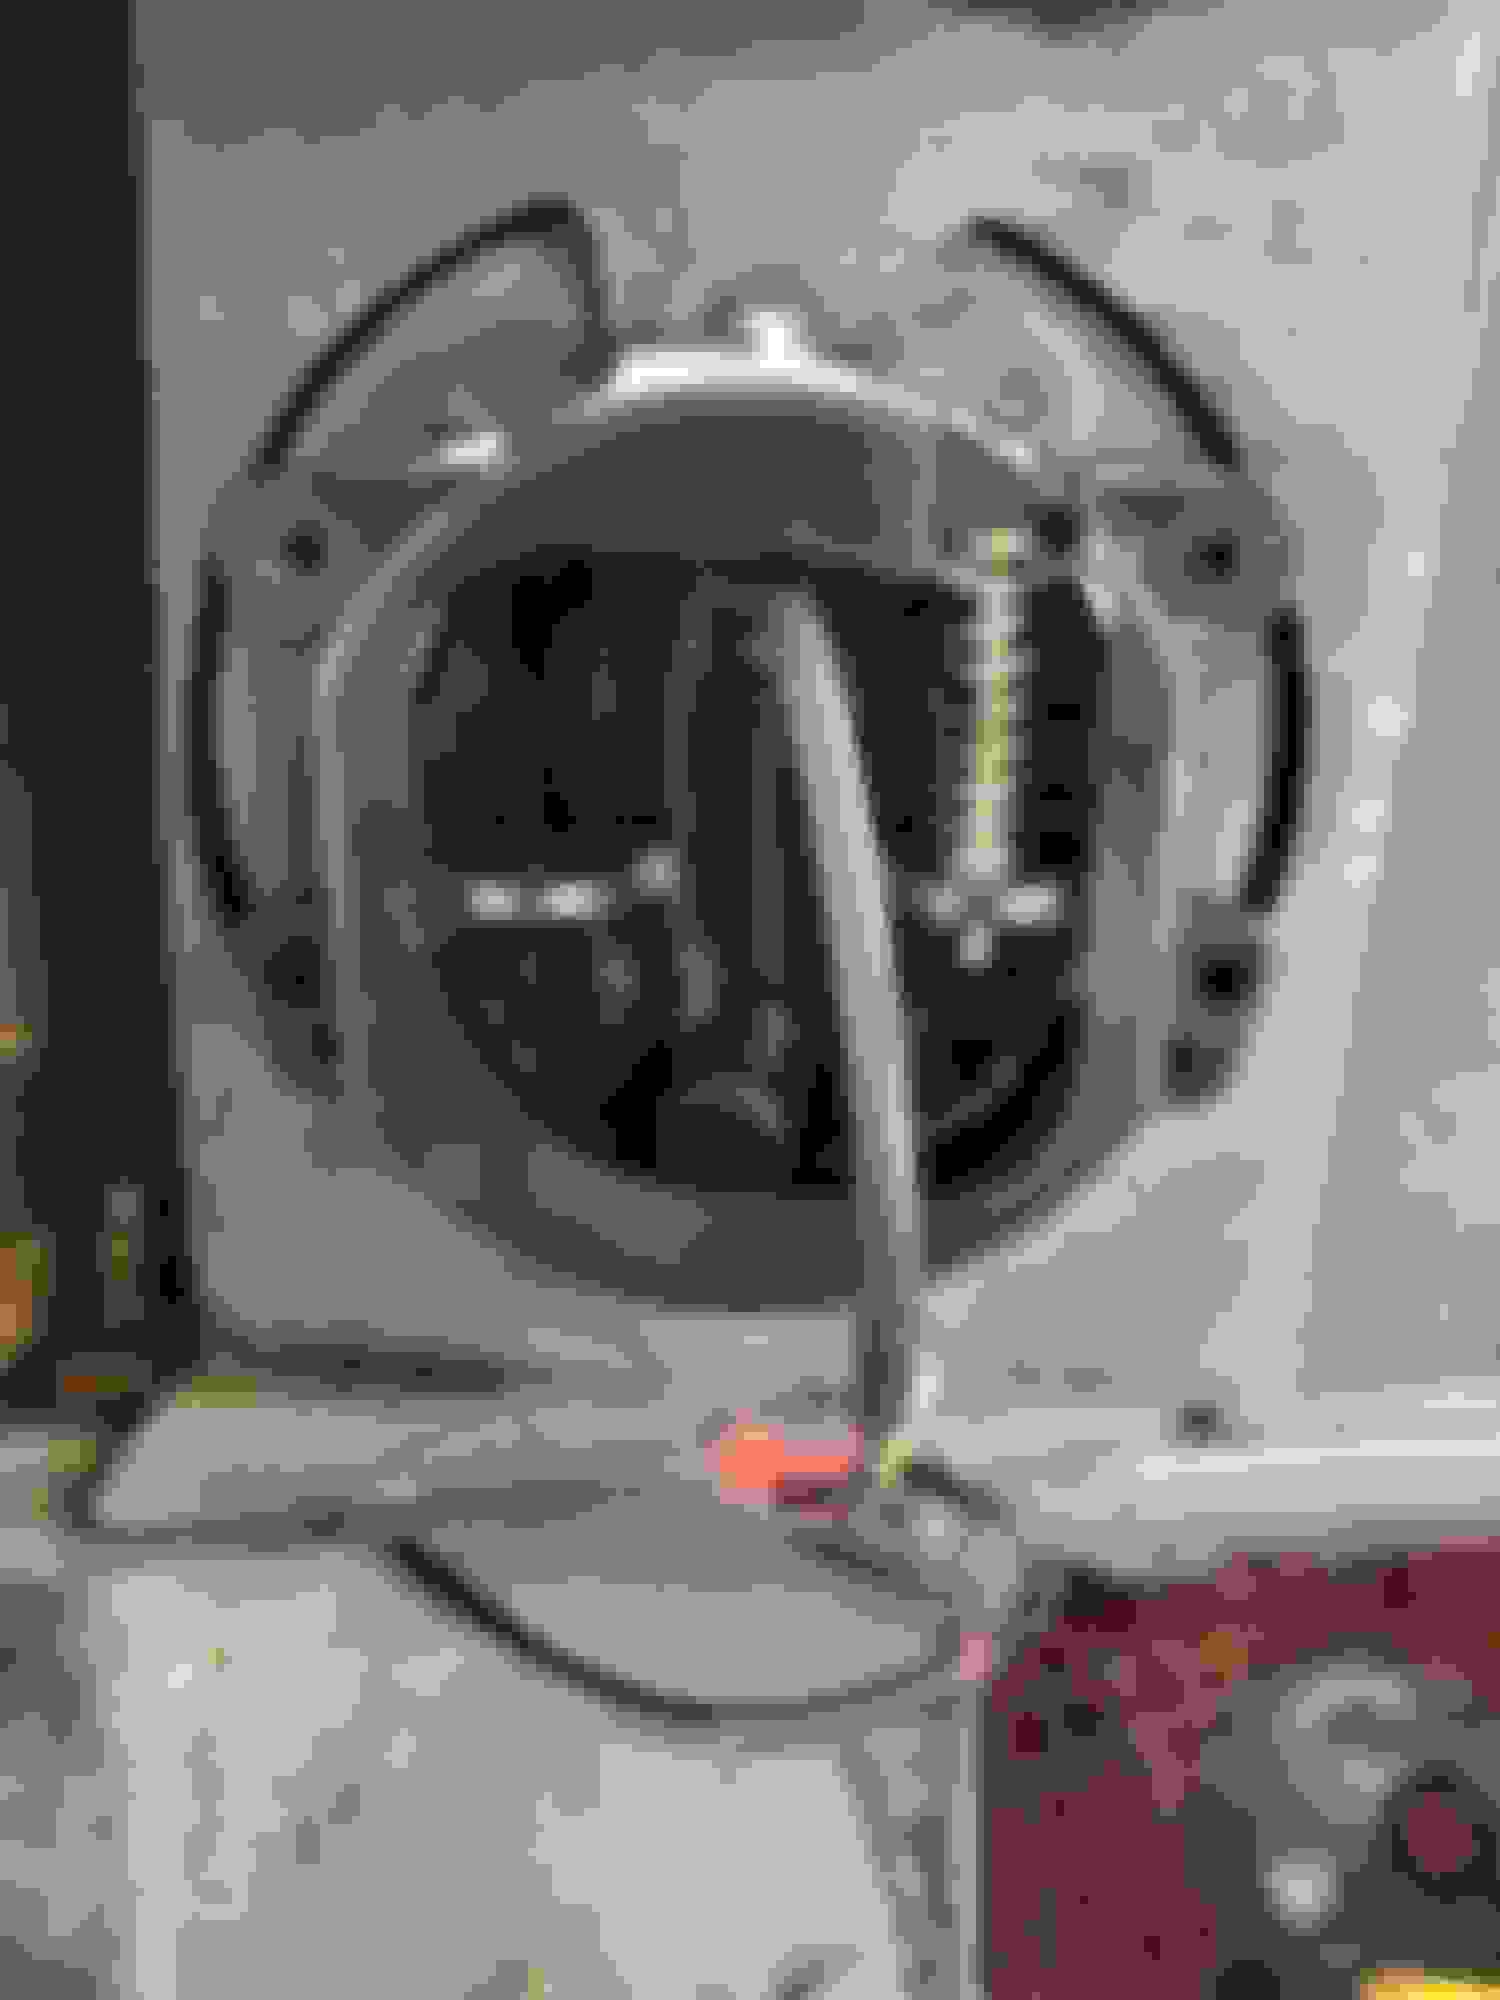
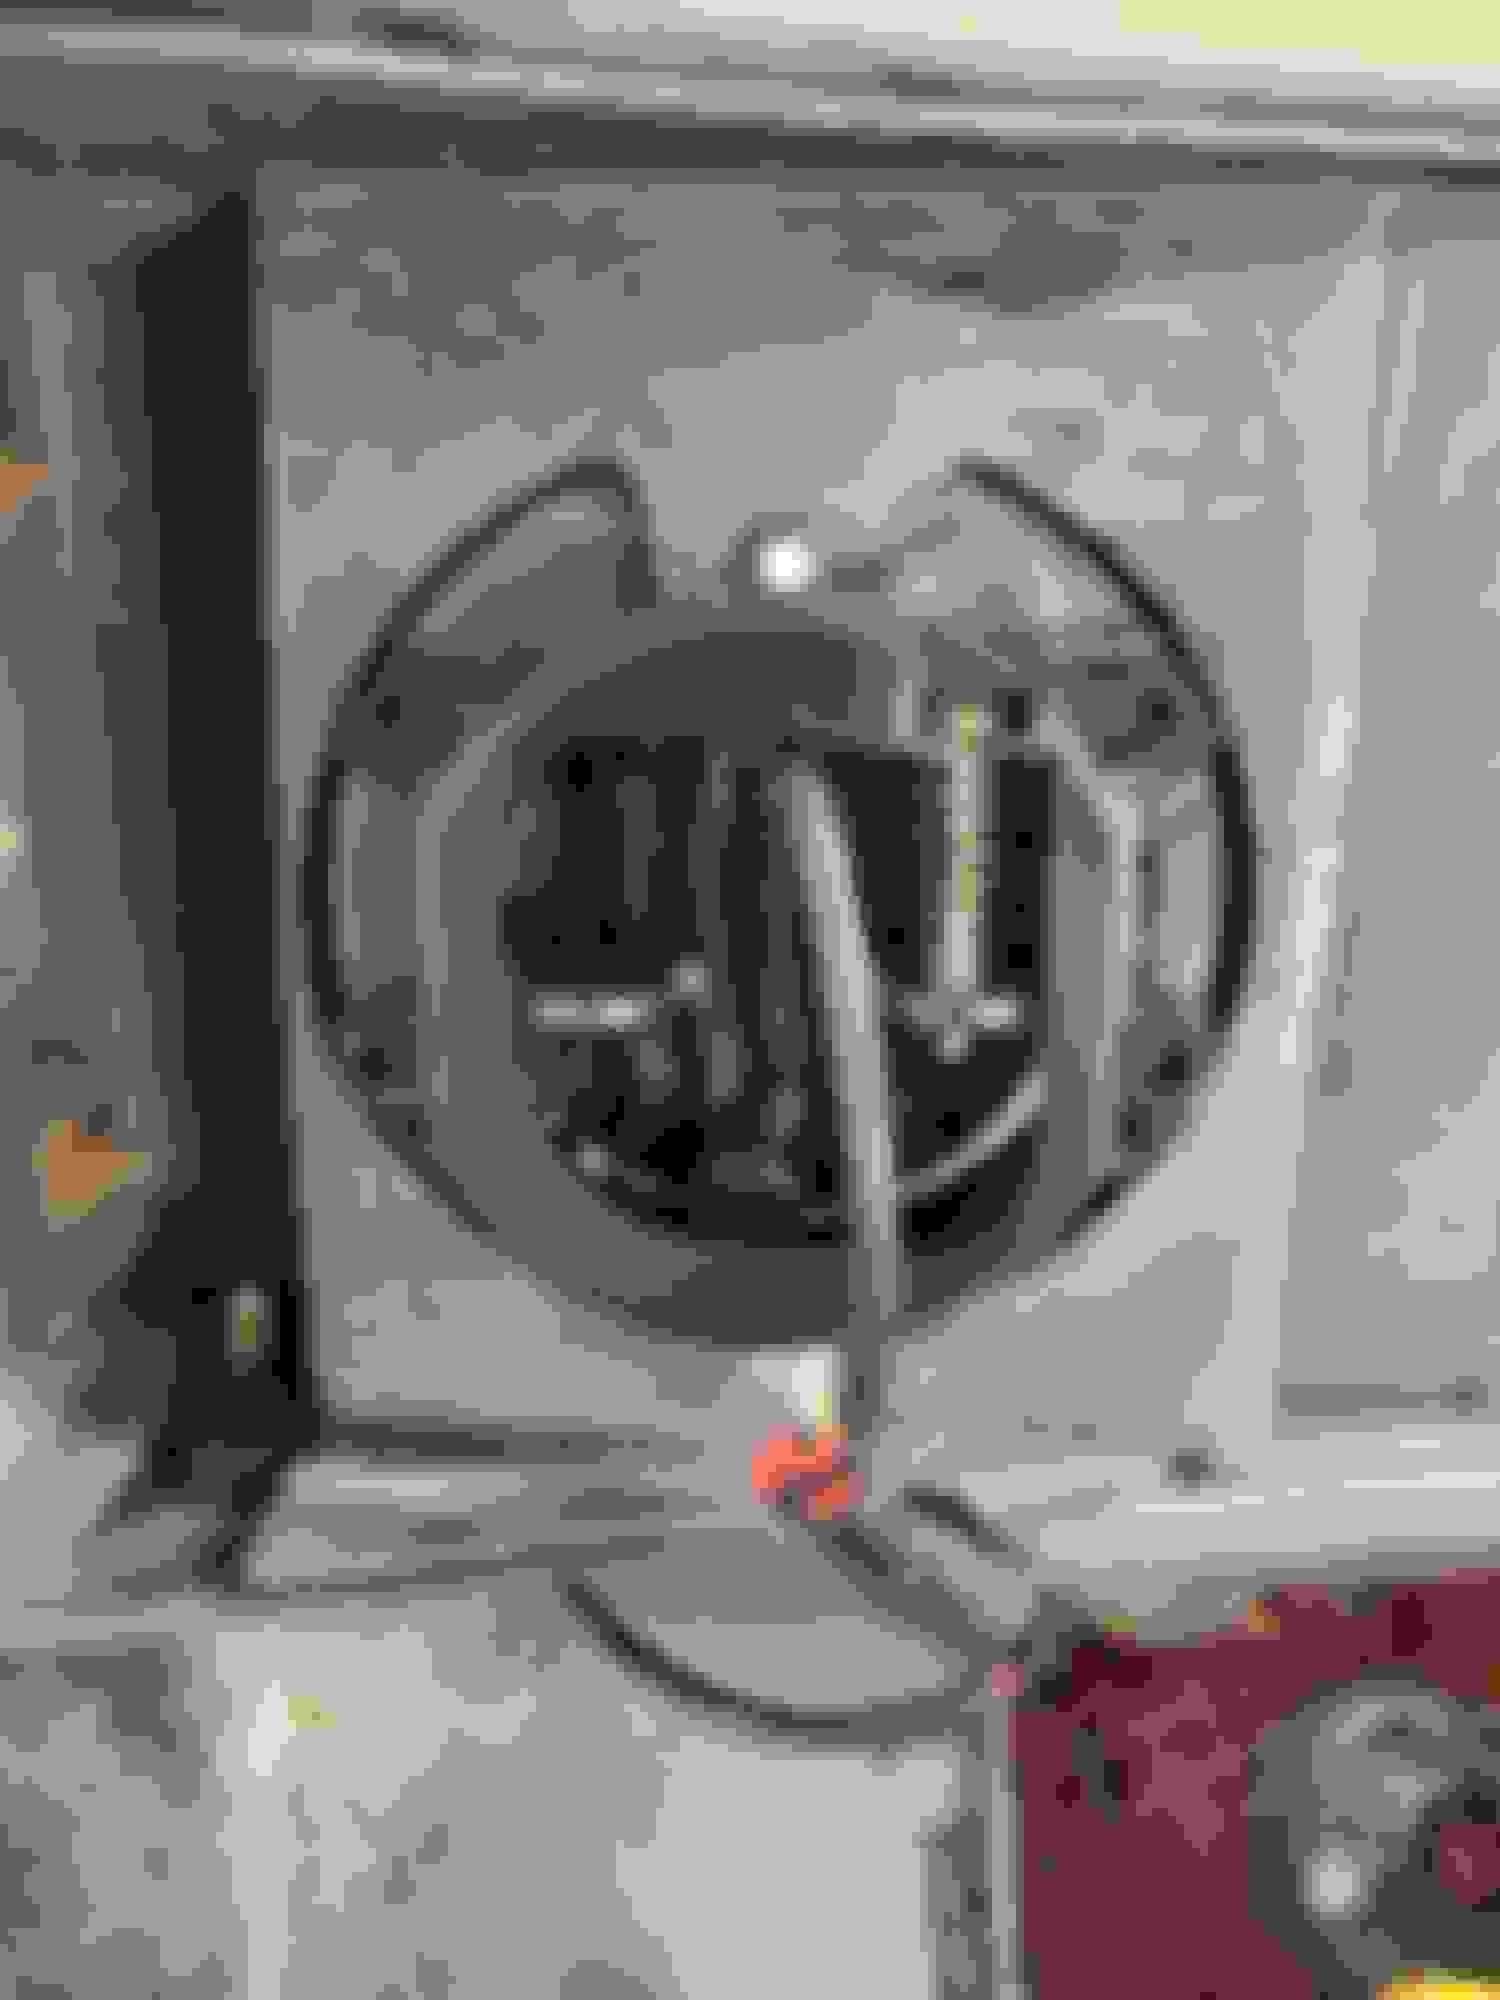
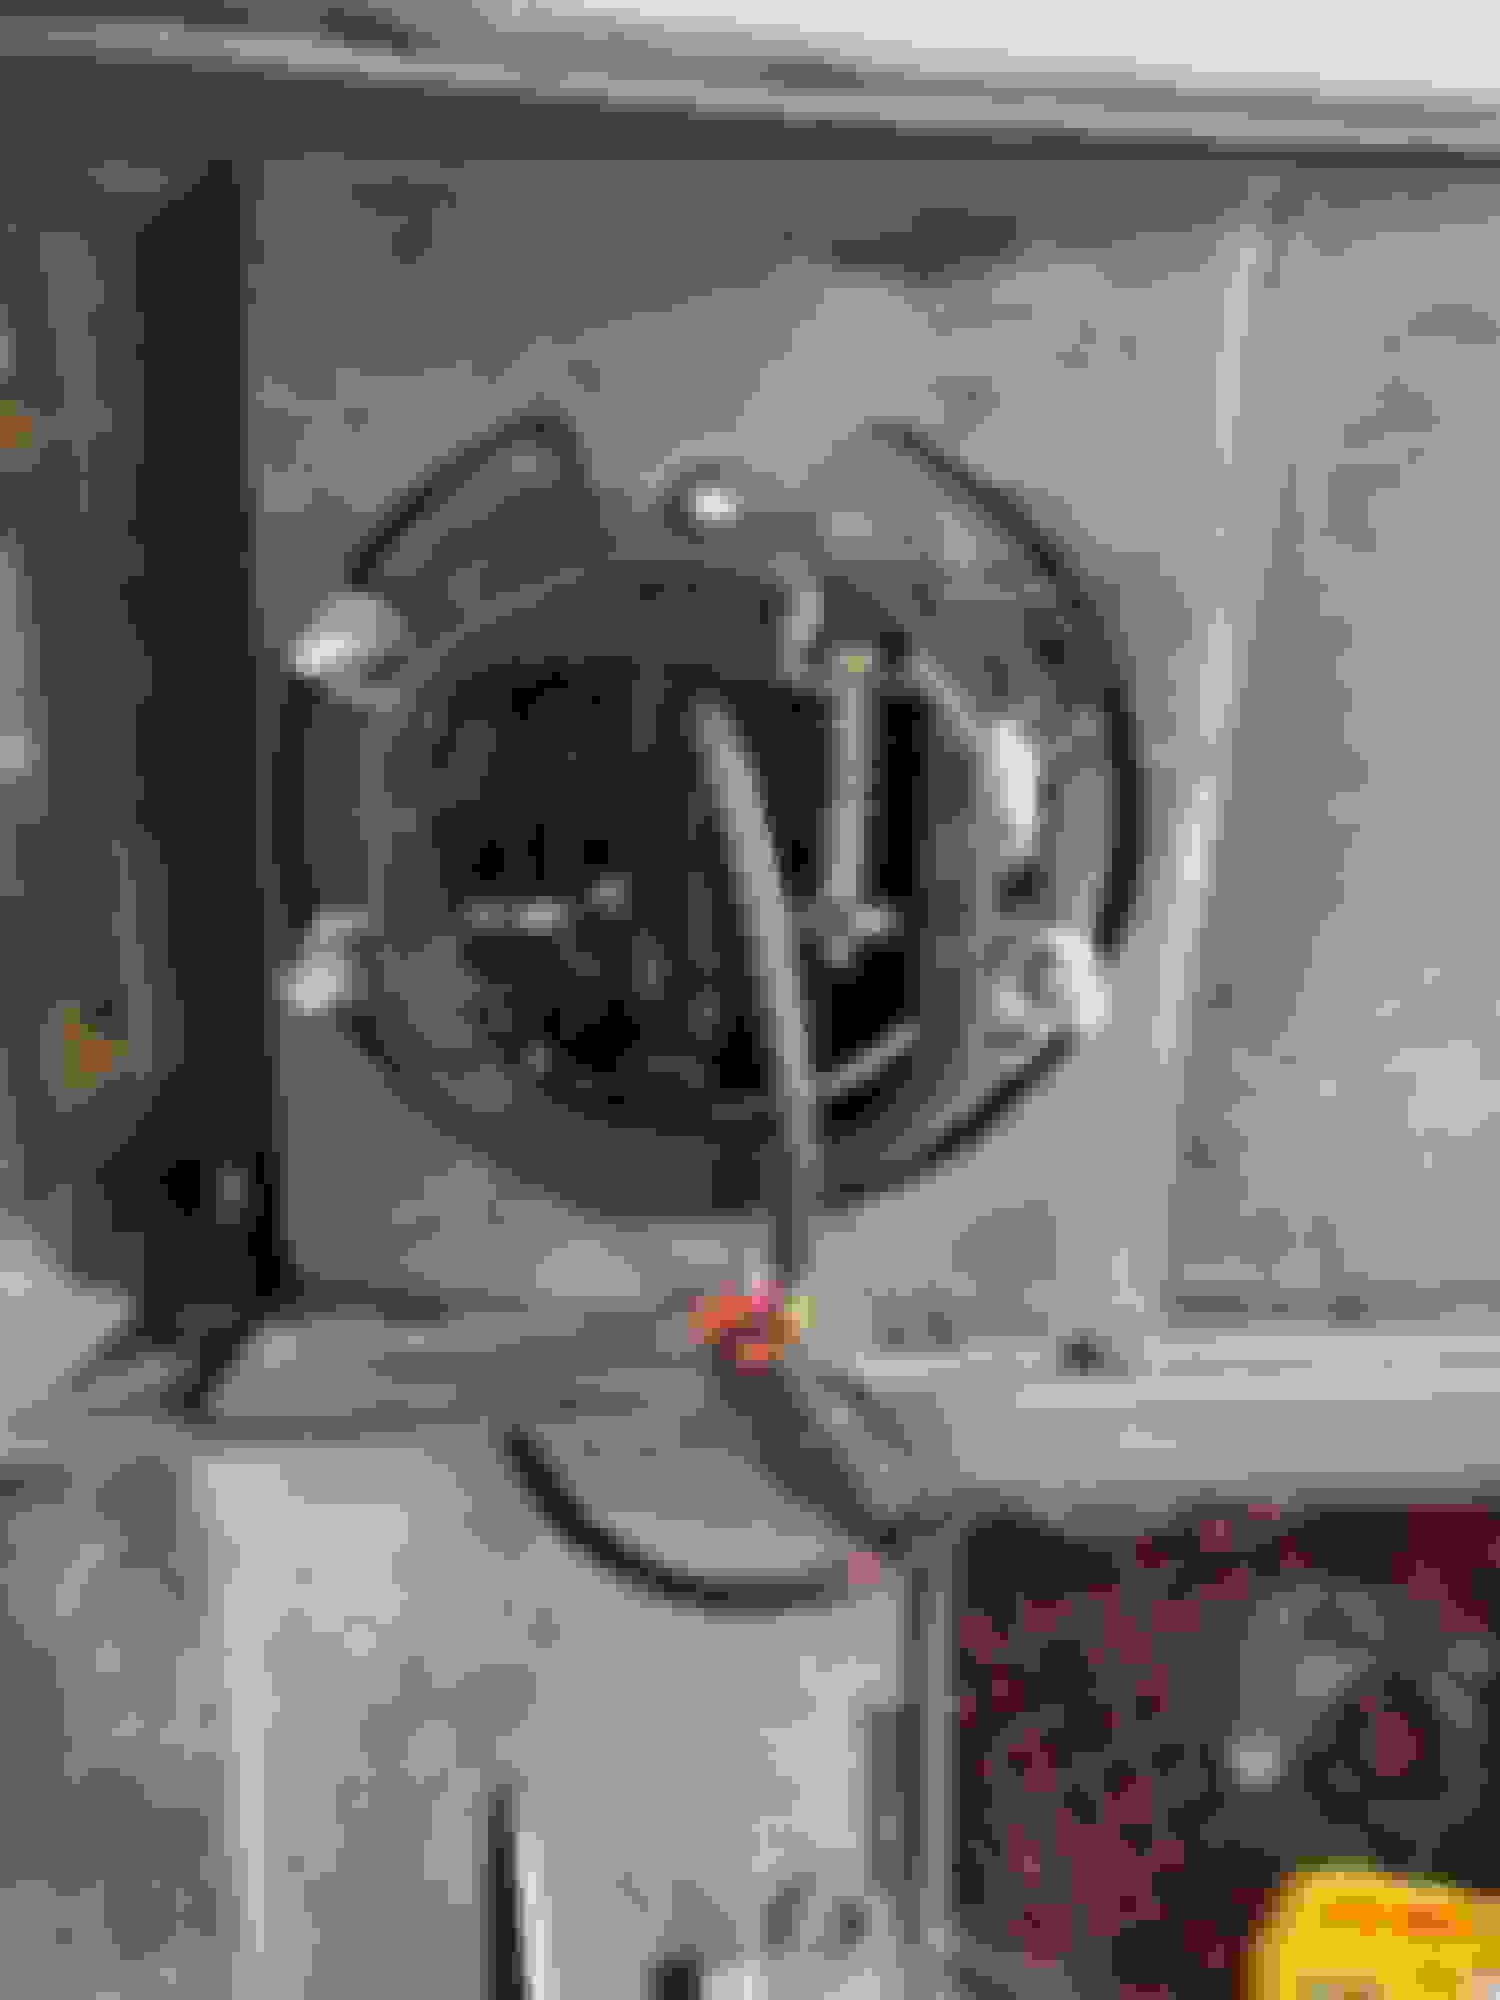
here are some comparison photos of the old and new fog lights
You will need to grind (bench grinder) the mounting tabs to fit the bumper hole so they recess to the back, and the back will have to be opened up (burr Bit and Straight Grinder) just enough to fit the new LED Housing but enough left to screw the lights through the housing tabs, as bad as it looks the stock light could be placed back. not that i ever would. Oh yeah and with the hood open you can drill one hole that you use for a screw driver to adjust the lights. Cut and ready for the new light Tool used, Burring Bit and Straight Grinder all mounted and ready
Sam, will the tabs fit the stock mounting bolts once you grind them down? Wondering how you keep them positioned otherwise? It would be like having one eye pointing one way and one eye pointing the other
There is nothing out there that will exactly fit the stock light mounting bolts.... Anything aftermarket will take some fabrication to position and mount. I did aftermarket led halo fogs designed for a Tundra on mine as they are a bit larger diameter and filled the hole more. I had to cut the back of the pockets out a little (was able to leave the stock mounting holes intact though so it could be put back to the originals if desired) and bent some strips of aluminum to fit the back of the aftermarket lights. The Tundra lights I used had one part at the bottom that stuck out and could accept a u-nut. I bent the strip of aluminum to stick out the exact same distance (those light had two threaded holes near the top) and attached it to the threaded holes, then drilled the middle and added a second u-nut. The ones I used also use an external LED driver so I mounted that to the backside next to the light. The back of the stock pockets are flat so I just mounted them like that. Different brands and styles of lights are all going to have slightly different ways that you will have to figure out to mount them. Just another option....
If I were going to do it again, next time I'd get the Diode Dynamics Stage 3 yellow fogs (they have no halo but are awesome lights) and fab a way to mount those. They were not out when I did mine though.
Last edited by MixManSC; Dec 15, 2021 at 03:39 PM.
Sam, will the tabs fit the stock mounting bolts once you grind them down? Wondering how you keep them positioned otherwise? It would be like having one eye pointing one way and one eye pointing the other
I only grind the excess of tabs to give them the round profile of the light pocket. there is still a hole left for a screw which will be screwed to the back of the light pocket (4 screws per light). The LED Housing will go through the bumper and tabs will rest on the edge that was left like the picture shows. after adjustment there is perfect light beam with matching cutoff line
Okay so we had some good weather in Michigan and I decided to tackle the fog lights on my 06 H2. I liked what Sam had posted but that was too hard for me. The factory mount uncut The factory mount with my light traced on it in sharpie After cutting out the template with a multi-too Inserted in the hole before marking the tabs After cutting the tabs off The finished product
I have big hands and was having a hard time getting them in back of the bumper so I just took it off. It's only 4, 18mm bolts and disconnect the fog lights. I put the bumper on some milk crates that I had and removed the old lights. Then I took the new lights and traced them on the mounting tab with a sharpie. I used a multi-tool to cut through the plastic and inserted the new light in the hole. I traced the radius on the new light mounting tabs and then removed the light. I used a utility knife to clean up the plastic on the bumper and the same multi tool to cut the ears off of the tabs. I reinserted the new light to check the fit and drilled the holes with a 1/4" bit. I had a bunch of 1/4" 20 bolts and locking nuts so I used them. I drilled the bottom two holes to match the tabs and the third hole to stabilize the top and lock it in so the light wasn't pointing at the sky. I reinstalled the the bumper and wired up the lights.