DIY Rear Pinion Seal R&R
#1
 05-02-2015, 08:25 PM


So, some of you may have noticed a previous post regarding my rear diff pinion seal leak. Well I finally had time to tackle this issue. Overall it was fairly easy to fix with the right tools.
Note:This is for informational purposes only and I do not hold any responsibility/accountability for your actions. And please use wheel chocks even if you're on a level surface.
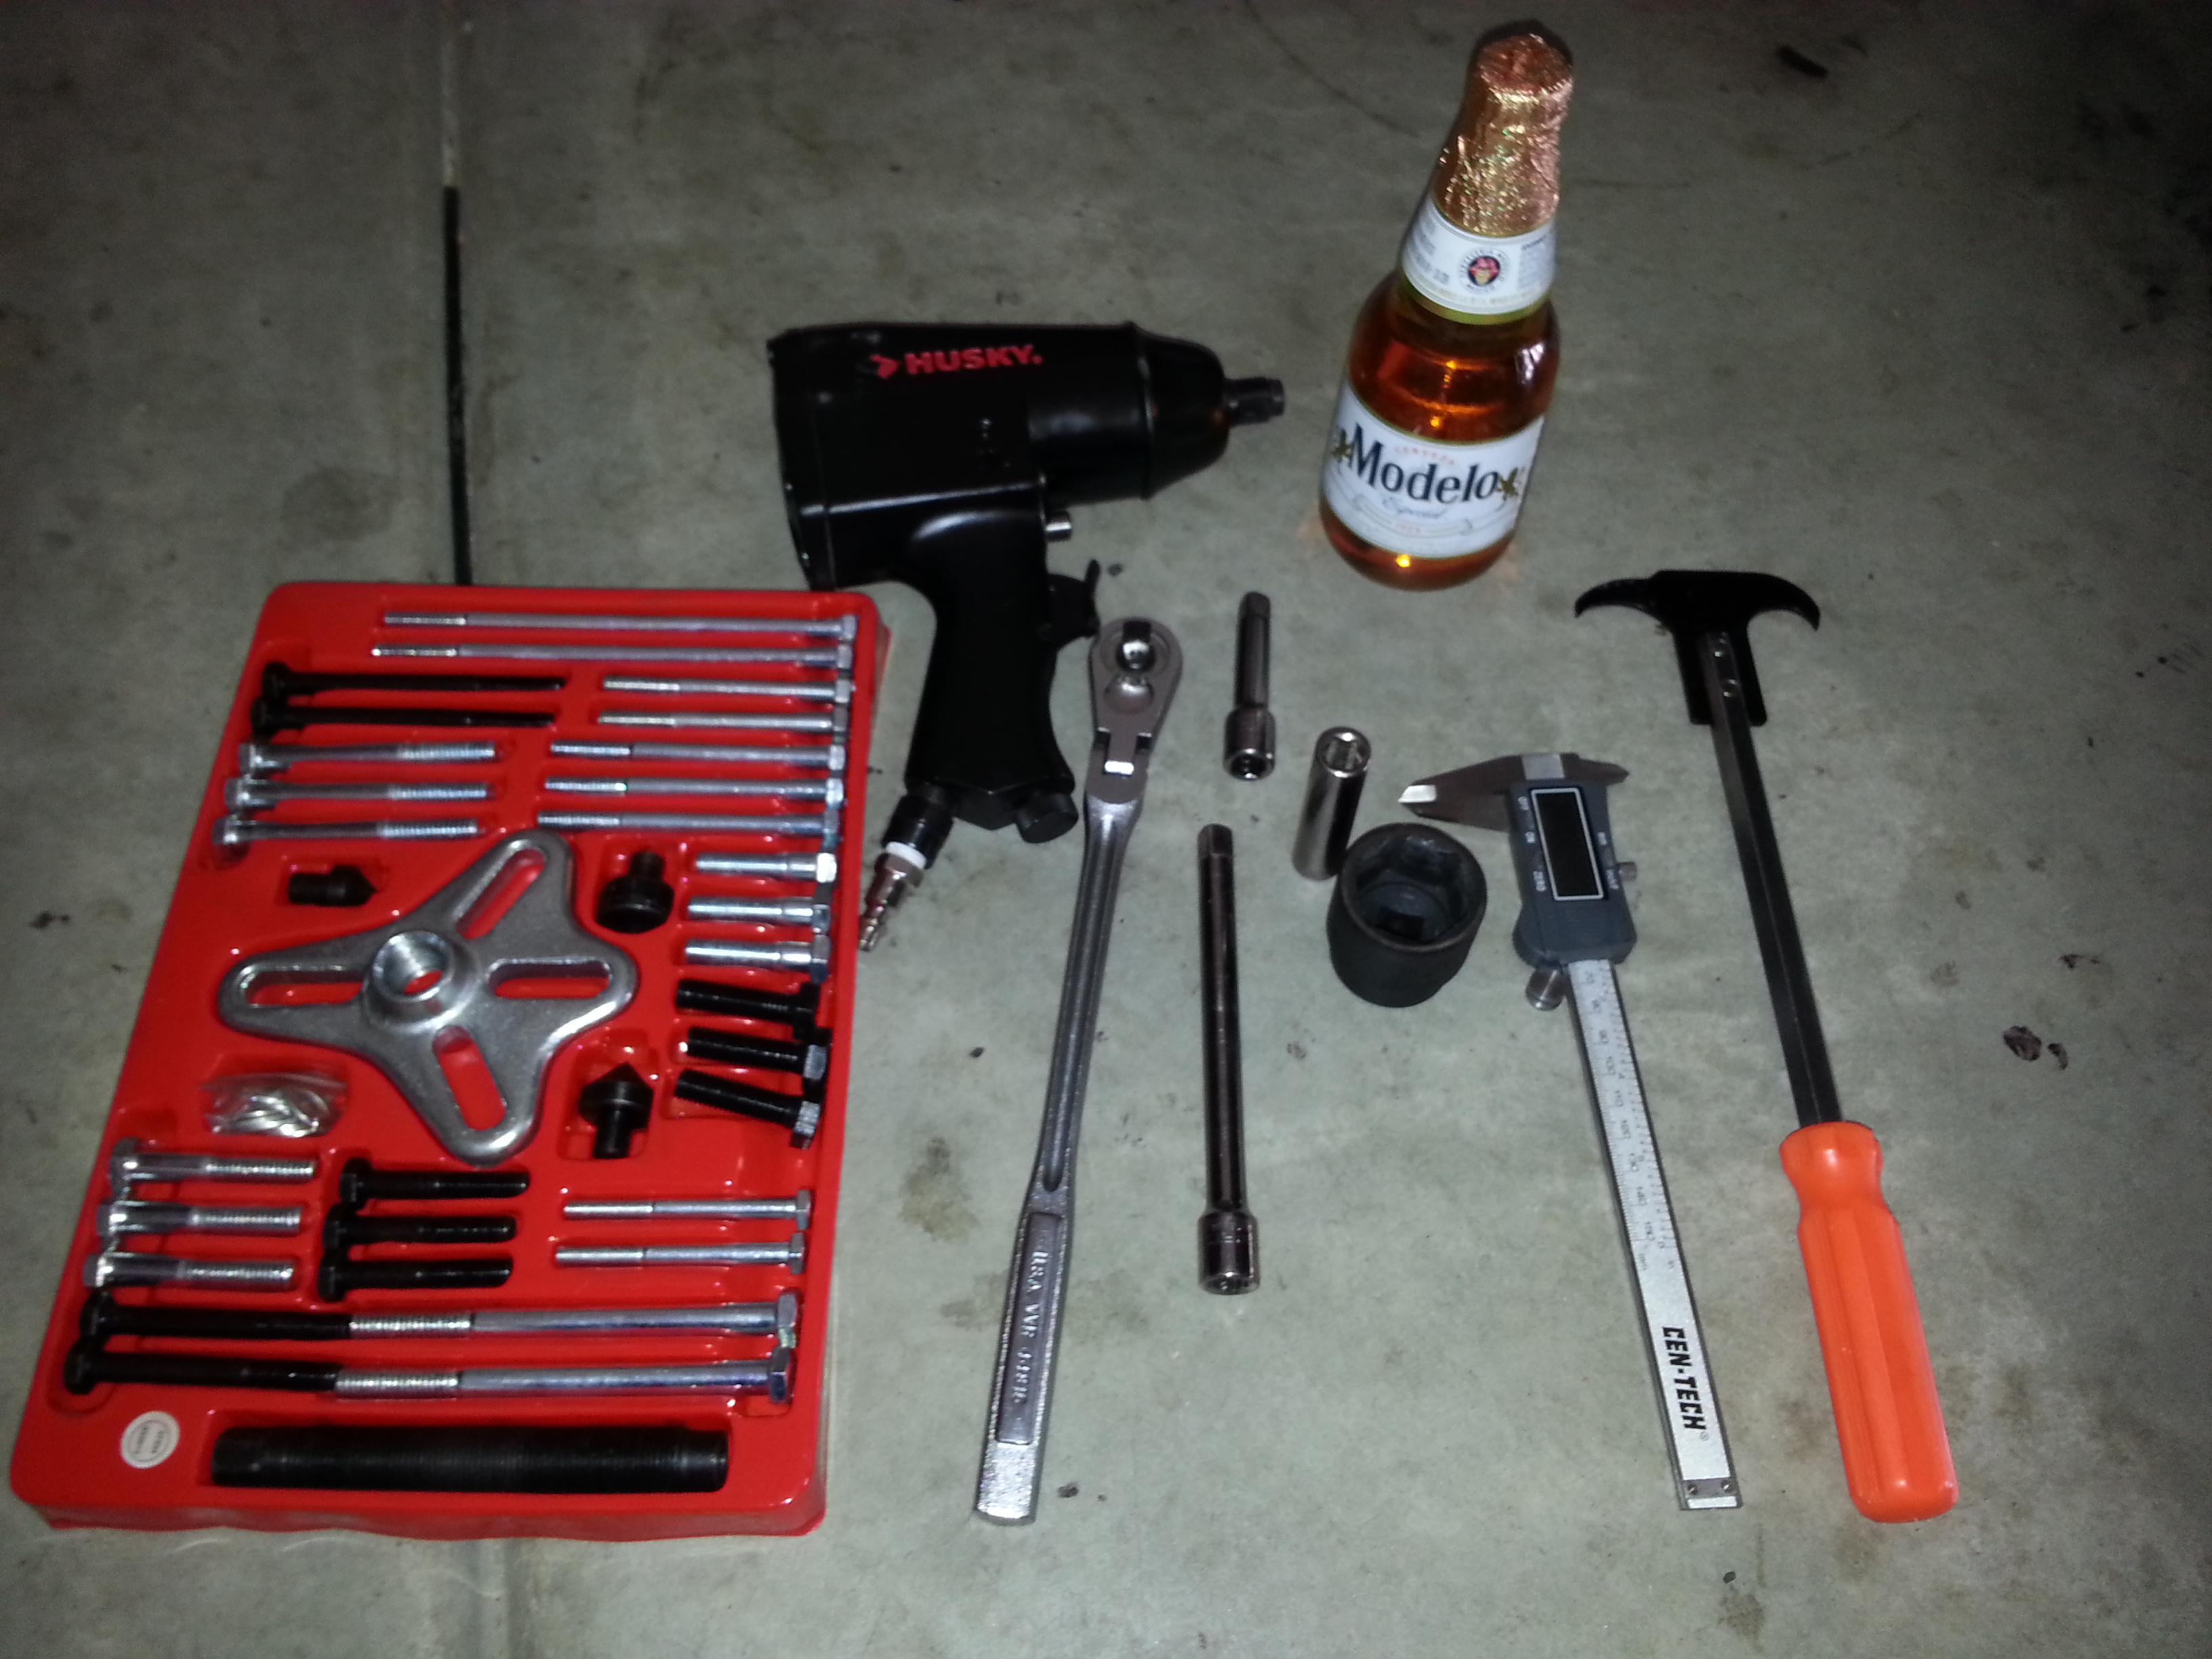
1. First things first, gather your tools. You will need a 3/8 ratchet, assorted extensions, 1 1/4" socket, 7/16" socket, impact wrench, puller, caliper, hammer(not pictured ), some paint, and your favorite brew.
2. Using some paint, mark the yoke, cross, drive shaft, and I even marked the cross retainer cause... why not!
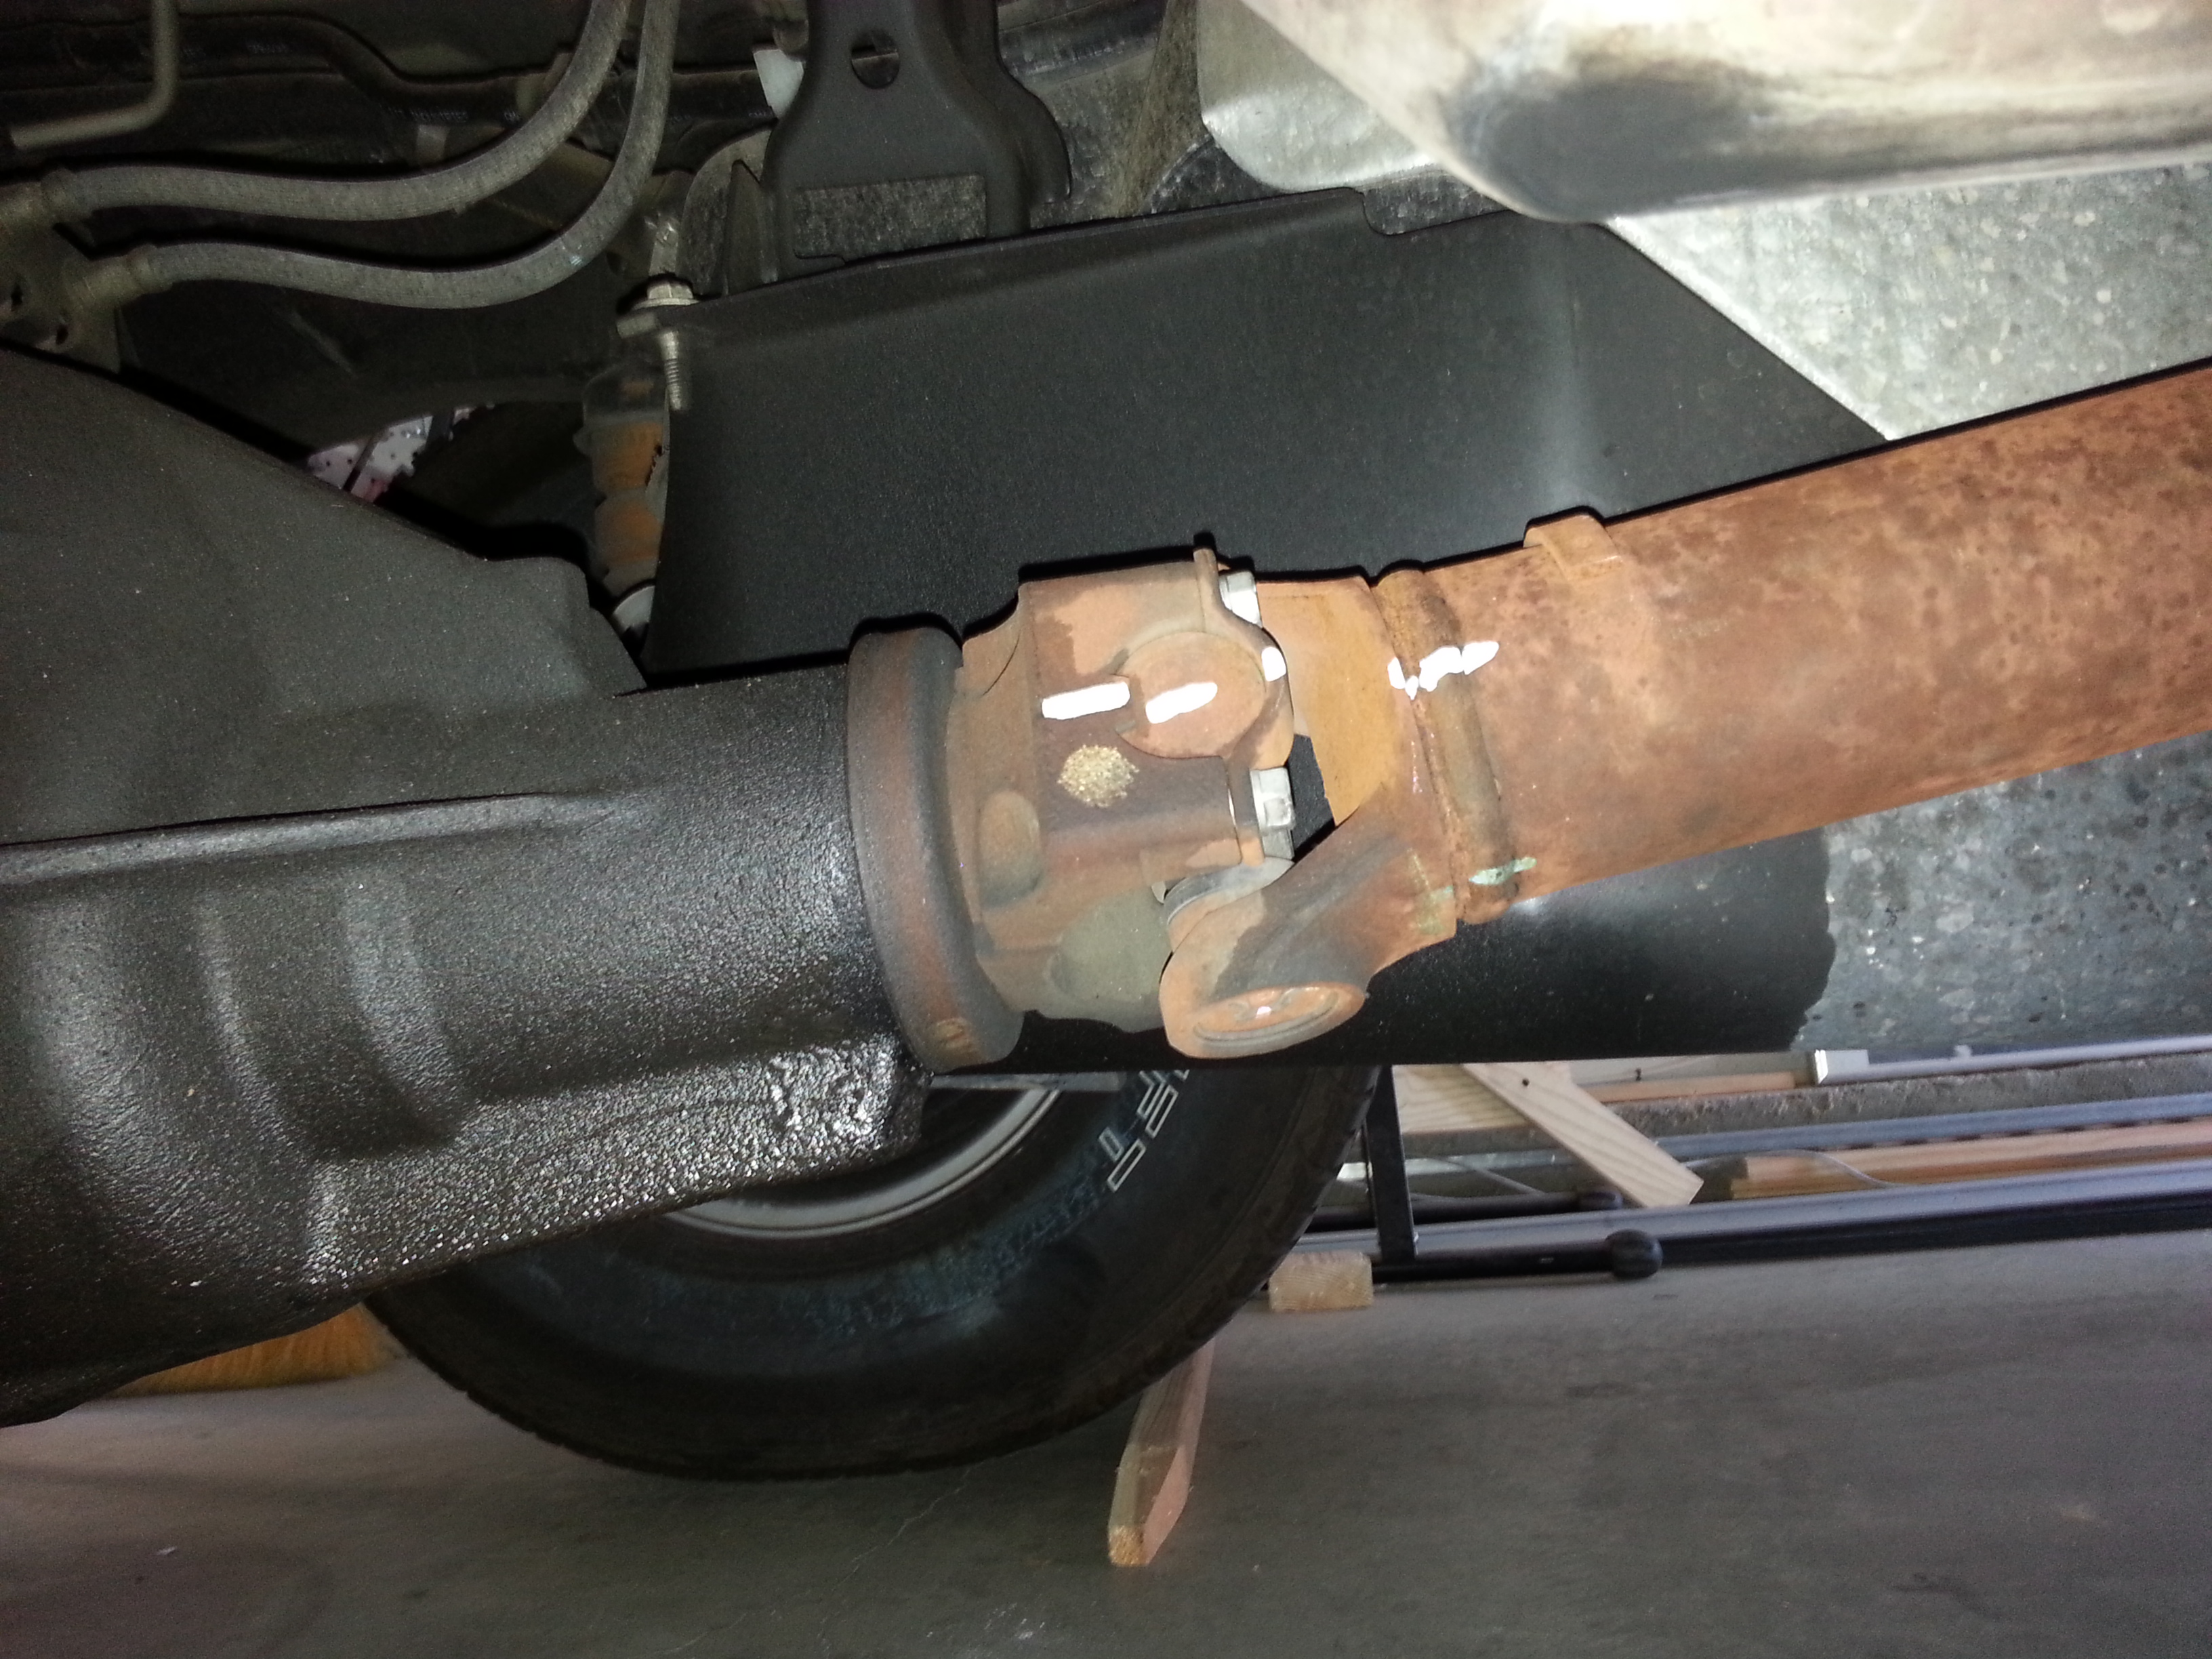
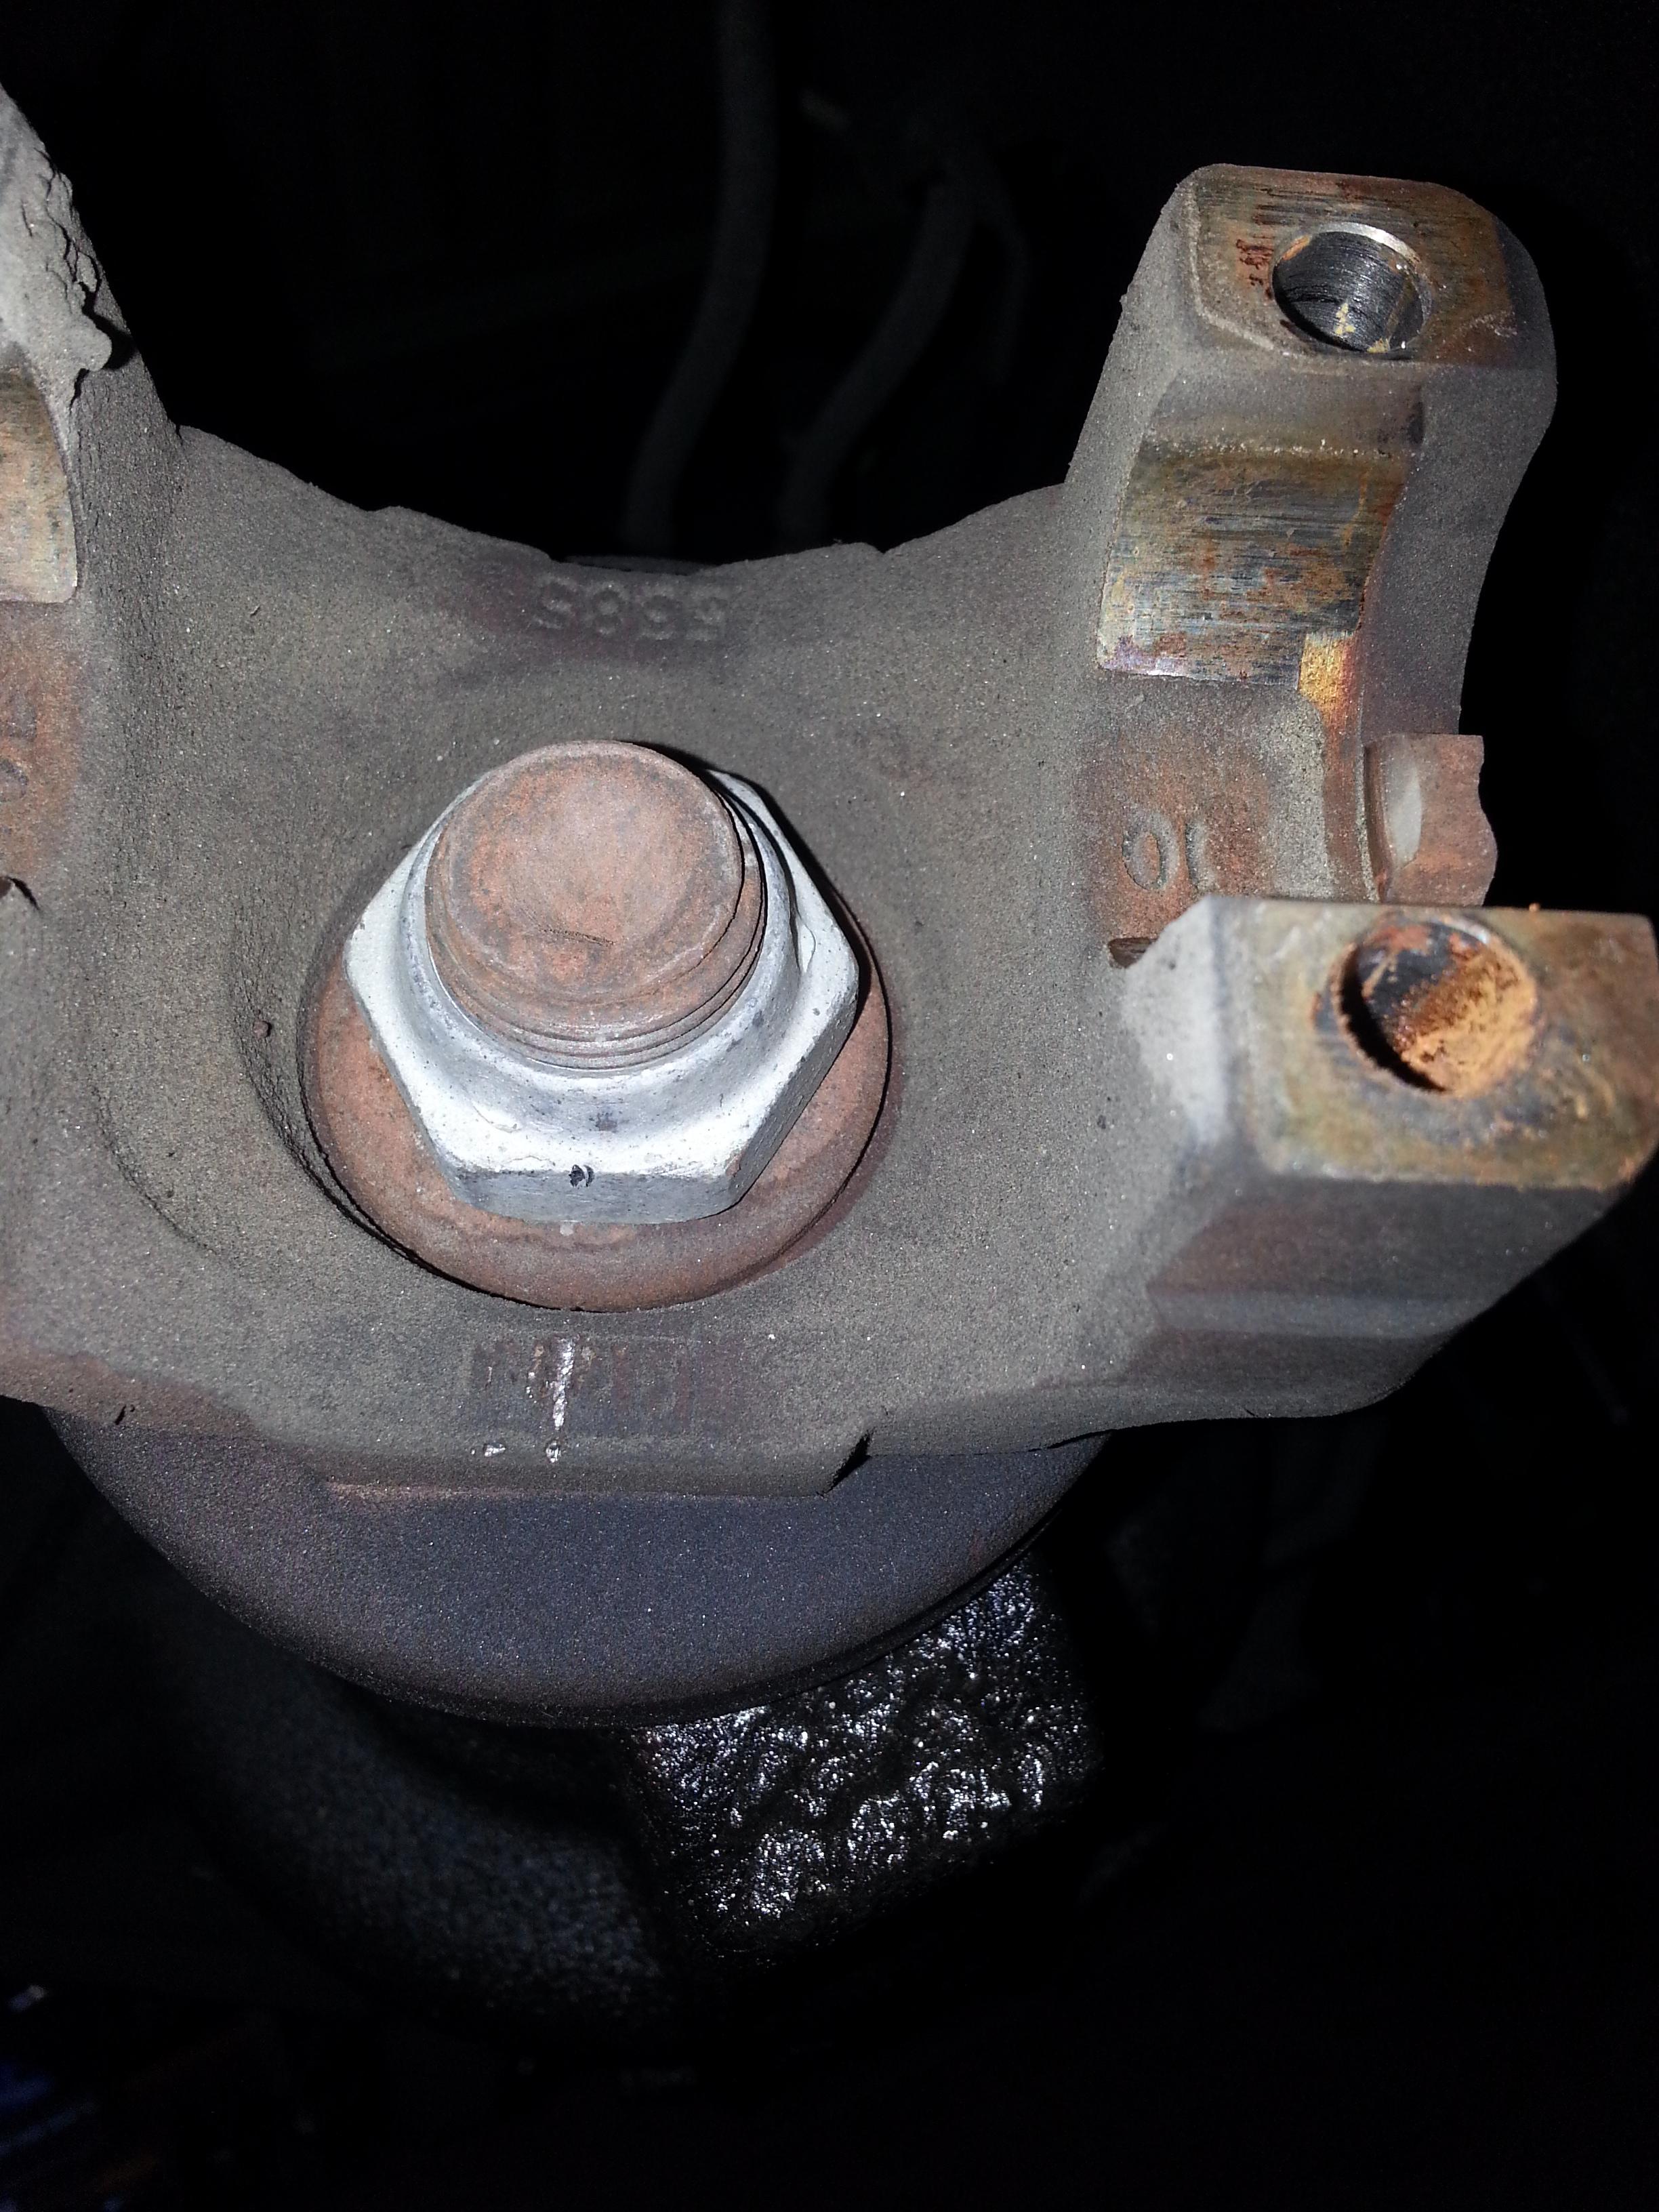
3. Next, remove the four 7/16 bolts and just let the drive shaft rest on the floor/ground. And mark/scribe the pinion, nut, and yoke accordingly.
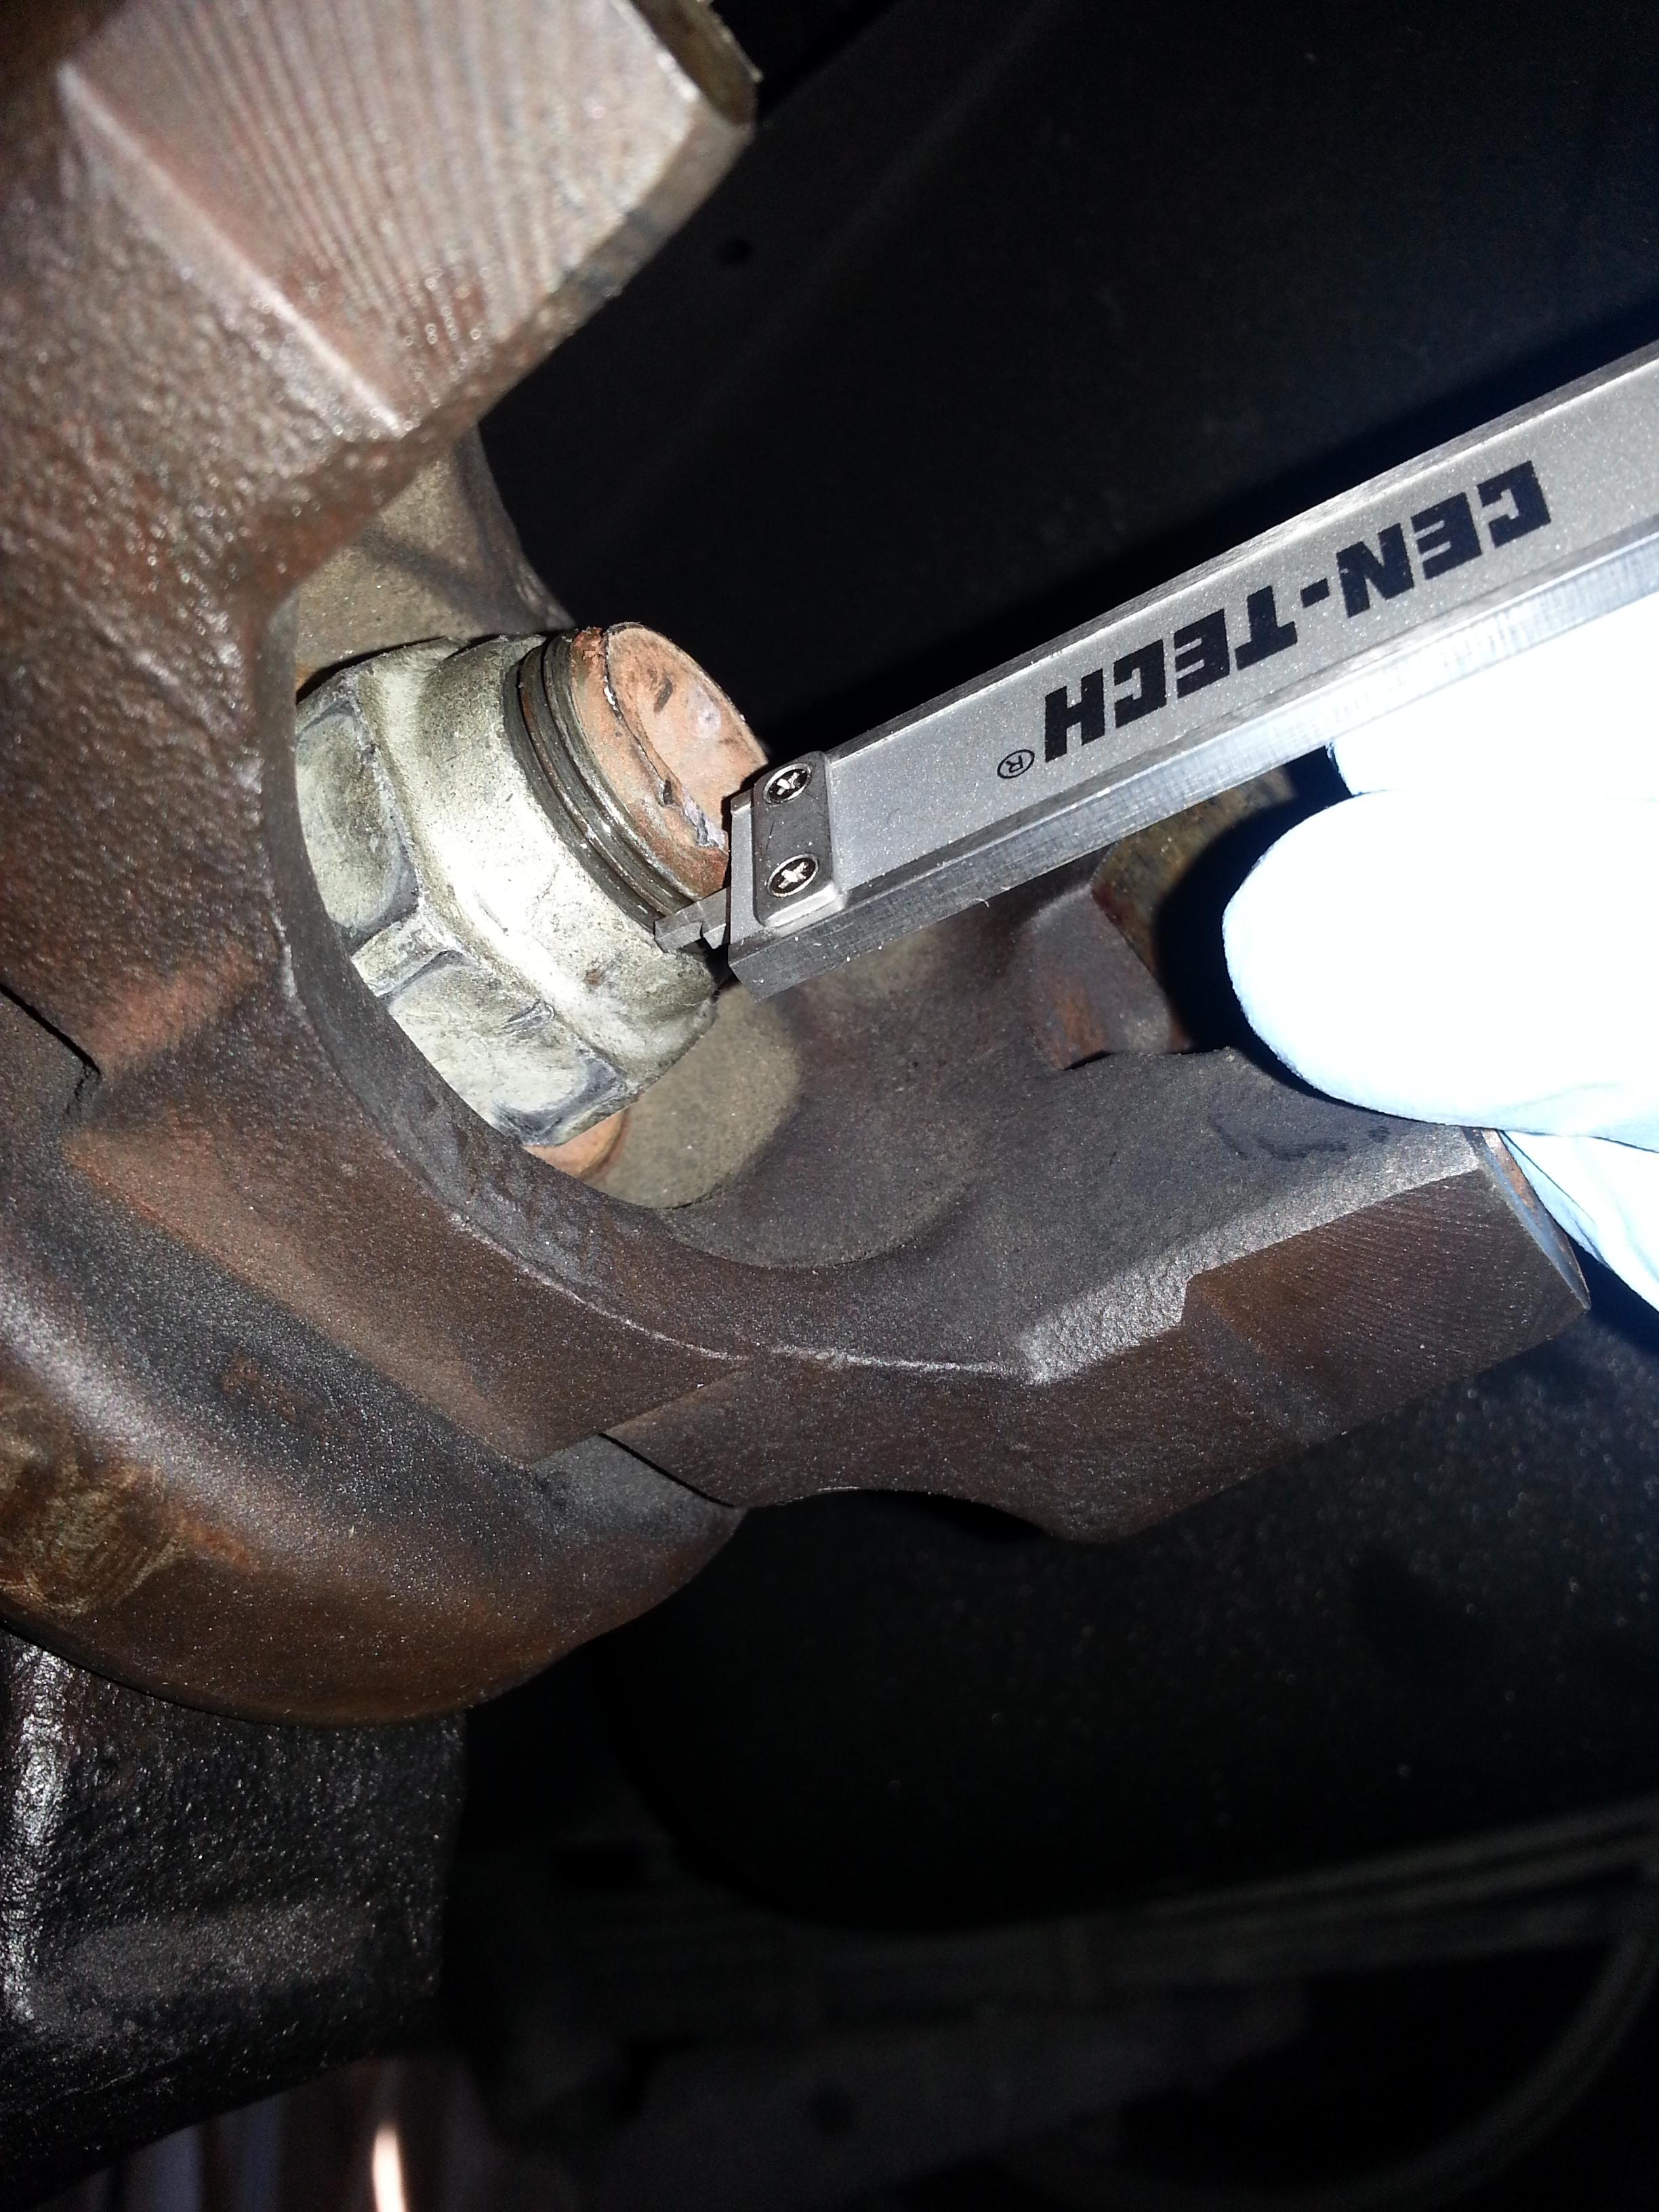
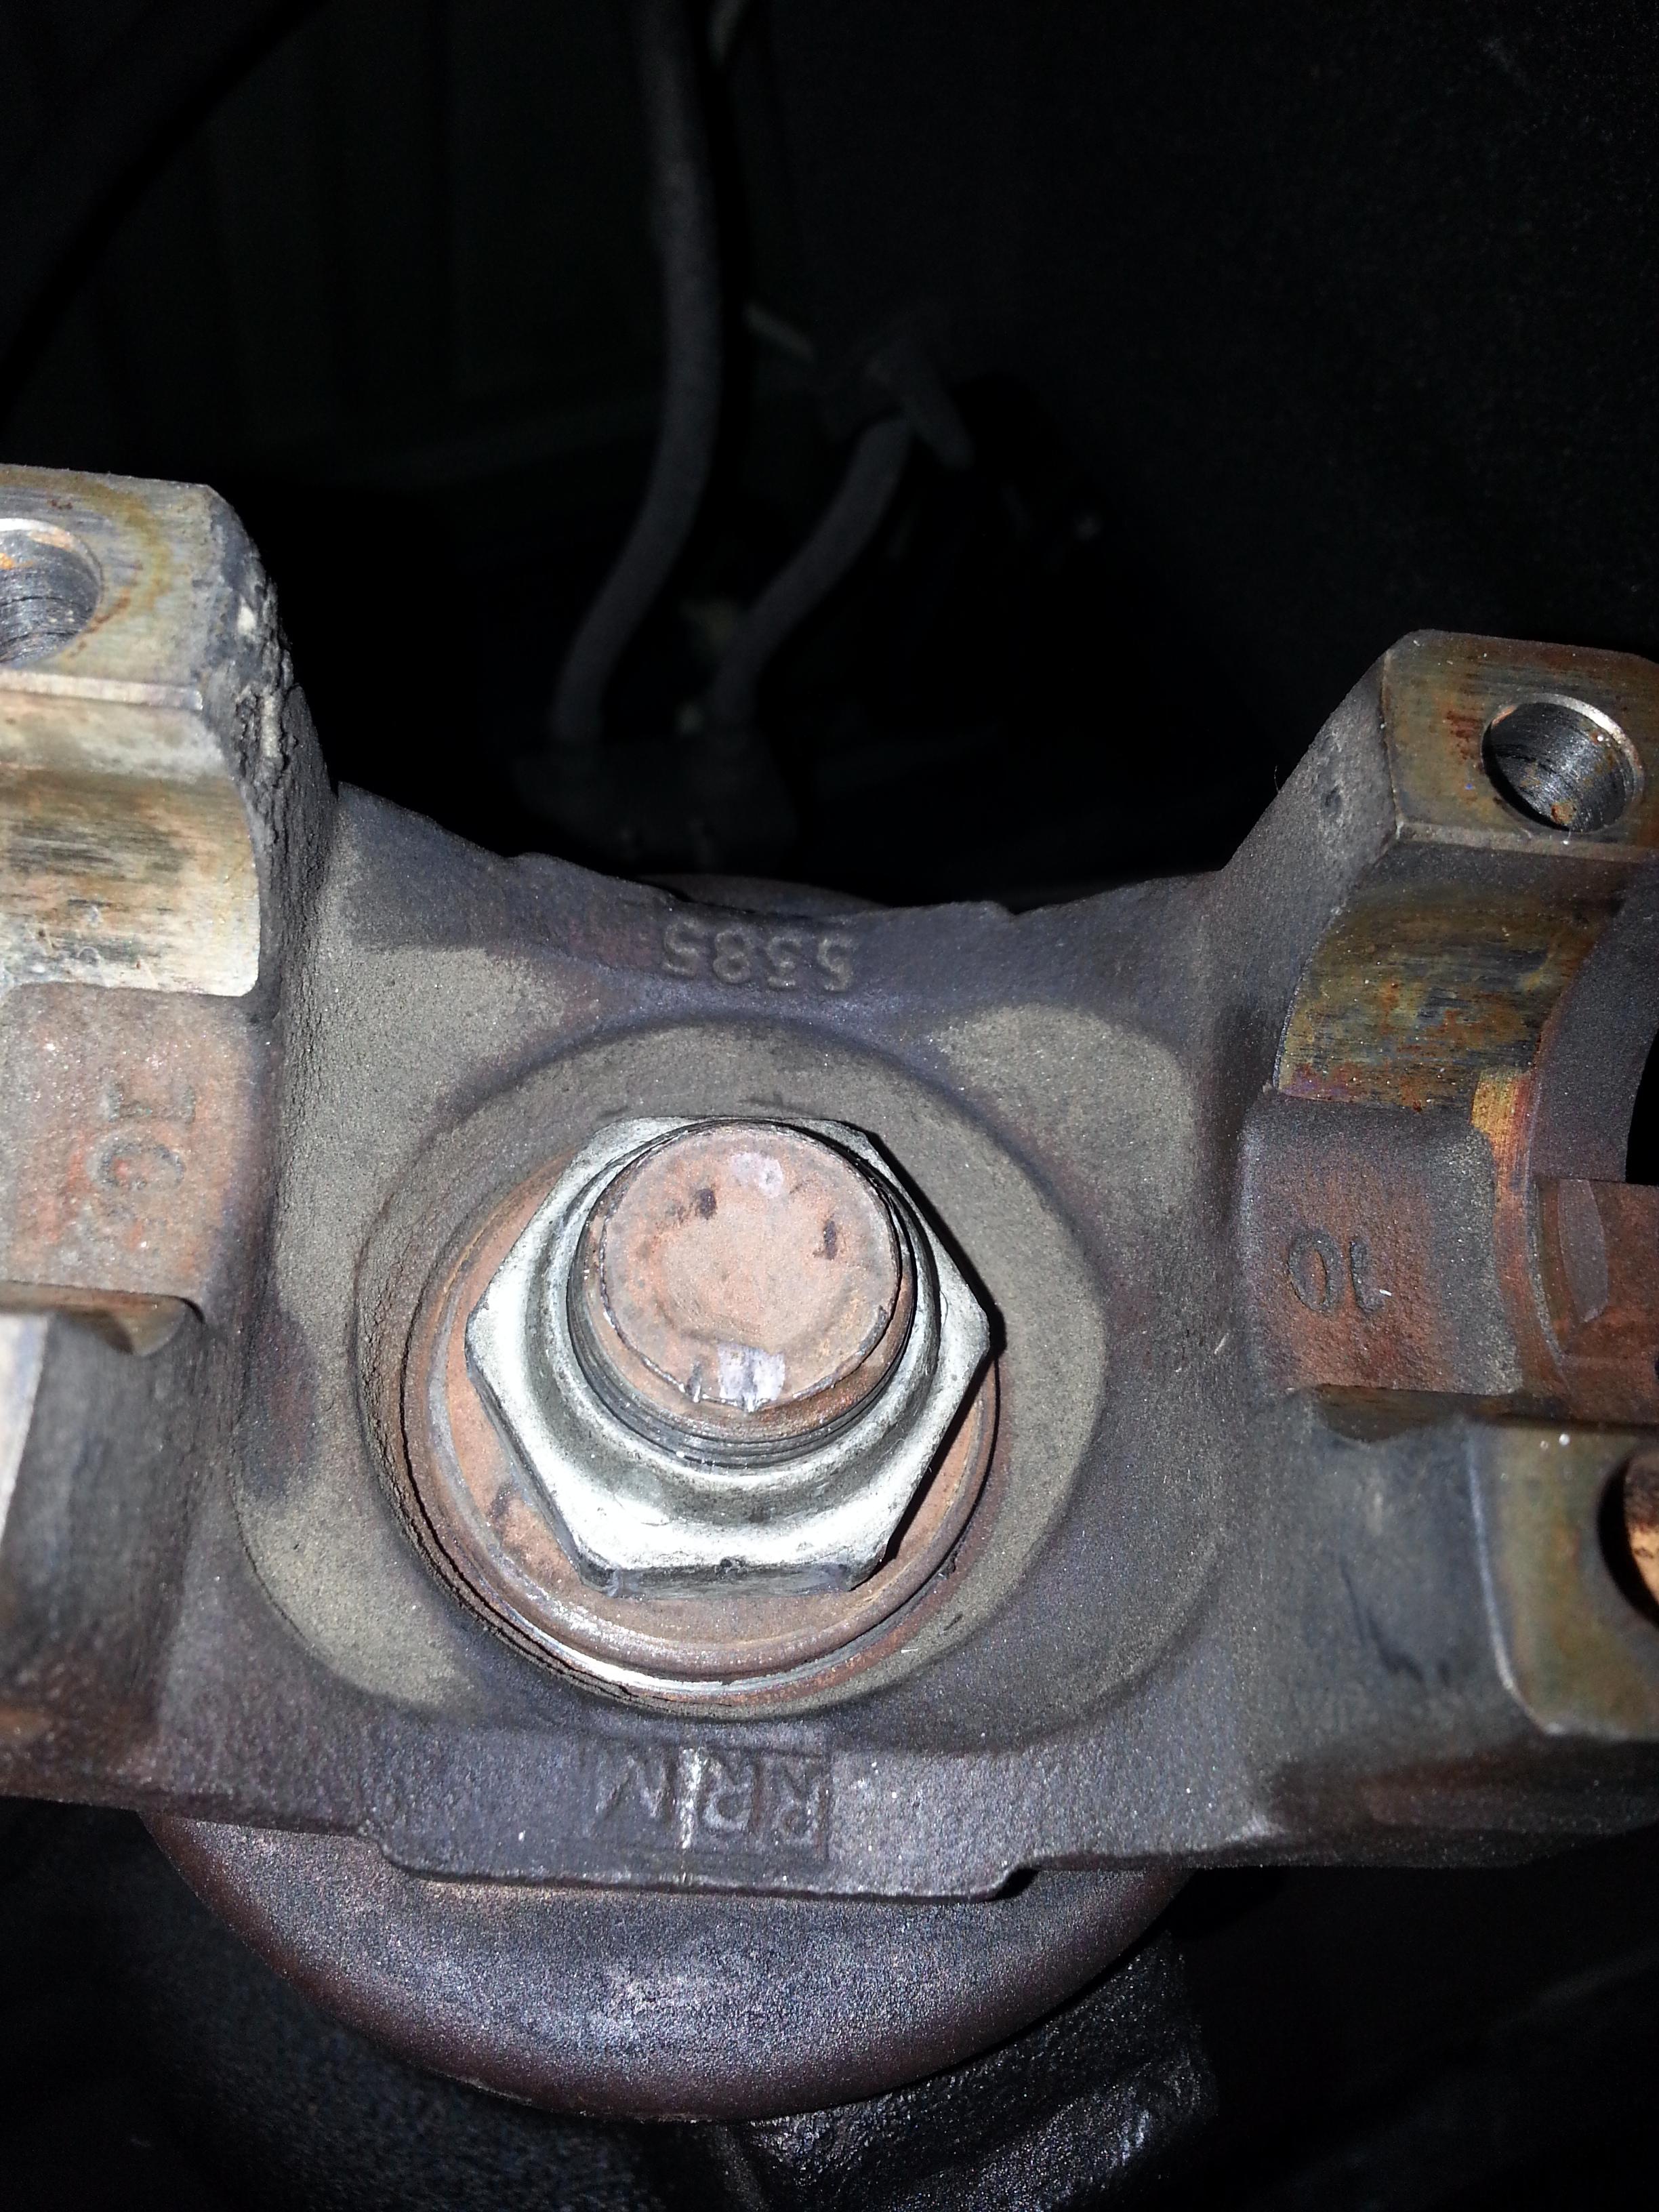
4. I took an extra step and measurement from the forward edge of the pinion to the top of the nut like so. And it measured 6.23mm.
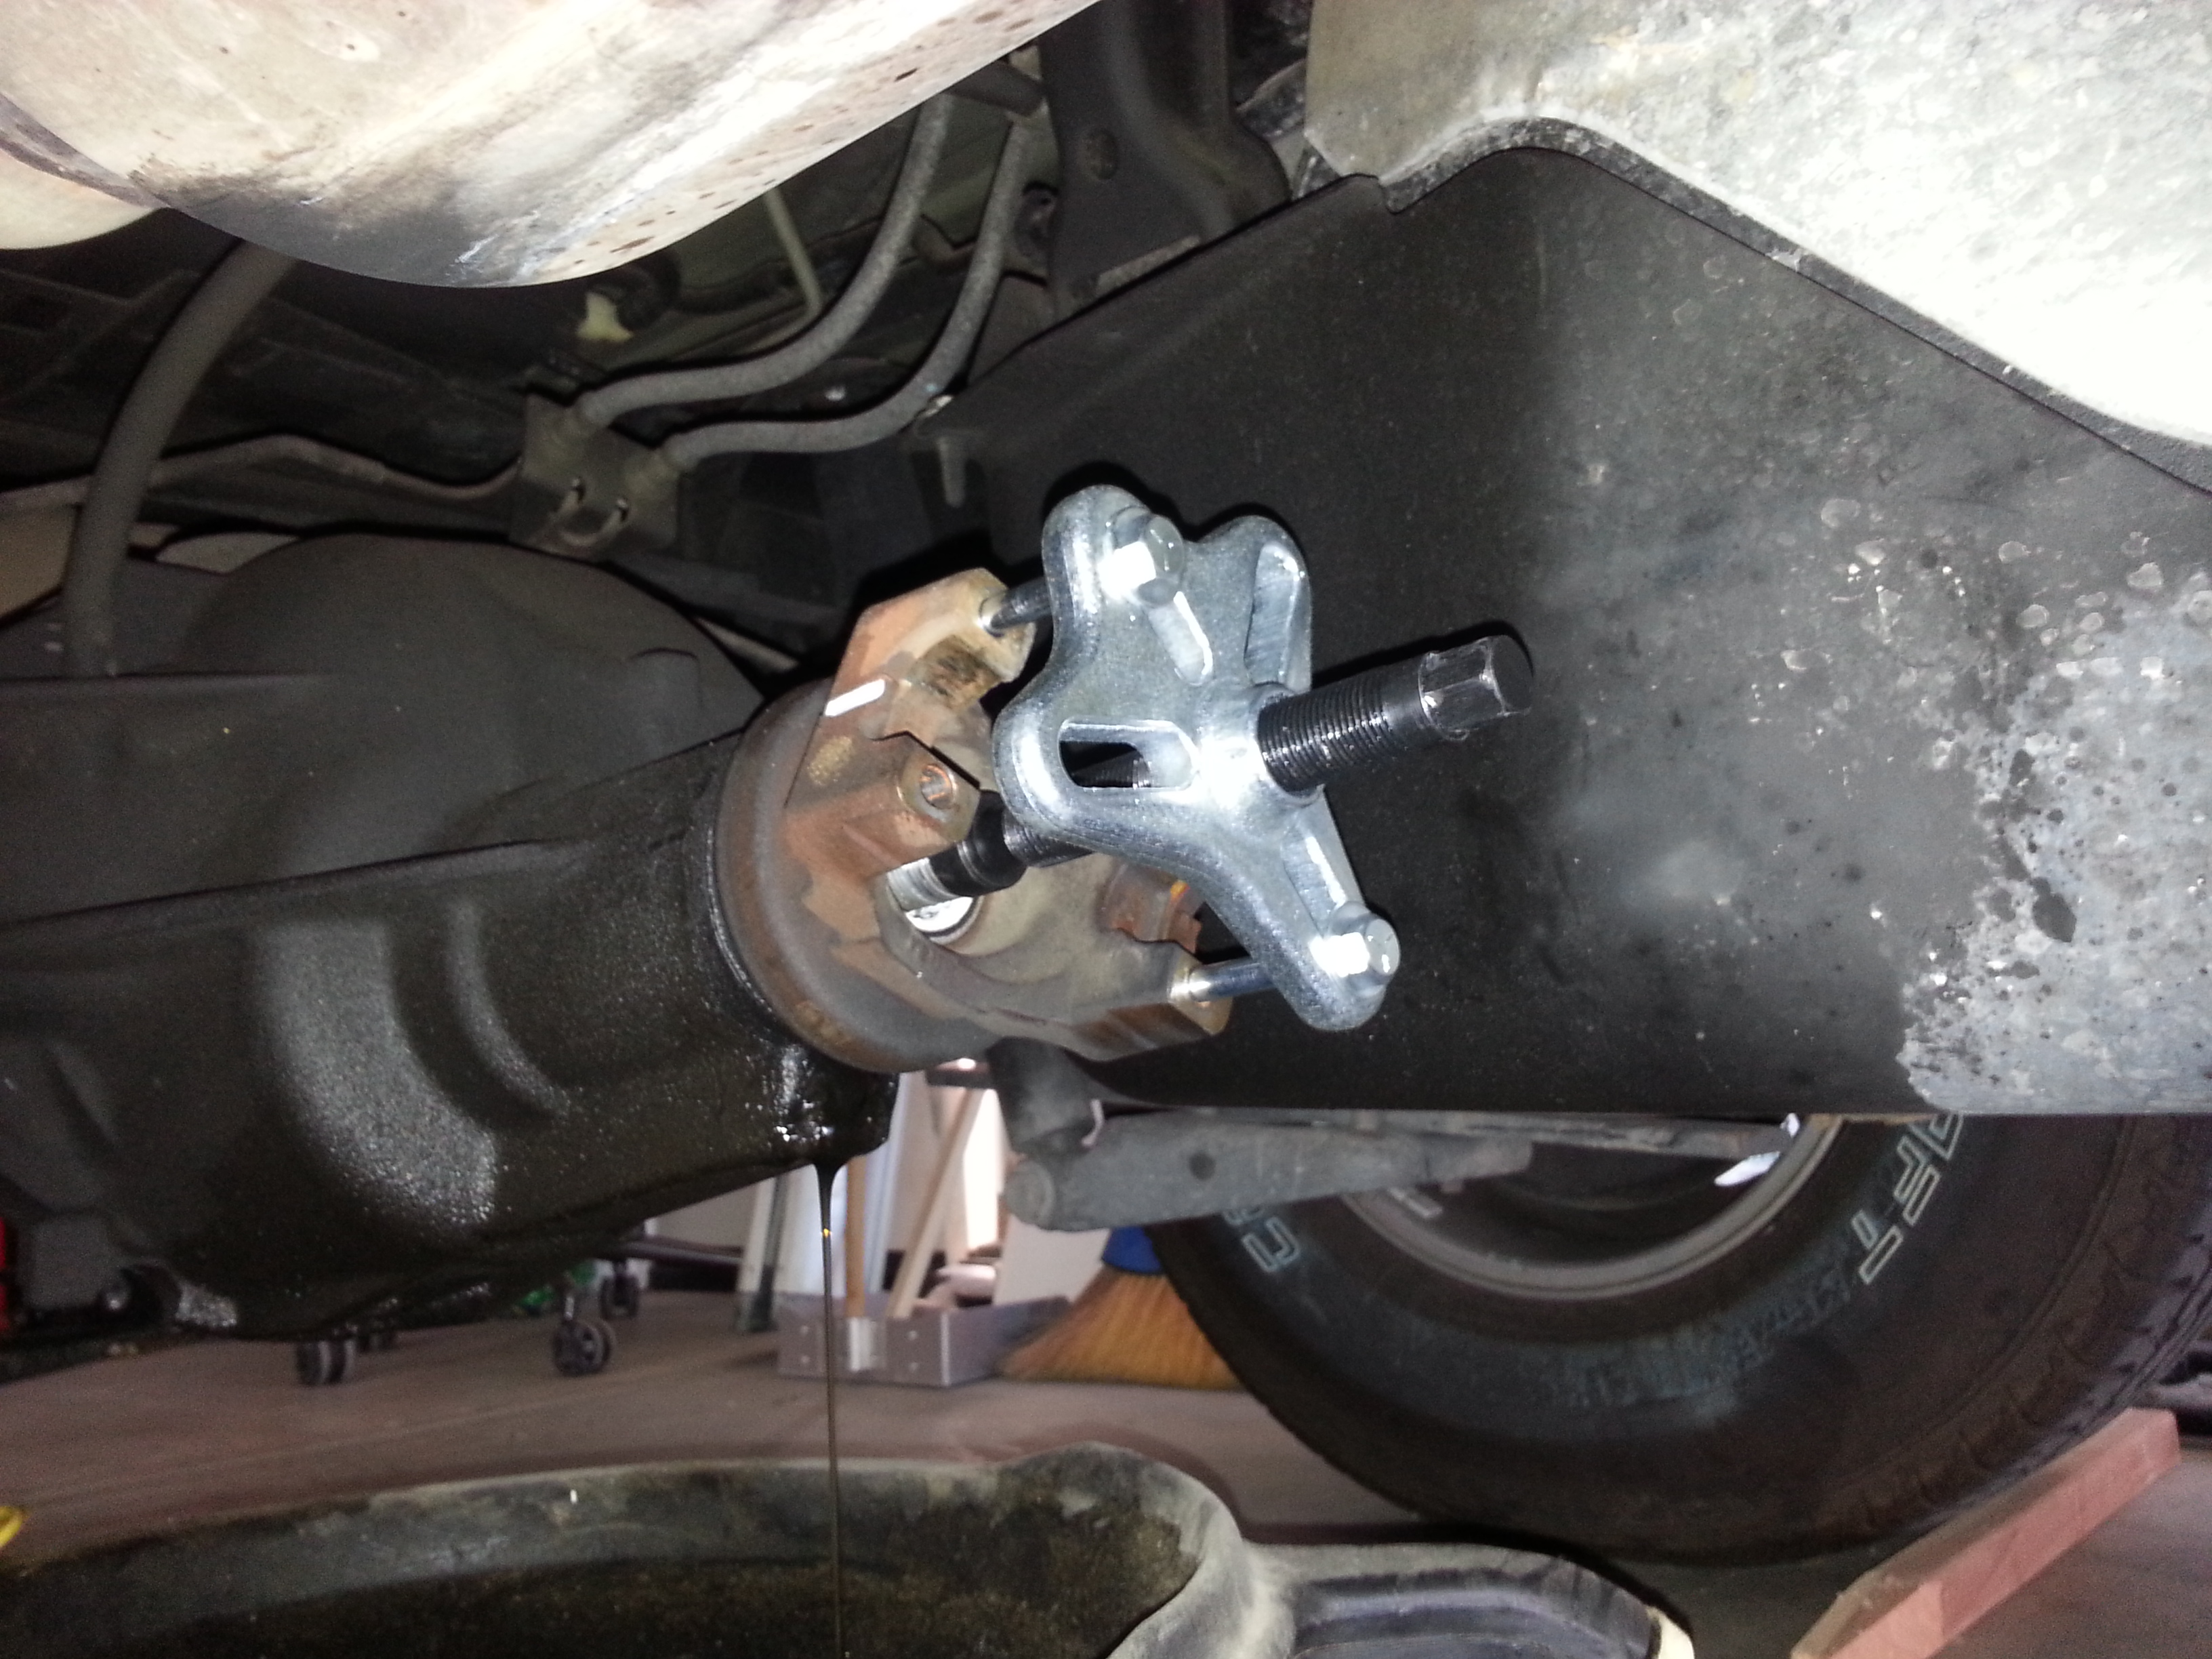
5. Next, grab your impact wrench with the 1 1/4" socket and remove the pinion nut. Then mount the puller to the yoke and drive it out. I used my impact wrench for this as well.
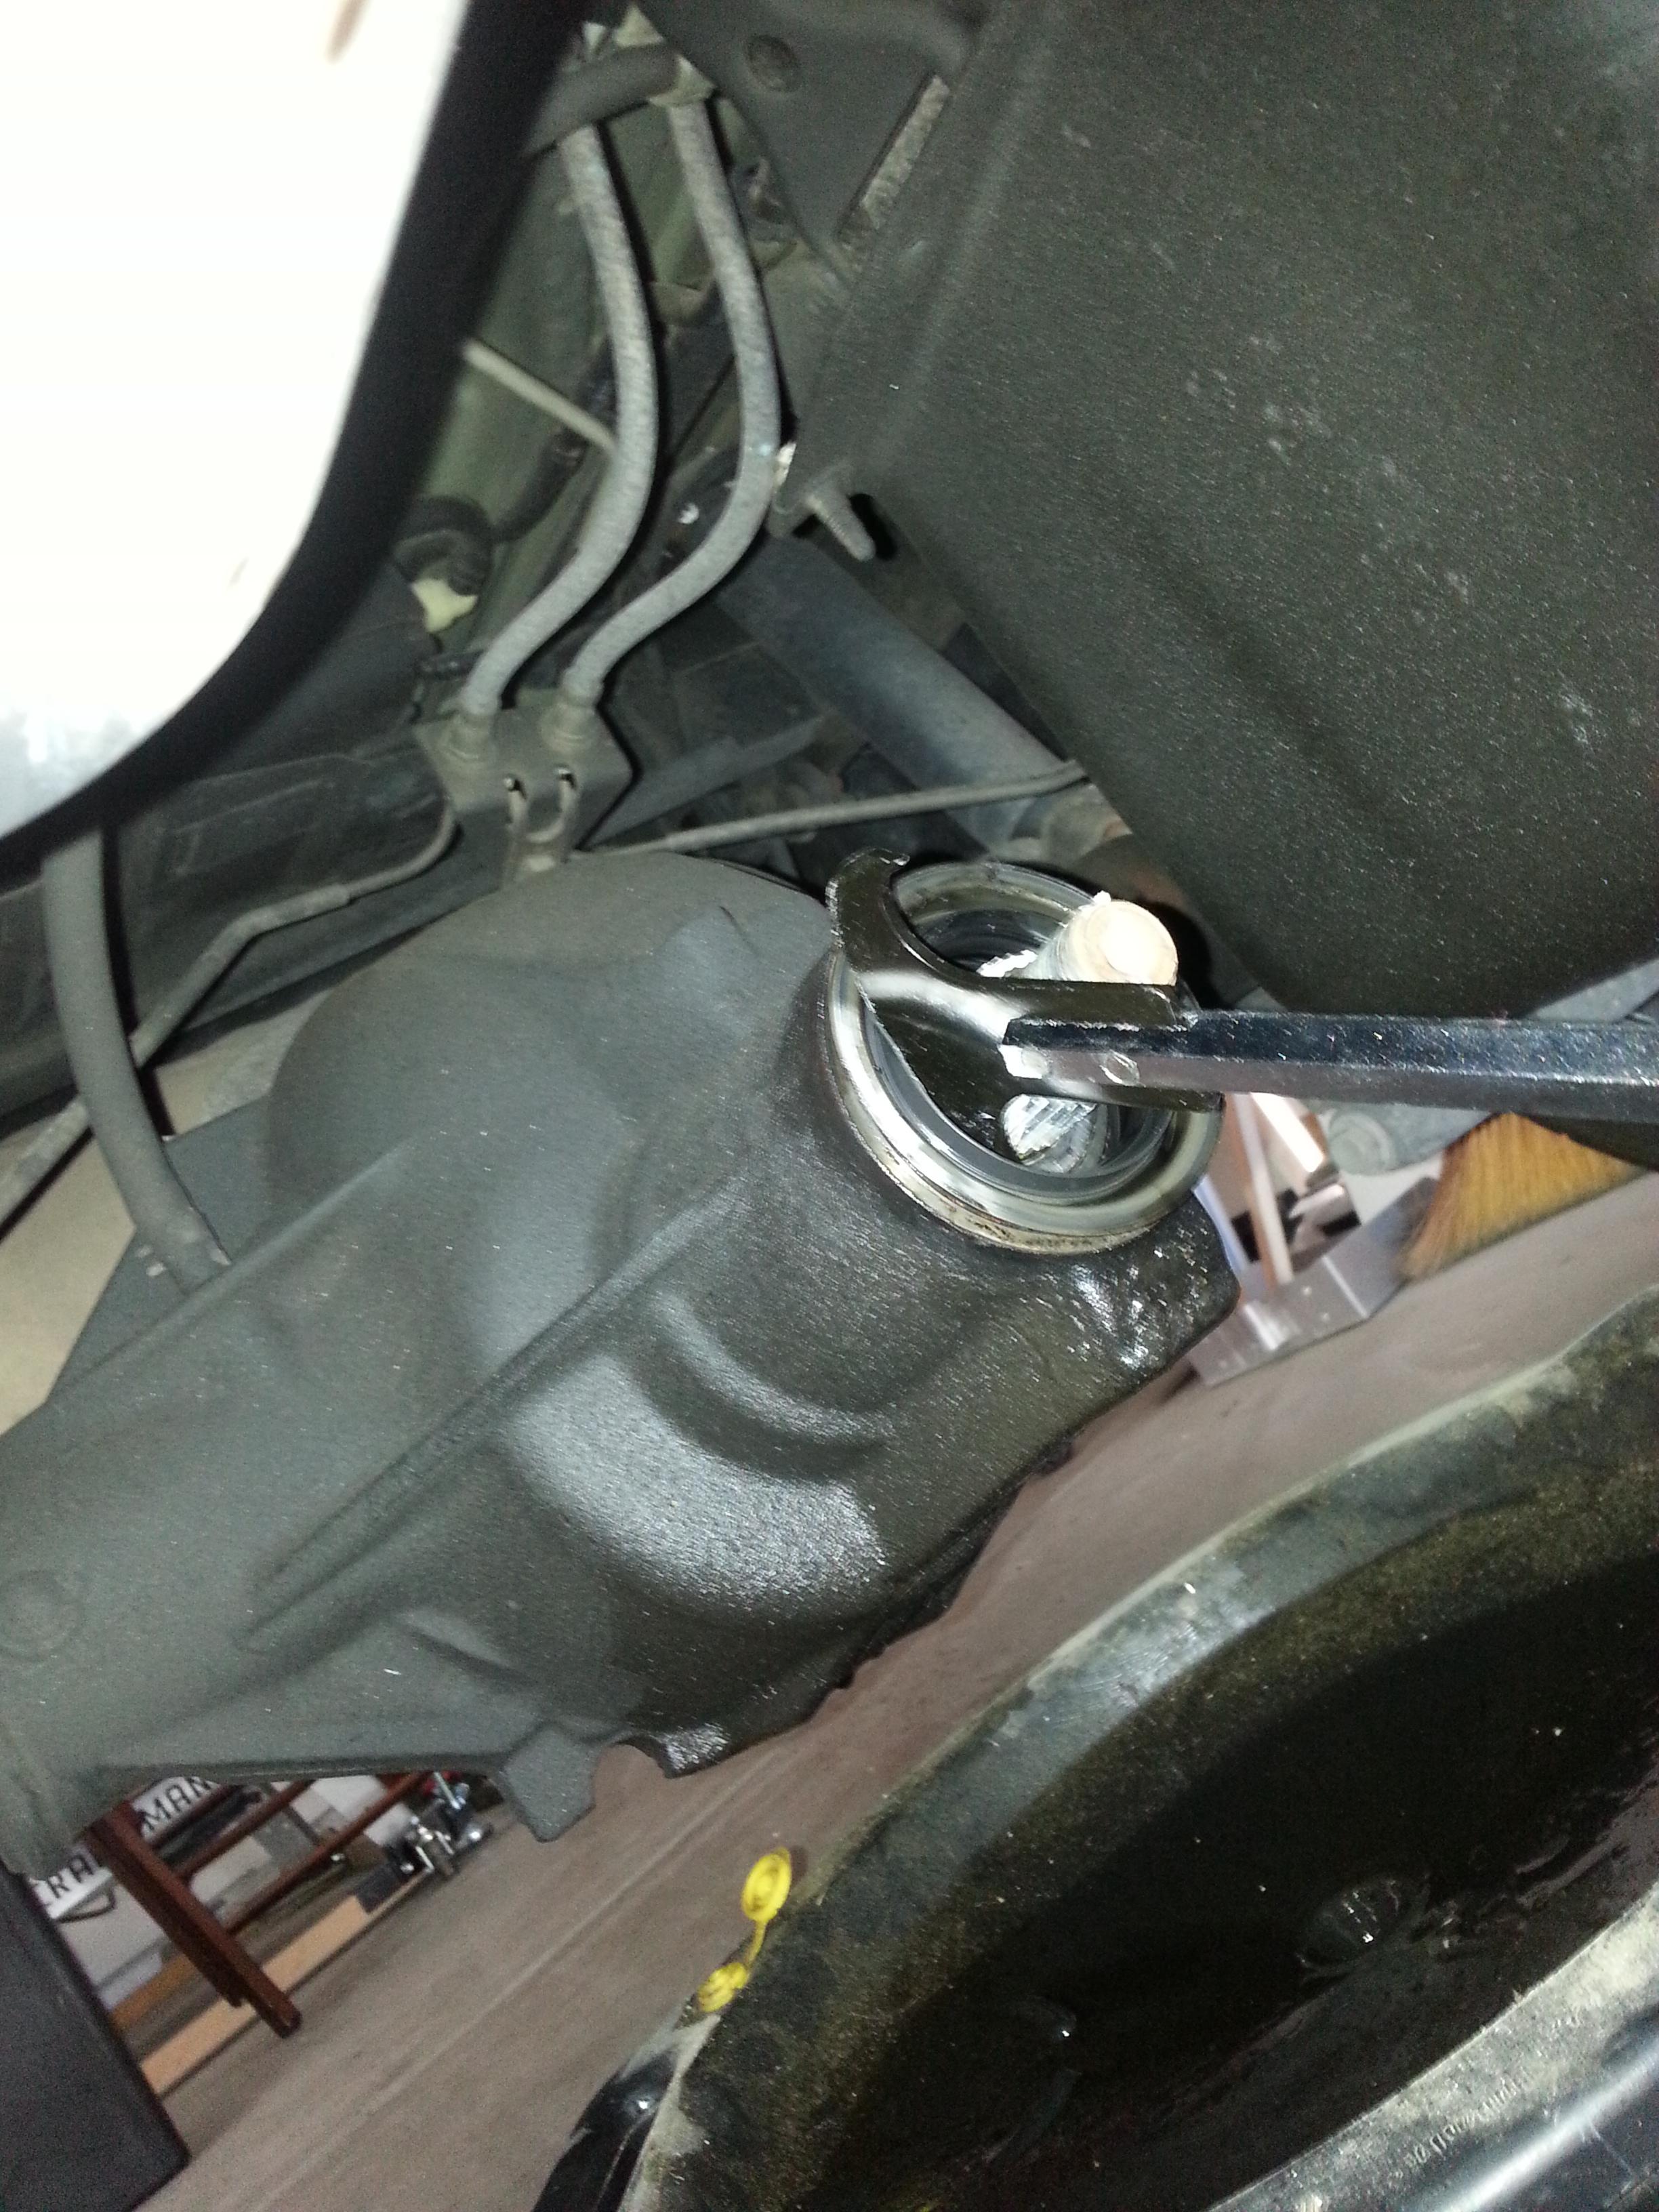
6. Now grab the seal puller and give it a few tugs in a circular pattern. I had to take my time and not destroy the old seal because according to my VIN# there were TWO different seals that came up. I was asked by my local Chevy dealer to bring in the old seal to make sure I bought the right one.
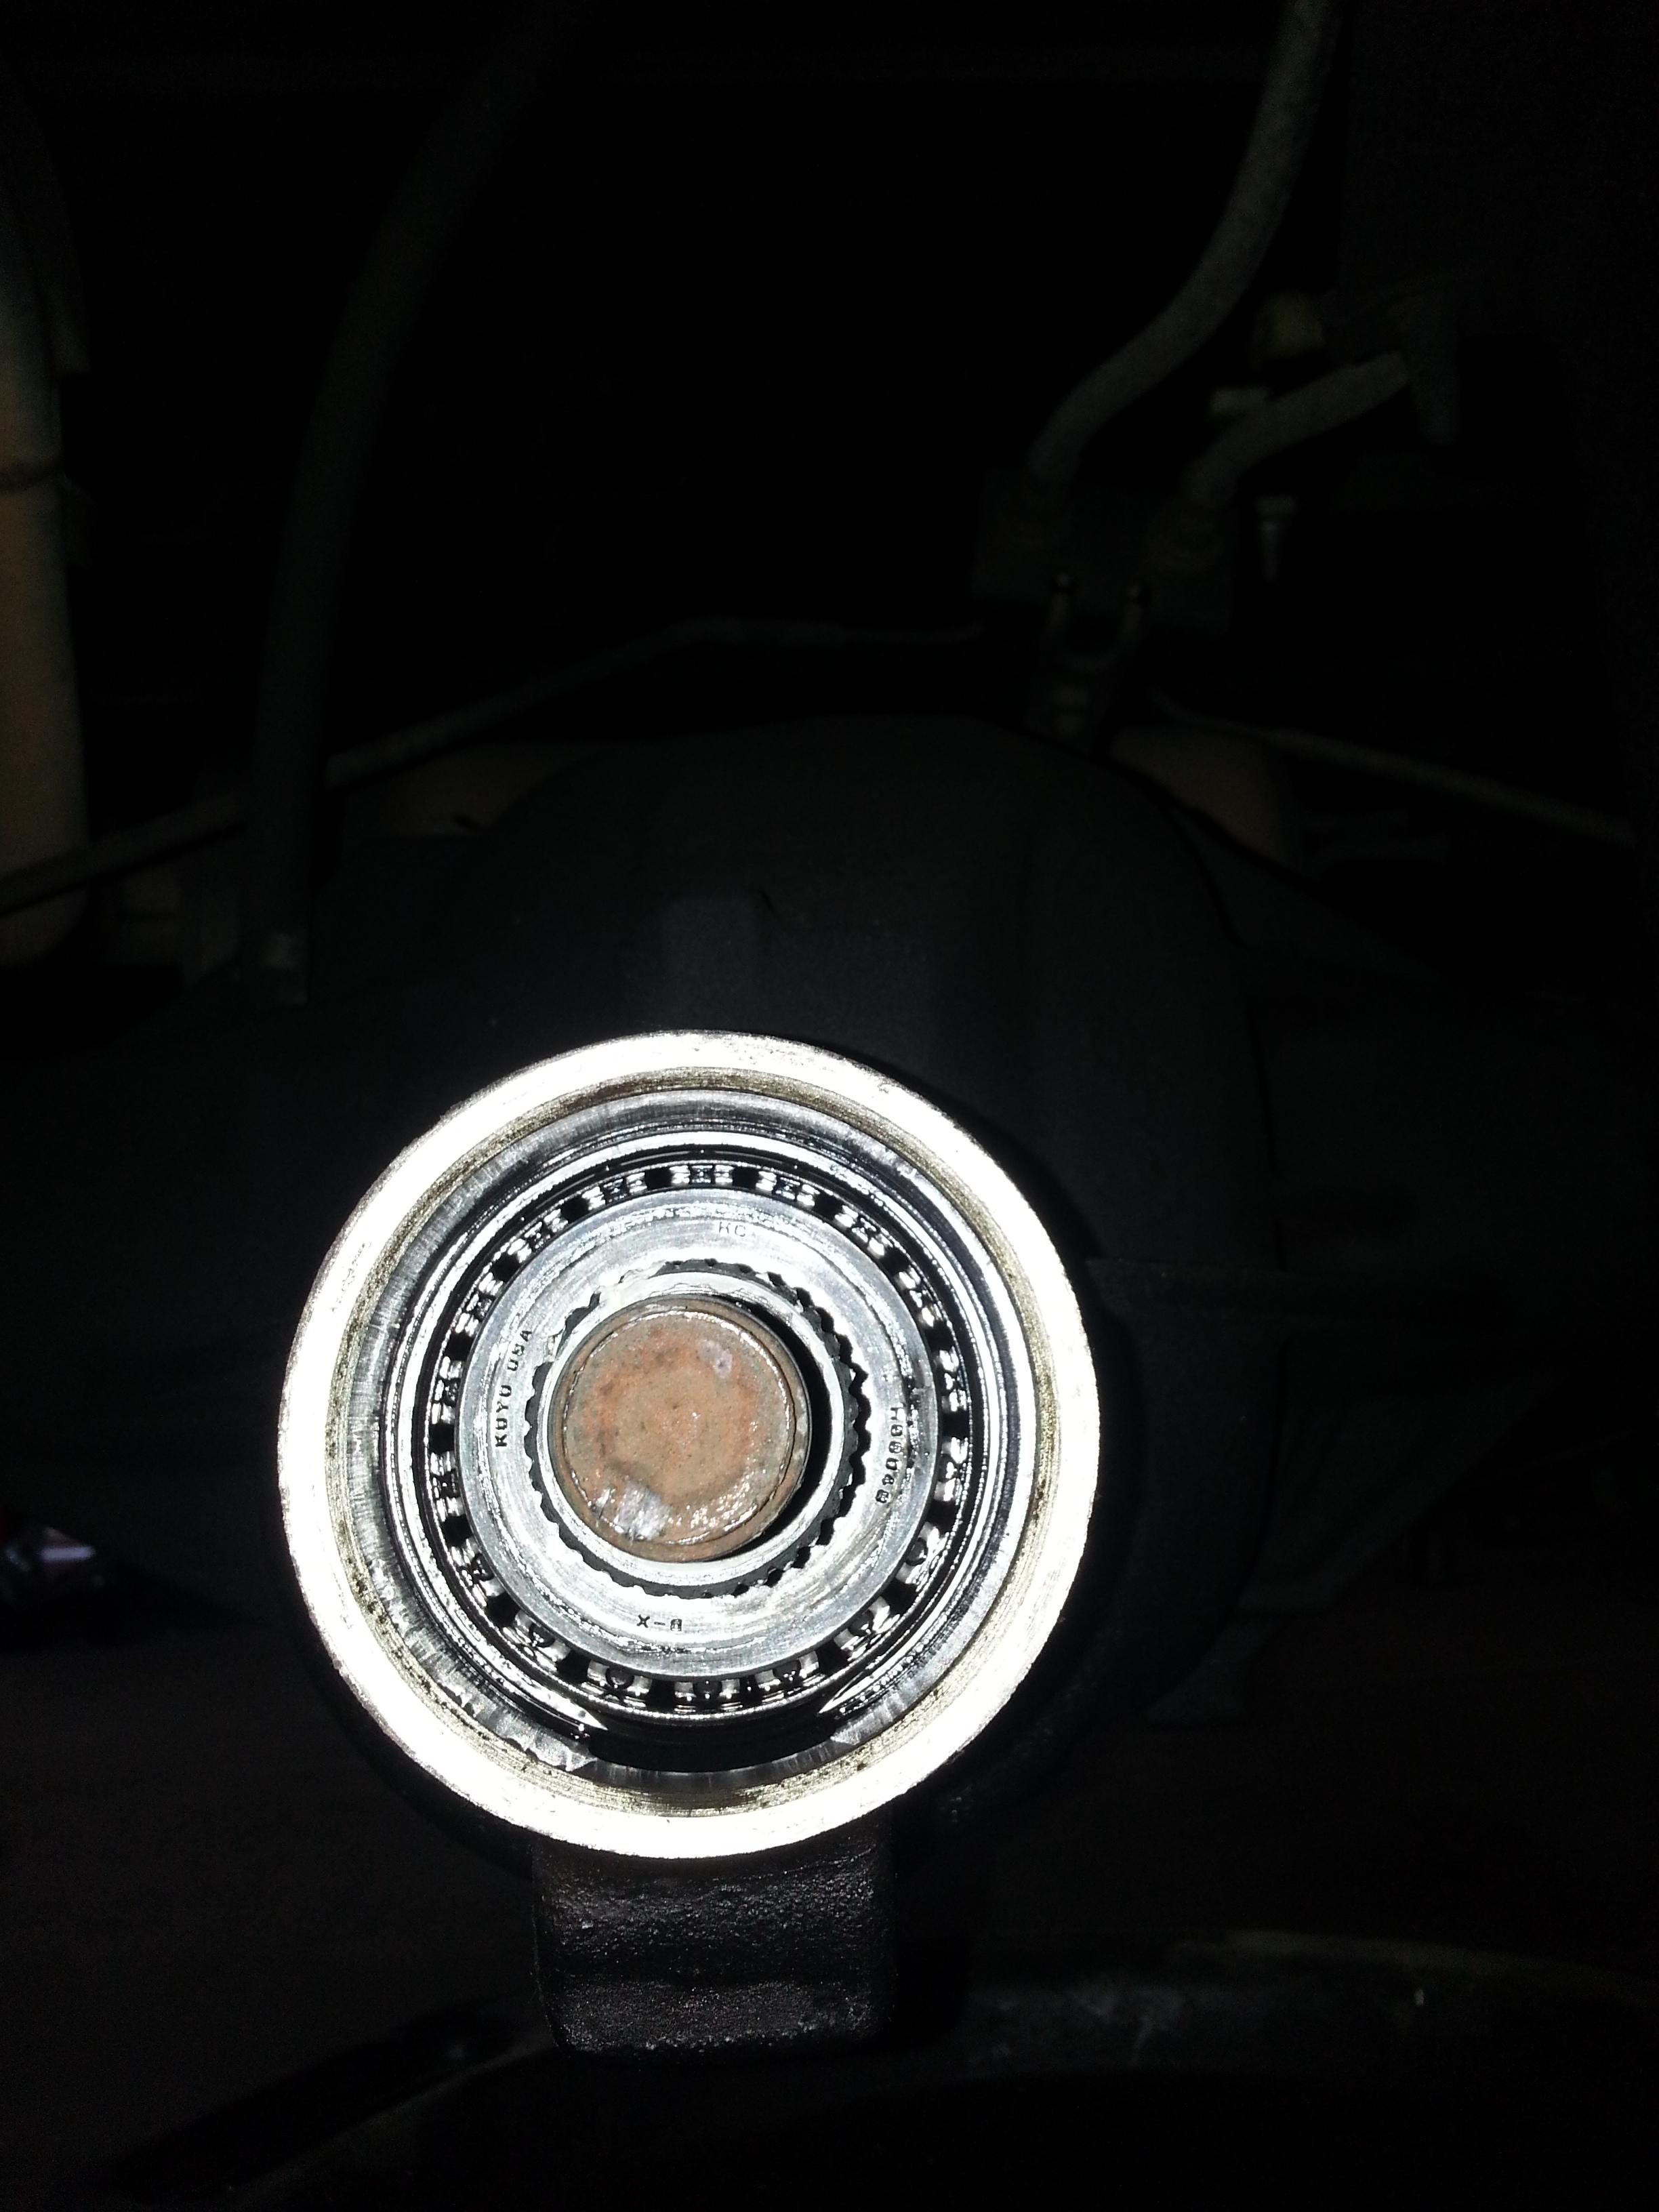
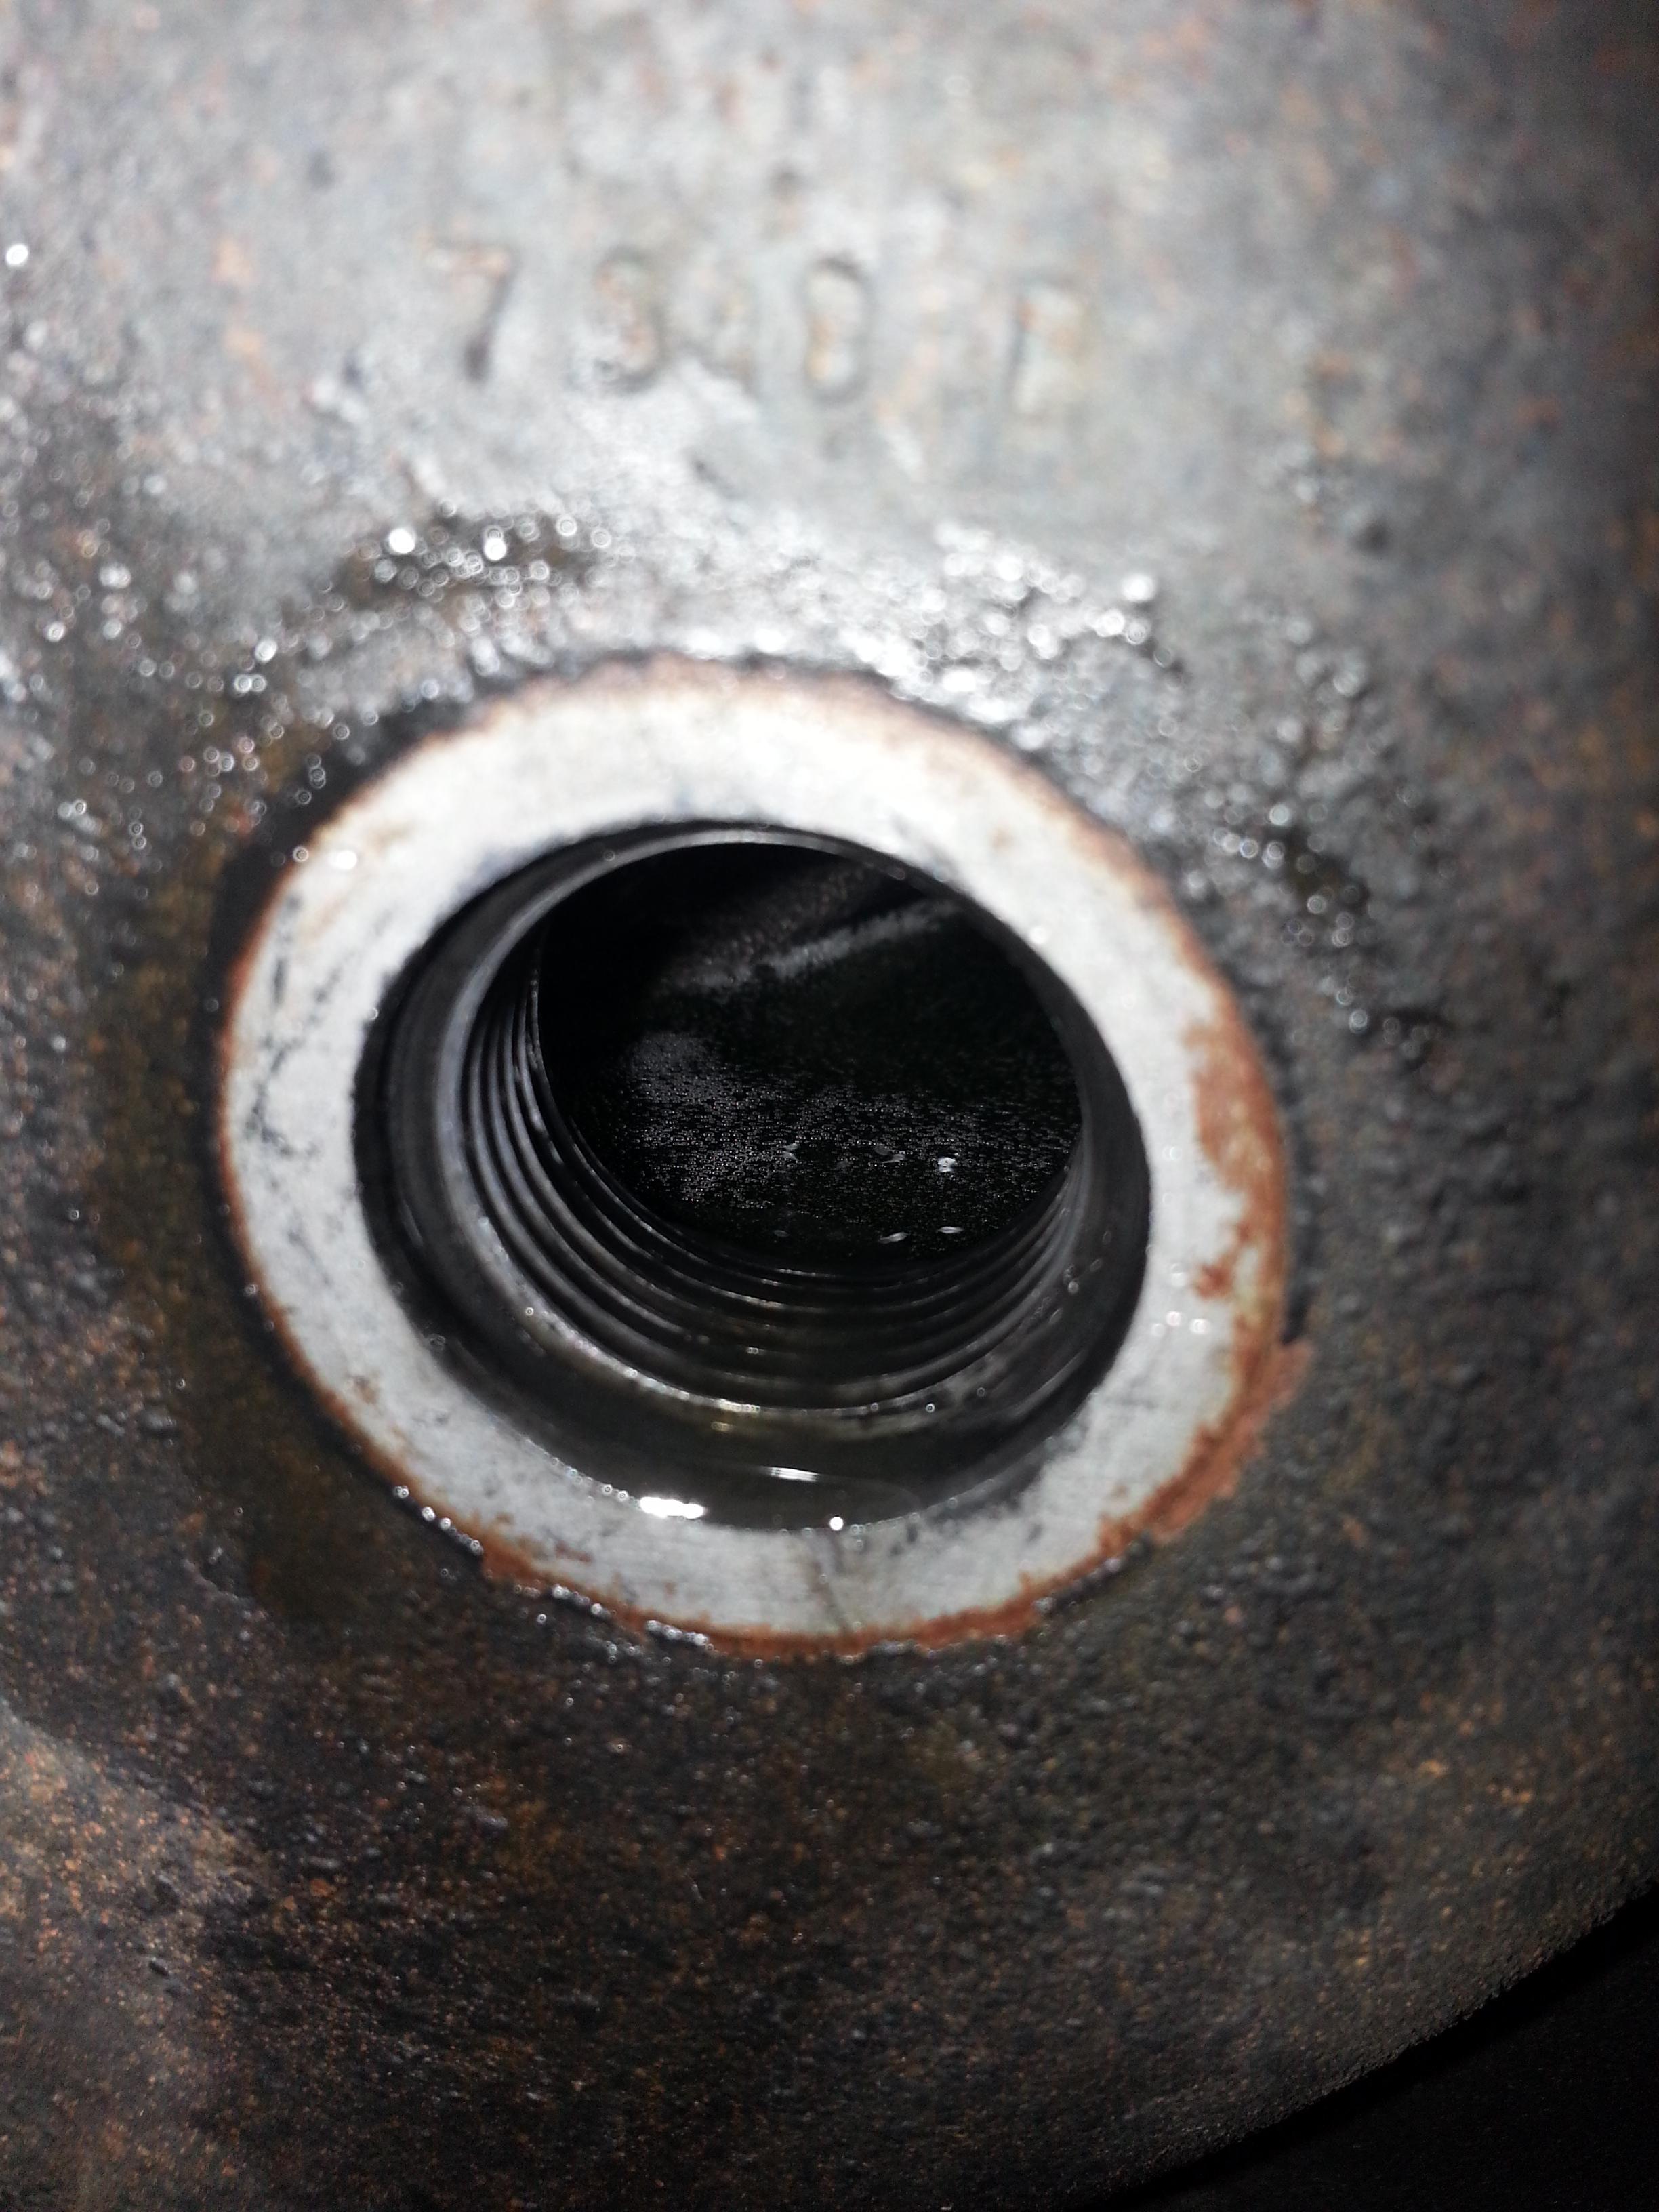
7. Next, clean the seal surface area on the diff itself. This picture sucks but I included it anyway.
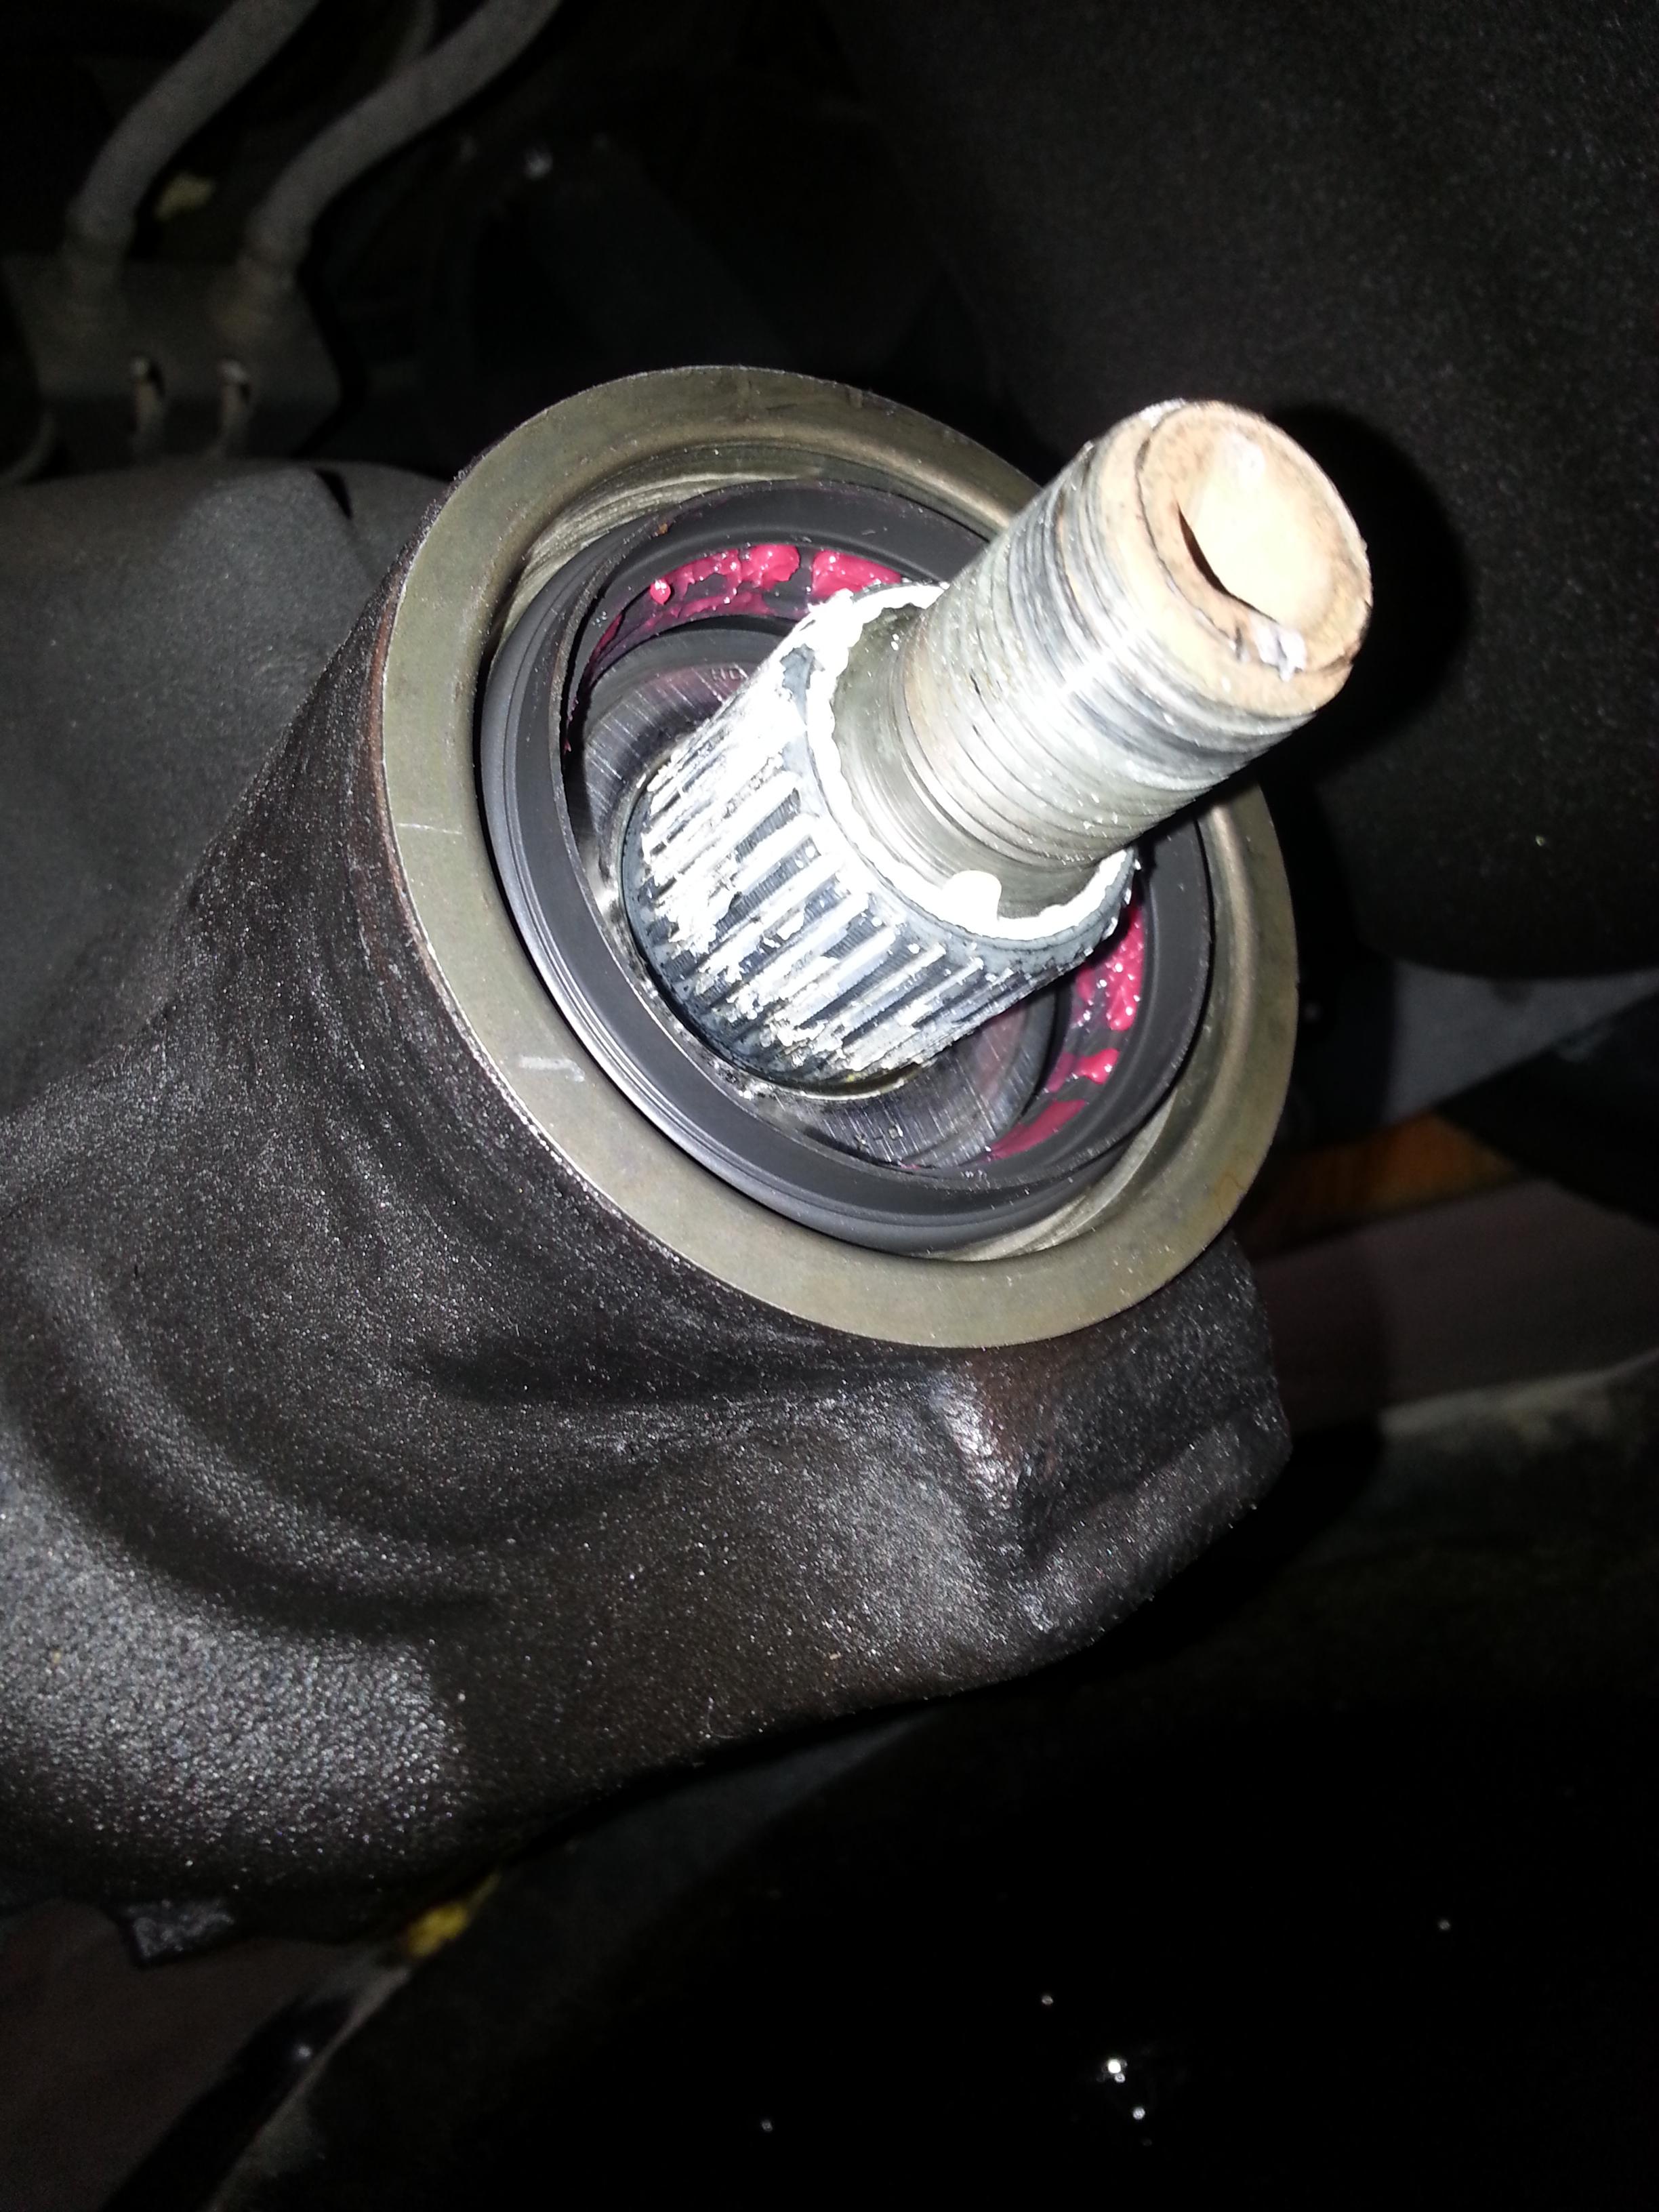
8. Now its time to put in the new seal. This where it gets interesting. I did not have the "special tool" to drive the seal in. I was going to make one out of wood but I like to live on the edge. So, I did the old hammer and tap method. I can already hear the cries") . Let me say this, the seal goes in very easy and I took my sweet time tapping it in a circular motion. The new seal was pre-greased (red stuff).
. Let me say this, the seal goes in very easy and I took my sweet time tapping it in a circular motion. The new seal was pre-greased (red stuff).
9. With the new seal back in I used the scribed marks to align the yoke with the pinion and reinstalled the washer and nut. Snugged it up by hand with the ratchet but the last 1/8 of a turn was really hard so I employed the use of my impact wrench. When it was all said and done I came really close to the original mark.
10. Next, reinstall the drive shaft and cross and all your paint markings should line up and don't forget the drain plug. Finally, you can now add your oil. I filled mine until it started to seep out of the fill plug. It took a total of 2.5 quarts.
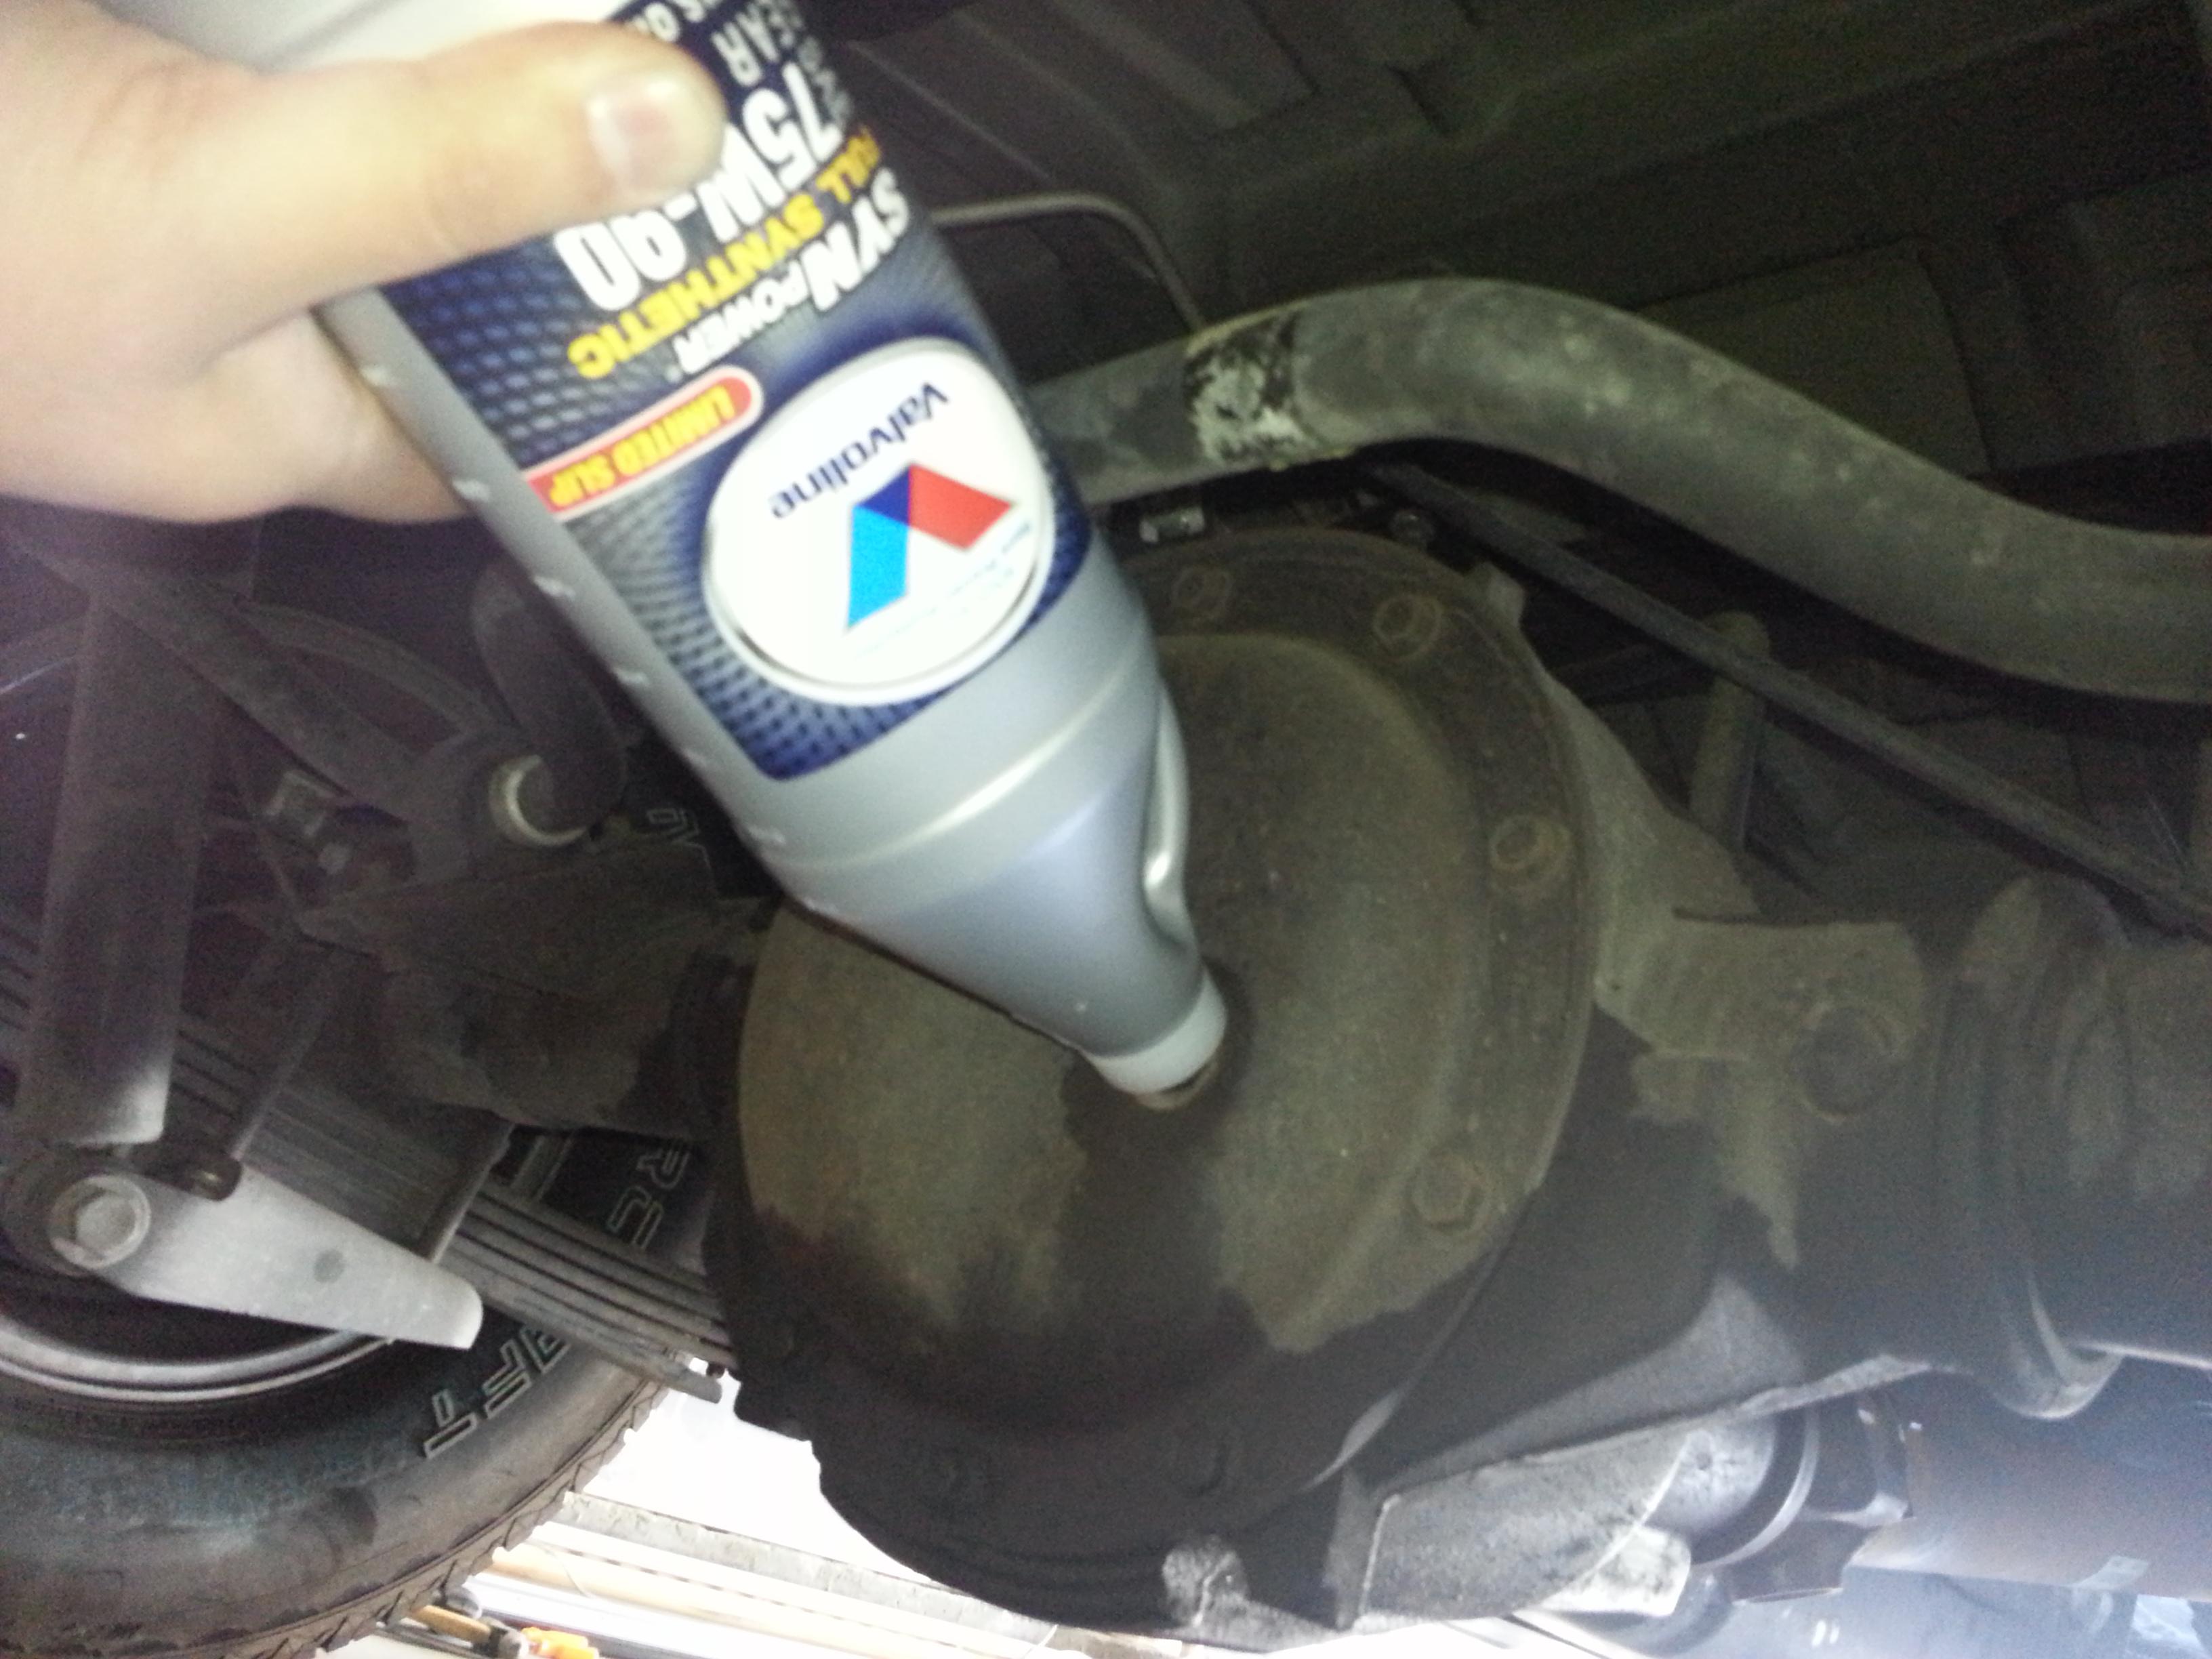
All done! Now go enjoy your refreshment whilst putting your tools away. After reinstalling the pinion nut I remeasured the pinion to the nut and got 6.19mm. So that's a difference of 0.04mm or 0.0015748" . I can live with that. Also, I'm a fan of Mobil 1 but my auto parts store was out so Valvoline it was. Now onto my lawnmower (gotta rebuild the carb, sigh...)
Note:This is for informational purposes only and I do not hold any responsibility/accountability for your actions. And please use wheel chocks even if you're on a level surface.
1. First things first, gather your tools. You will need a 3/8 ratchet, assorted extensions, 1 1/4" socket, 7/16" socket, impact wrench, puller, caliper, hammer(not pictured
), some paint, and your favorite brew.2. Using some paint, mark the yoke, cross, drive shaft, and I even marked the cross retainer cause... why not!
3. Next, remove the four 7/16 bolts and just let the drive shaft rest on the floor/ground. And mark/scribe the pinion, nut, and yoke accordingly.
4. I took an extra step and measurement from the forward edge of the pinion to the top of the nut like so. And it measured 6.23mm.
5. Next, grab your impact wrench with the 1 1/4" socket and remove the pinion nut. Then mount the puller to the yoke and drive it out. I used my impact wrench for this as well.
6. Now grab the seal puller and give it a few tugs in a circular pattern. I had to take my time and not destroy the old seal because according to my VIN# there were TWO different seals that came up. I was asked by my local Chevy dealer to bring in the old seal to make sure I bought the right one.
7. Next, clean the seal surface area on the diff itself. This picture sucks but I included it anyway.
8. Now its time to put in the new seal. This where it gets interesting. I did not have the "special tool" to drive the seal in. I was going to make one out of wood but I like to live on the edge. So, I did the old hammer and tap method. I can already hear the cries
. Let me say this, the seal goes in very easy and I took my sweet time tapping it in a circular motion. The new seal was pre-greased (red stuff).9. With the new seal back in I used the scribed marks to align the yoke with the pinion and reinstalled the washer and nut. Snugged it up by hand with the ratchet but the last 1/8 of a turn was really hard so I employed the use of my impact wrench. When it was all said and done I came really close to the original mark.
10. Next, reinstall the drive shaft and cross and all your paint markings should line up and don't forget the drain plug. Finally, you can now add your oil. I filled mine until it started to seep out of the fill plug. It took a total of 2.5 quarts.
All done! Now go enjoy your refreshment whilst putting your tools away. After reinstalling the pinion nut I remeasured the pinion to the nut and got 6.19mm. So that's a difference of 0.04mm or 0.0015748"
. I can live with that. Also, I'm a fan of Mobil 1 but my auto parts store was out so Valvoline it was. Now onto my lawnmower (gotta rebuild the carb, sigh...)


#4
05-05-2015, 11:45 AM
Actually, the nut was on there pretty tight to begin with. I tried to break it free by hand initially and it wouldn't budge. So I removed it with the IW as well, the thread sealer is the culprit. One thing is for sure, its not any 'tighter' than it was originally. And I'm definitely not losing any sleep over it.


#9
12-04-2016, 12:50 AM

Great post! Glad to see you took the extra step in measuring the nut to pinion depth. I usually just index (mark) everything. There is a collapsible collar underneath that bearing and it shouldn't be over tightened.
#10
12-04-2016, 12:42 PM

Thank you for taking the time to post this and pictures. Saved this just in case I may need it in the future.