When you click on links to various merchants on this site and make a purchase, this can result in this site earning a commission. Affiliate programs and affiliations include, but are not limited to, the eBay Partner Network.
Hummer H2For those who like a little more gleam to their Hummer, the H2 offers a similar rugged look as the H1, but as a lower cost, and with more added features, making it almost a massive luxury SUV.
Here's the latest. I met FYR and installed some LED's in his DRL's. He was showing me around his rig and he had the IPCW clear corner LED's. I've never like clear lens anything but the way these blend into the chrome grill really make them look great. Not to mention how bright they are. Got back home from his place and put my order in.
They arrived yesterday. I thought they just popped in from the back but I ended up having to remove my brush guard and grill but it was well worth it. Enough talking, onto the pics!
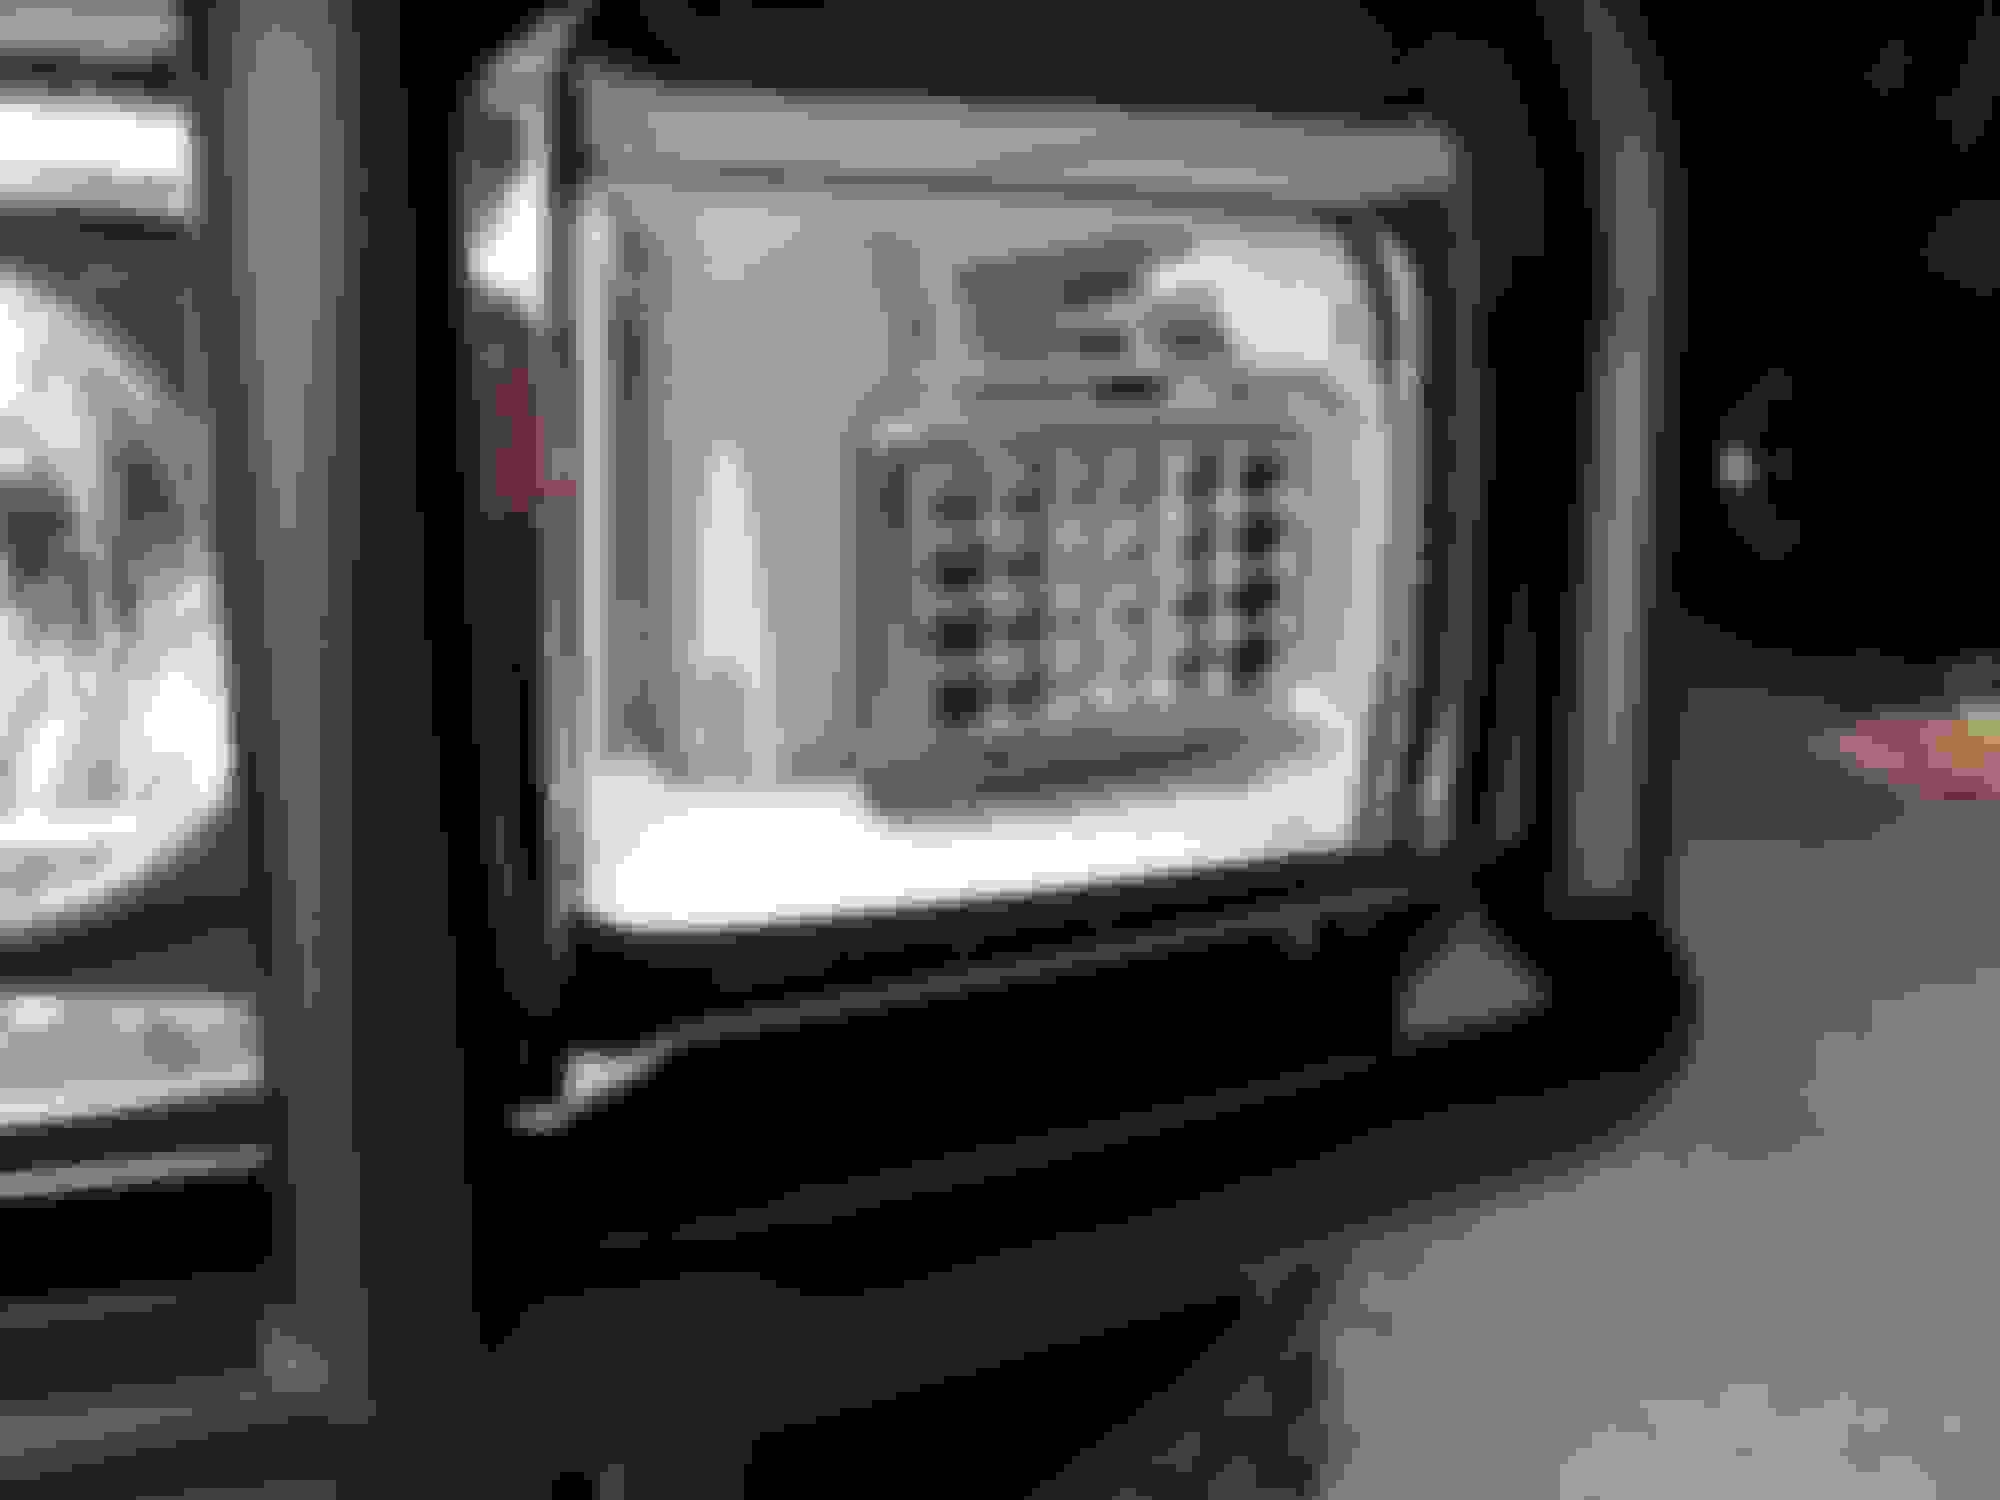
Boxed:
Installed:
Parking lights on, they are much brighter when the blinker is on and look hands down awesome at night!
Now maybe I can get some of my other pending projects done......
Decided to match up my front LED's with rear LED tail lights. Always wanted to give them a shot so figured why not. I'd say they are about 3 times brighter than the stock tails. The blinker and brake lights when on are insanely bright! I didn't put the tail light guards back on just yet because I have 520 lumen LED's for the reverse lights I'm still waiting on along with a pair of red LED's for the lower bumper lights so everything blinks at the same rate.
Pics:
Stock on the right and LED on the left for comparison. That's just the driving lights on.
Couple pics of both LED tails installed:
Overall I am very satisfied with them. Arizona has terrible drivers so I like how bright they are, hopefully prevent any idiots from rear ending me!
Finally finished up an ongoing project to add a switch panel with OTRATTW switches.
I used Bondo Glass to do the bulk of the filling, looked like absolute hell. This was my first time ever taking on a project like this.
After Bondo Glass:
Cleaned up:
After Bondo Glazing and Spot Putty to refine the big imperfections:
All painted up:
Pic of the switches almost wired up completely:
Few pics installed:
Glad it is complete. I jumped the ground wires as the instructions say you can. I also jumped both the positive terminals but the top LED's stay on all the time which is odd since the source is a 12 volt ignition.....something I'm going to play around with.
The 3 right switches are fillers but fully wired with signal wires running to the engine compartment. Basically when I add more mods I'll just order a new switch face and its good to go.
Well finally took the plunge and ordered new wheels because my stocker tires are dry rotted. Plenty of tread life but cracked to hell.
I went with Method Standard wheels in black with Kumho Road Venture MT's. The wheels are 17x9 with a 4.25" backspace. I wanted the wheels pushed out to look better with my flares. The stock wheels looked horrible sunken in with the extended flares.
Pics:
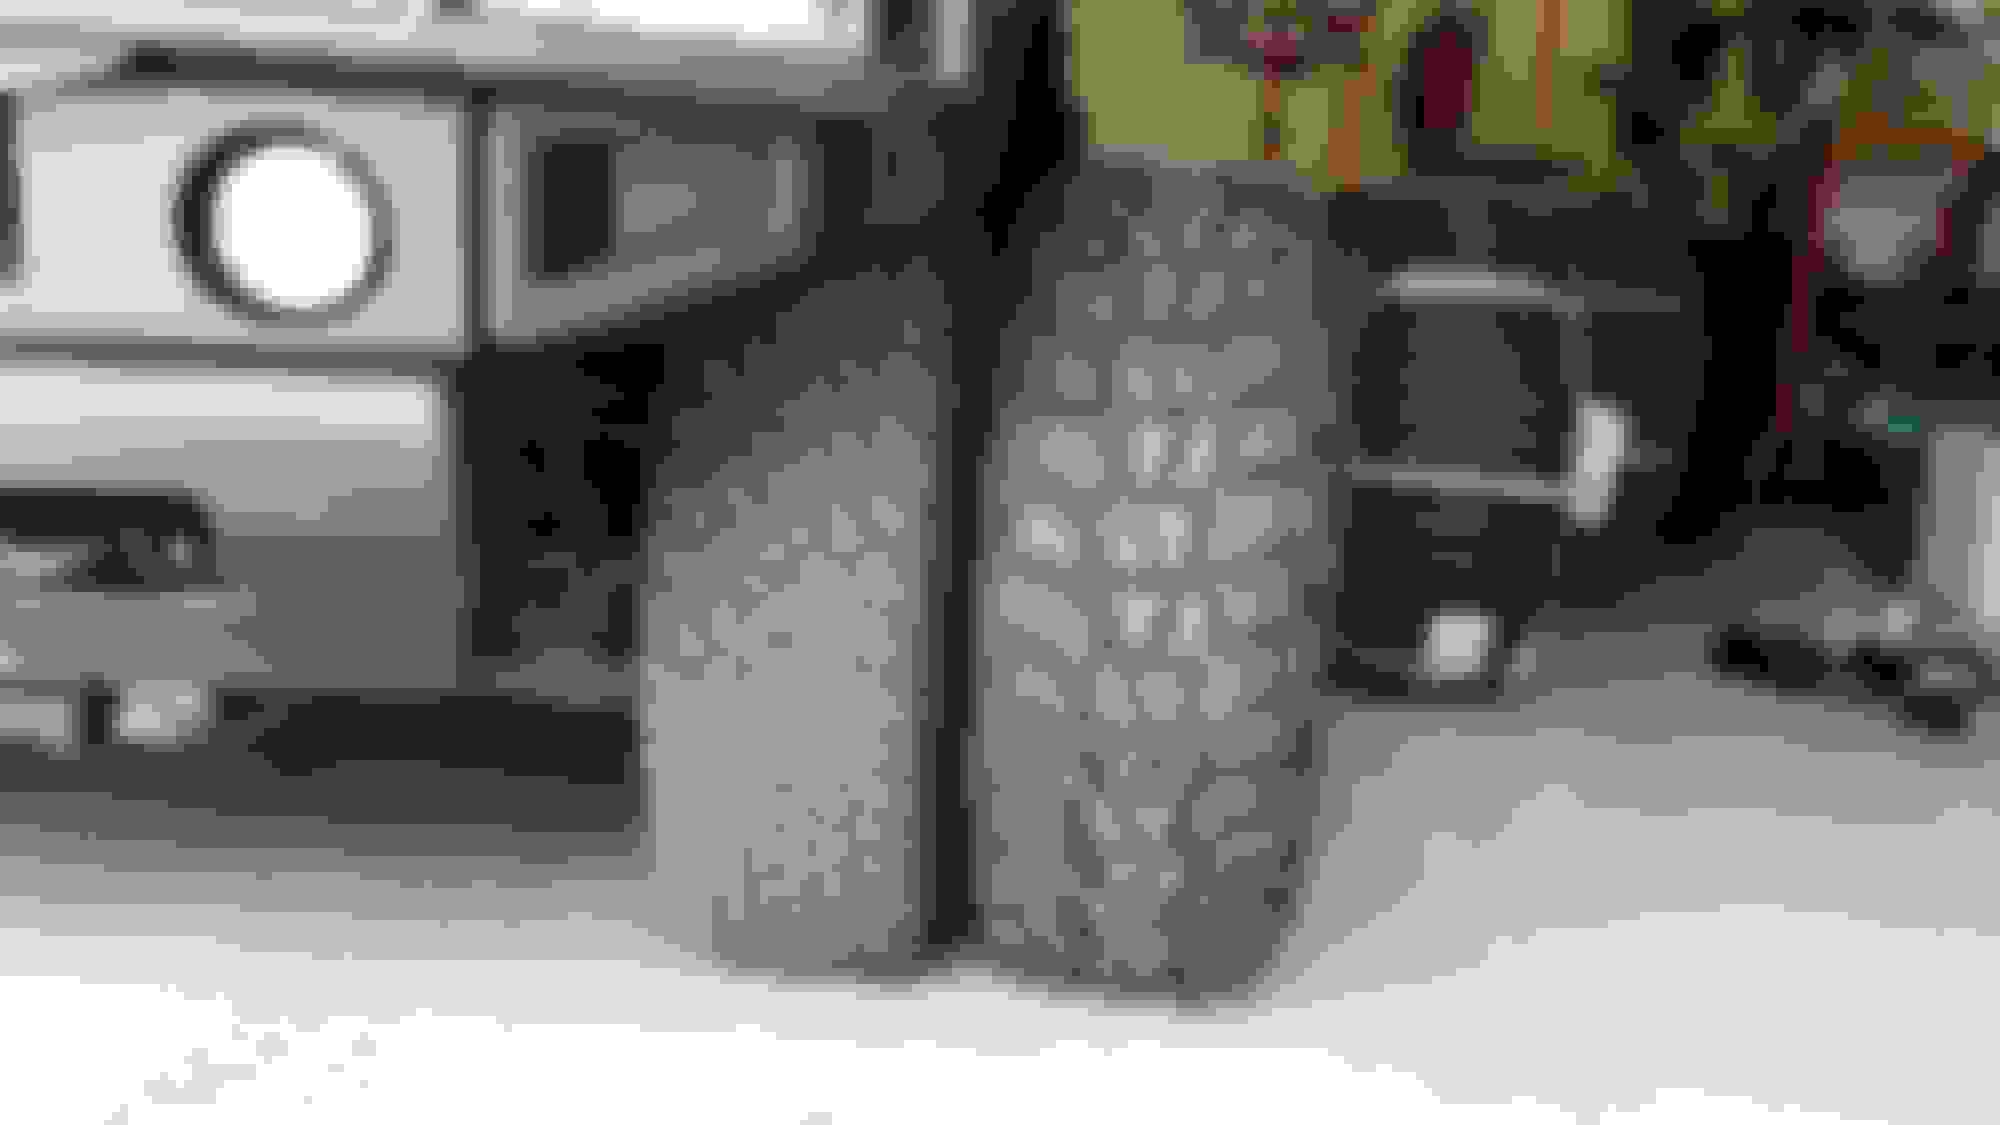
Tires are the same size but the new ones were over 2" taller for some odd reason:
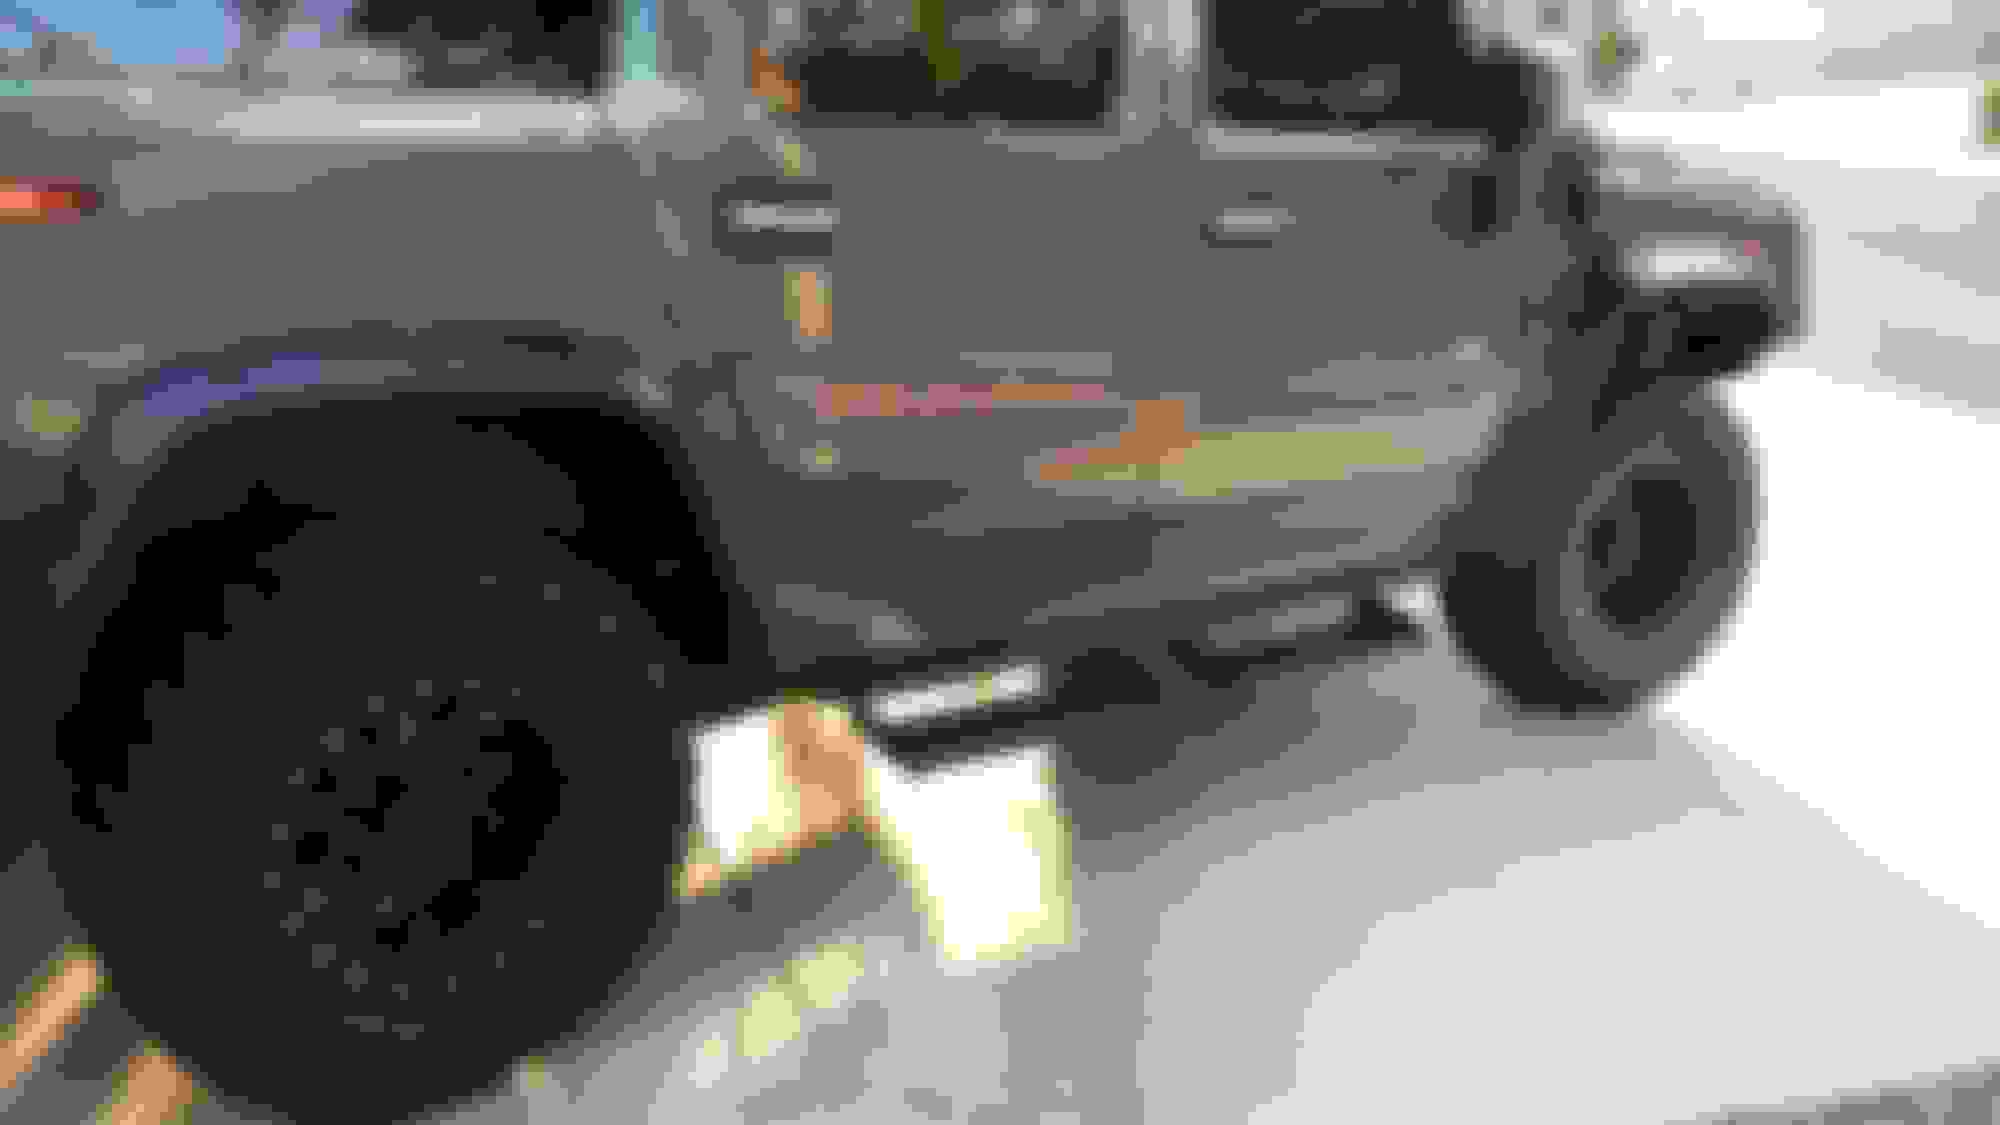
Nice wide stance!
I was incredibly worried about the backspace not working but at 4.25" the tires are perfectly in line with the edge of the flares. The wide stance with the MT's gives the rig a completely different look. The pics don't do the Method wheels justice, they are hands down awesome in person!
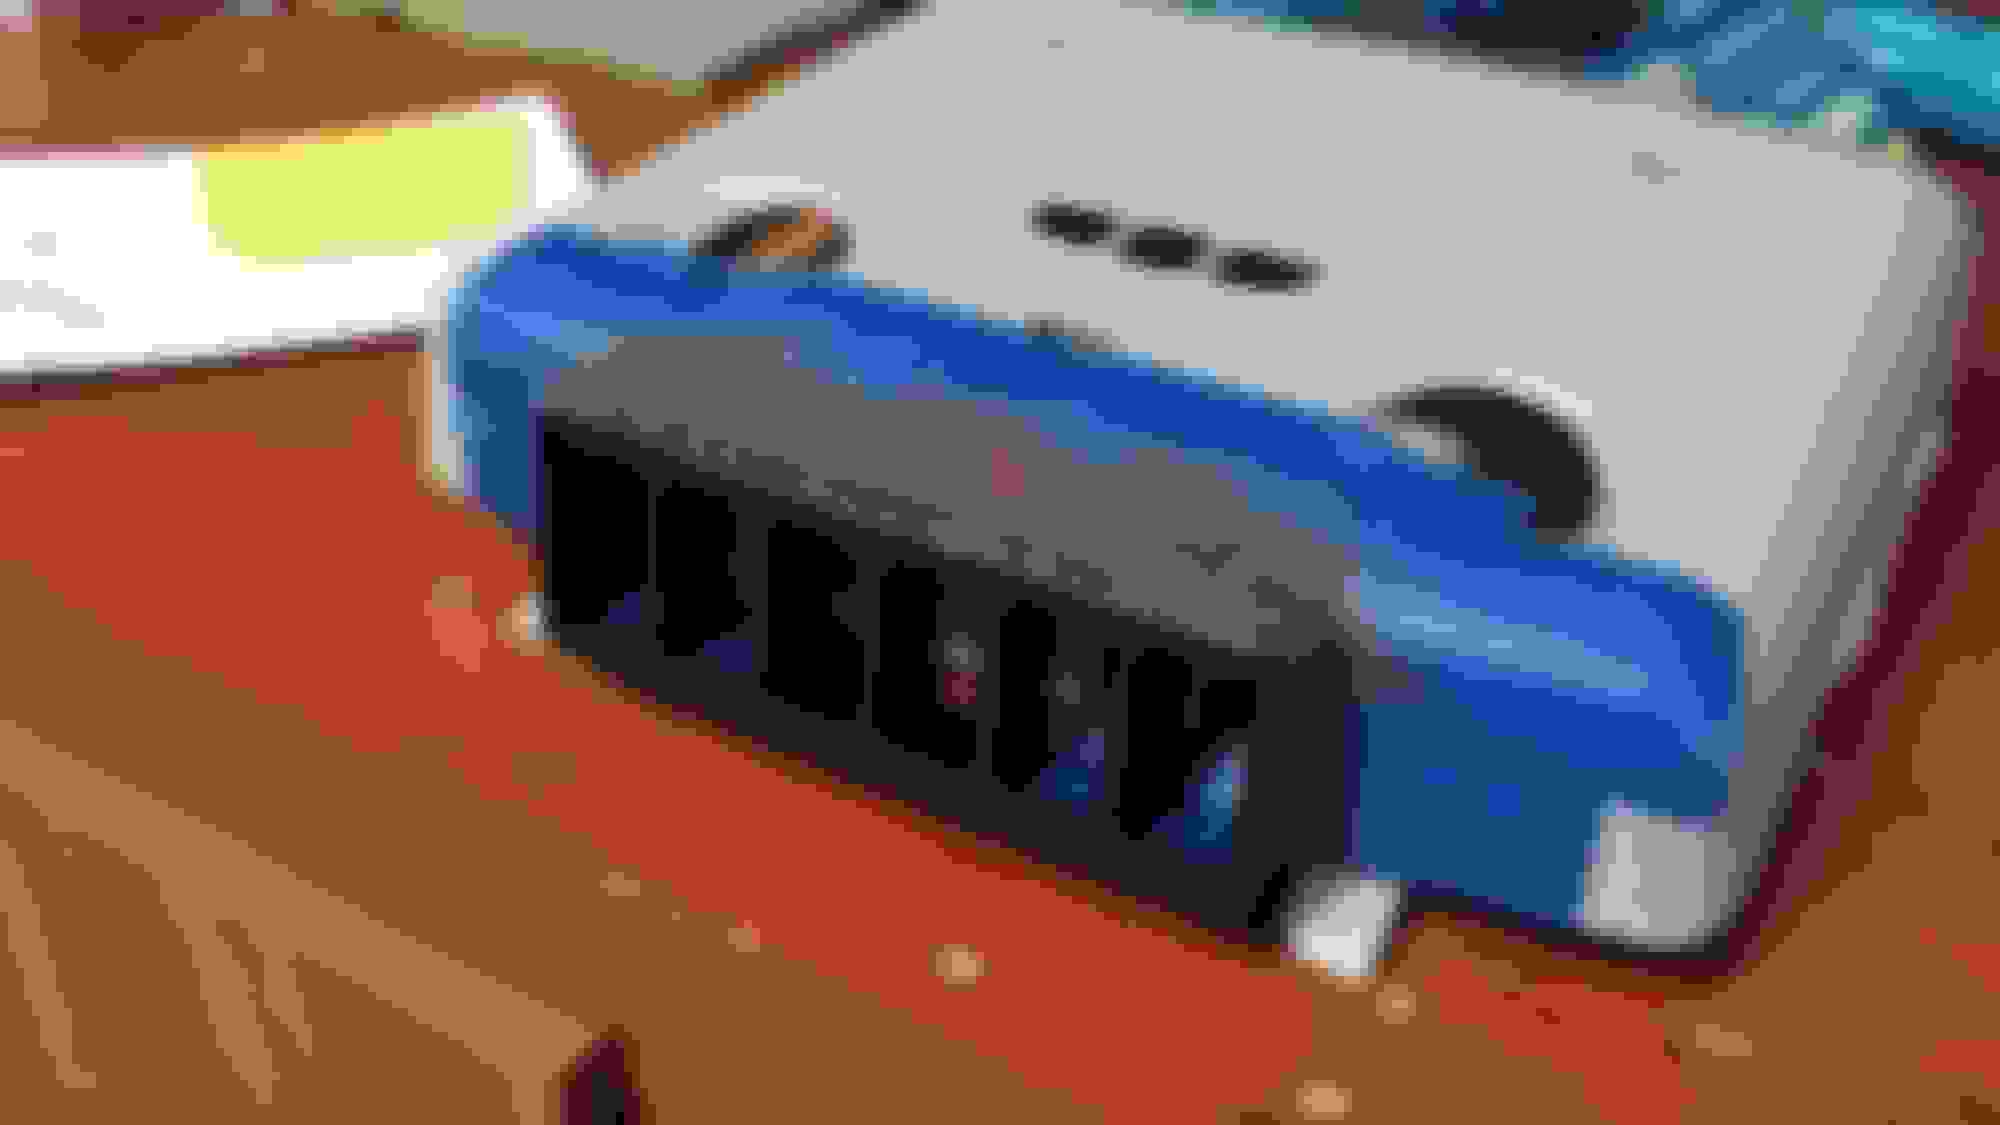
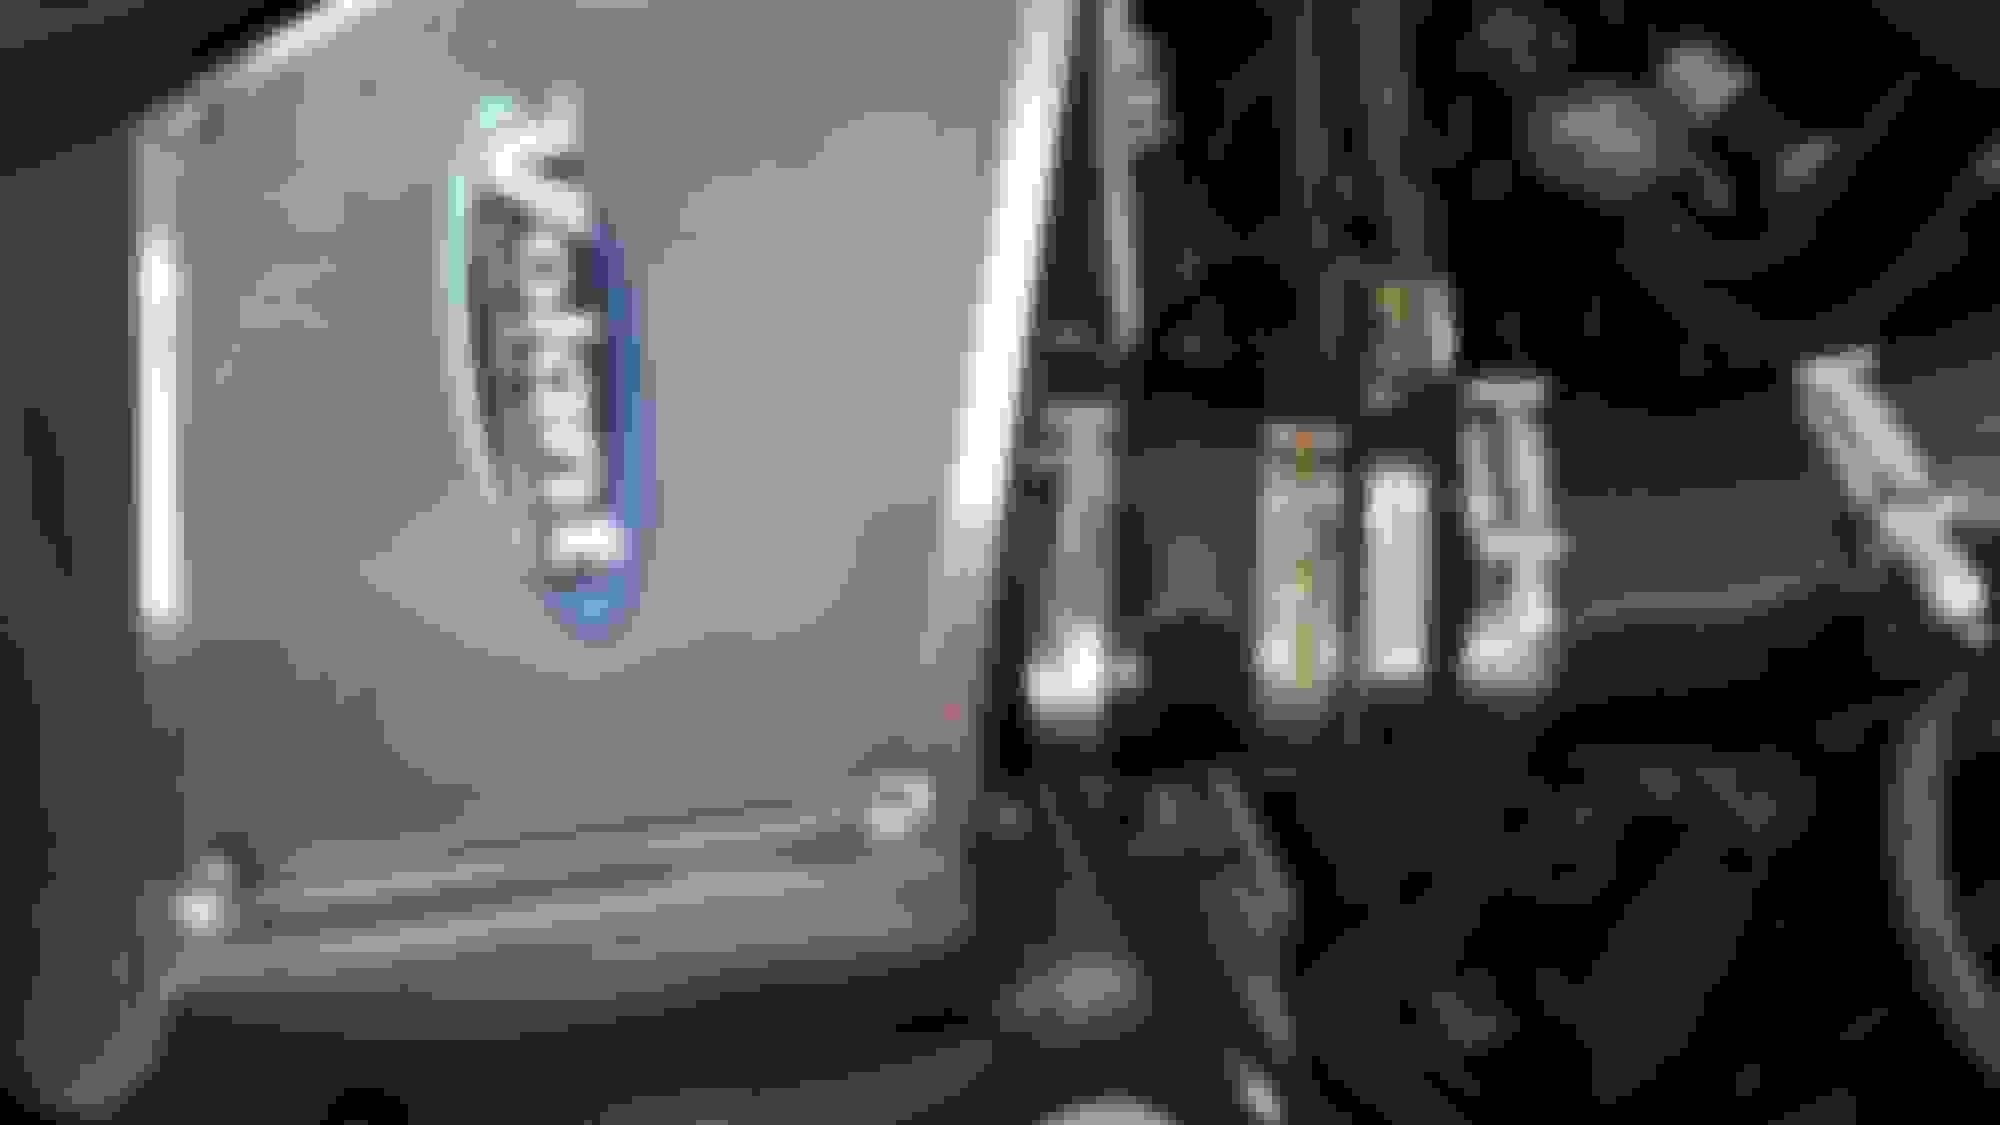
Received a pair of Truck Lite LED headlights from a new member on a different forum, one hell of a guy in my book! The lights are military lights in 24 volt configuration. I had to add in 12-24 volt converters which aren't expensive at all so I figured why not. Lights are nice and bright. I only have the lows wired in right now as wiring in the highs will require 2 more converters. So down the road I'll get those going, I rarely use my highs and I didn't want to hold up the install. My HID's were giving me so many problems, so happy those things are gone!!
Onto the pics:
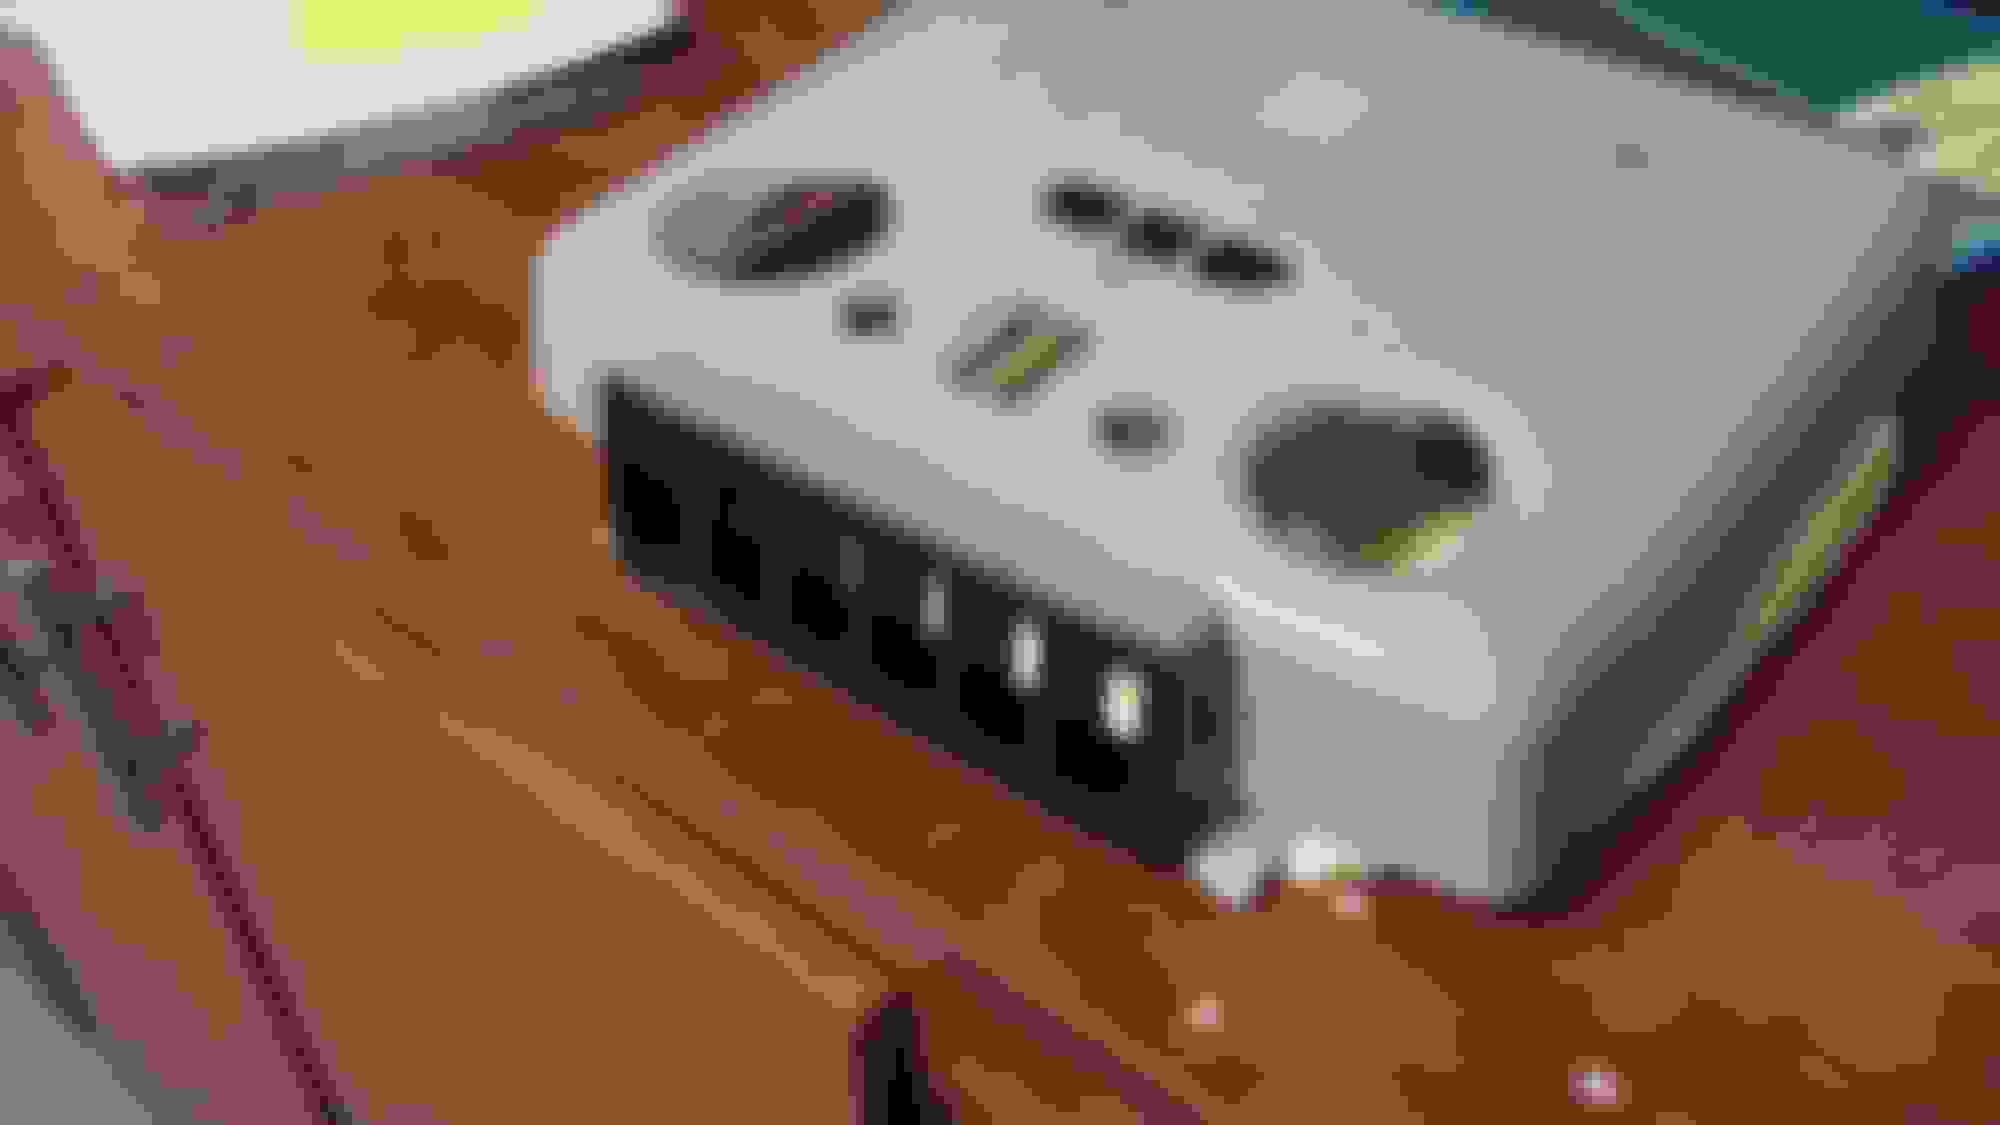
The install, you can see the converter is the aluminum box with the fins:
Pics of the lights off:
Lows:
I've read they are not as bright as HID's which I wouldn't imagine they would be. I can't wait to go for a night drive with them. I'm just so happy the HID's are gone!!
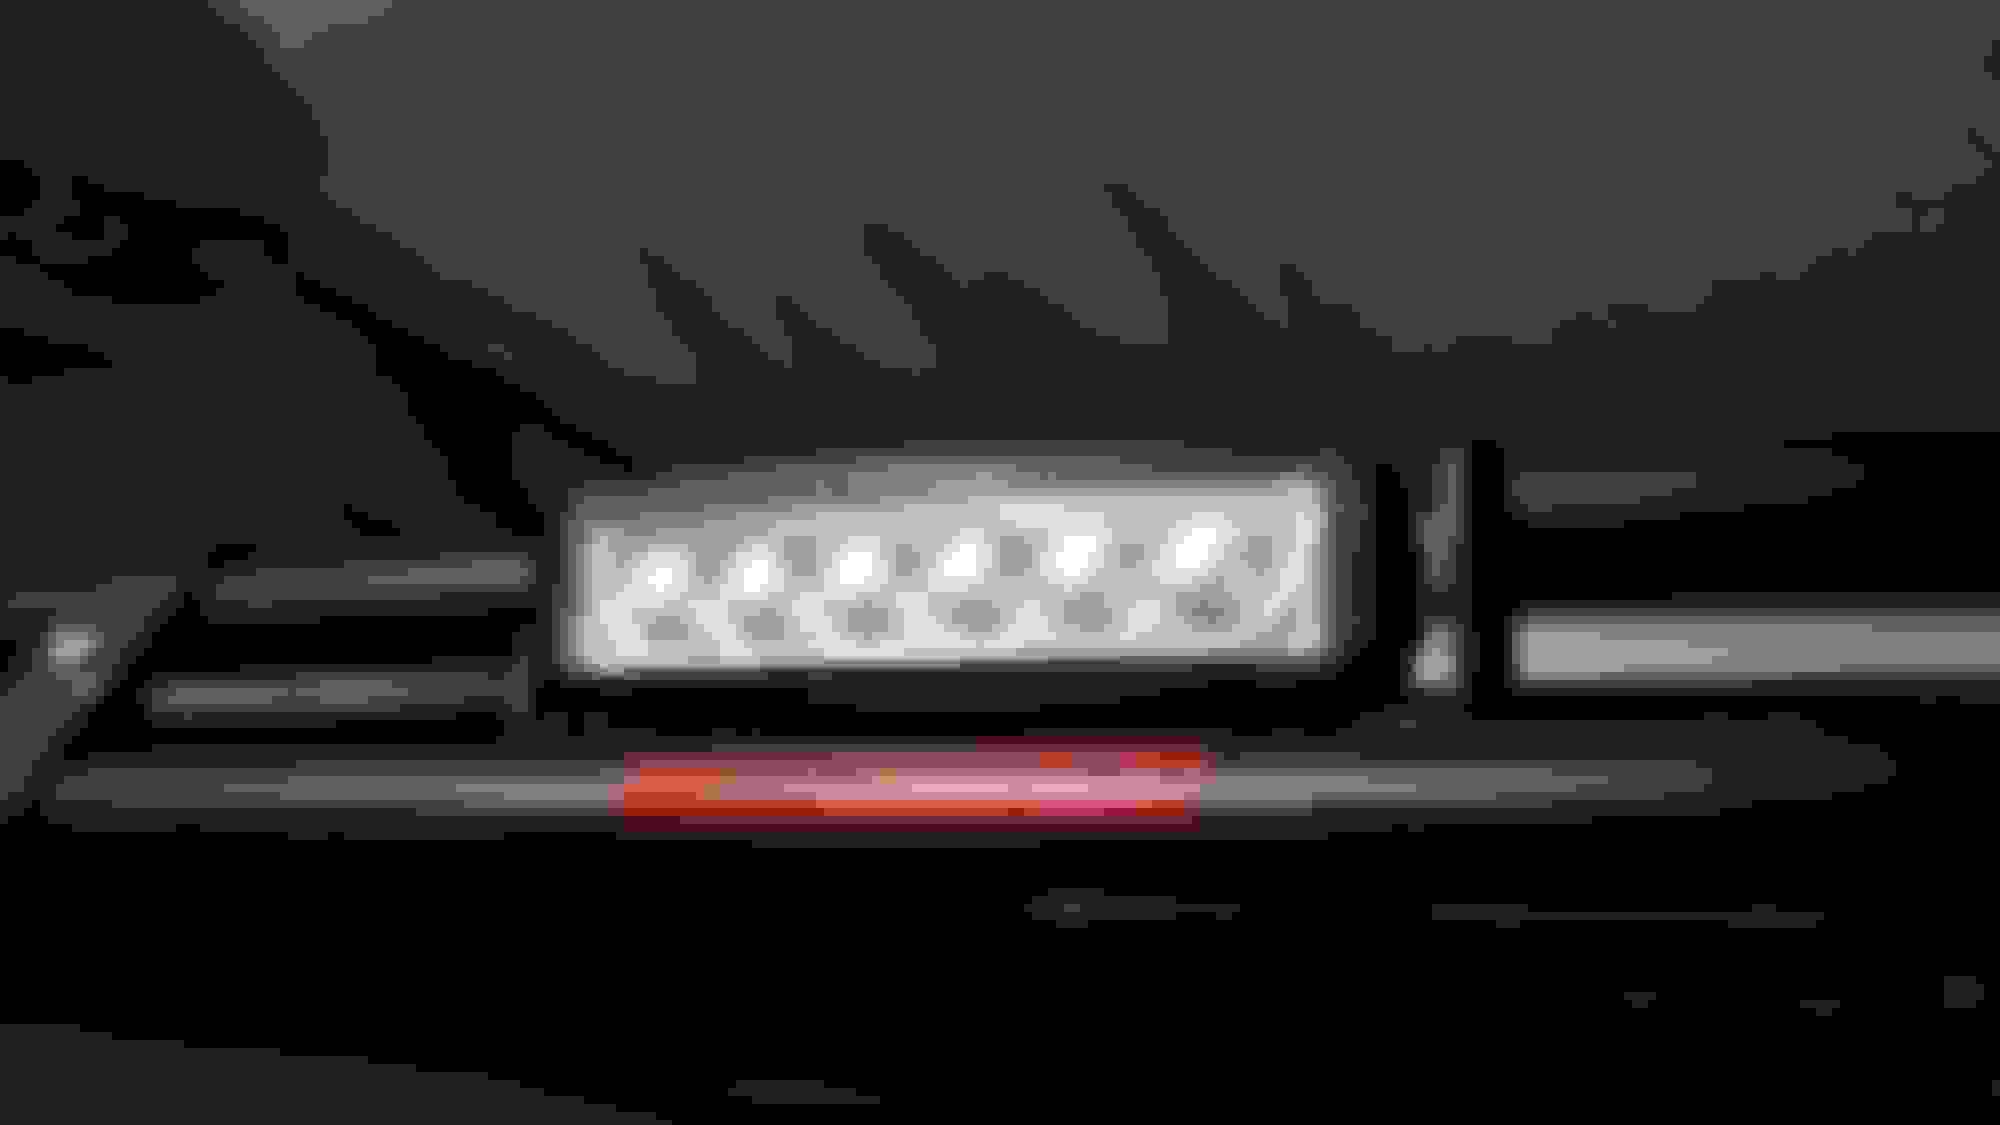
I've been wanting to swap out my regular lights on the roof rack to LED, problem has been the height is so limited that finding low profile LED bars has been a problem.
Found these on Amazon for $12 each and they are a lot brighter than the old lights"
Pics:
Comparison, LED is obviously on the left:
Everything installed:
Also added another OTRATTW switch for my radar detector to hardwire it:
Was hoping it would completely cover the factory hole but there's still some visible on the side, oh well....
Made a bracket from flat steel and installed 2 lights behind the mini grill:
I also added LED's to my lower fog light grill so everything matches, new grill lights and lower fog LED's:
Finally bought an AirDoc. I had to shorten the tube on each side because the Volant box pushed the MAF closer. I took off 2" at the box side and 1" at the engine side. Looks so much better without the giant stock tube/resonator:
That's it for right now. I still have other projects waiting to be installed.....
Newest update, finally installed an oil filter relocation kit. I was fed up with getting covered in oil trying to remove the stock oil filter and rigging up various things to drain the oil away from the crossmember. Another member did the same, I had bought kit previous and none of them worked but this kit was perfect:
Derale 15748:
I had originally thought about putting the filter sideways mounted to the hood bracket but I wanted something more stout so I ended up removing the driver side rock rail/steps and mounted the filter between the front body mount and first rock rail mount. The filter is protected by both but I mounted it a little low so it does hang down maybe 1/2 inch or so beneath the brackets. I don't make it a habit of running things over so I'm not concerned but I'll definitely keep an eye on it. If I would have mounted it any higher the bolts would have interfered with the upper mounting bolt for the rock rail.
The filters the kit call for are absolutely gigantic, none of the options are for Mobil 1 so I found the equivalent:
Compared to the stock filter:
I ended up finding another filter, same diameter as the stock filter but longer, only one with the correct threads which was the one I went with:
Mounted off the truck:
Back on the rig:
Engine side:
Hell of a project, I spent more time trying to figure out where to mount the filter because I mainly wanted to keep it out of the engine compartment. Plus there wasn't much room underneath with all the exhaust piping which is why I chose outside the frame rail.
I'm also working on swapping all my hold halogens on my roof rack with LED's so more pics to come!
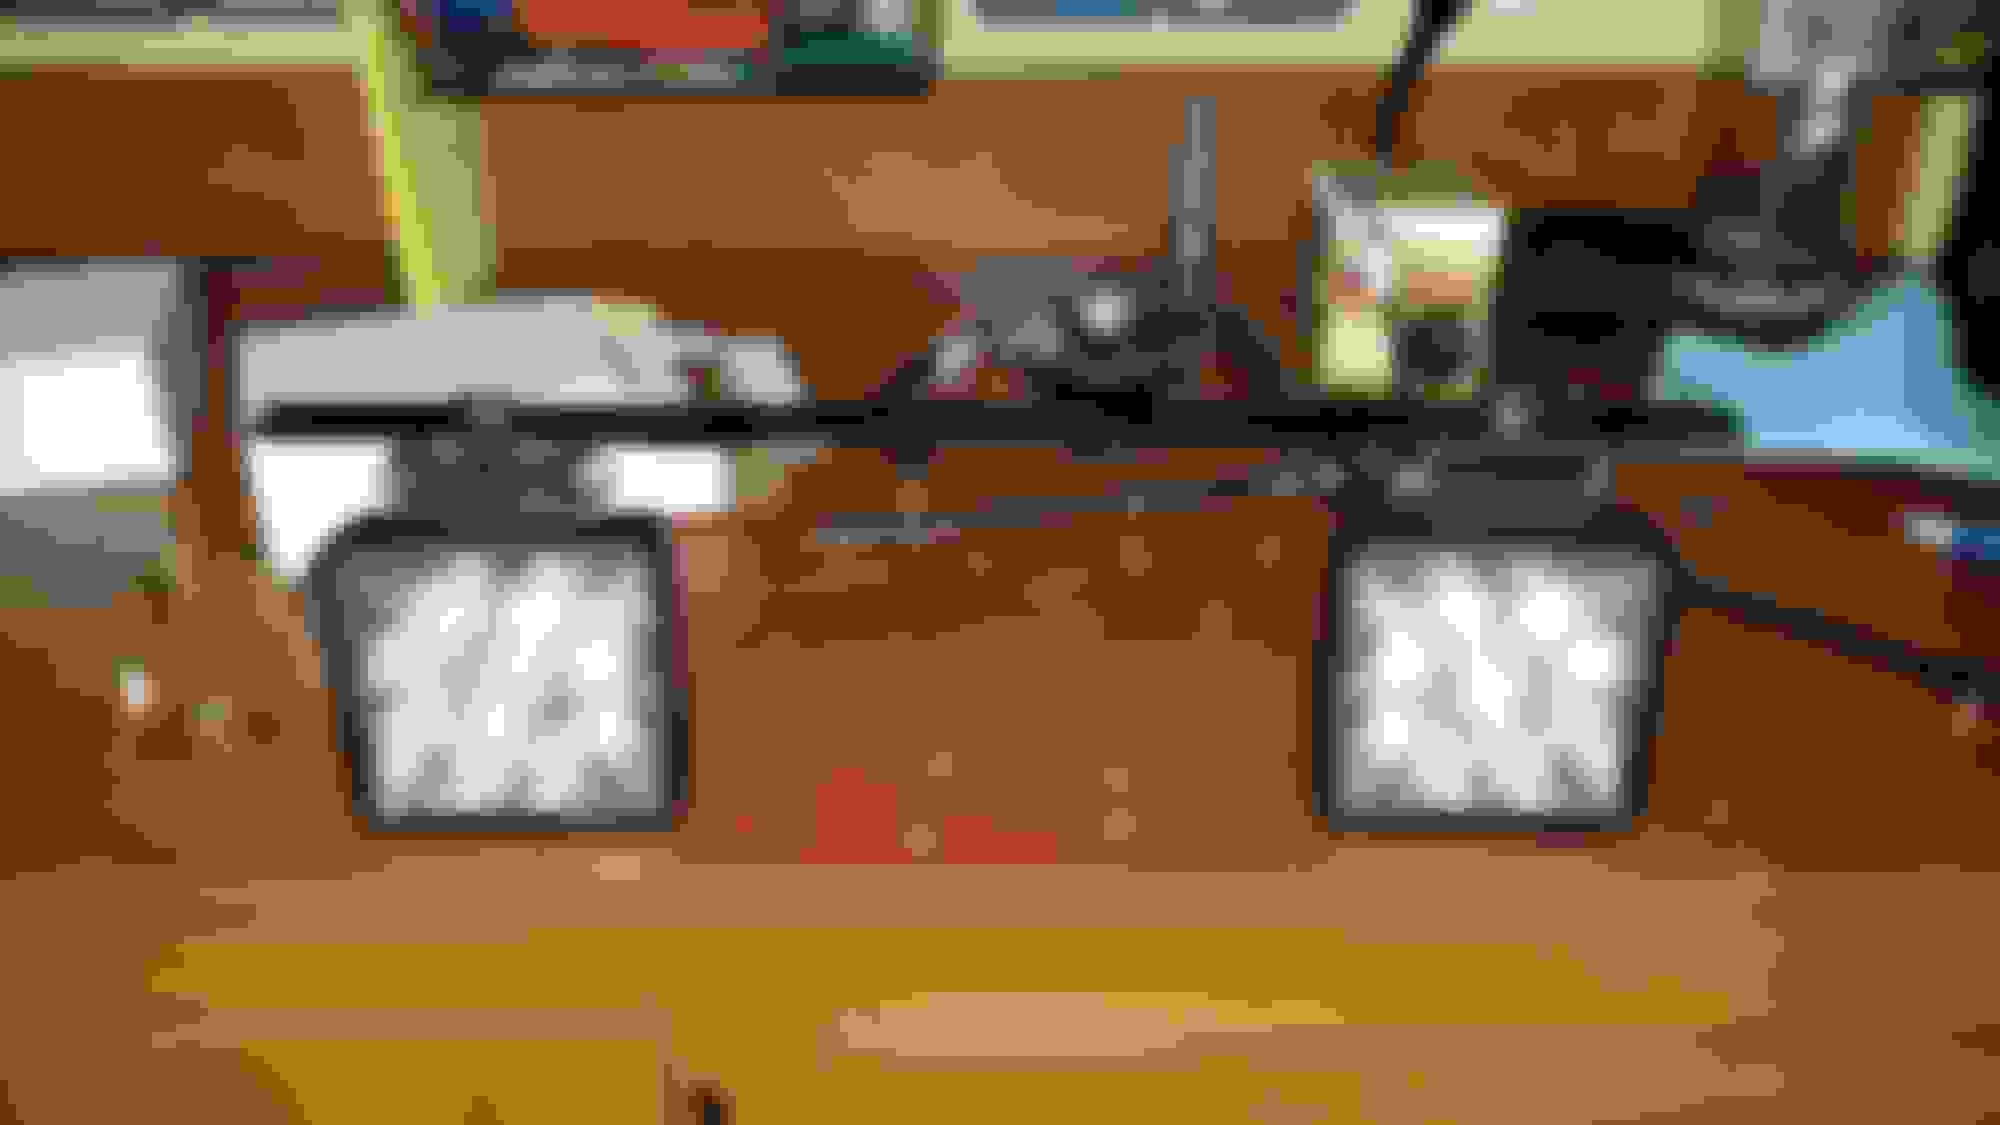
Finally changed all my junk halogens on the front of the roof rack over to LED bars:
From Amazon, nothing to expensive but they are very bright and look to be very well sealed. The driver side is slightly different as the others I ordered were different. I had to modify the other 3 bars brackets so I may change out that driver side so they're all the exact same but it will work for now.
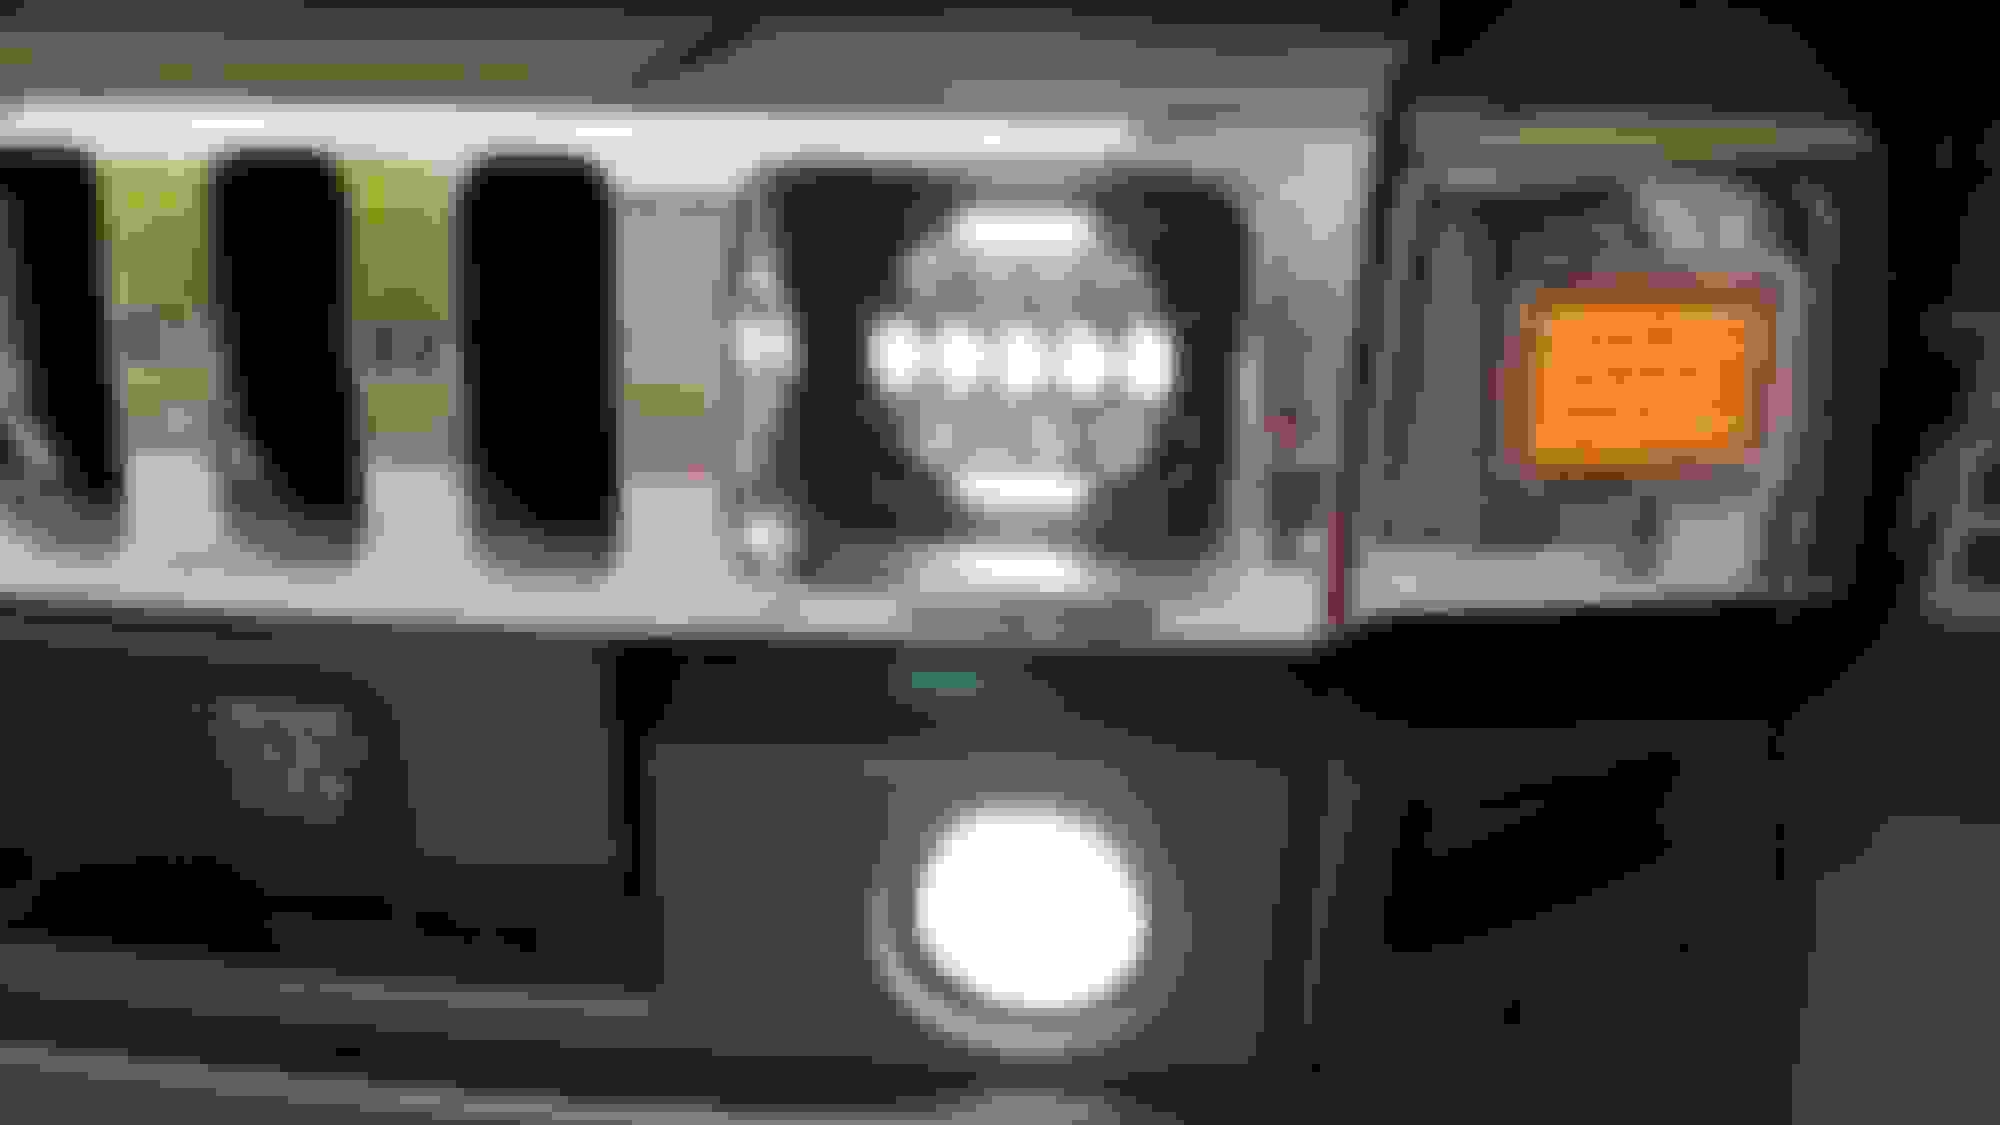
I also swapped out my Truklite LED headlights for Philips 75 watt LED headlights. I like the Philips much better, the lows cast light everywhere not just in spots. The highs are decent but I still need to get them aimed down.
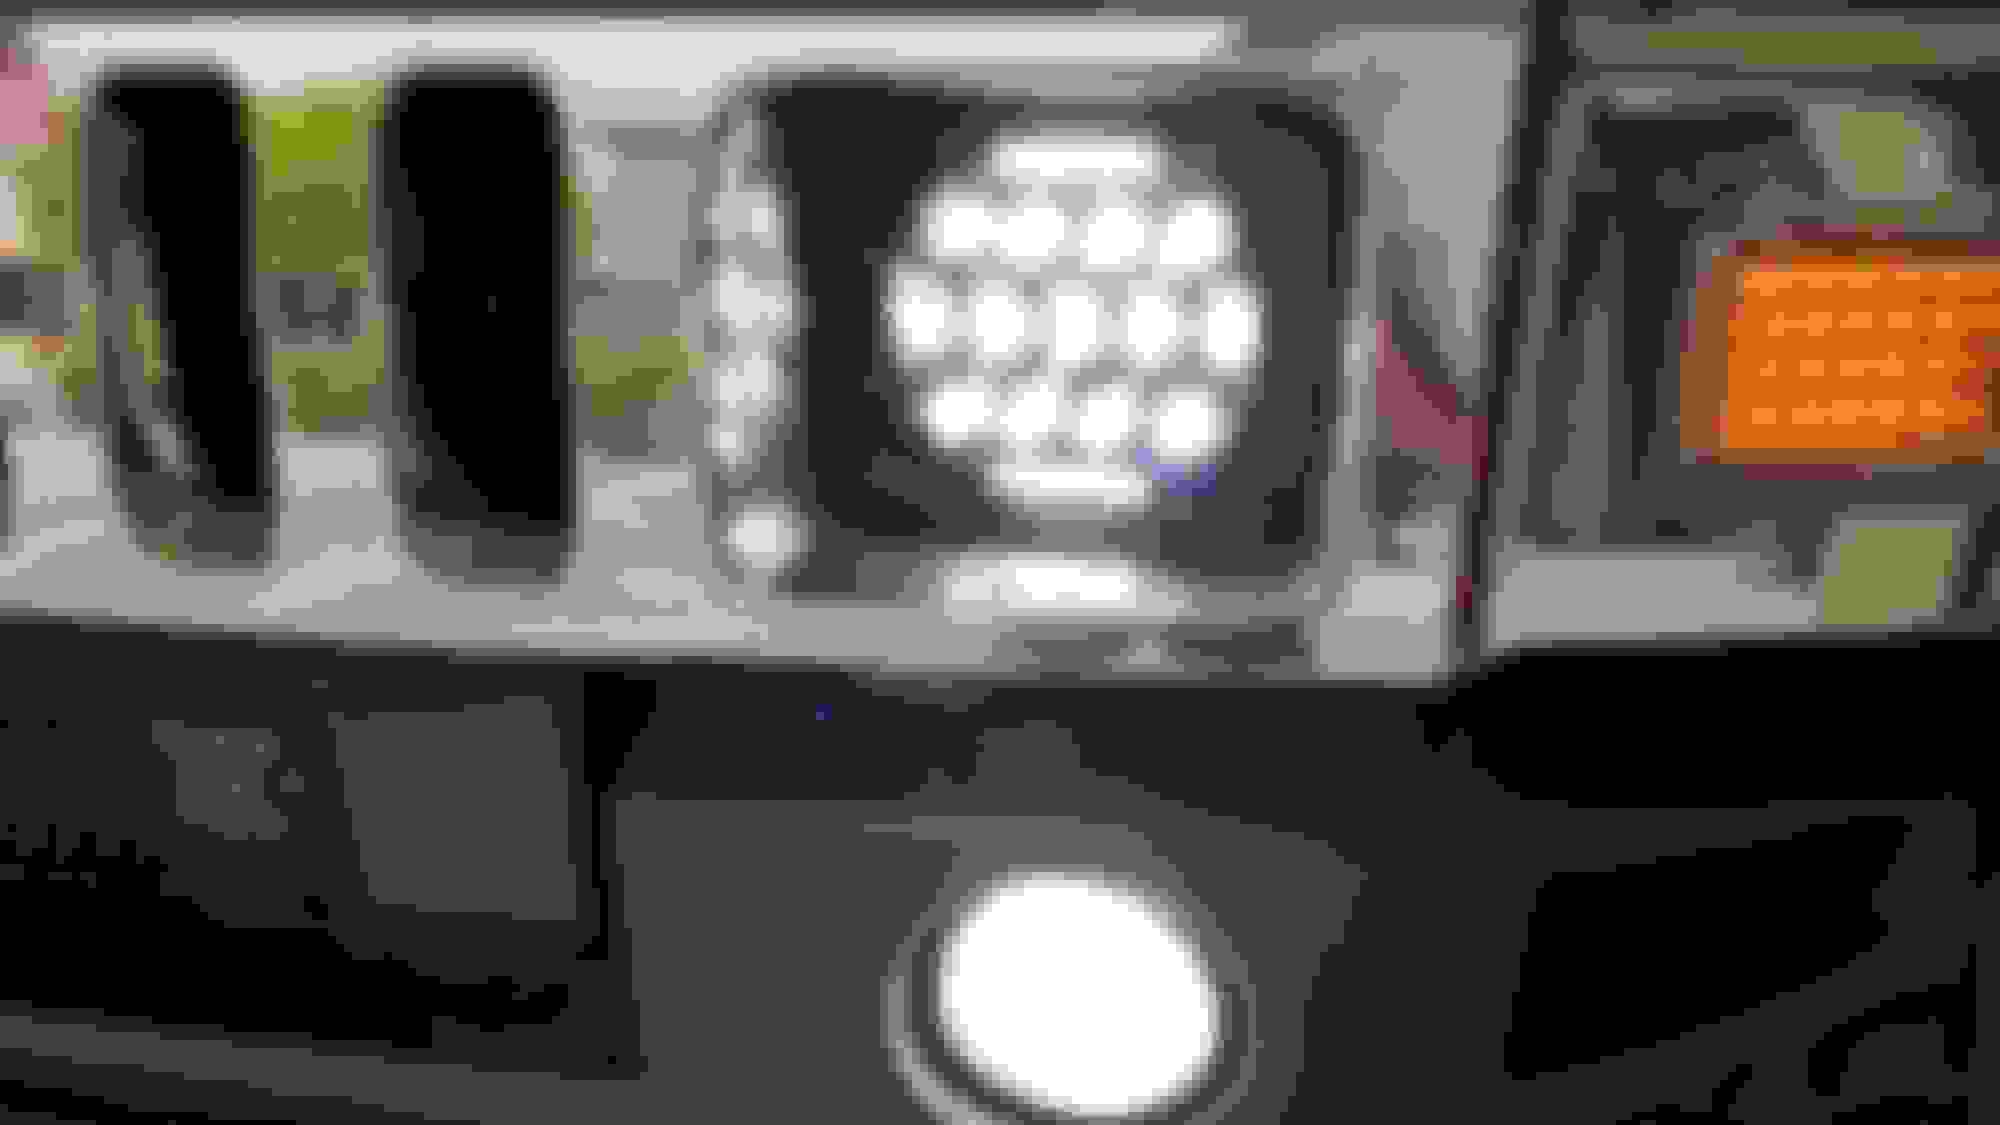
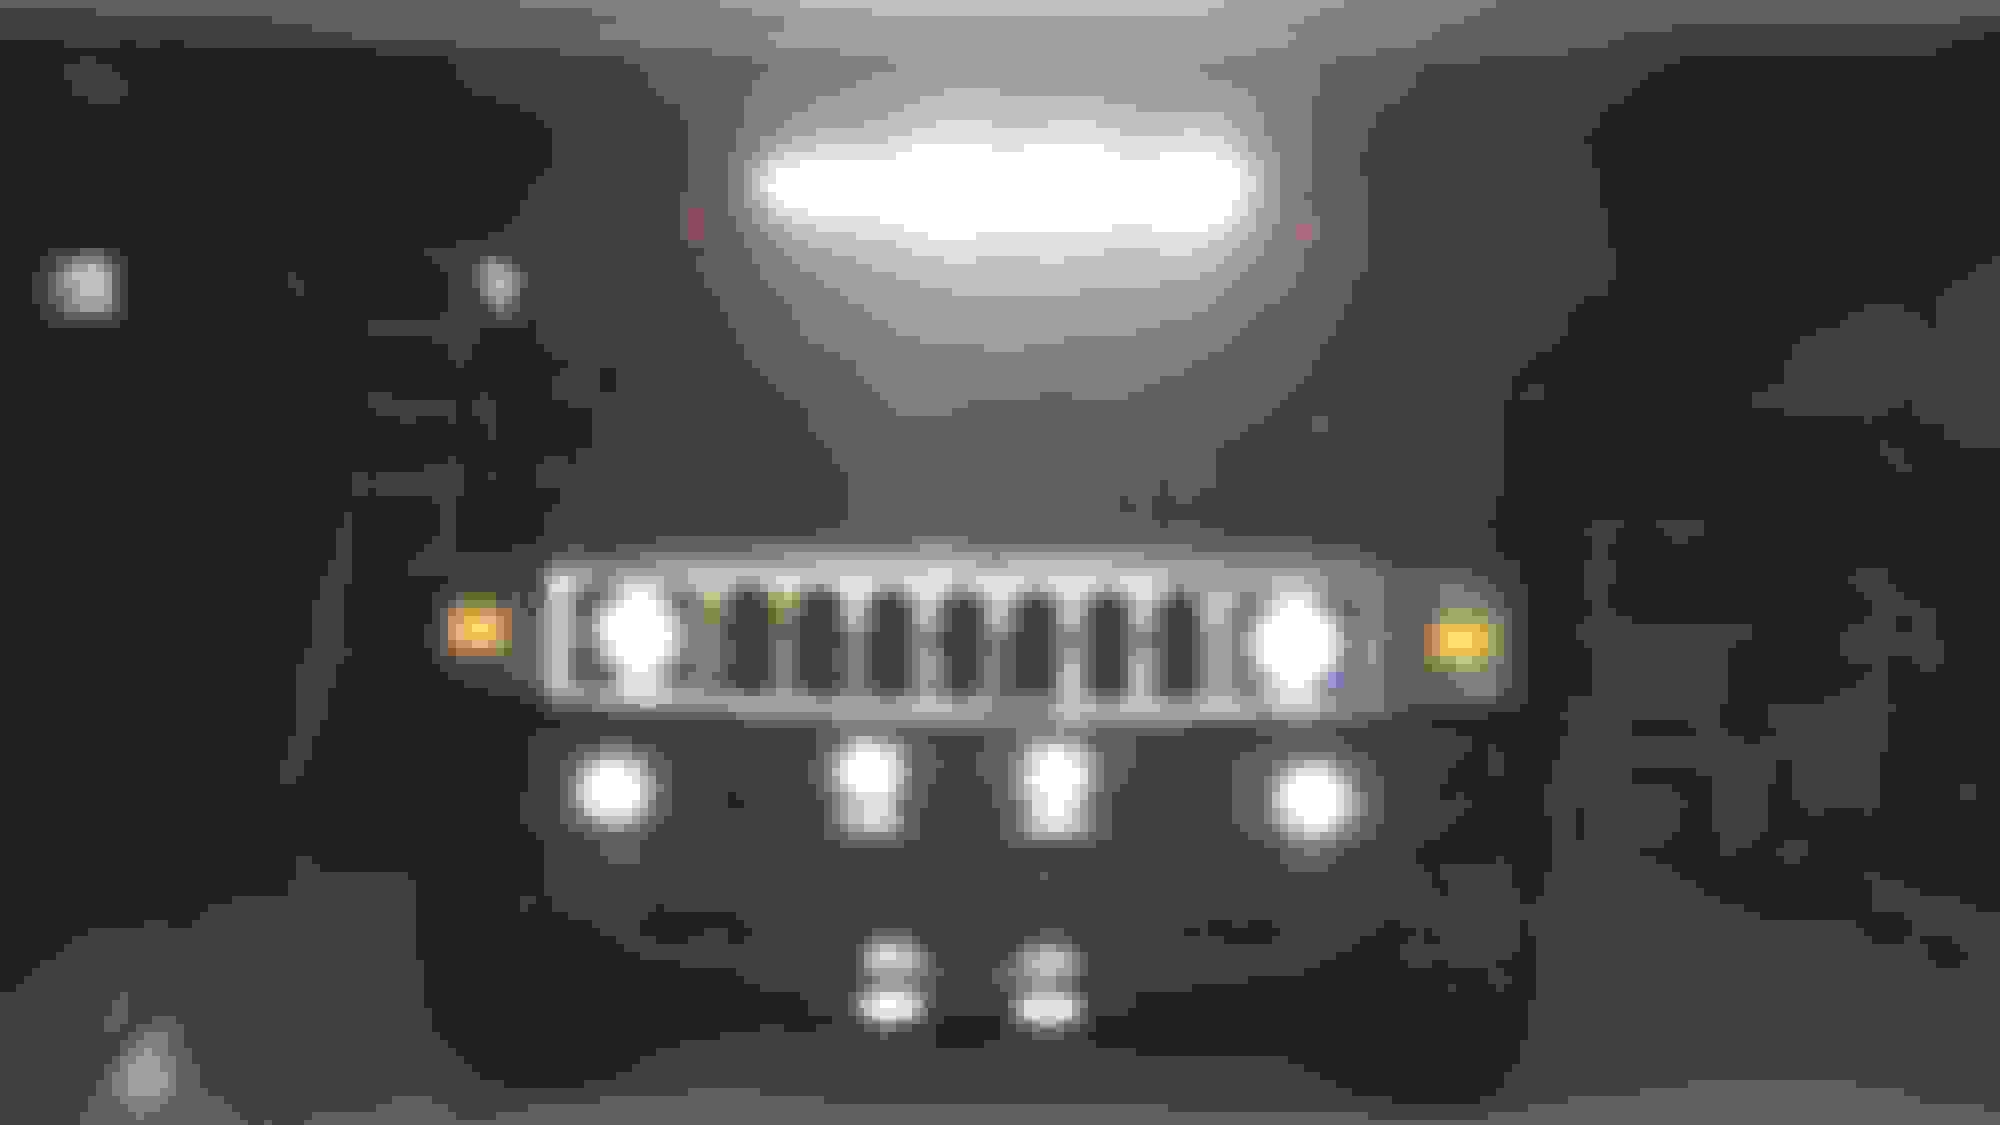
Here's the lights with the DRL's on:
Lows:
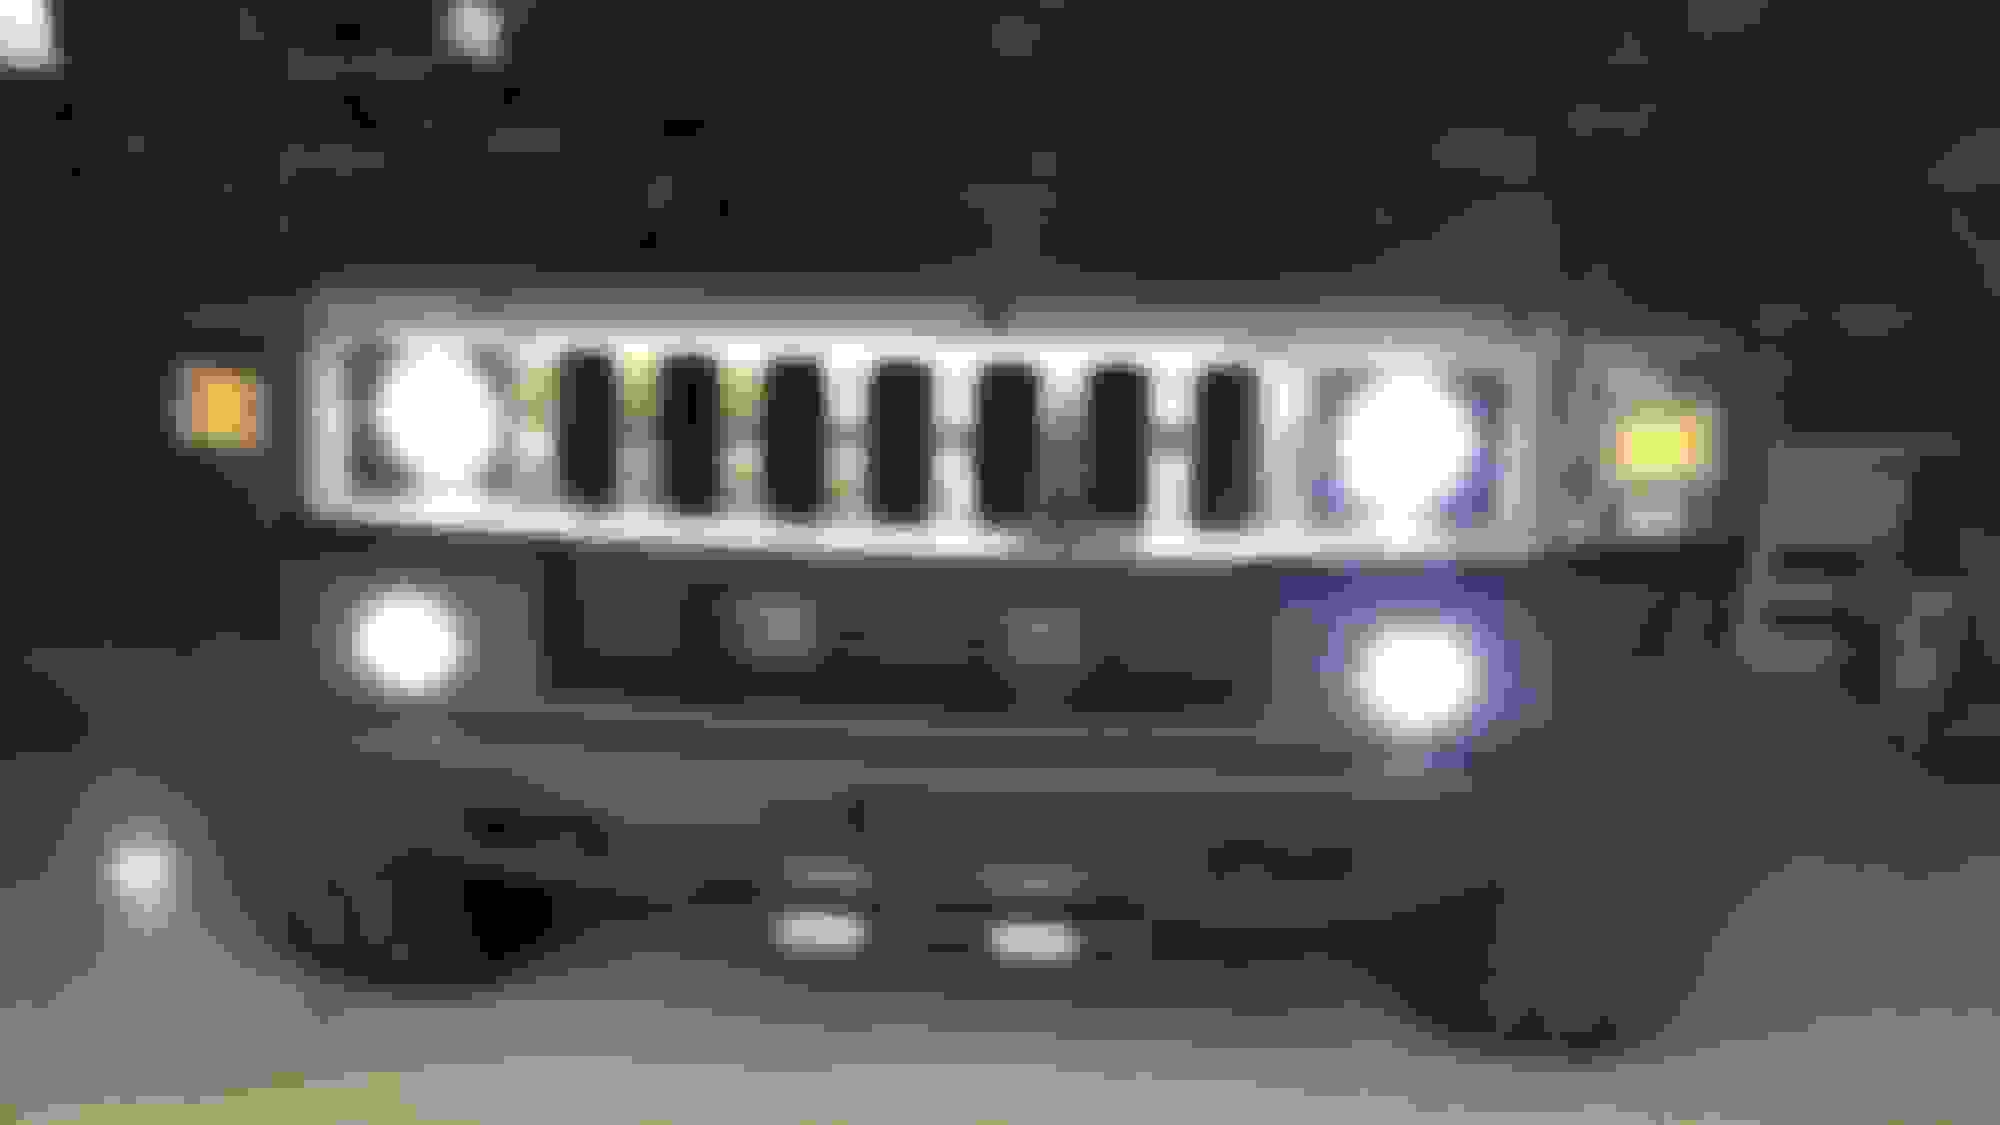
Highs turn all the LED's on which adds more of a longer thrown spot:
 03-23-2017, 10:47 AM