When you click on links to various merchants on this site and make a purchase, this can result in this site earning a commission. Affiliate programs and affiliations include, but are not limited to, the eBay Partner Network.
Hummer H2For those who like a little more gleam to their Hummer, the H2 offers a similar rugged look as the H1, but as a lower cost, and with more added features, making it almost a massive luxury SUV.
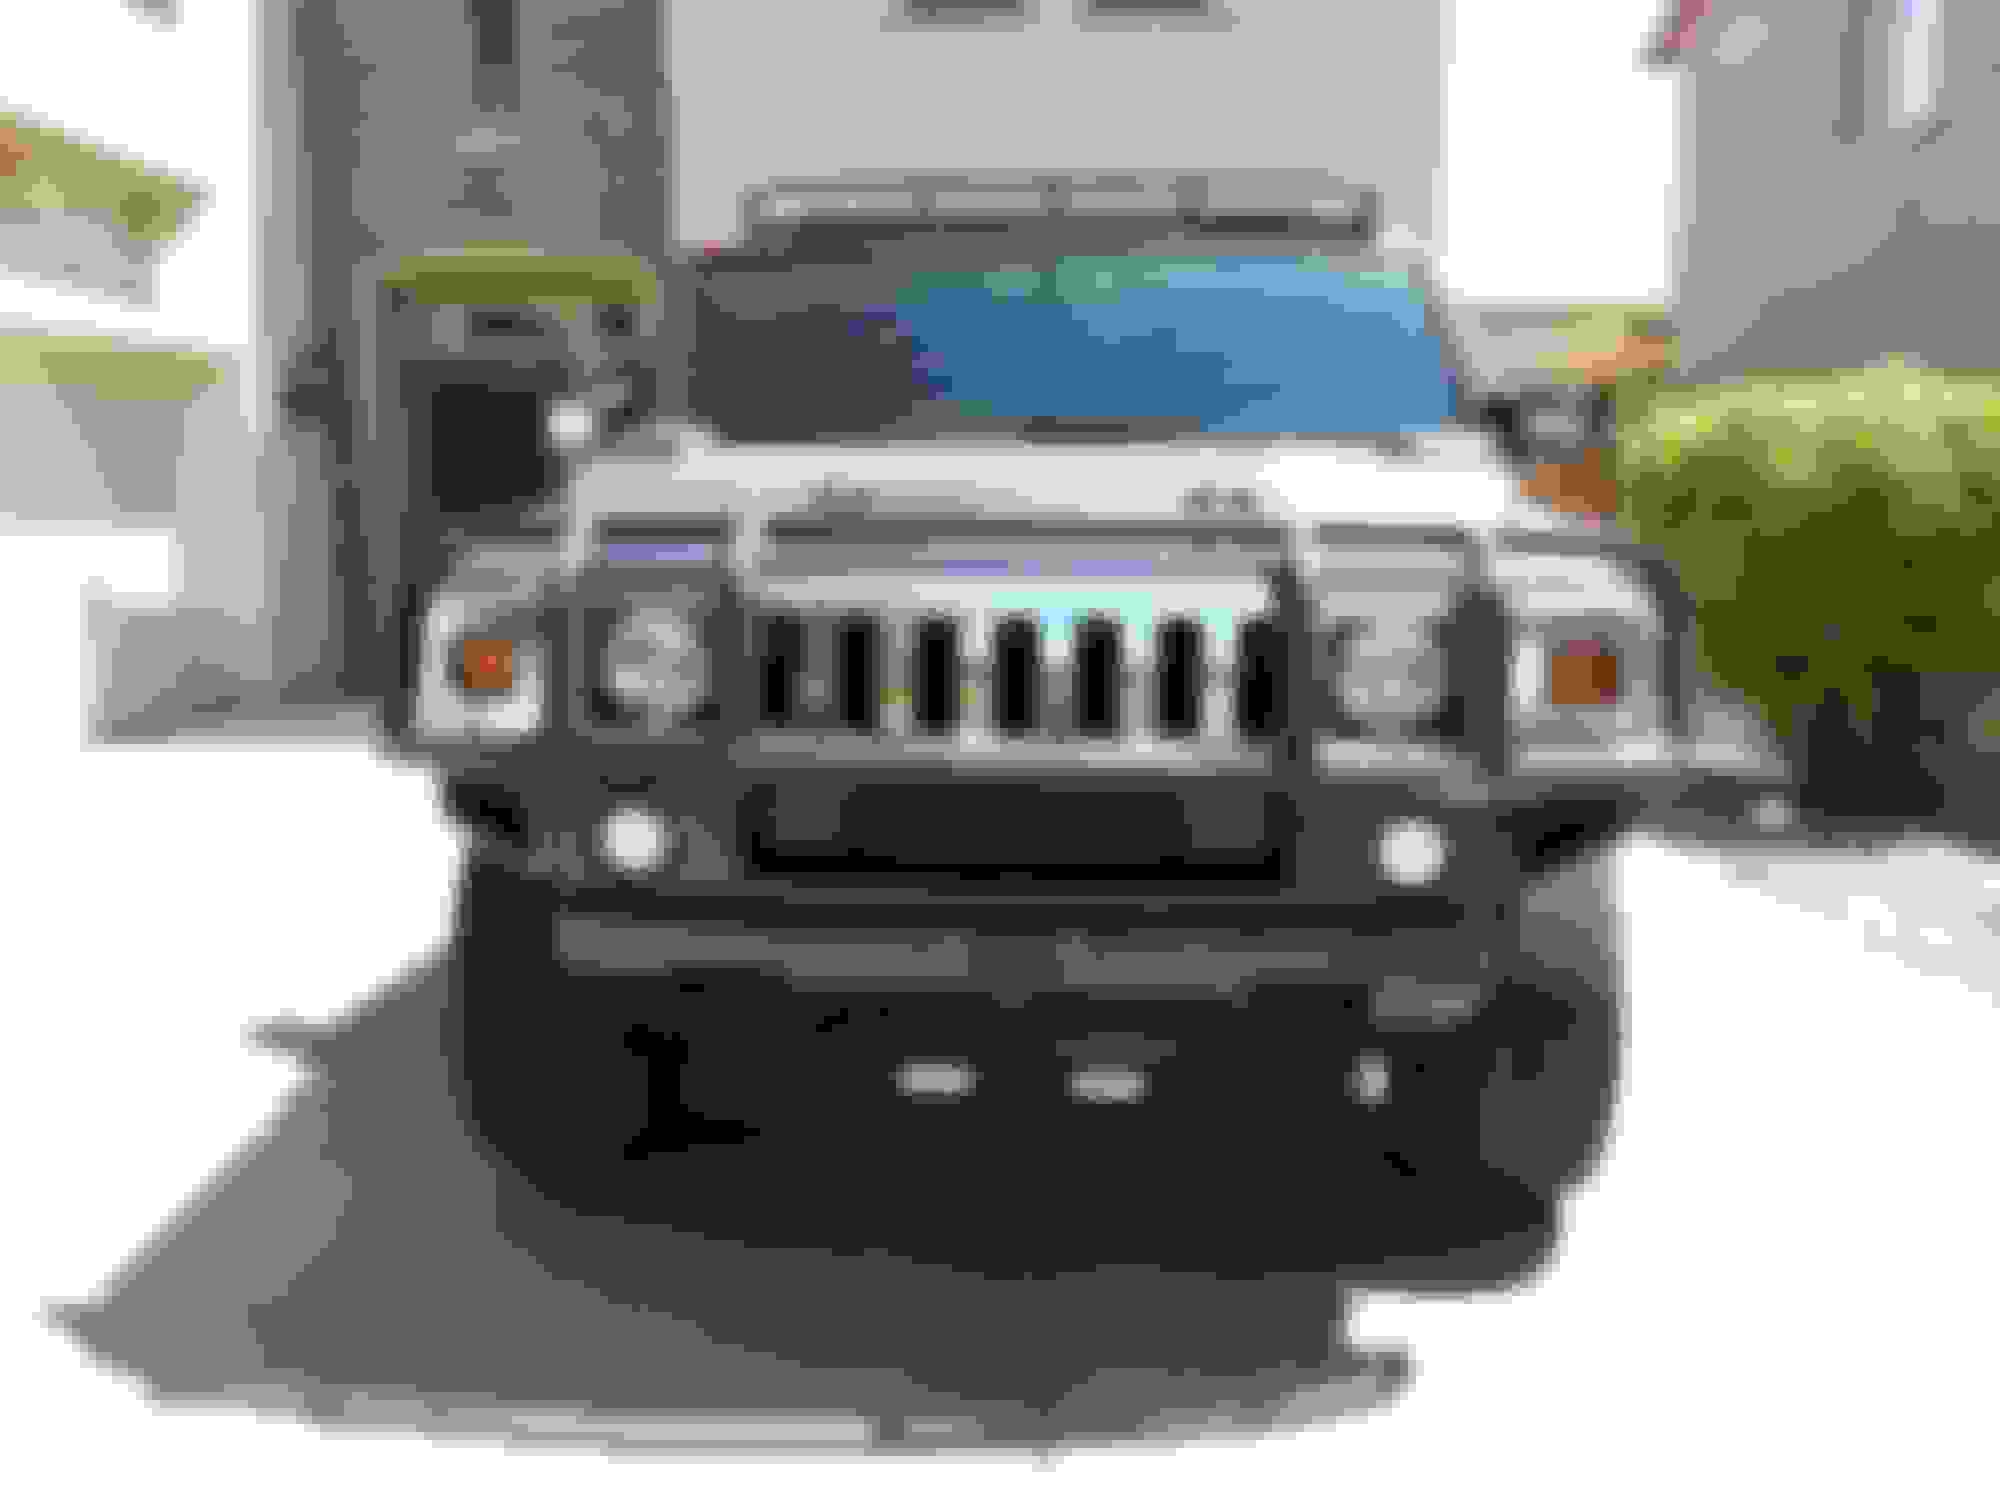
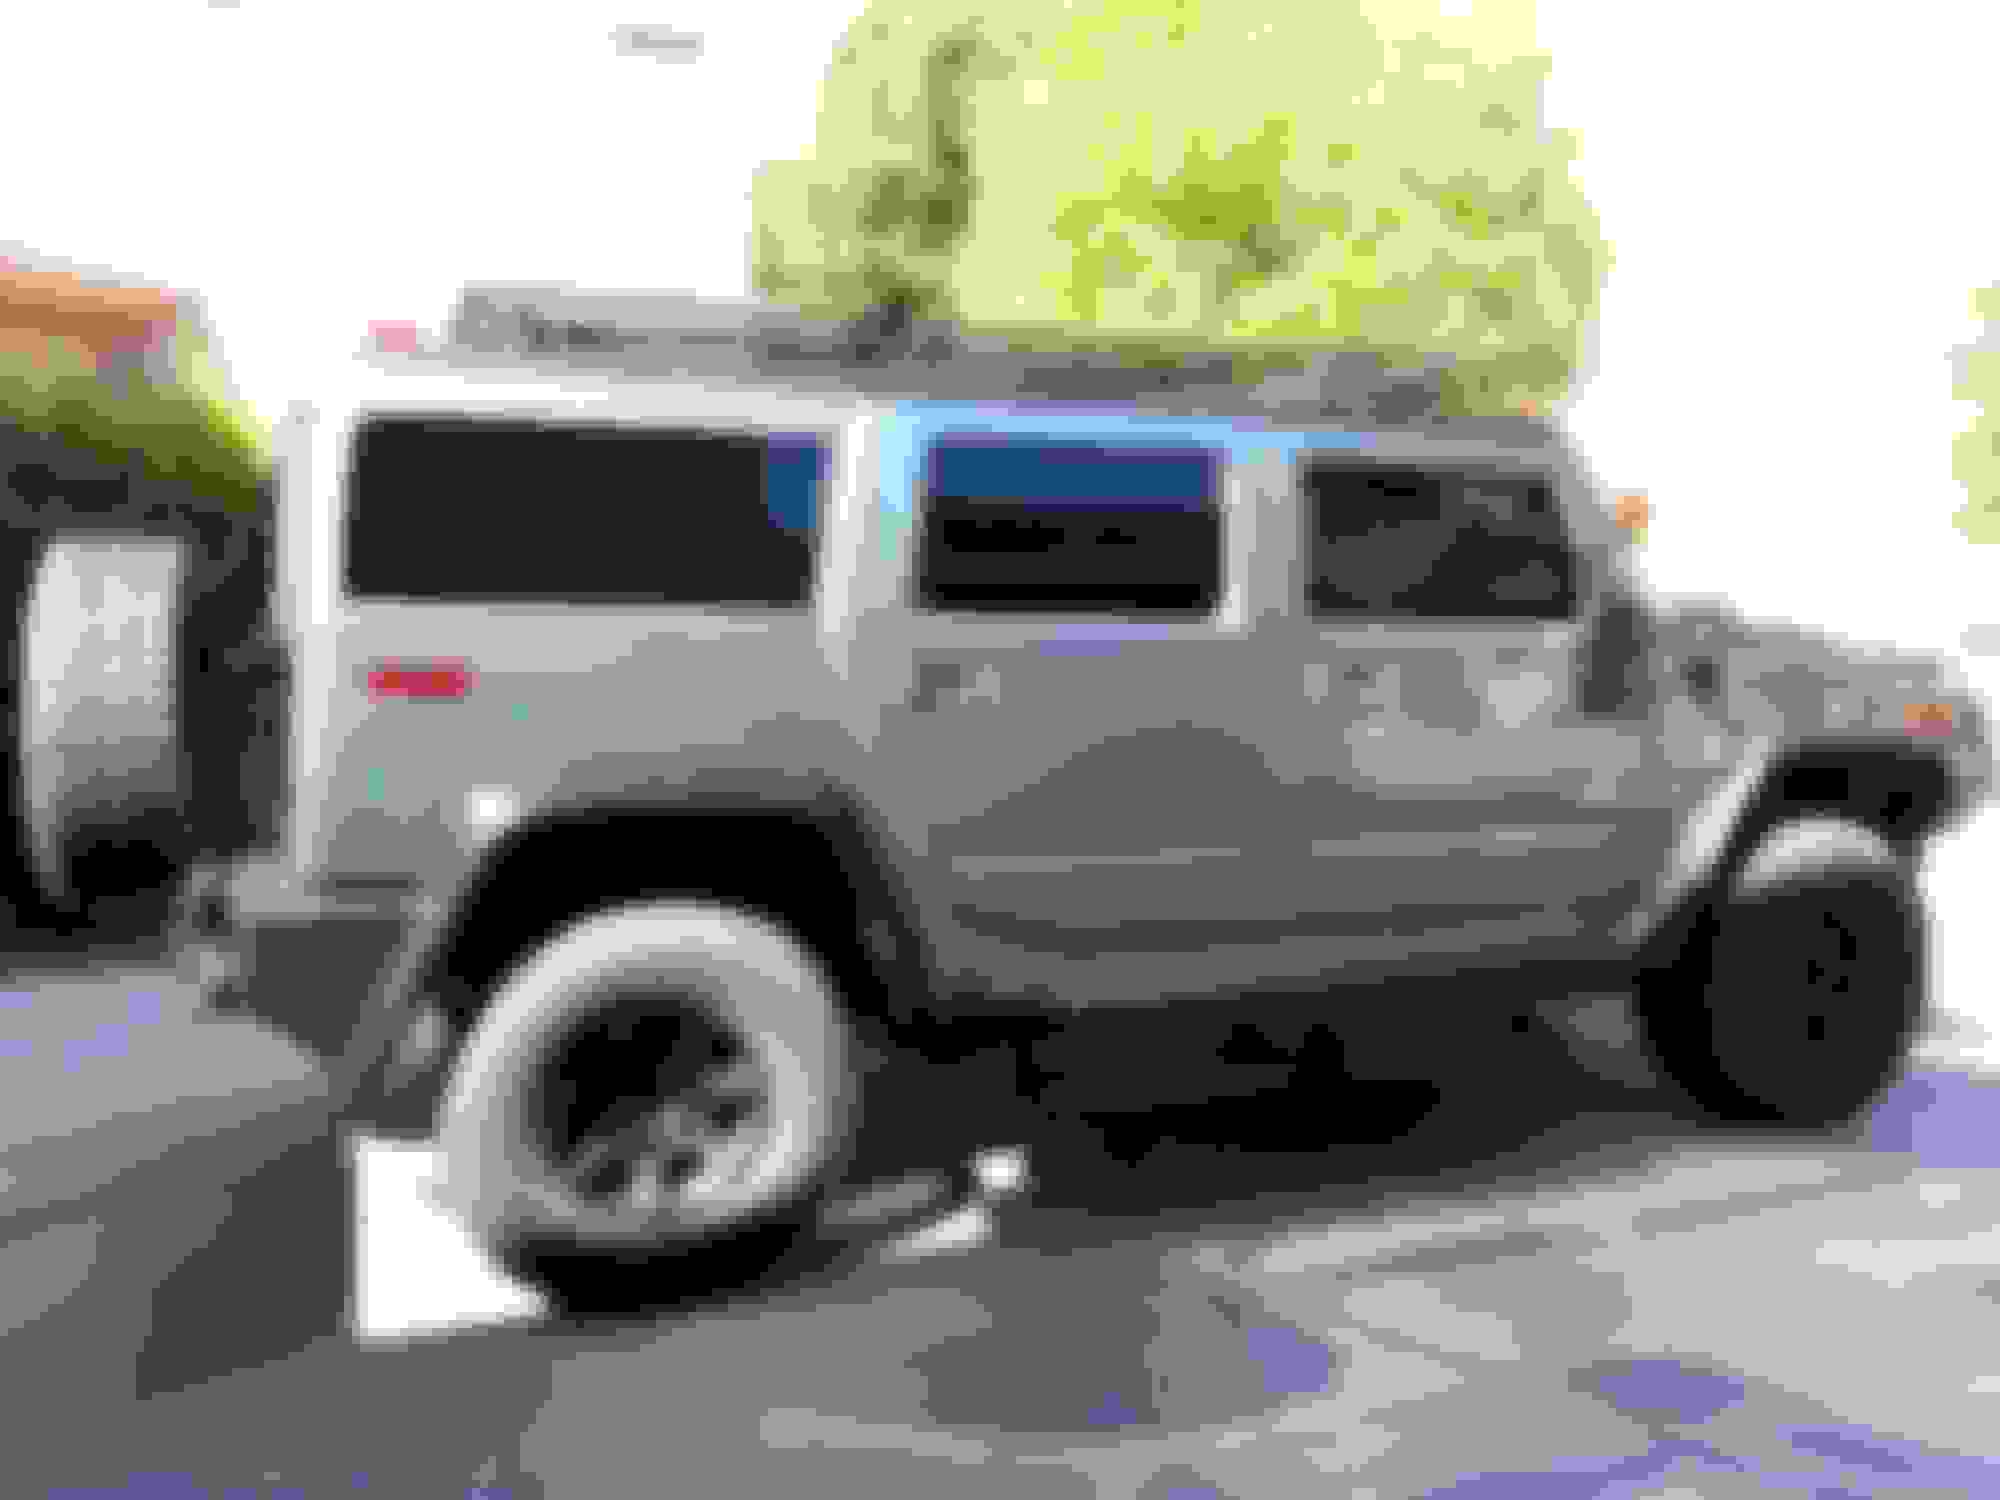
Latest update. Don't mind the dirty truck it rained and hailed here in AZ like a SOB the last 3 days.
Predator Brush Guard finally arrived. What happened was I received a BG with no hardware, called Hummer Parts Club and Dave had Predator ship me the hardware.....then come to find out the BG they sent was for the H3 so no wonder I couldn't figure out how it mounted. Finally got the correct BG and threw it on the truck yesterday.
I love it, I was thinking about going with the Treehugger or Demonguard but I don't do any hardcore offroading so this is more than enough for me!
Pics:
The other upside is the sides of the BG don't wrap around as far so I won't have any issues when I pull the trigger on the E&G offroad fender flares.
GOBI axe/shovel attachment arrived on Friday. Only took about a week to get here!
Here's the pics, found a red axe and shovel. I also put small circle rubber adhesive protectors on all the contact points where the handles touch the mounts. They not only hold stronger but also keep the handles from turning. I also sprayed the metal on the axe and shovel with a satin clear coat to protect them from the elements.
I fitted in 4" round LED lights into my DRL's. The light itself if 4" but a total of 5" including the bottom mounting boss. I'll go over the install here.
These are my stock DRL's. You can see the lens is completely burned away at the top, as was the oem 4114 burned at the base. I don't know why these things run so hot.
If you've seen this thread I also added the ceramic substrate SMD LED towers which were pretty bright however these LED lights blow the towers out of the water:
Here's the lights, the right one has the mounting boss ground off:
Better pic of the mounts ground off and painted:
The back of the lights have 4 holes for mounting tabs as a second mounting option. What I did was cut some 2" long 10-32 thread studs. Screwed them into the lights and secured them with a washer and nylon lock nut:
After that it's all downhill. Those studs will fit exactly into the factory holes. I put another nylon locking nut and washer before the end of the threads to prevent the light from falling back. Then one more was her and regular nut on the back of the bumper to hold everything tight.
This way the heat sink fins do not touch any of the plastic of the bumper, these lights do get pretty toasty. I'd imagine driving though the should stay cool with wind blowing over them.
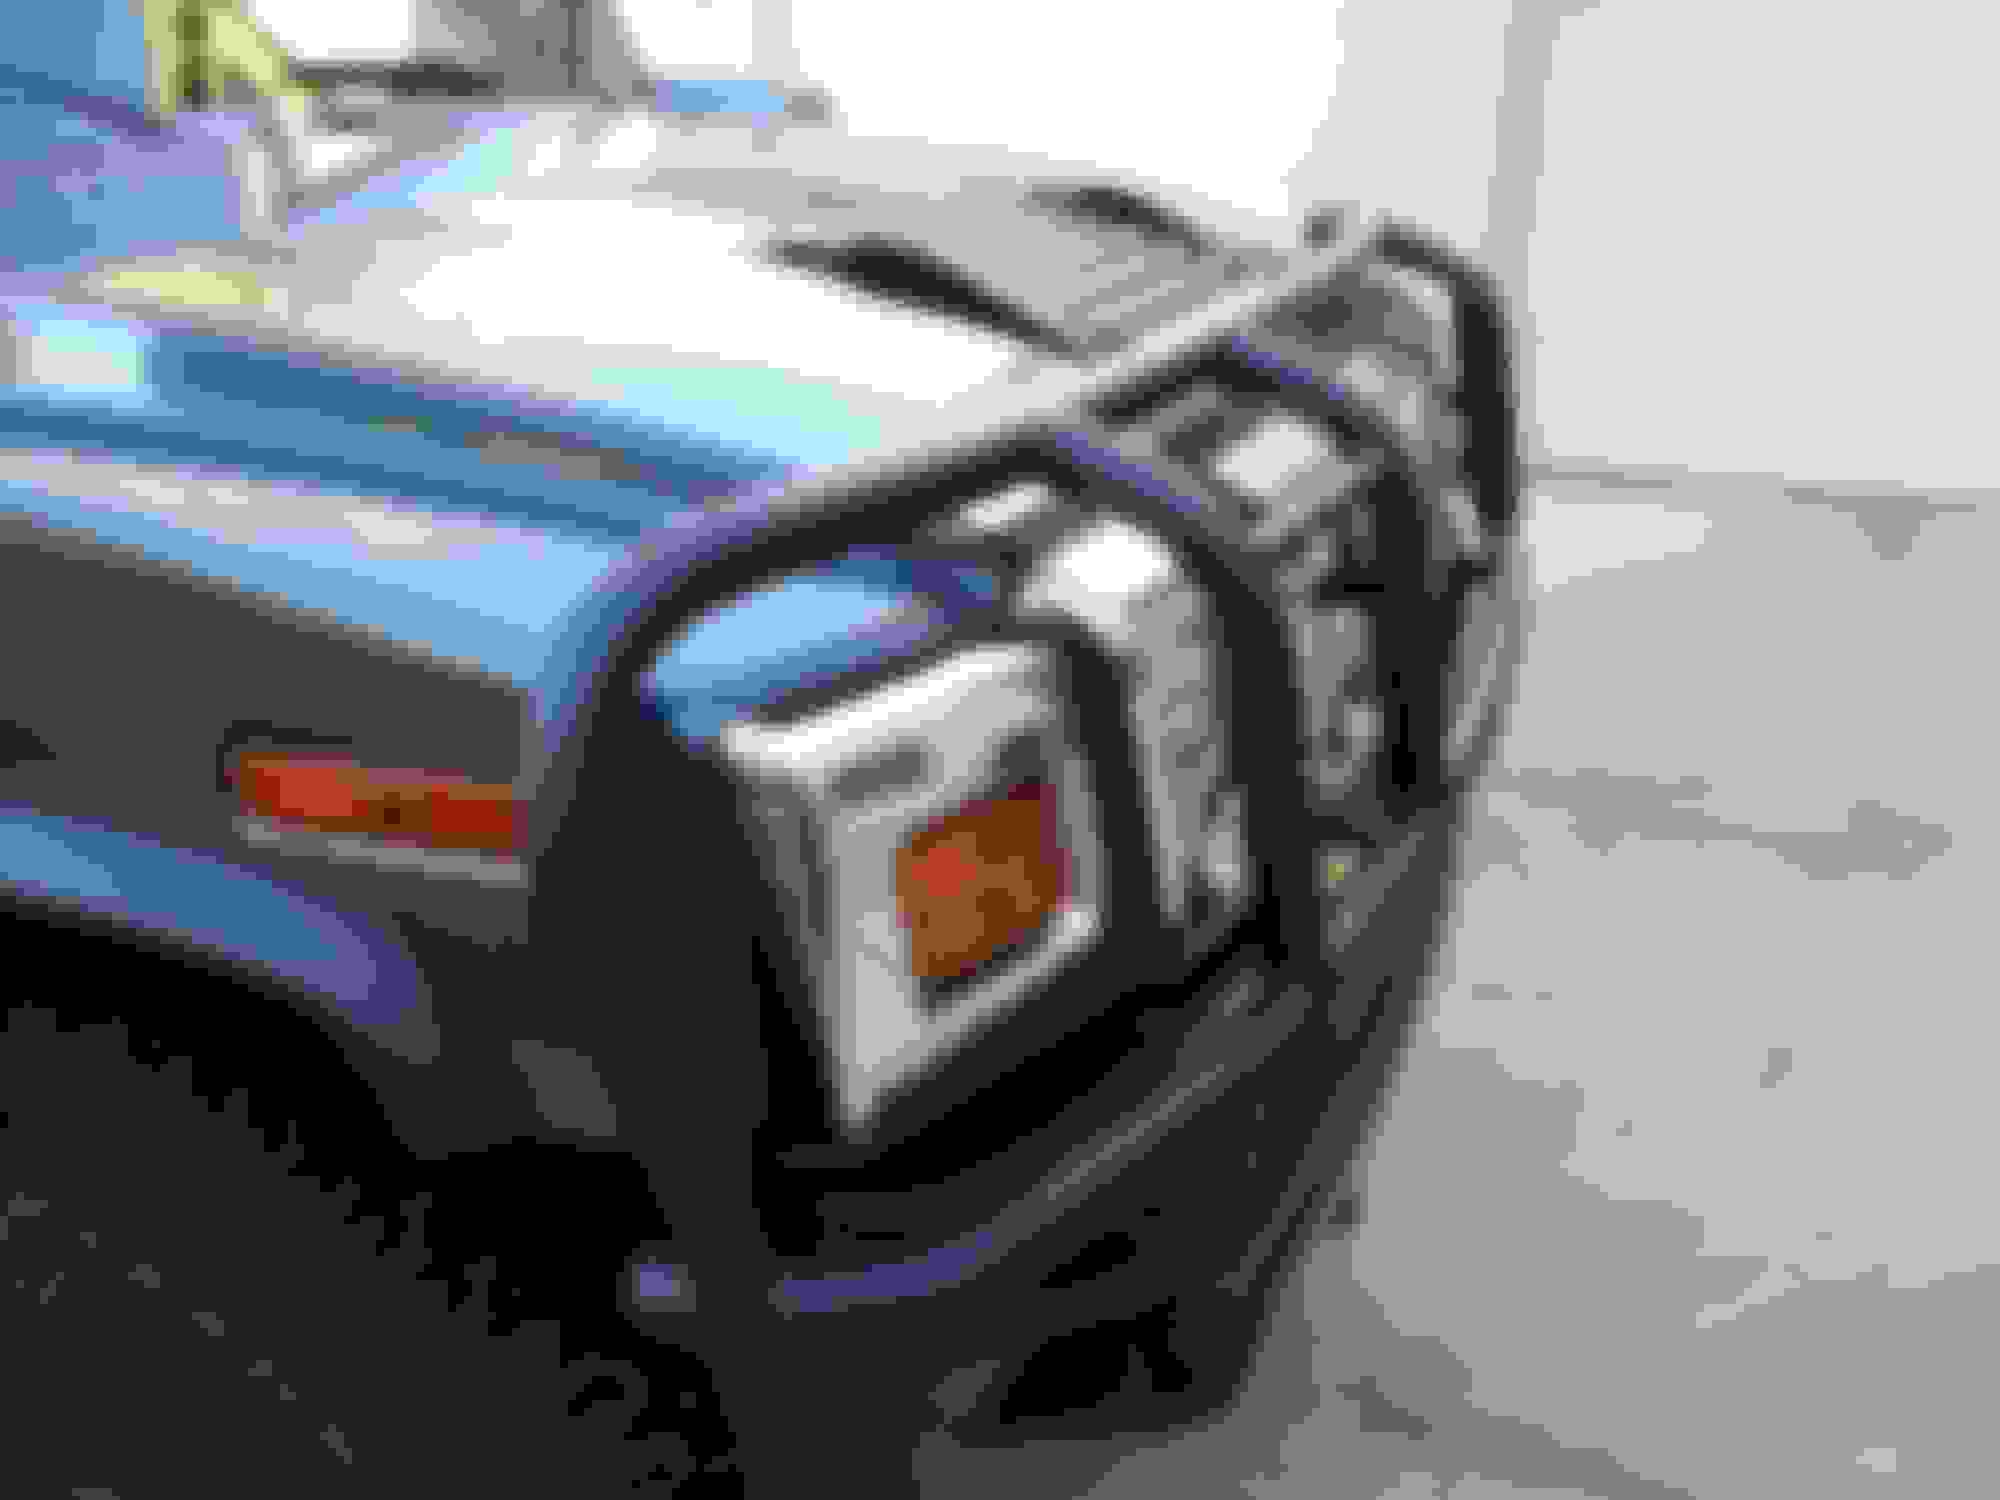
Here's a pic of one installed:
Another pic:
My LED towers were very bright compared to the factory bulbs. Here's the comparison between my LED towers on the left and the new LED lights on the right:
I still have to do the wiring, the pic above was just connected with jumpers. Shouldn't be difficult though, couple of pins,heat shrink and done.
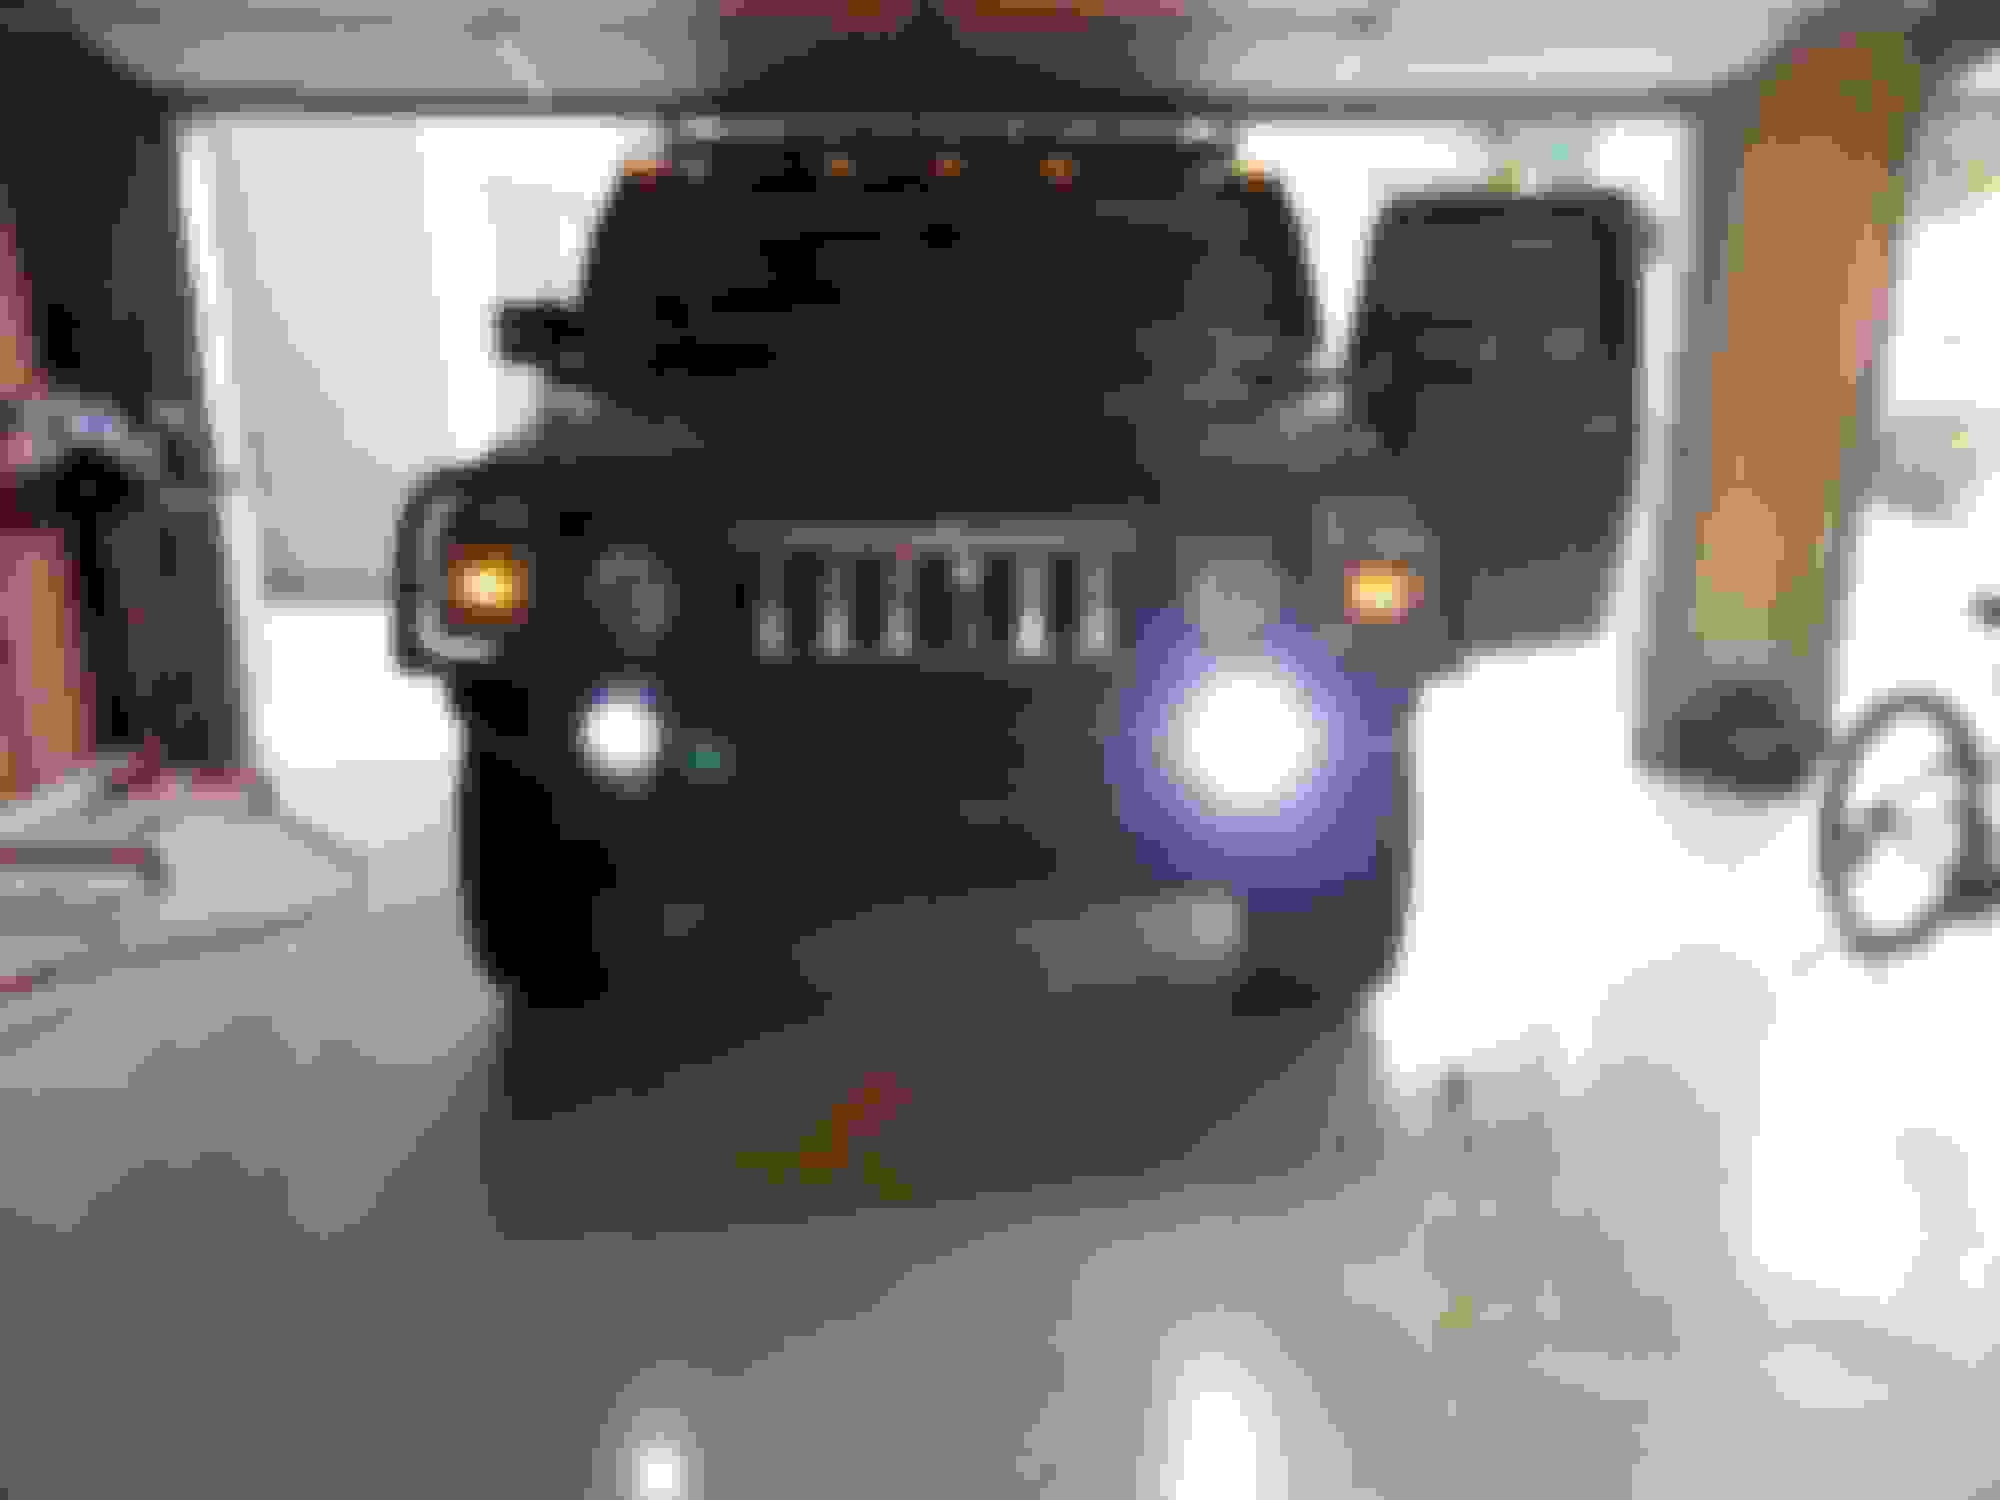
Here's the next update. Picked up a Plus1 foglight bar. Came used with some scratches so I repainted everything, added some higher wattage bulbs and mounted it. I love the look of more lights at the bottom!
Painted and installed:
Another shot:
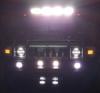
All the lights on:
Now if I could just find those cowel lights for a good price!!! lol
So I'm in the process of getting rid of the Plasti Dip and going with more permanent stuff.
This is what I used for the fuel door:
I didn't think it would wrinkle quite as much as it did but its pretty cool looking:
Also will be painting my rims with engine enamel low gloss black. I pulled the wheels today, wire wheeled the hell out of the hub centers and sprayed them black. Touched up the plasti dip on the center of the wheels to see how everything would look and I really like it with the caps off.
Next will be to have the wheels rebalanced to get the weights off the outside, strip them and paint them with rattle cans so I don't have to worry about peeling plasti dip.
Here's a pic of one of the wheels:
I'm also thinking about getting long splined lugs in black so they completely cover the studs and stick out a bit but I still have to look around a bit.
I took all the wheels and had them rebalanced to get the weights off the outside. Glad I did as they were completely out of balance, I can definitely feel a difference on the highways.
I pulled all the Plasti Dip off, scuffed all the chrome, primered and painted then with Dupli Color Low Gloss Black Engine Enamel. They turned out great.
I also added black extended lugs to cover the studs to finish everything off. Onto the pics!
Finally got my trailing arms installed last night. These are from 3C FAB and were drastically cheaper than Hotchis and Edelbrock so I thought I'd give them a shot. They have zerks to grease them and have Energy Suspension polyurethane bushings.
Here was the first issue:
Apparently in 2006 the bolts went 2mm larger so the bushing sleeves I had were too small. I contacted the seller who promptly called Energy Suspension and had 4 larger bushing sleeves sent to me. I pushed out the old sleeves and put the larger sleeves in and problem solved.
Here's a pic of the new arms:
Now install instructions from one of the other forums tech section couldn't have been further from the truth. Passenger side goes in very quickly but the driver side had me covered in oil and dirt not to mention the amount of swearing that went on for over an hour.
Basically in order to get the front bolt out you have to completely drop the gas tank not just the skid plate for the tank-that added significant time onto the install. However once the gas tank is out of the way and a couple other brackets are removed I finally had the new arm installed.
Driver side pic:
Passenger side pic:
I went with the Super Silver II powdercoat. I wanted something to stand out a bit but not screaming loud like red for instance. They match my Purple Cranium diff protector pretty close.
I've read new arms will decrease the rattle and hopping of the rear tires when going over bumps so today I nailed a speed bump and I kid you not the rear tires went over the bump and that was the end of it. No rattling the interior or bouncing in the rear. Definitely worth the money!!
Finally pulled the trigger on the E&G Offroad Flares. Little bit of a pain to install but finally got them on and they look hands down awesome. These rigs should have come with flares like these from the factory!
Pics...
I've got another project in the works I'm hoping to wrap up soon so more pics to come!
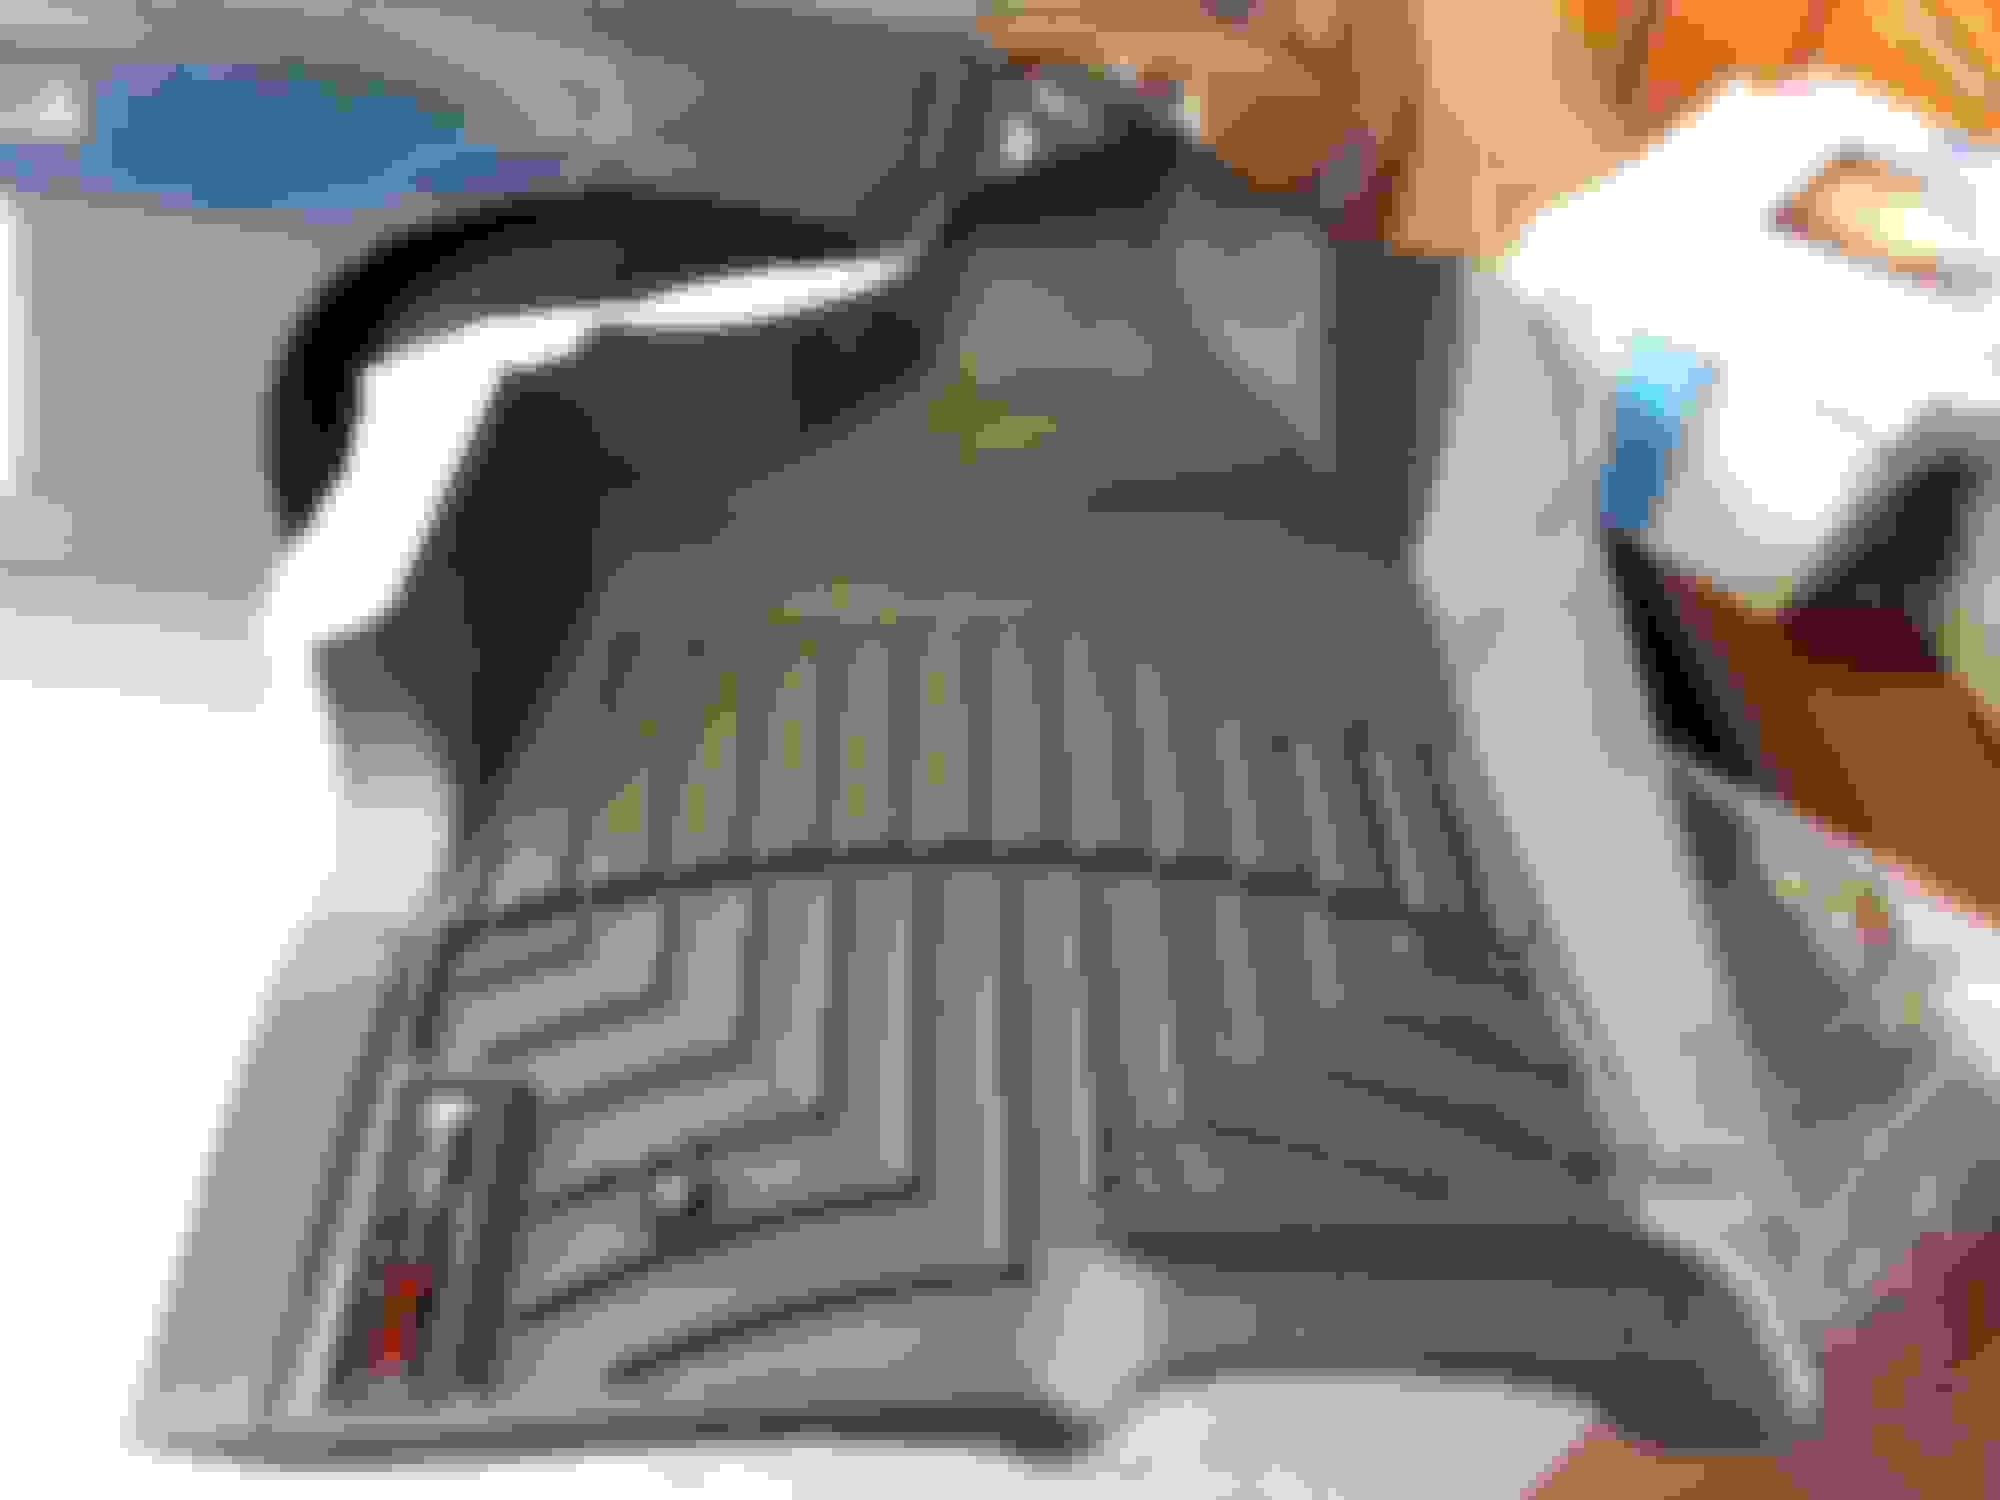
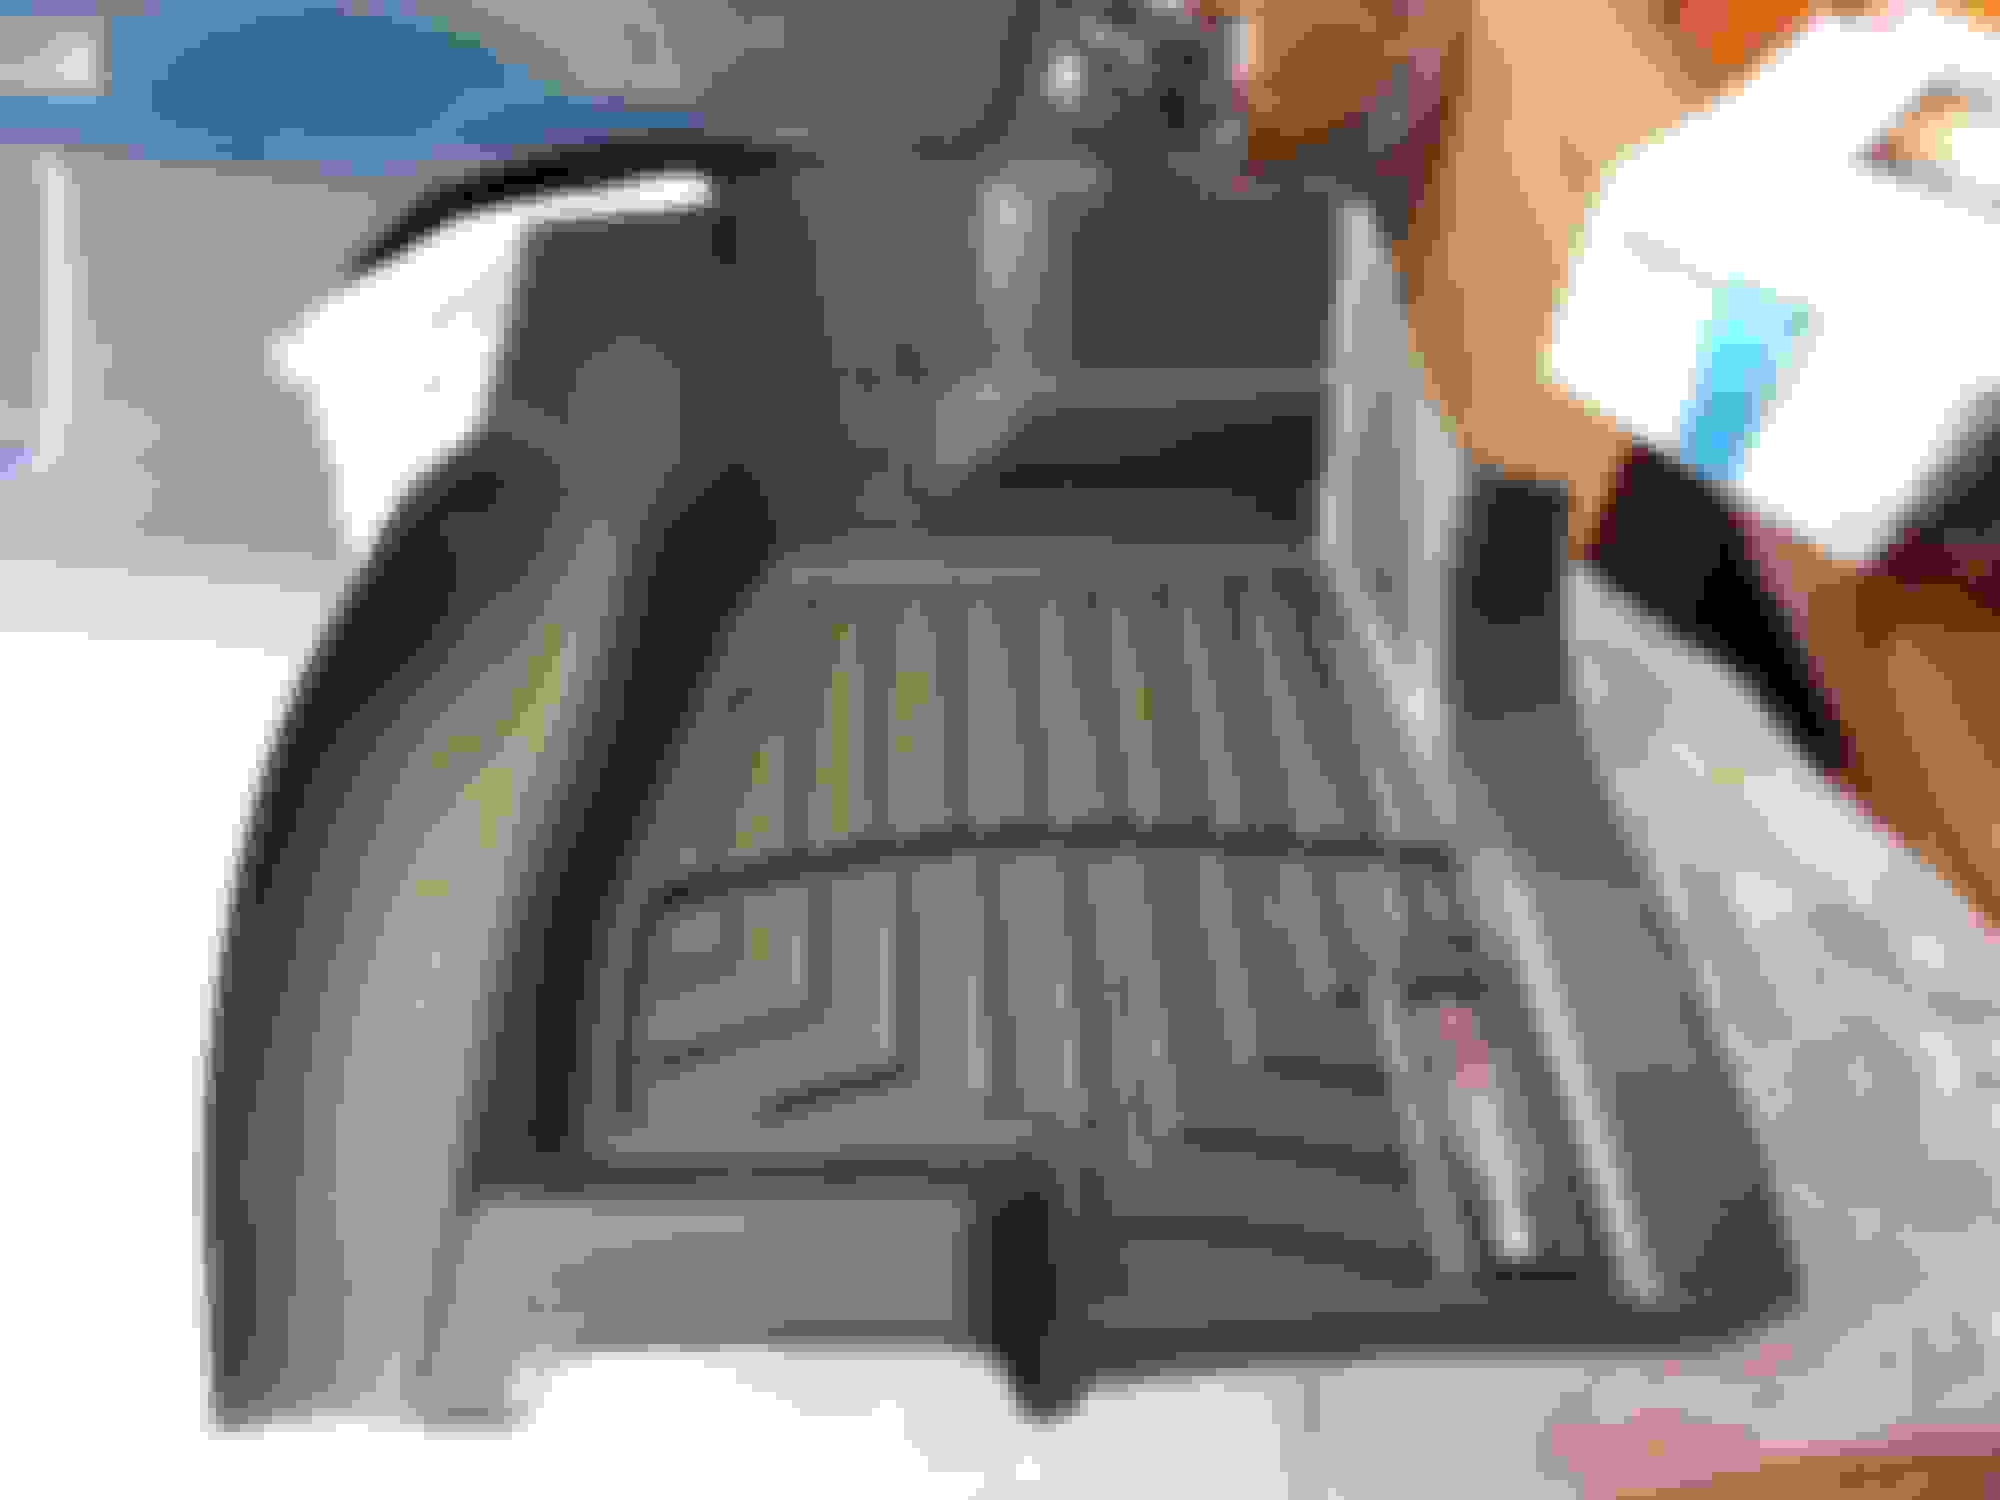
Finally bought some Weathertech Digitalfit floor mats. I've always wanted a set so they're in after a good vacuuming.
Driver Side:
Passenger Side:
Driver Side installed:
They are very rigid and stay in place nicely. My current ongoing project with some switches has hit a snag but I'll post that up once I'm finished with it!
 03-23-2017, 10:26 AM