52" LED lightbar installed
#11
 07-25-2014, 09:36 PM


I got my new switch in! waiting on latches... No BCM messing for me either. the12volt.com is way cool I never imagined some of that stuff...
I have a few more questions mostly since you've already done the leg work. If I can pick brain for a few more details?
I figured the pins out for the 2 extra switches. Looking at the back into the pins there are 2 rows, Left row 2nd pin down = square fog switch and Right row 3rd pin from the bottom = round switch. Bottom pin Right row = ground. Sound about Right?
1. Did you buy wire connectors that slide in the factory harness/connector? If so what are they called? or how did you tap those pins? I have some ideas but if you got the easy way...
2. Did you use the factory LED on the square switch to indicate the Brush Guard Lights on/off. If so do recall those pins?
Thanks
#12
07-26-2014, 01:41 PM

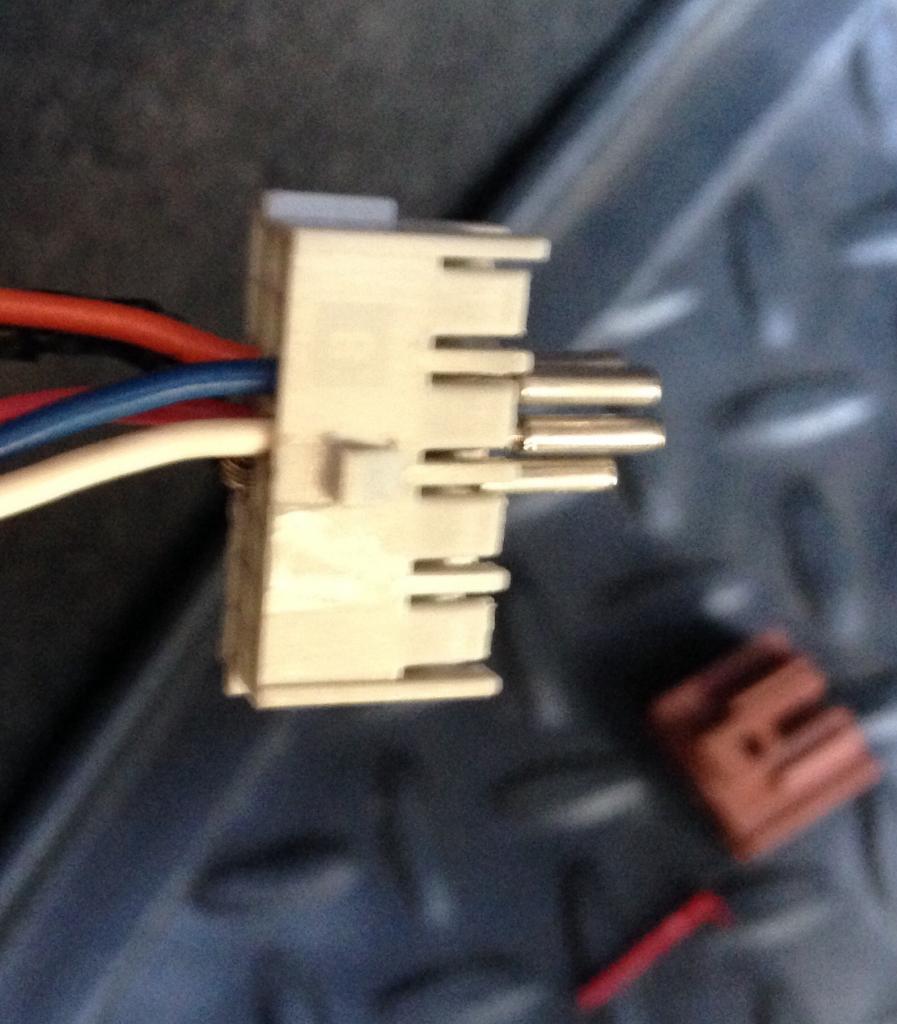
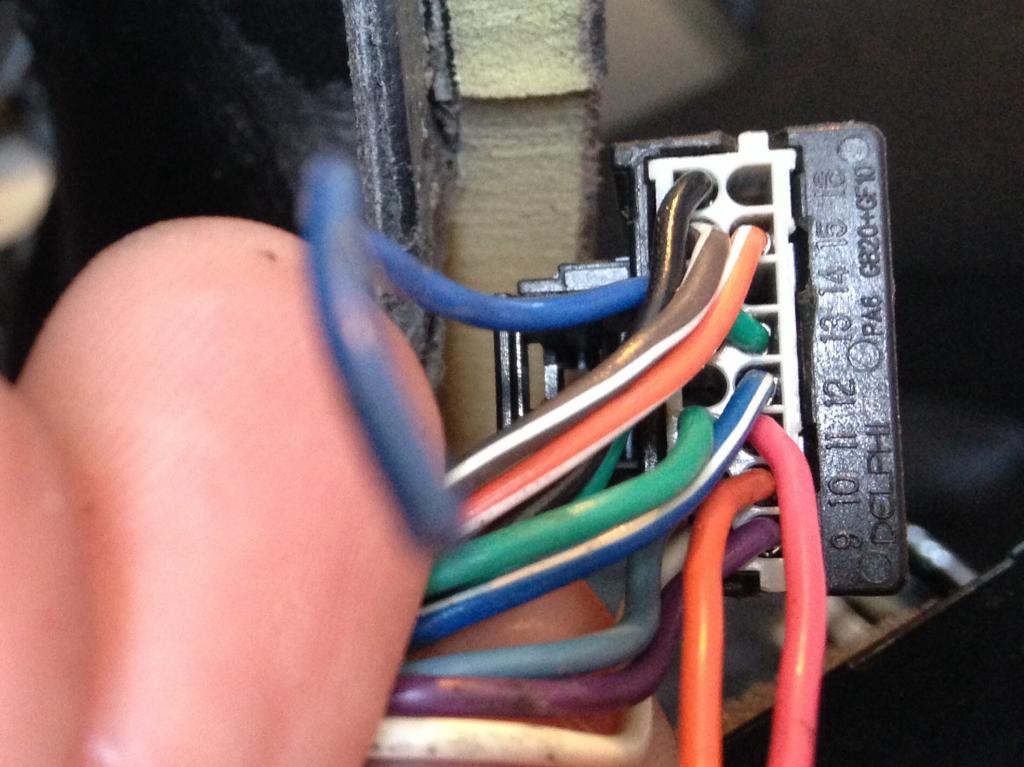
If you look closely on the headlight switch connector, you can see the number 1 on 1 row and 16 on the 2nd row and just count the pins.
Square switch:
Pin 10 (switch momentary ground) - connect to the input of the latched relay module.
Pin 11 (led indicator bulb) - connect to the pin 87 of the fog lights relay.
Round switch:
Pin 6 (switch momentary ground) - connect to the input of the latched relay module.
As i said before, i installed an led indicator bulb for the round switch.
I used some small round pins that i found from the electronic store and insert 'em to the headlight connector.
Hope this helps!
#13
07-27-2014, 03:42 PM
Yep that helps and hope this may help a few others..
This is what I did to get the wire connectors for the headlight harness connector. Basically, I stole some wire connectors from another connector... Easy and Free!
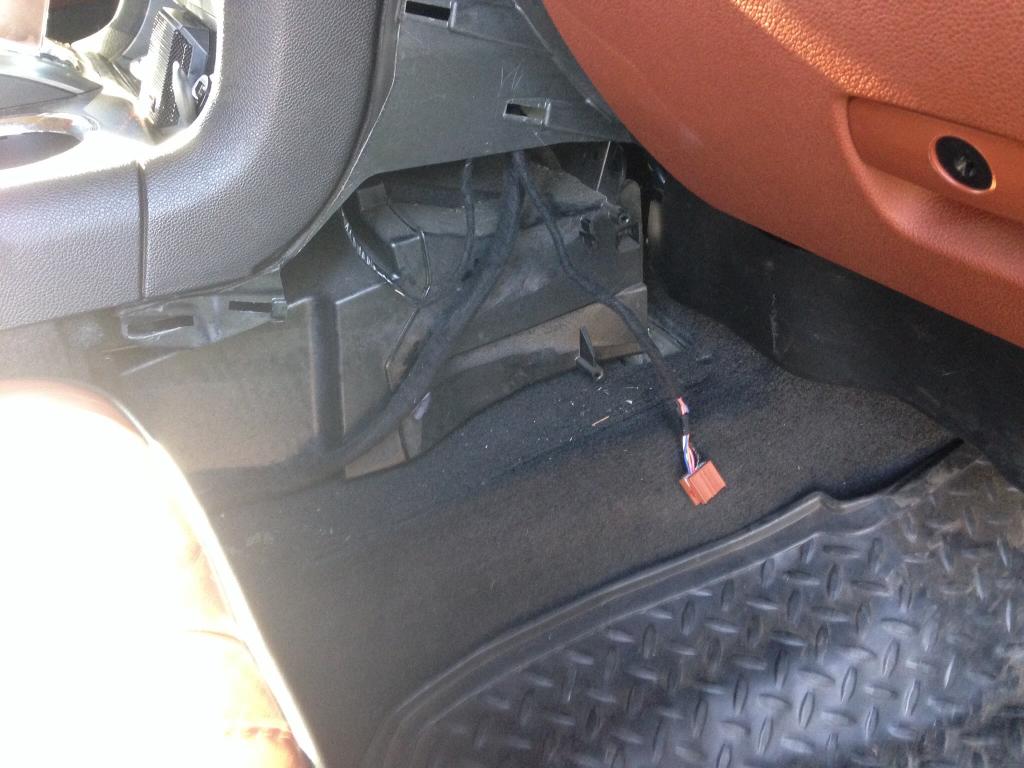
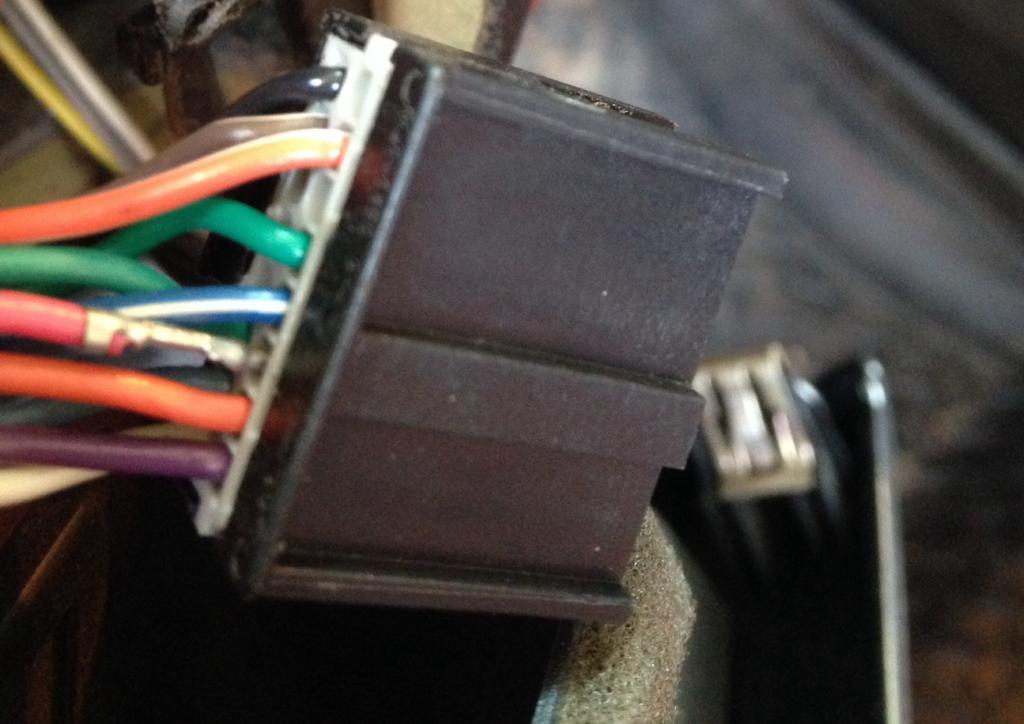
I remembered when installing an Alpine radio that there was an unused connector. It is located on the passenger side behind the carpeted upright panel. My H2 does not have air suspension or a camera screen in the radio. My camera's screen is in the rear view mirror. So if you have air suspention or factory camera in the radio this may not work for you. I believe this wire connector might be fore the air suspension? I know it would have the camera wire in it if the radio displayed it from the factory.
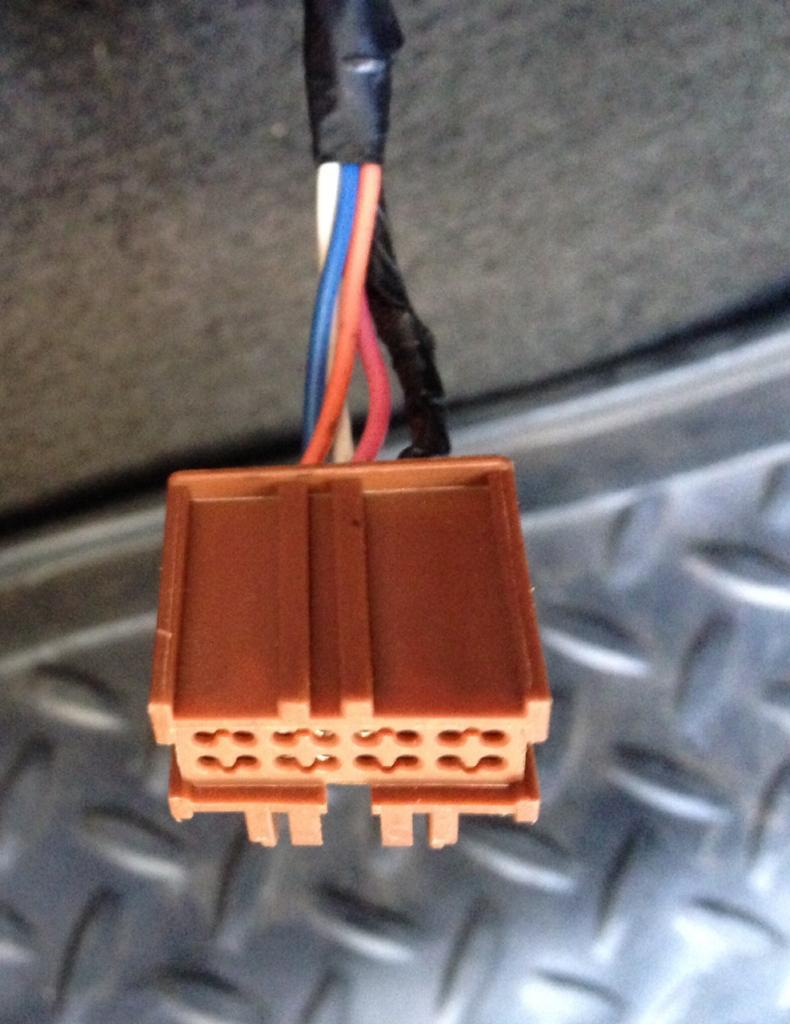
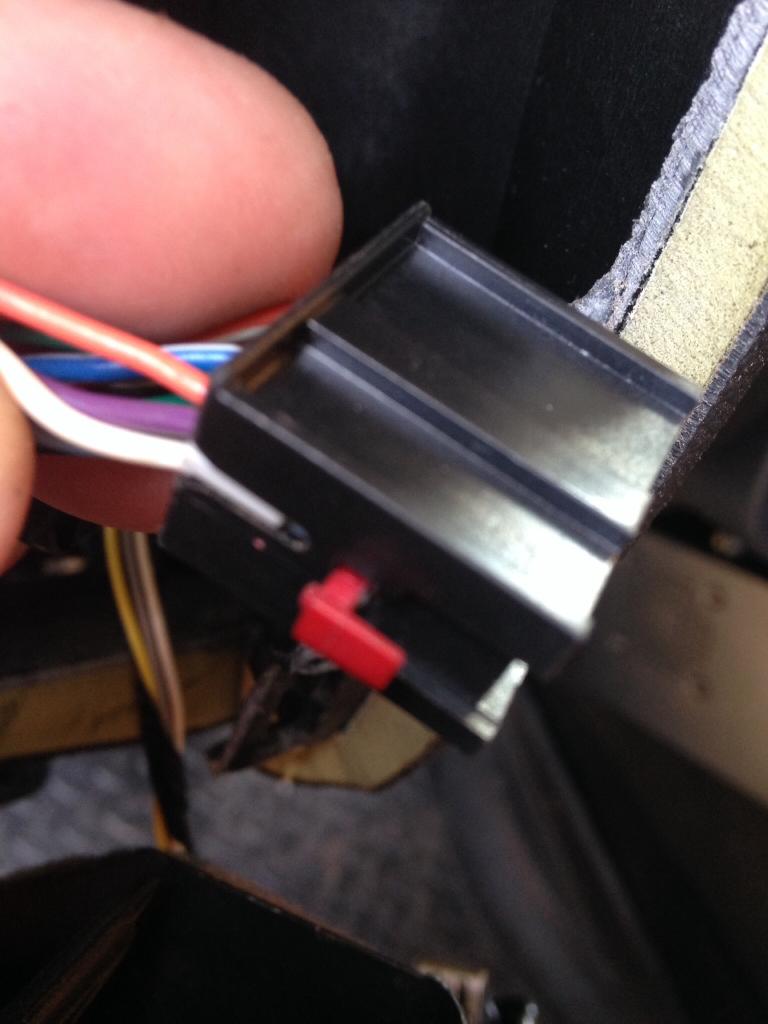
Now you to break the connector down.
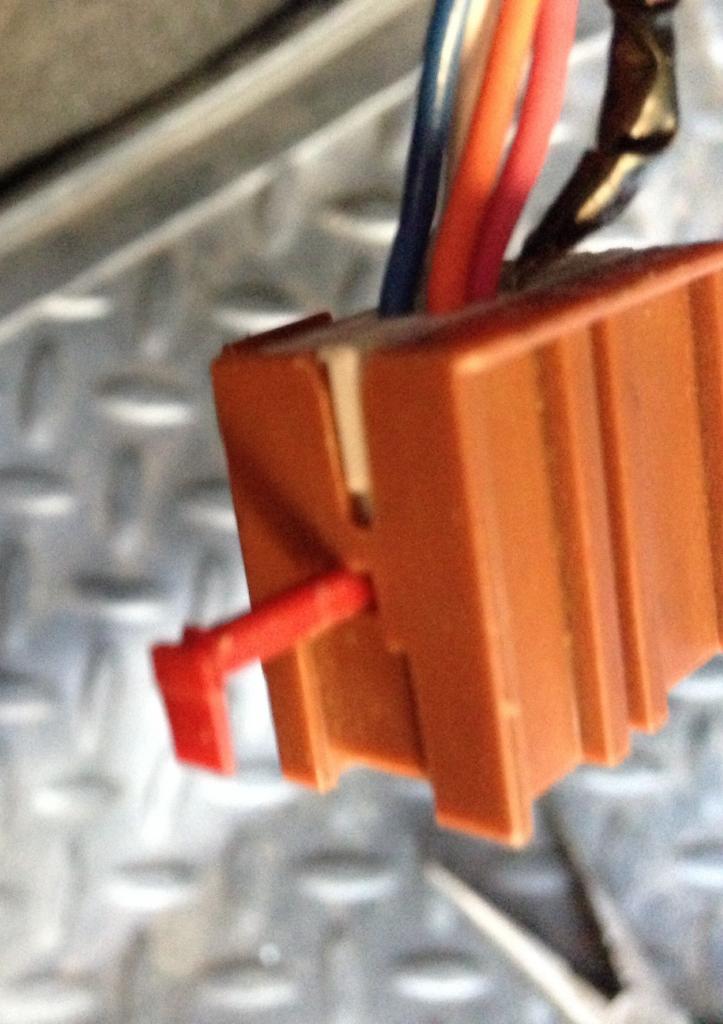
You have to slide that red pin out... push it in from small side and then pull it out.
Now the Hard part. You have to use 2 small flat head screw drives or something of the like and pry the 2 piece connector apart. You might be able to work the wires/connectors out with out this step but I could not.

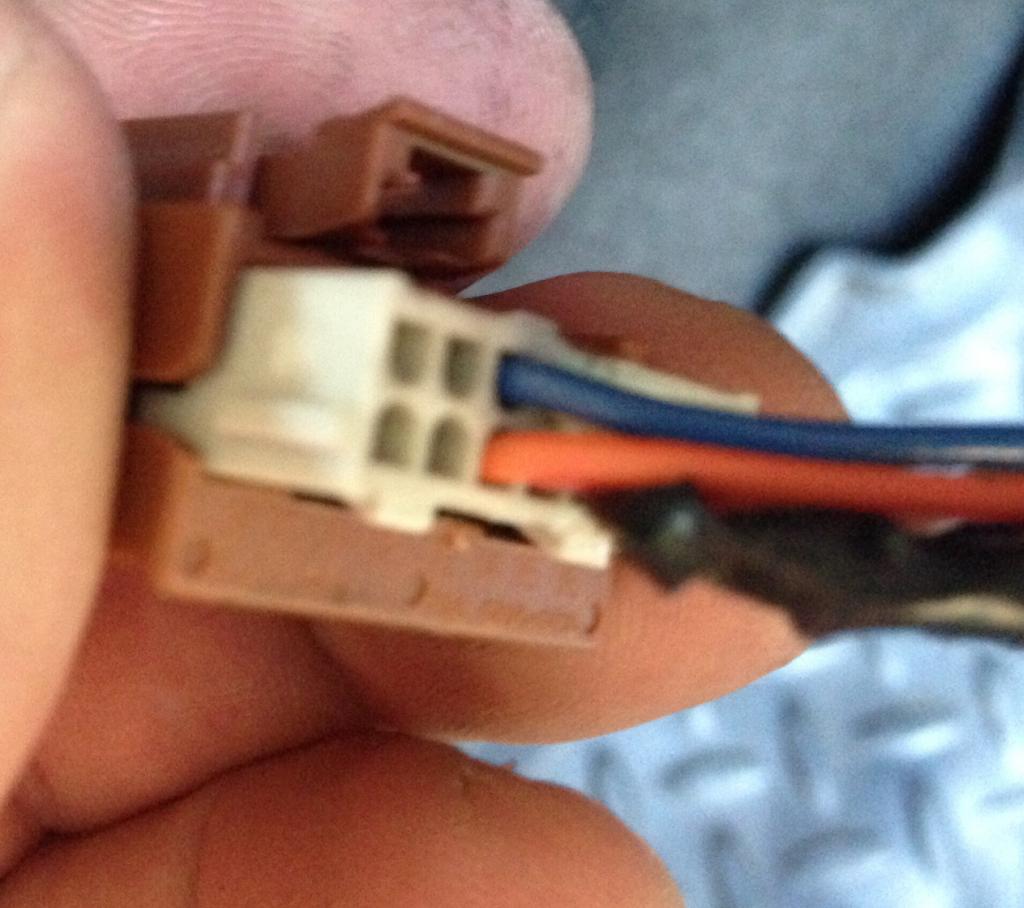
Once it is apart I cut the wires/connectors I want wanted to use and slid them out the face of the connector. You can pull them out the back too. I terminated the ends of the wires left on the harness just in case.
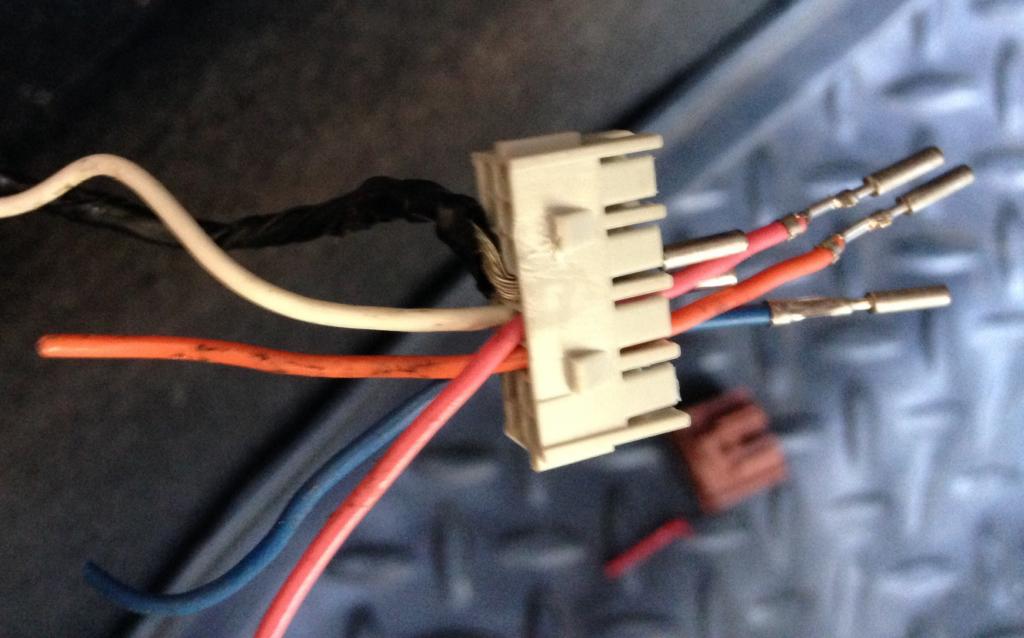
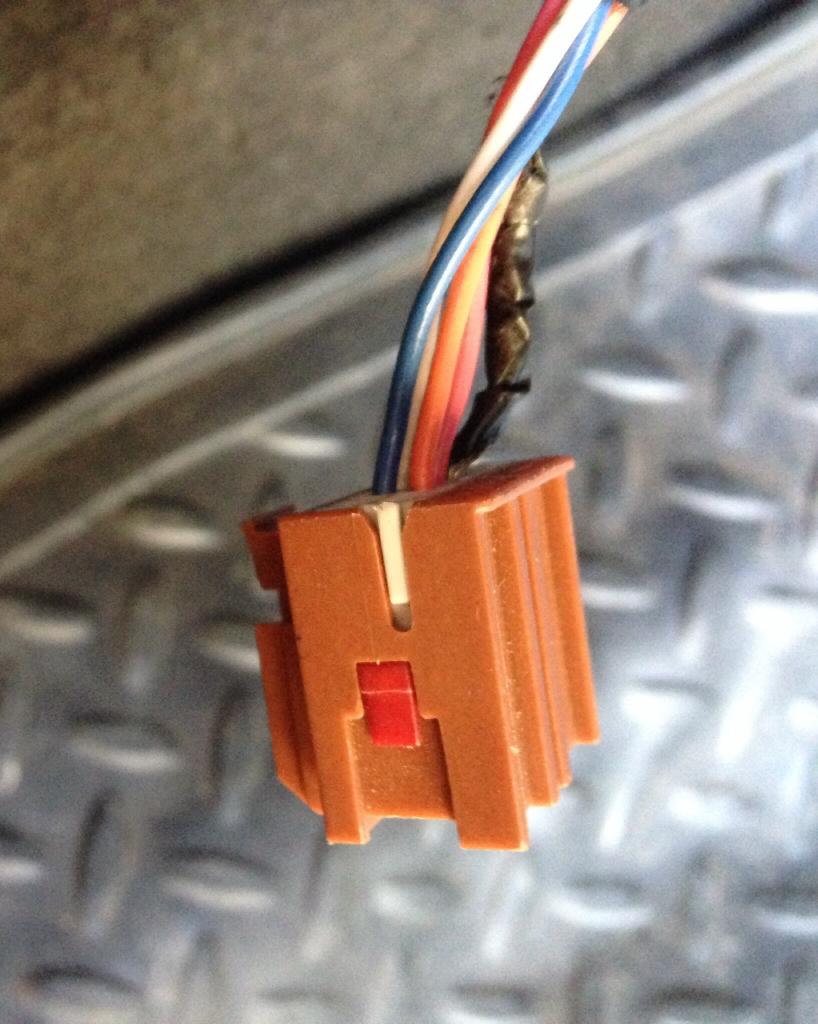
Now to install them in the headlight connector. Similar process you just don't have to take the connector down to 2 pieces. Pull the red pin out.
Slide the wire connectors in the back. Notice the flat area near the back of the connector. this will need to be rotated to the center for the red pin to lock them in.
Work the red pin back in and your done. As stated above I used pin 10 (orange) pin 11 (pink) and pin 6 (blue).
Now I wait for the latches to arrive!
This is what I did to get the wire connectors for the headlight harness connector. Basically, I stole some wire connectors from another connector... Easy and Free!
I remembered when installing an Alpine radio that there was an unused connector. It is located on the passenger side behind the carpeted upright panel. My H2 does not have air suspension or a camera screen in the radio. My camera's screen is in the rear view mirror. So if you have air suspention or factory camera in the radio this may not work for you. I believe this wire connector might be fore the air suspension? I know it would have the camera wire in it if the radio displayed it from the factory.
Now you to break the connector down.
You have to slide that red pin out... push it in from small side and then pull it out.
Now the Hard part. You have to use 2 small flat head screw drives or something of the like and pry the 2 piece connector apart. You might be able to work the wires/connectors out with out this step but I could not.
Once it is apart I cut the wires/connectors I want wanted to use and slid them out the face of the connector. You can pull them out the back too. I terminated the ends of the wires left on the harness just in case.
Now to install them in the headlight connector. Similar process you just don't have to take the connector down to 2 pieces. Pull the red pin out.
Slide the wire connectors in the back. Notice the flat area near the back of the connector. this will need to be rotated to the center for the red pin to lock them in.
Work the red pin back in and your done. As stated above I used pin 10 (orange) pin 11 (pink) and pin 6 (blue).
Now I wait for the latches to arrive!
#14
07-27-2014, 08:30 PM
Good job, just follow the included wiring instructions from the dei 611t module and you're golden. Btw, that extra connector is for the oem radio with navigation. I used that when i installed the oem radio with navigation, now i turned off the camera in the mirror and used the navigation screen plus i have the voice commands too.
Last edited by citiboy; 07-27-2014 at 08:55 PM.
#15
07-28-2014, 06:47 PM
Got the latches in Today already installed! Sweet too!!!! No more dumba$$ switches lookin stupid or cumbersome to get to, no new holes in the dash. The perfect solution and easy to do.
I have not install an LED for the round switch but probably will at a later date.
Thanks for all the info.
I have not install an LED for the round switch but probably will at a later date.
Thanks for all the info.
#17
08-03-2014, 11:50 AM
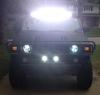
Would you mind posting an upclose picture or two of the lightbar installed to the roofbar? thanks!
#18
08-03-2014, 08:31 PM

citiboy, your rig is a beast!! nice set up! THX for posting all the wiring info!! this will be a huge help since I just installed a lightbar and LED's on my brush guard. I hadn't decide how I was going to wire them to a switch but now I have a better idea!! props to you also Terds.
#20
08-07-2014, 09:08 PM

Does anyone have some advice about Led light bars? I started reading the thread hopping to get some ideas. Im looking to install one on my Hummer but i don't want to spend big bucks doing this. Im looking for something middle of the road. Tnks.